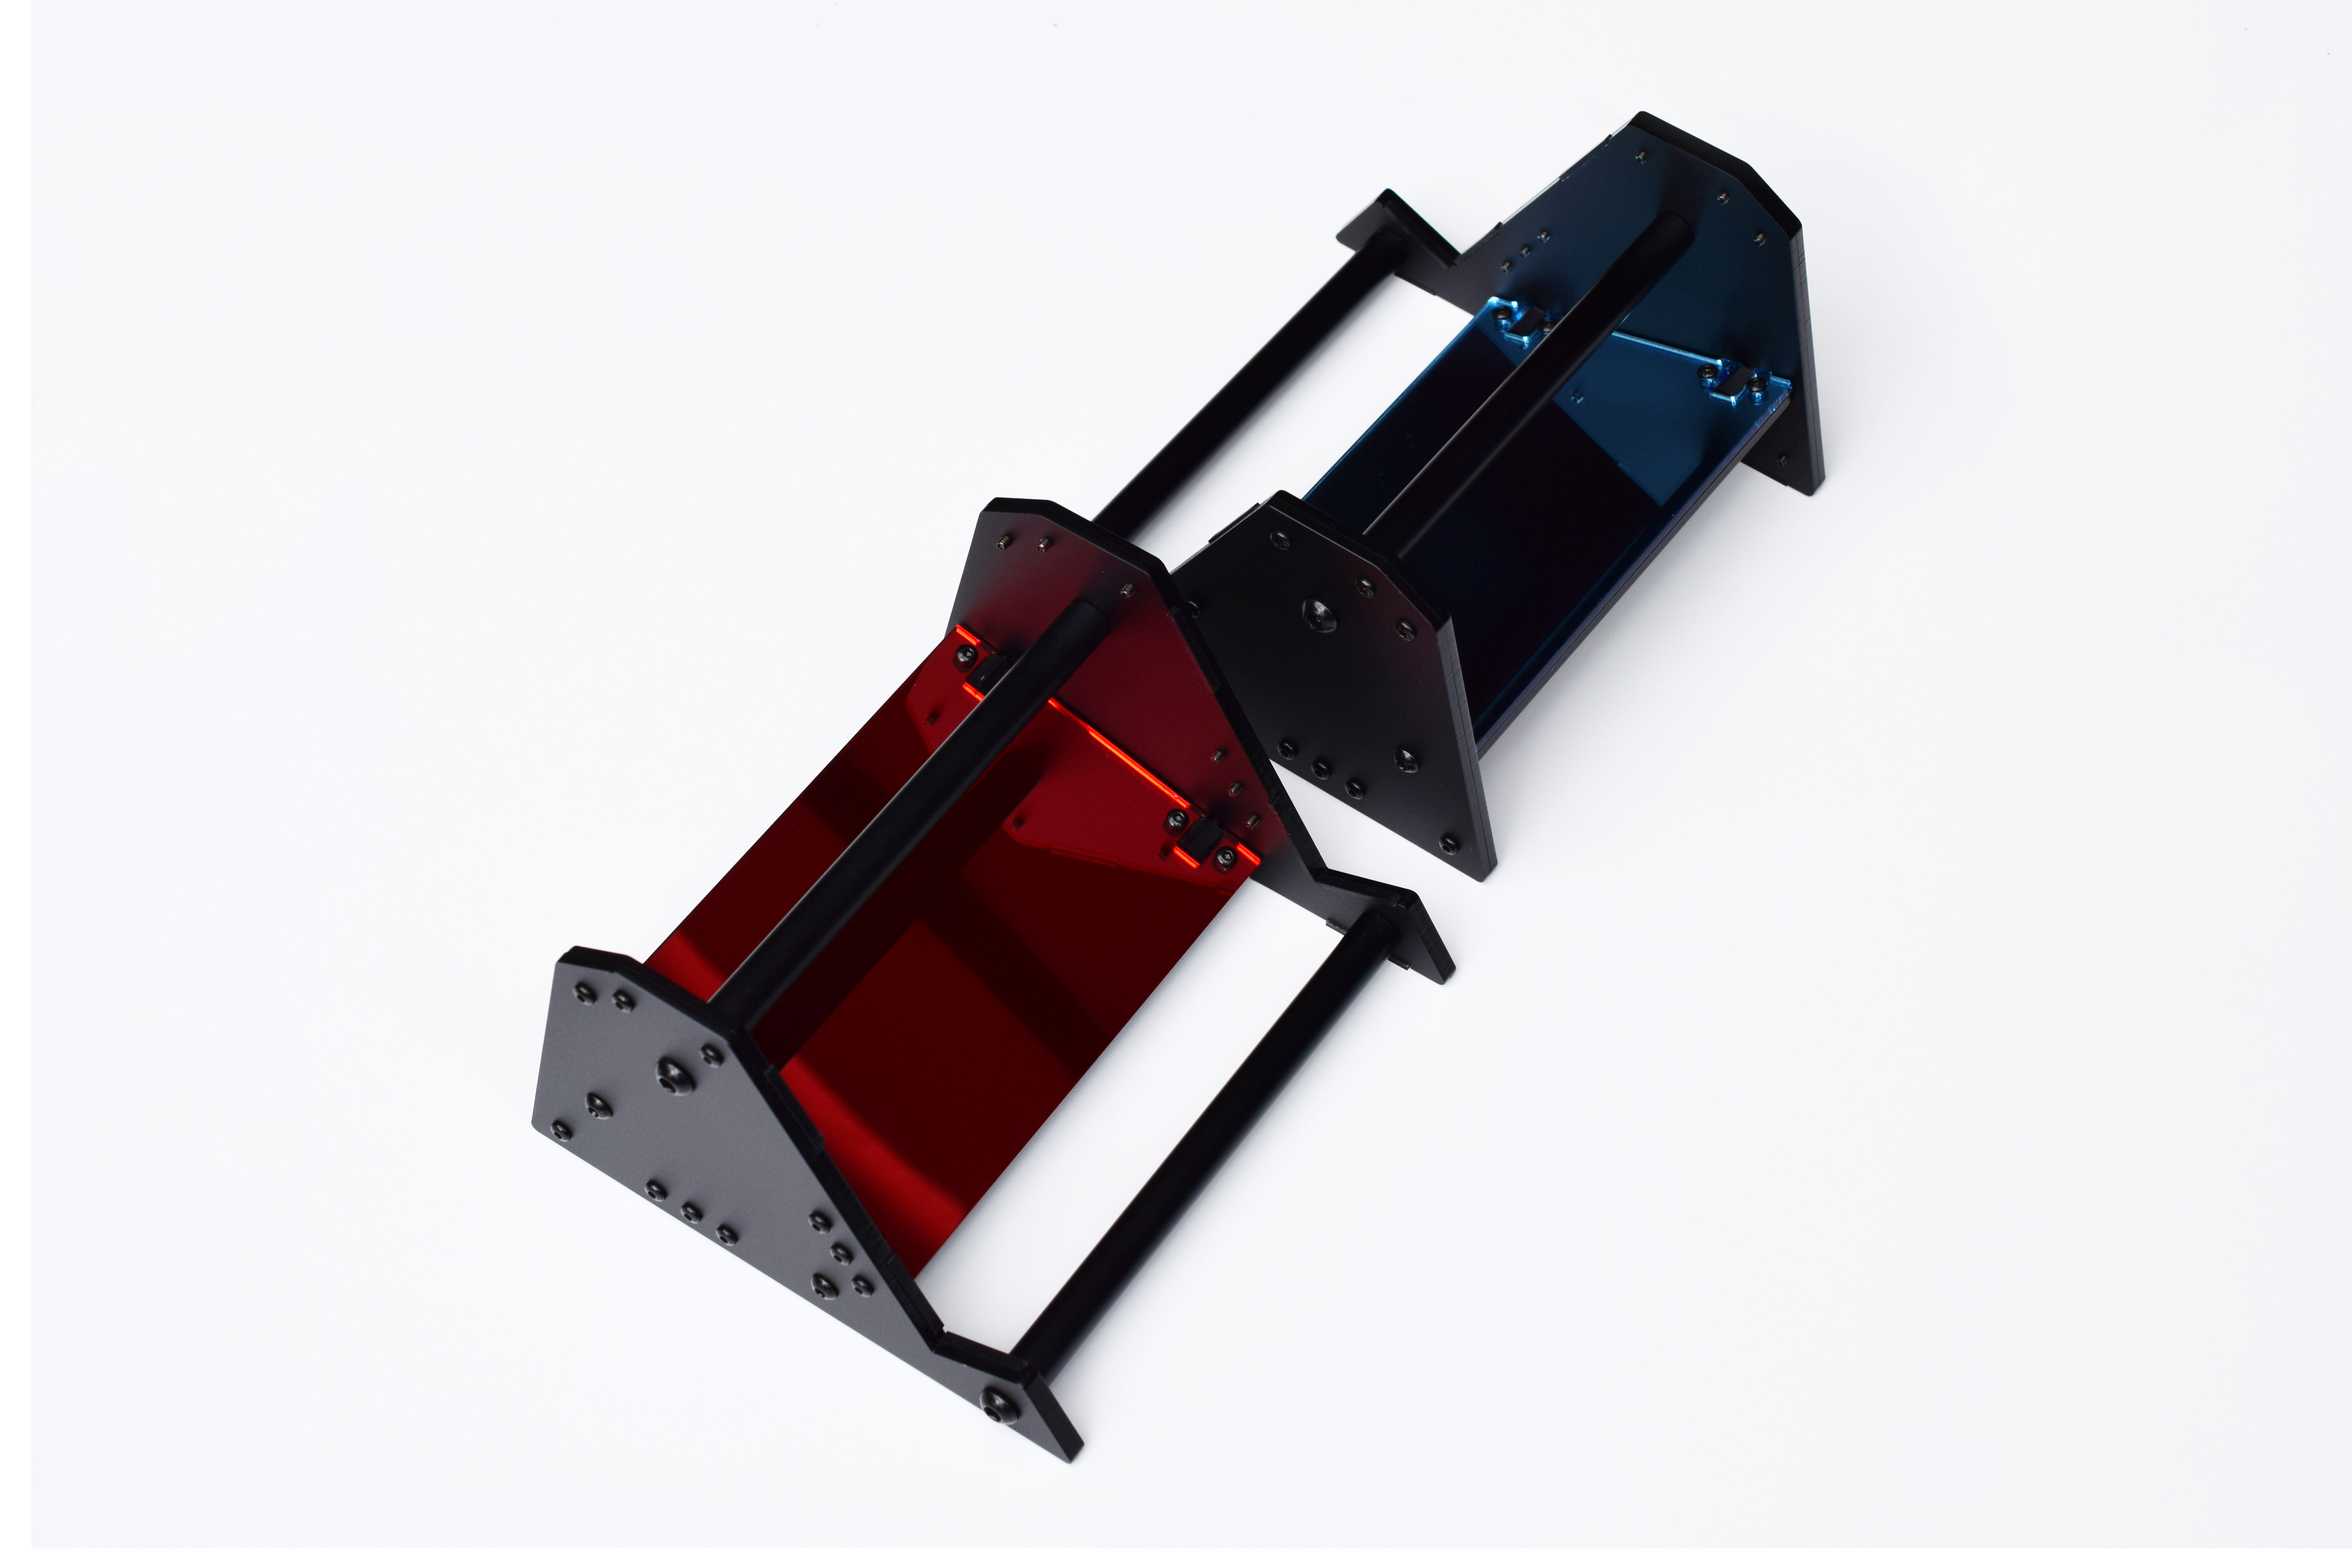
Behind The Scenes - Keyboard Stands
03 September 2022
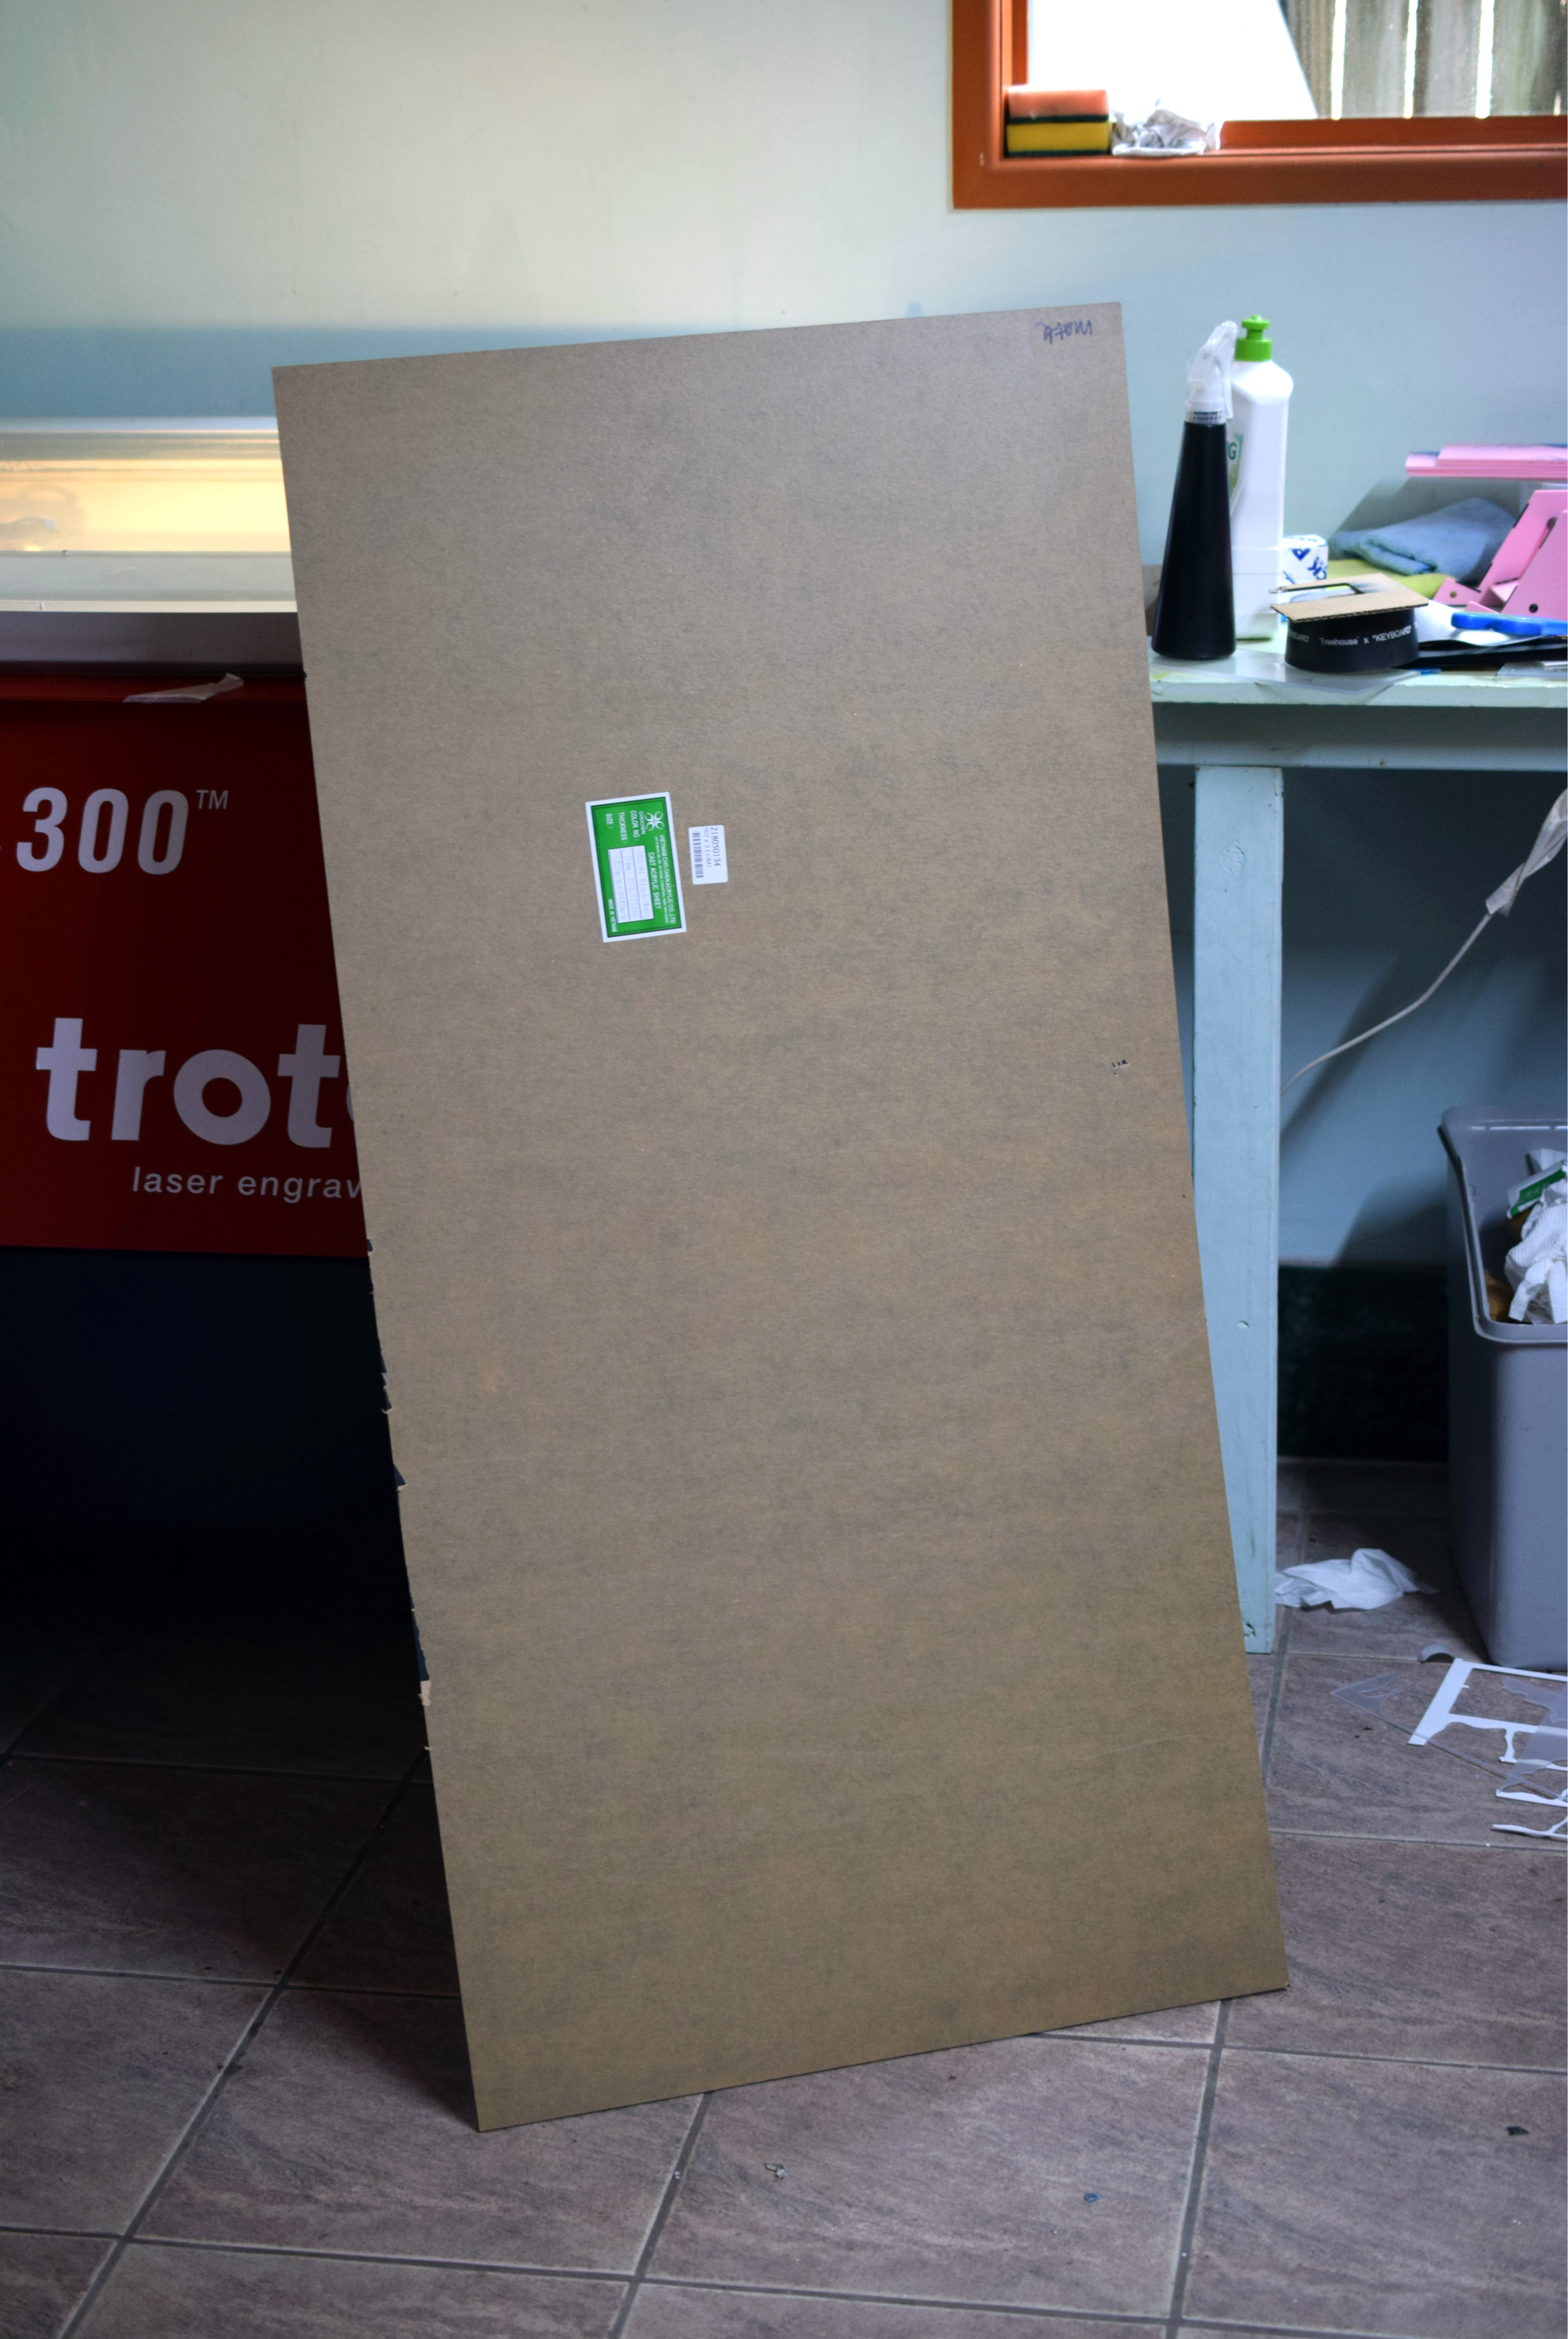
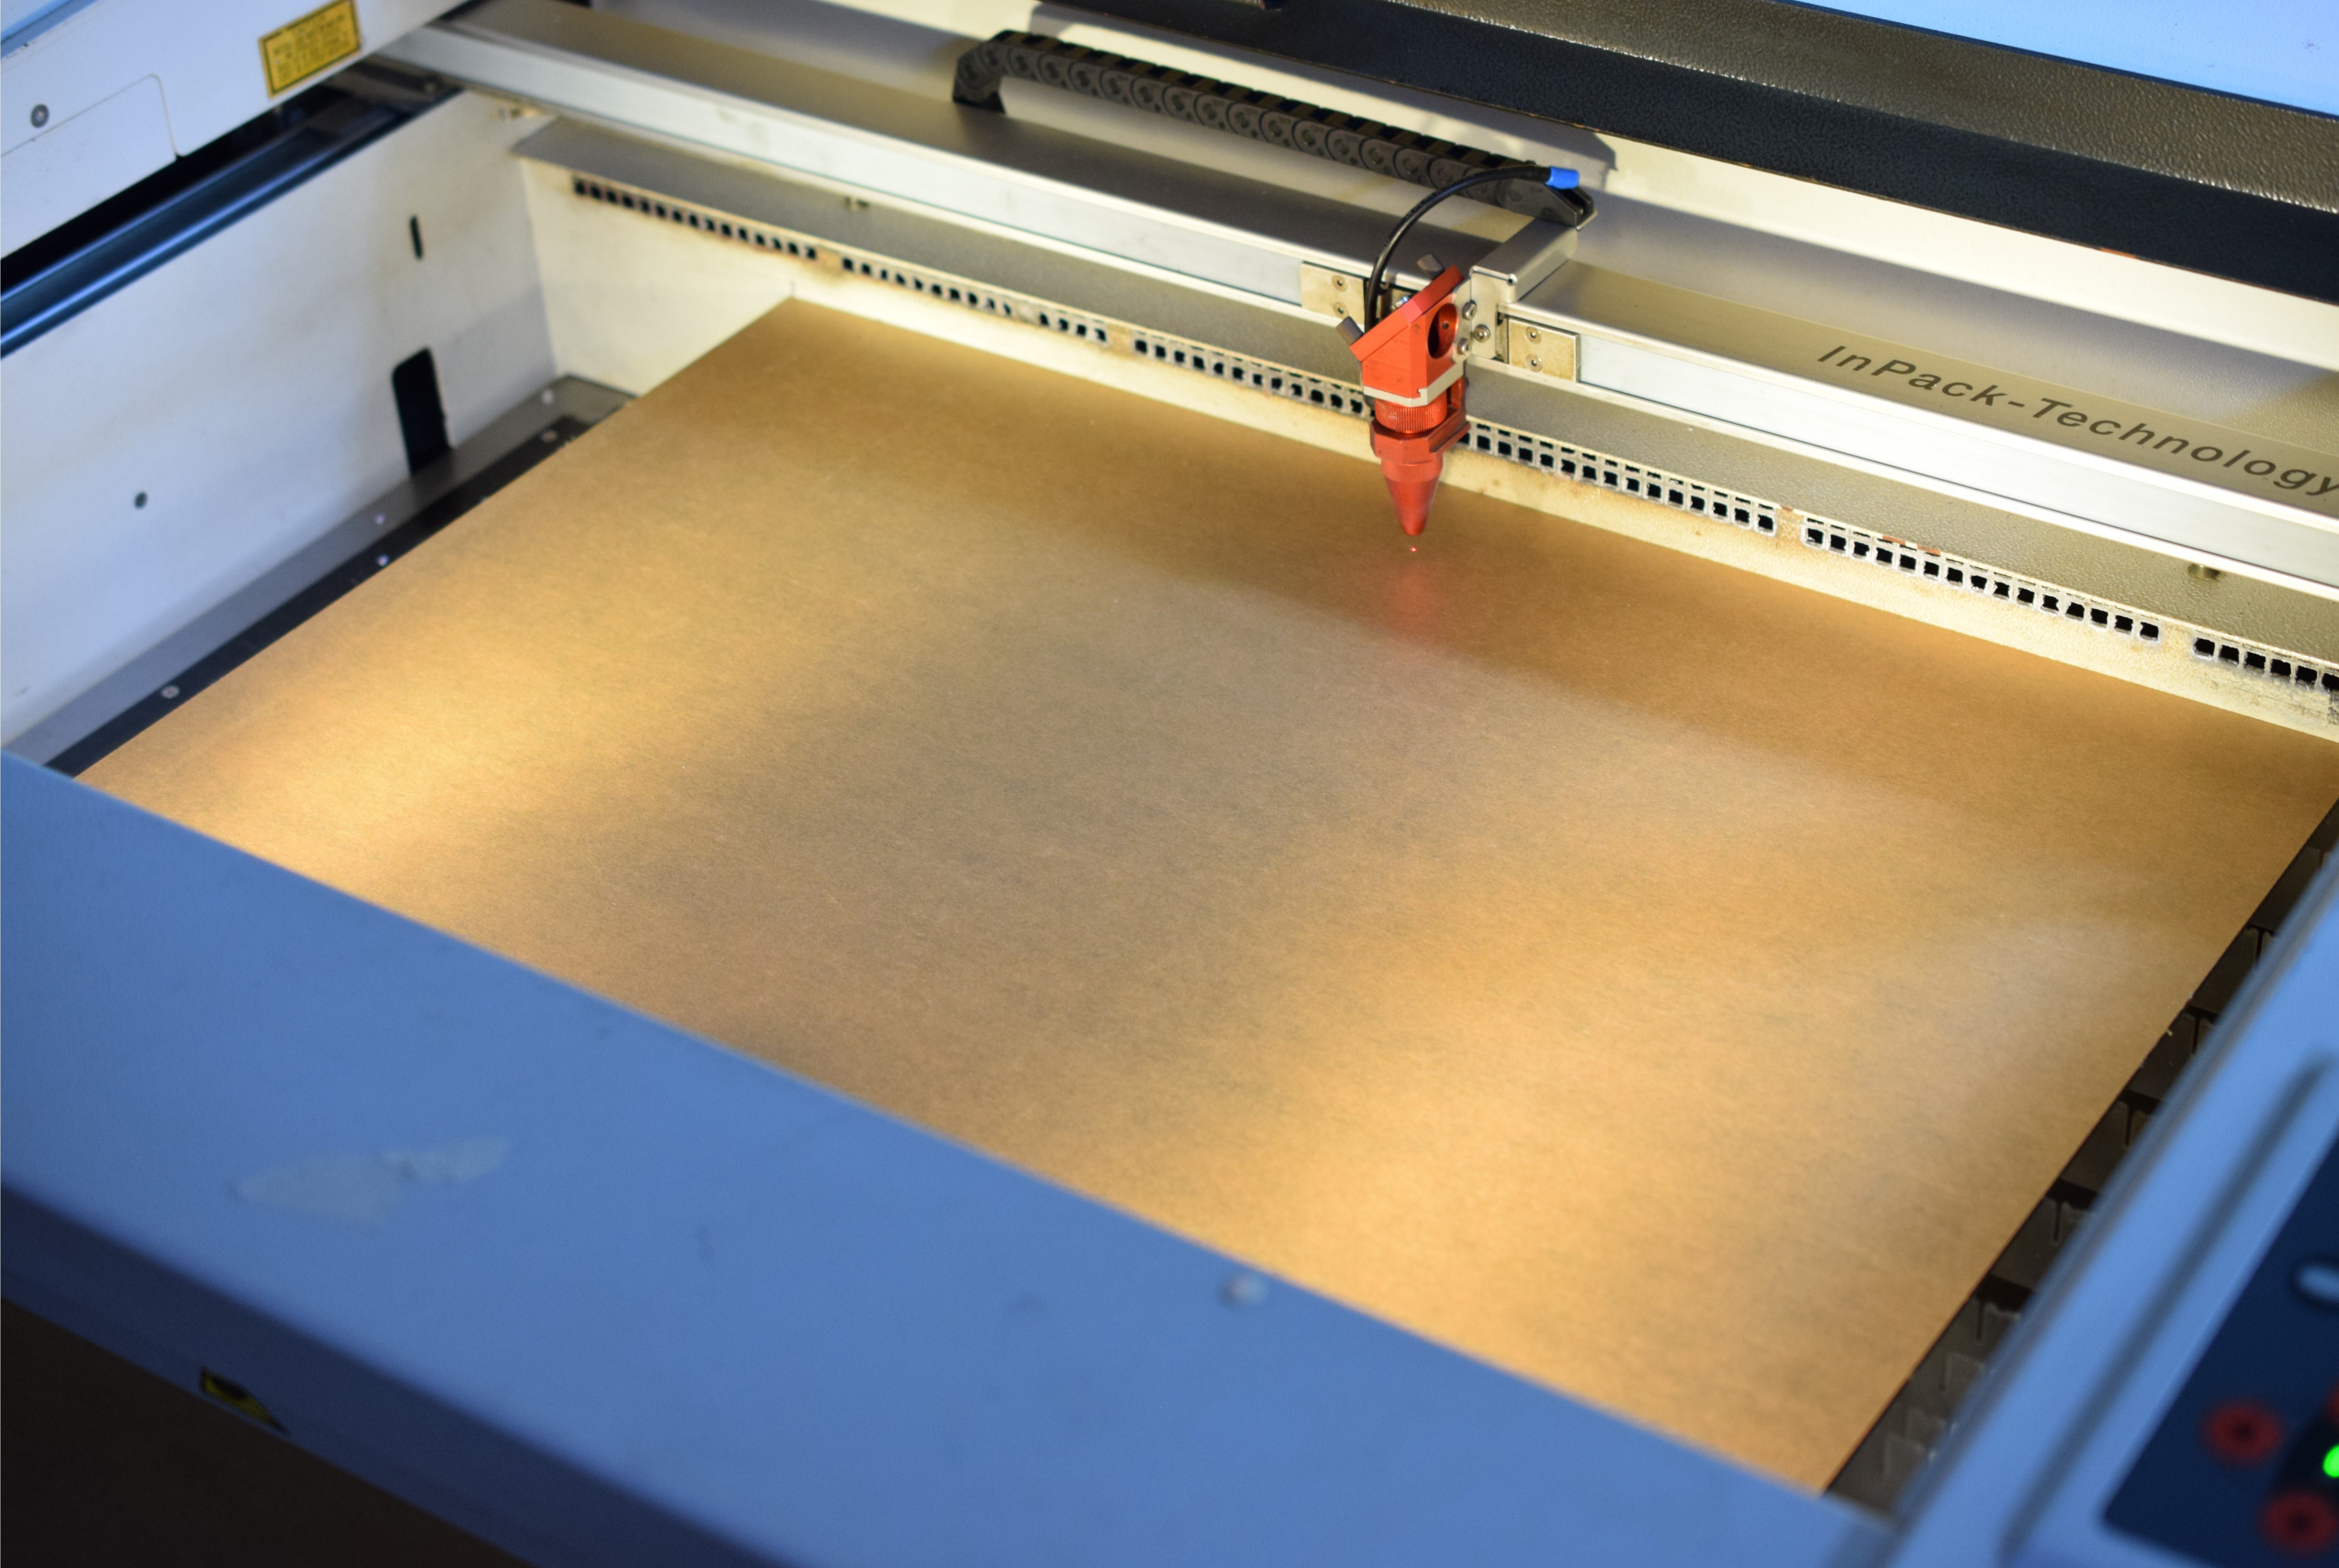
Getting the Right Sized Sheet of Acrylic
First, I start with a whole sheet of acrylic and cut it down to size. The dimensions of the newly cut sheet will depend on what is being made.
In this scenario, I need a sheet that is 22cm (H) X 60cm (L).
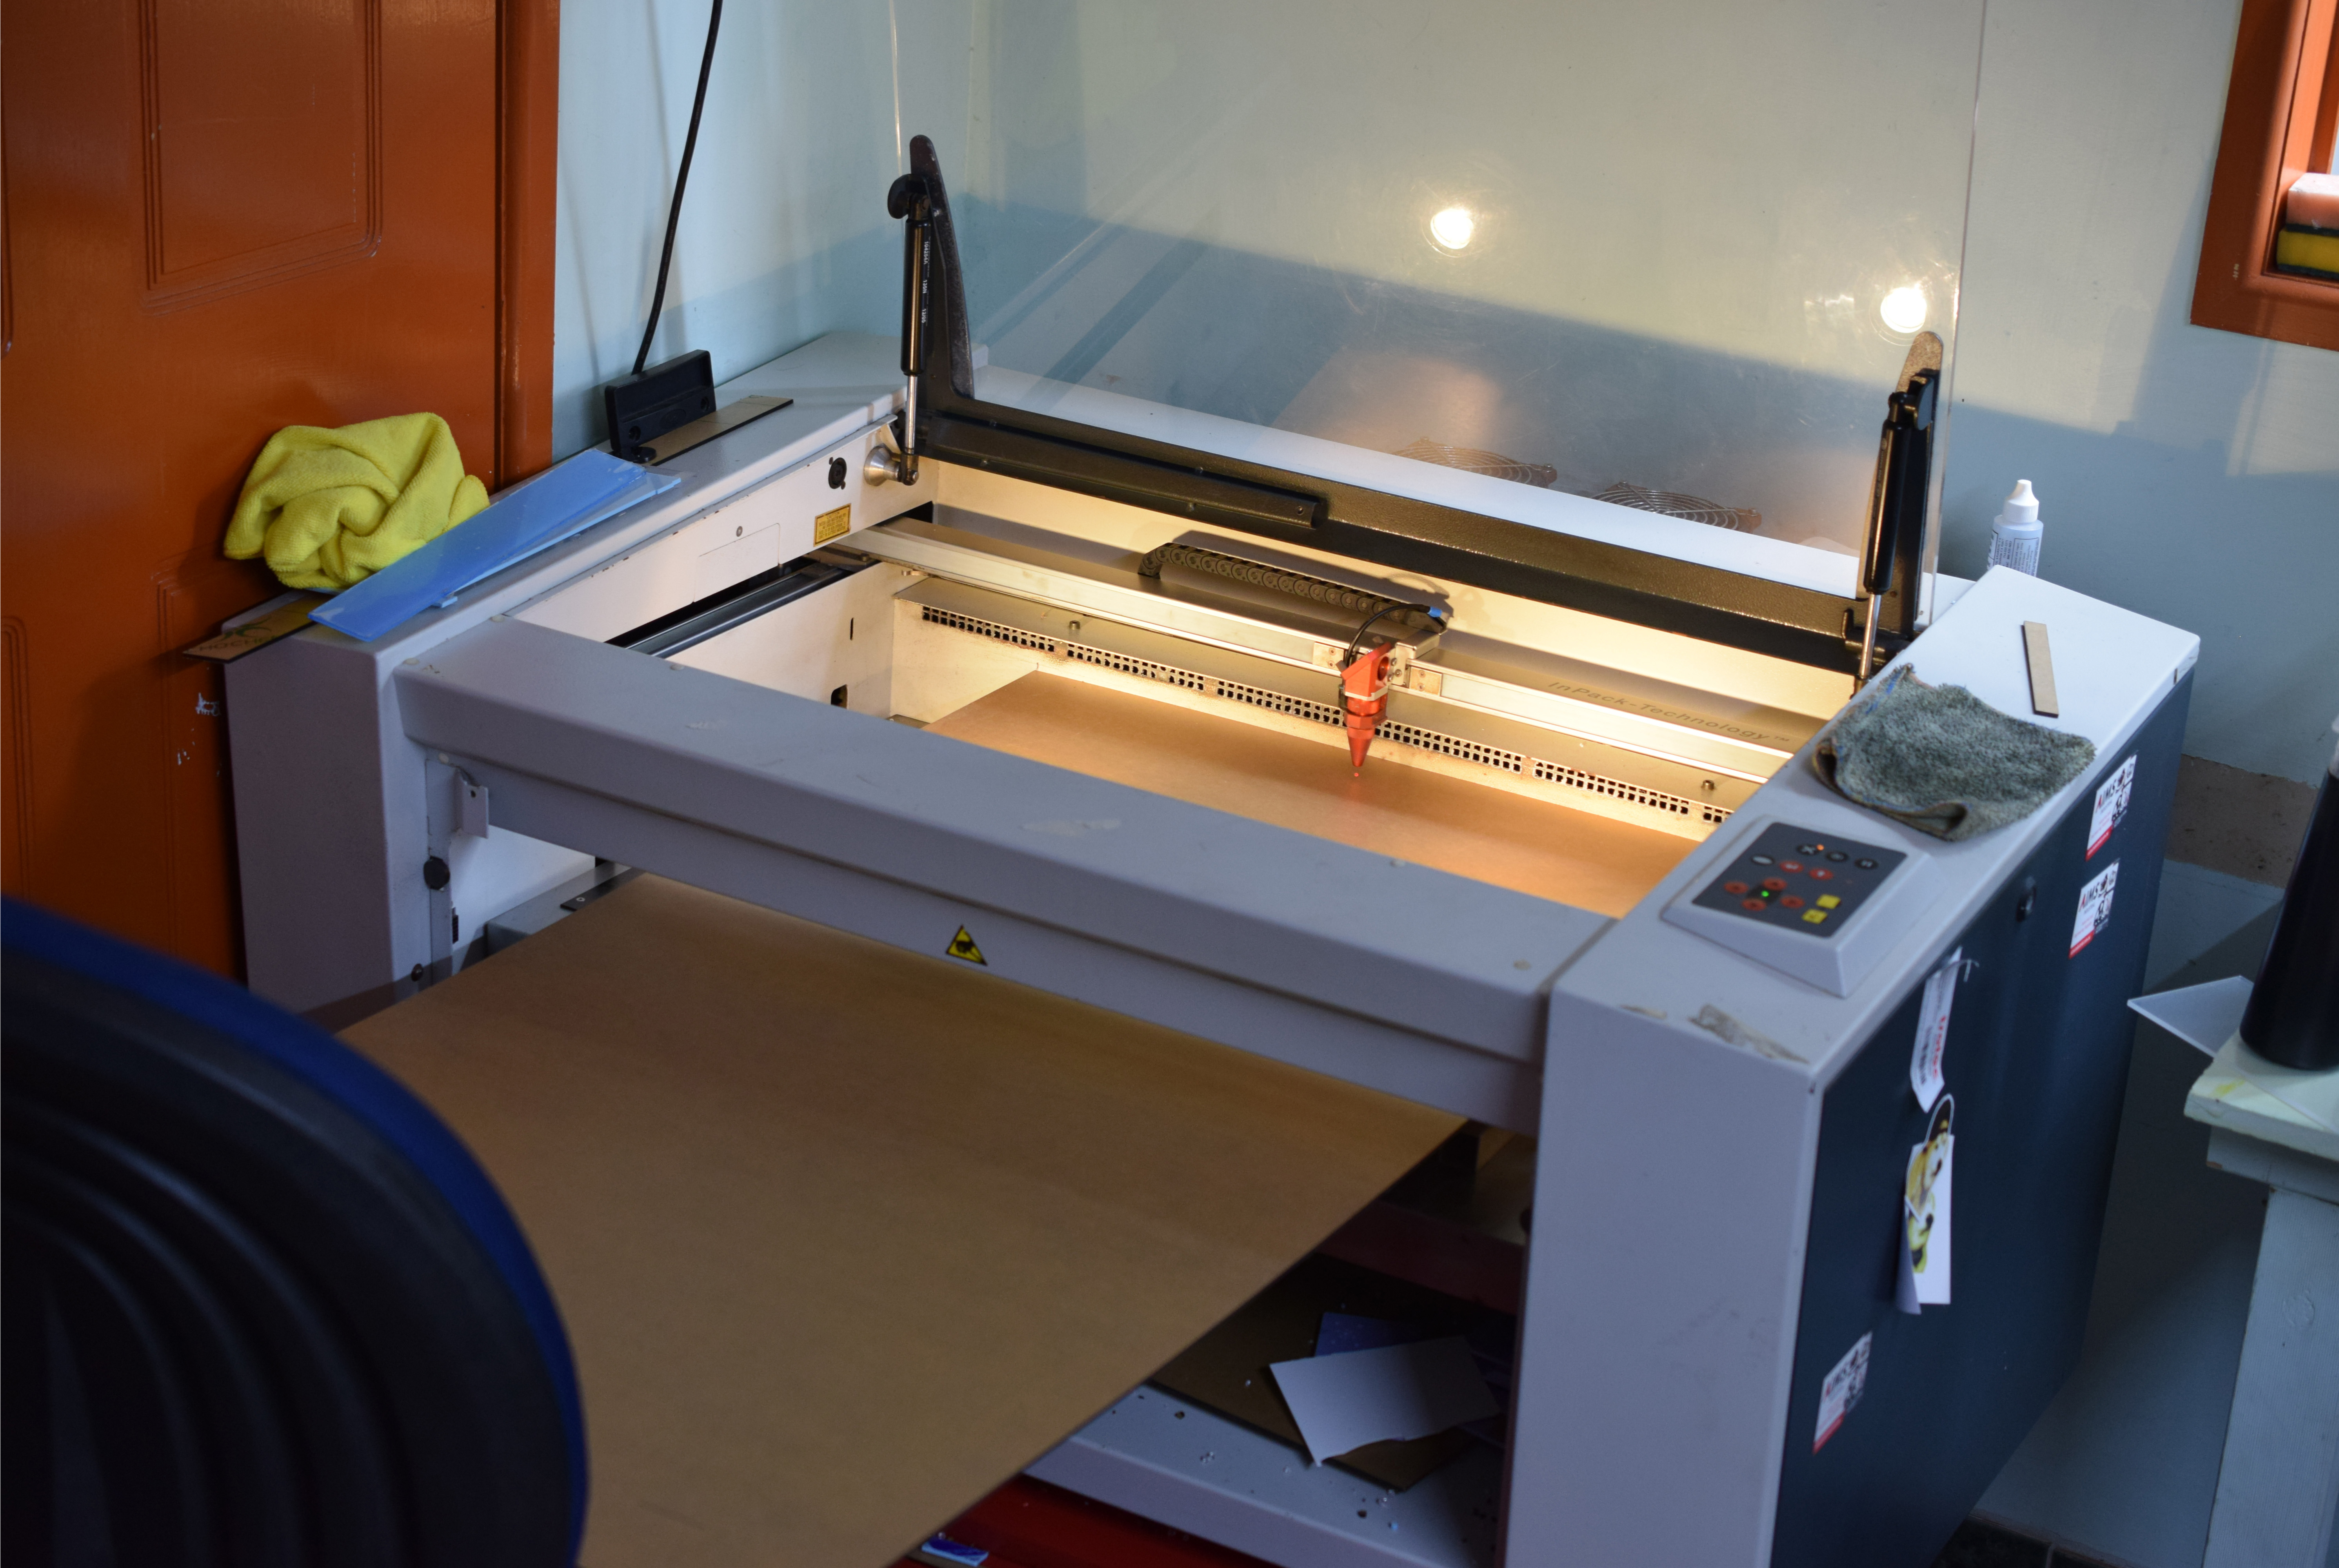
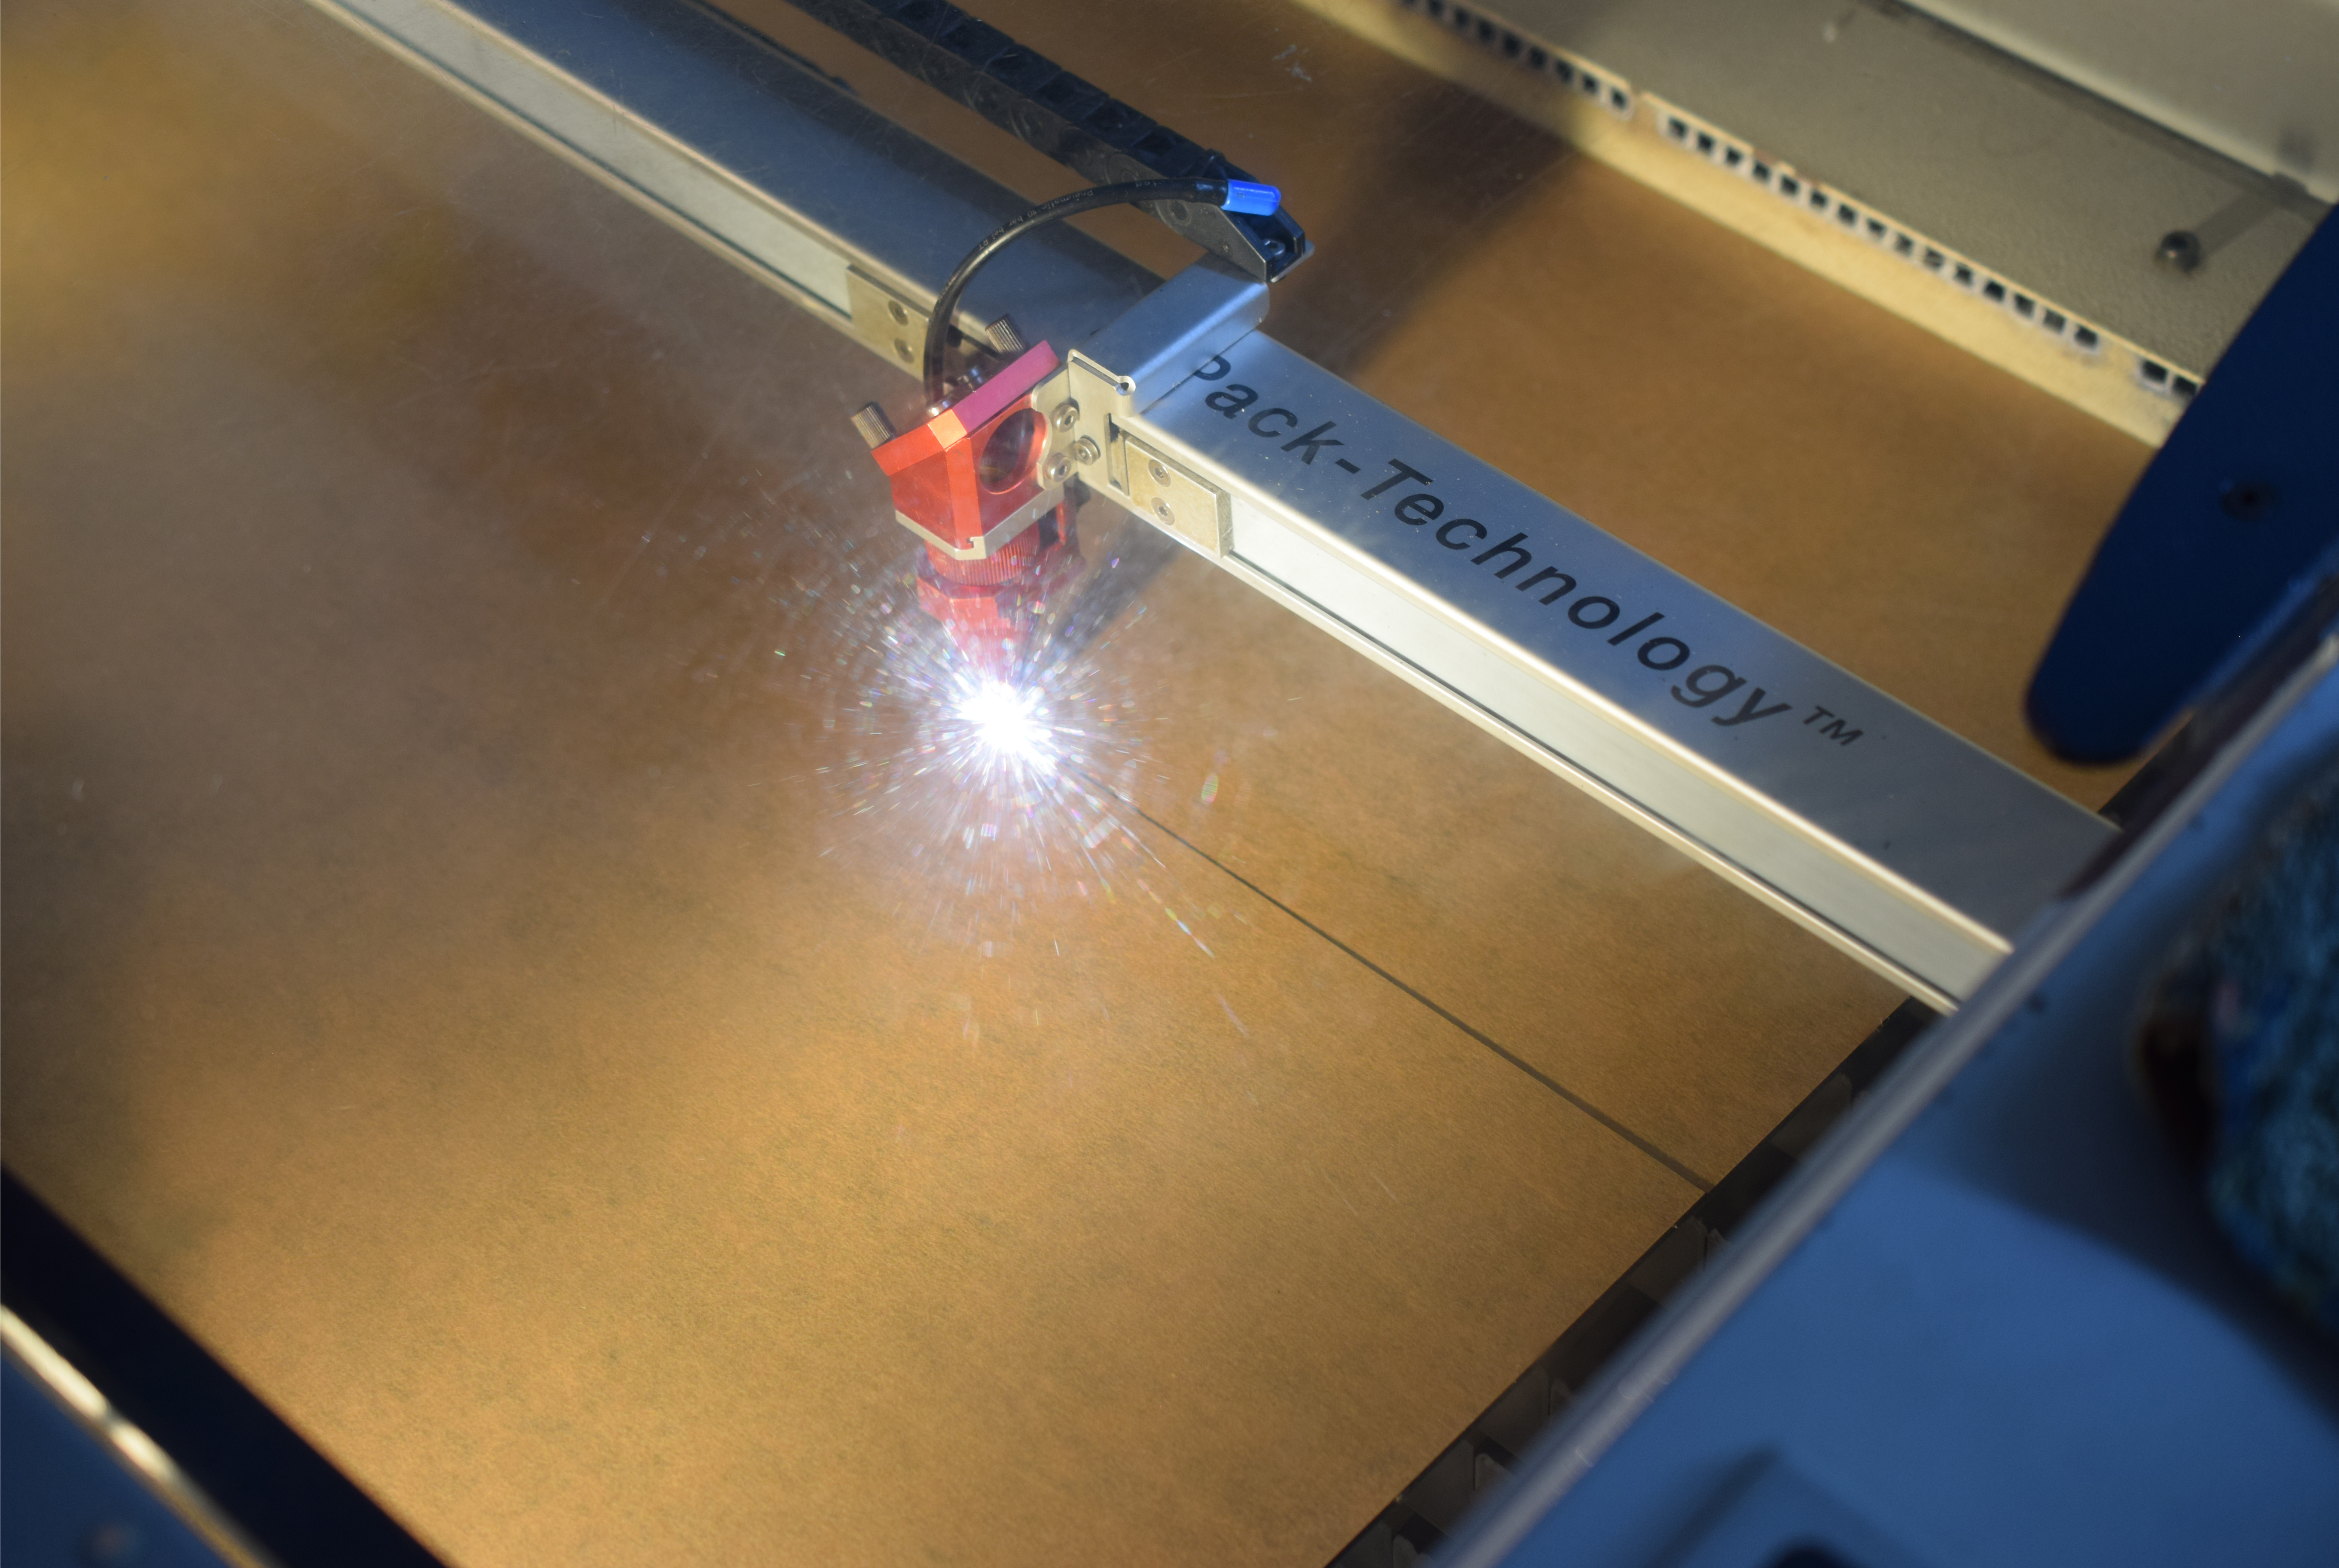
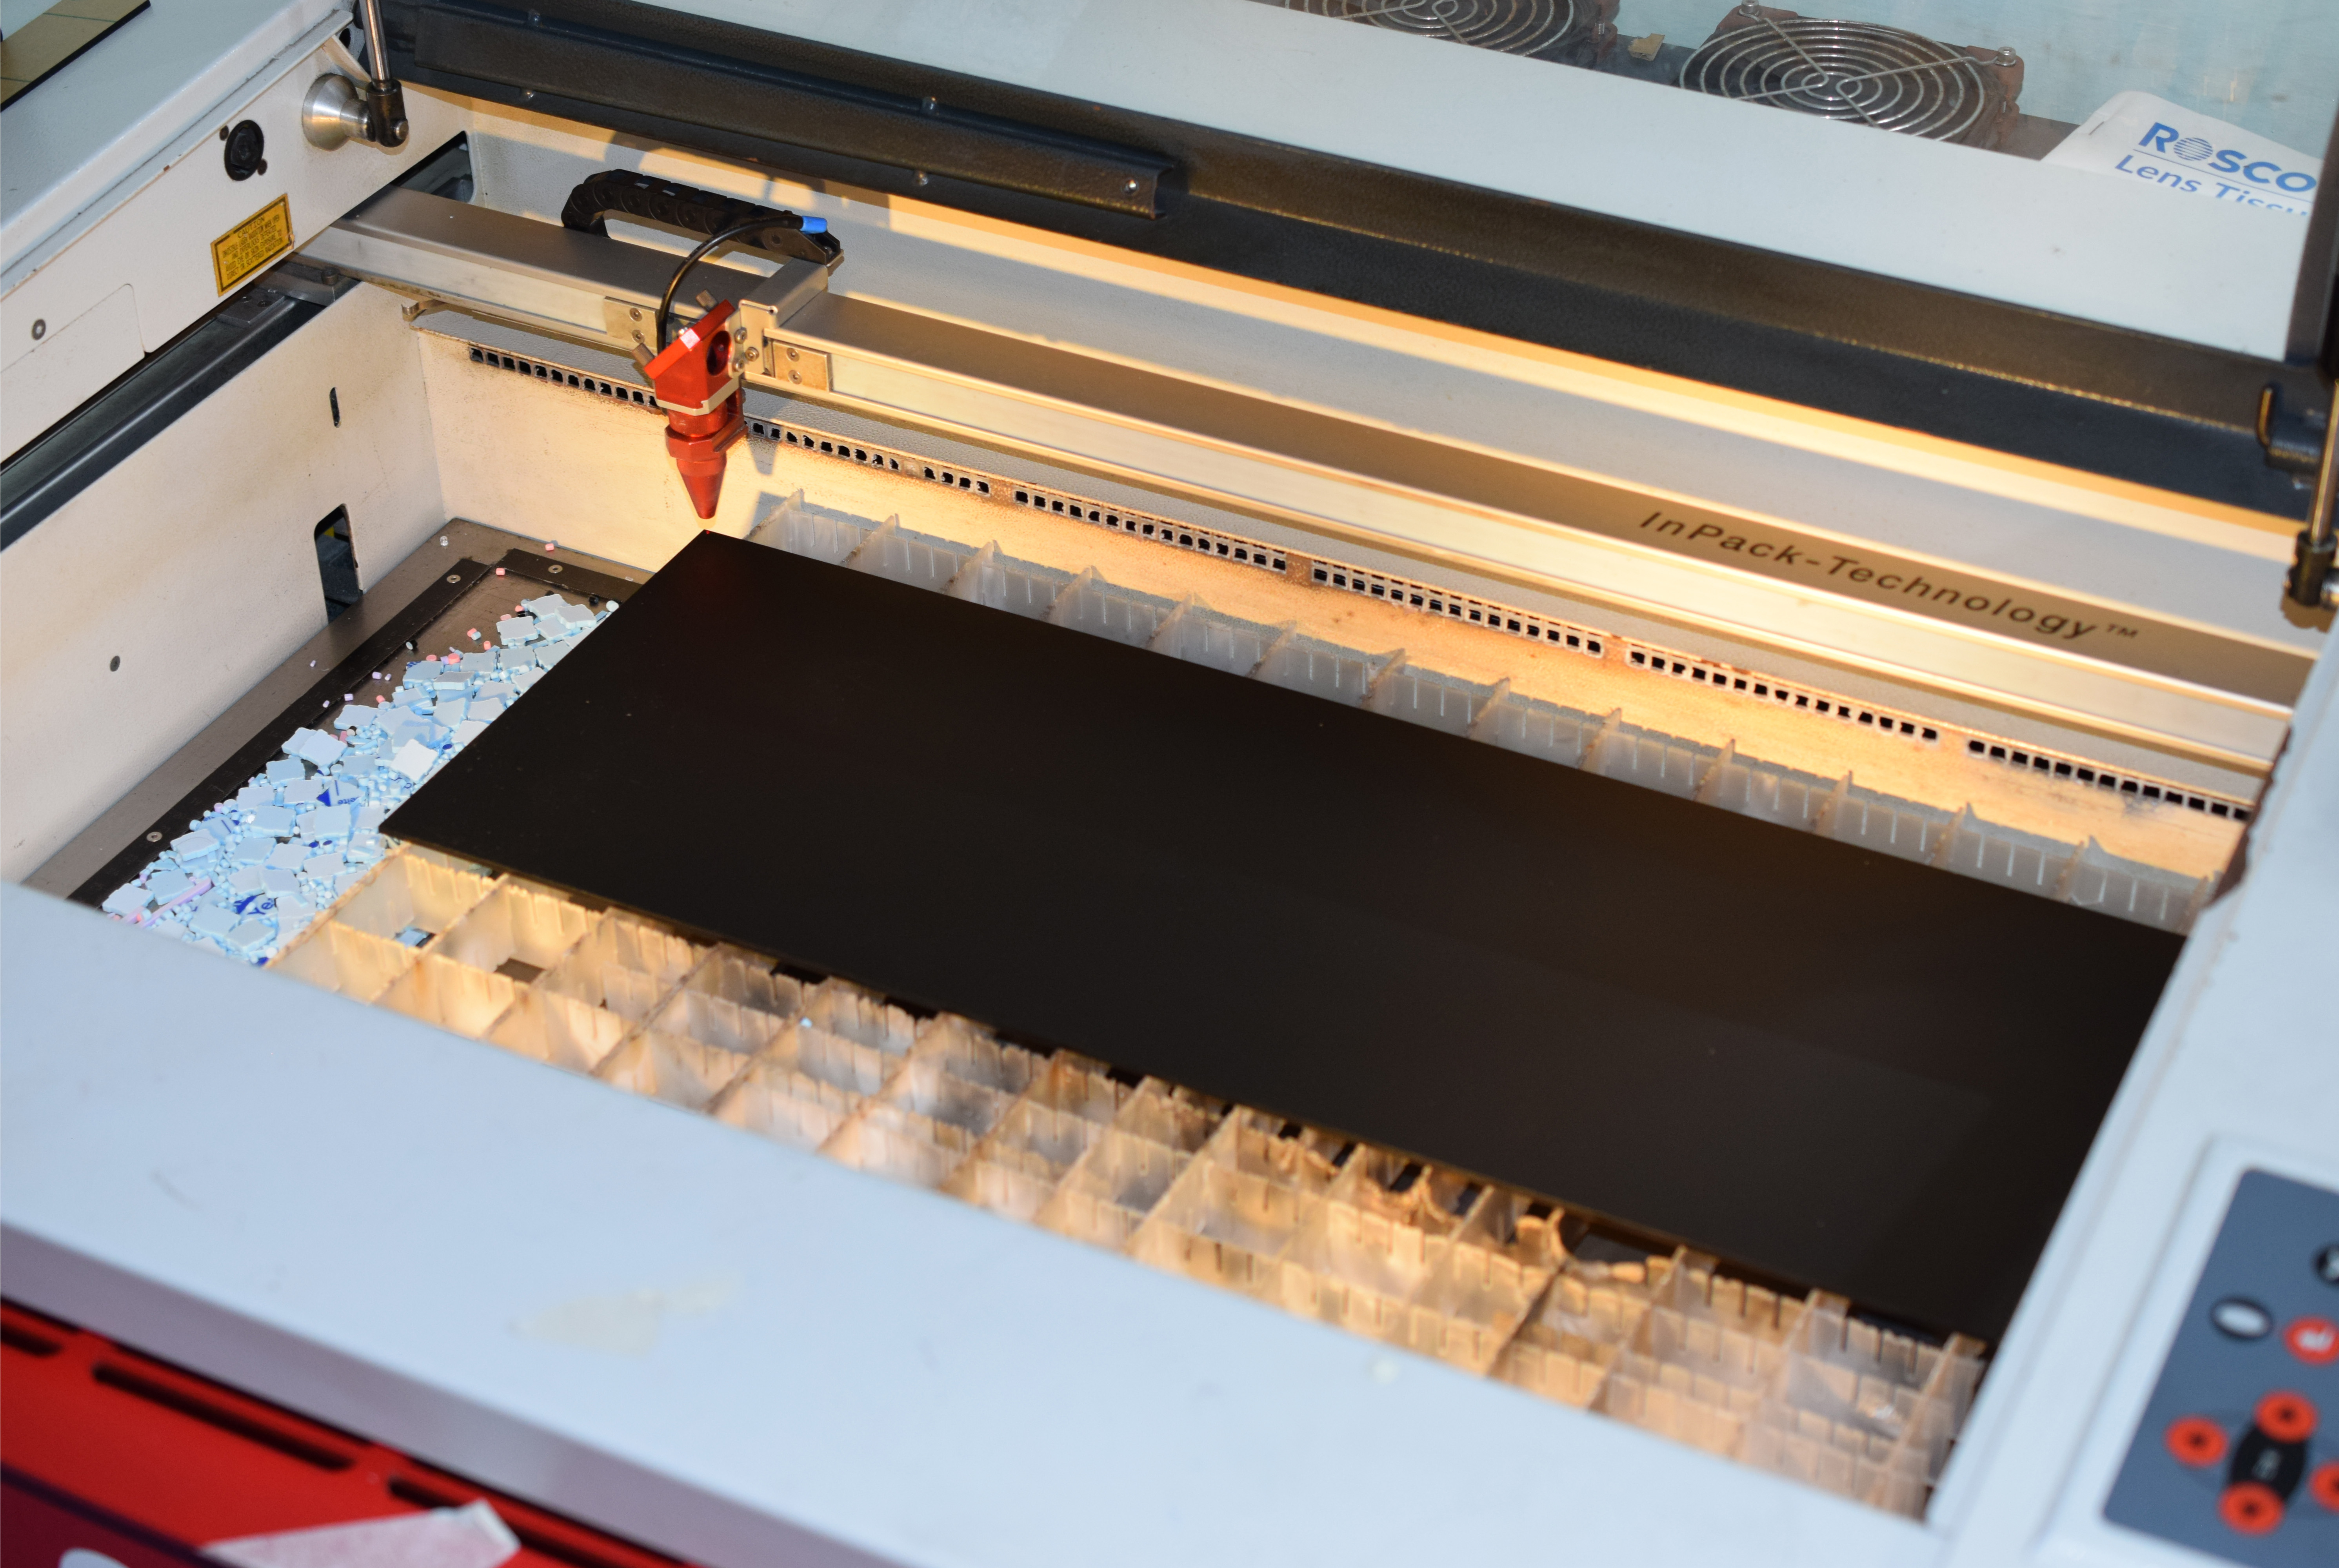
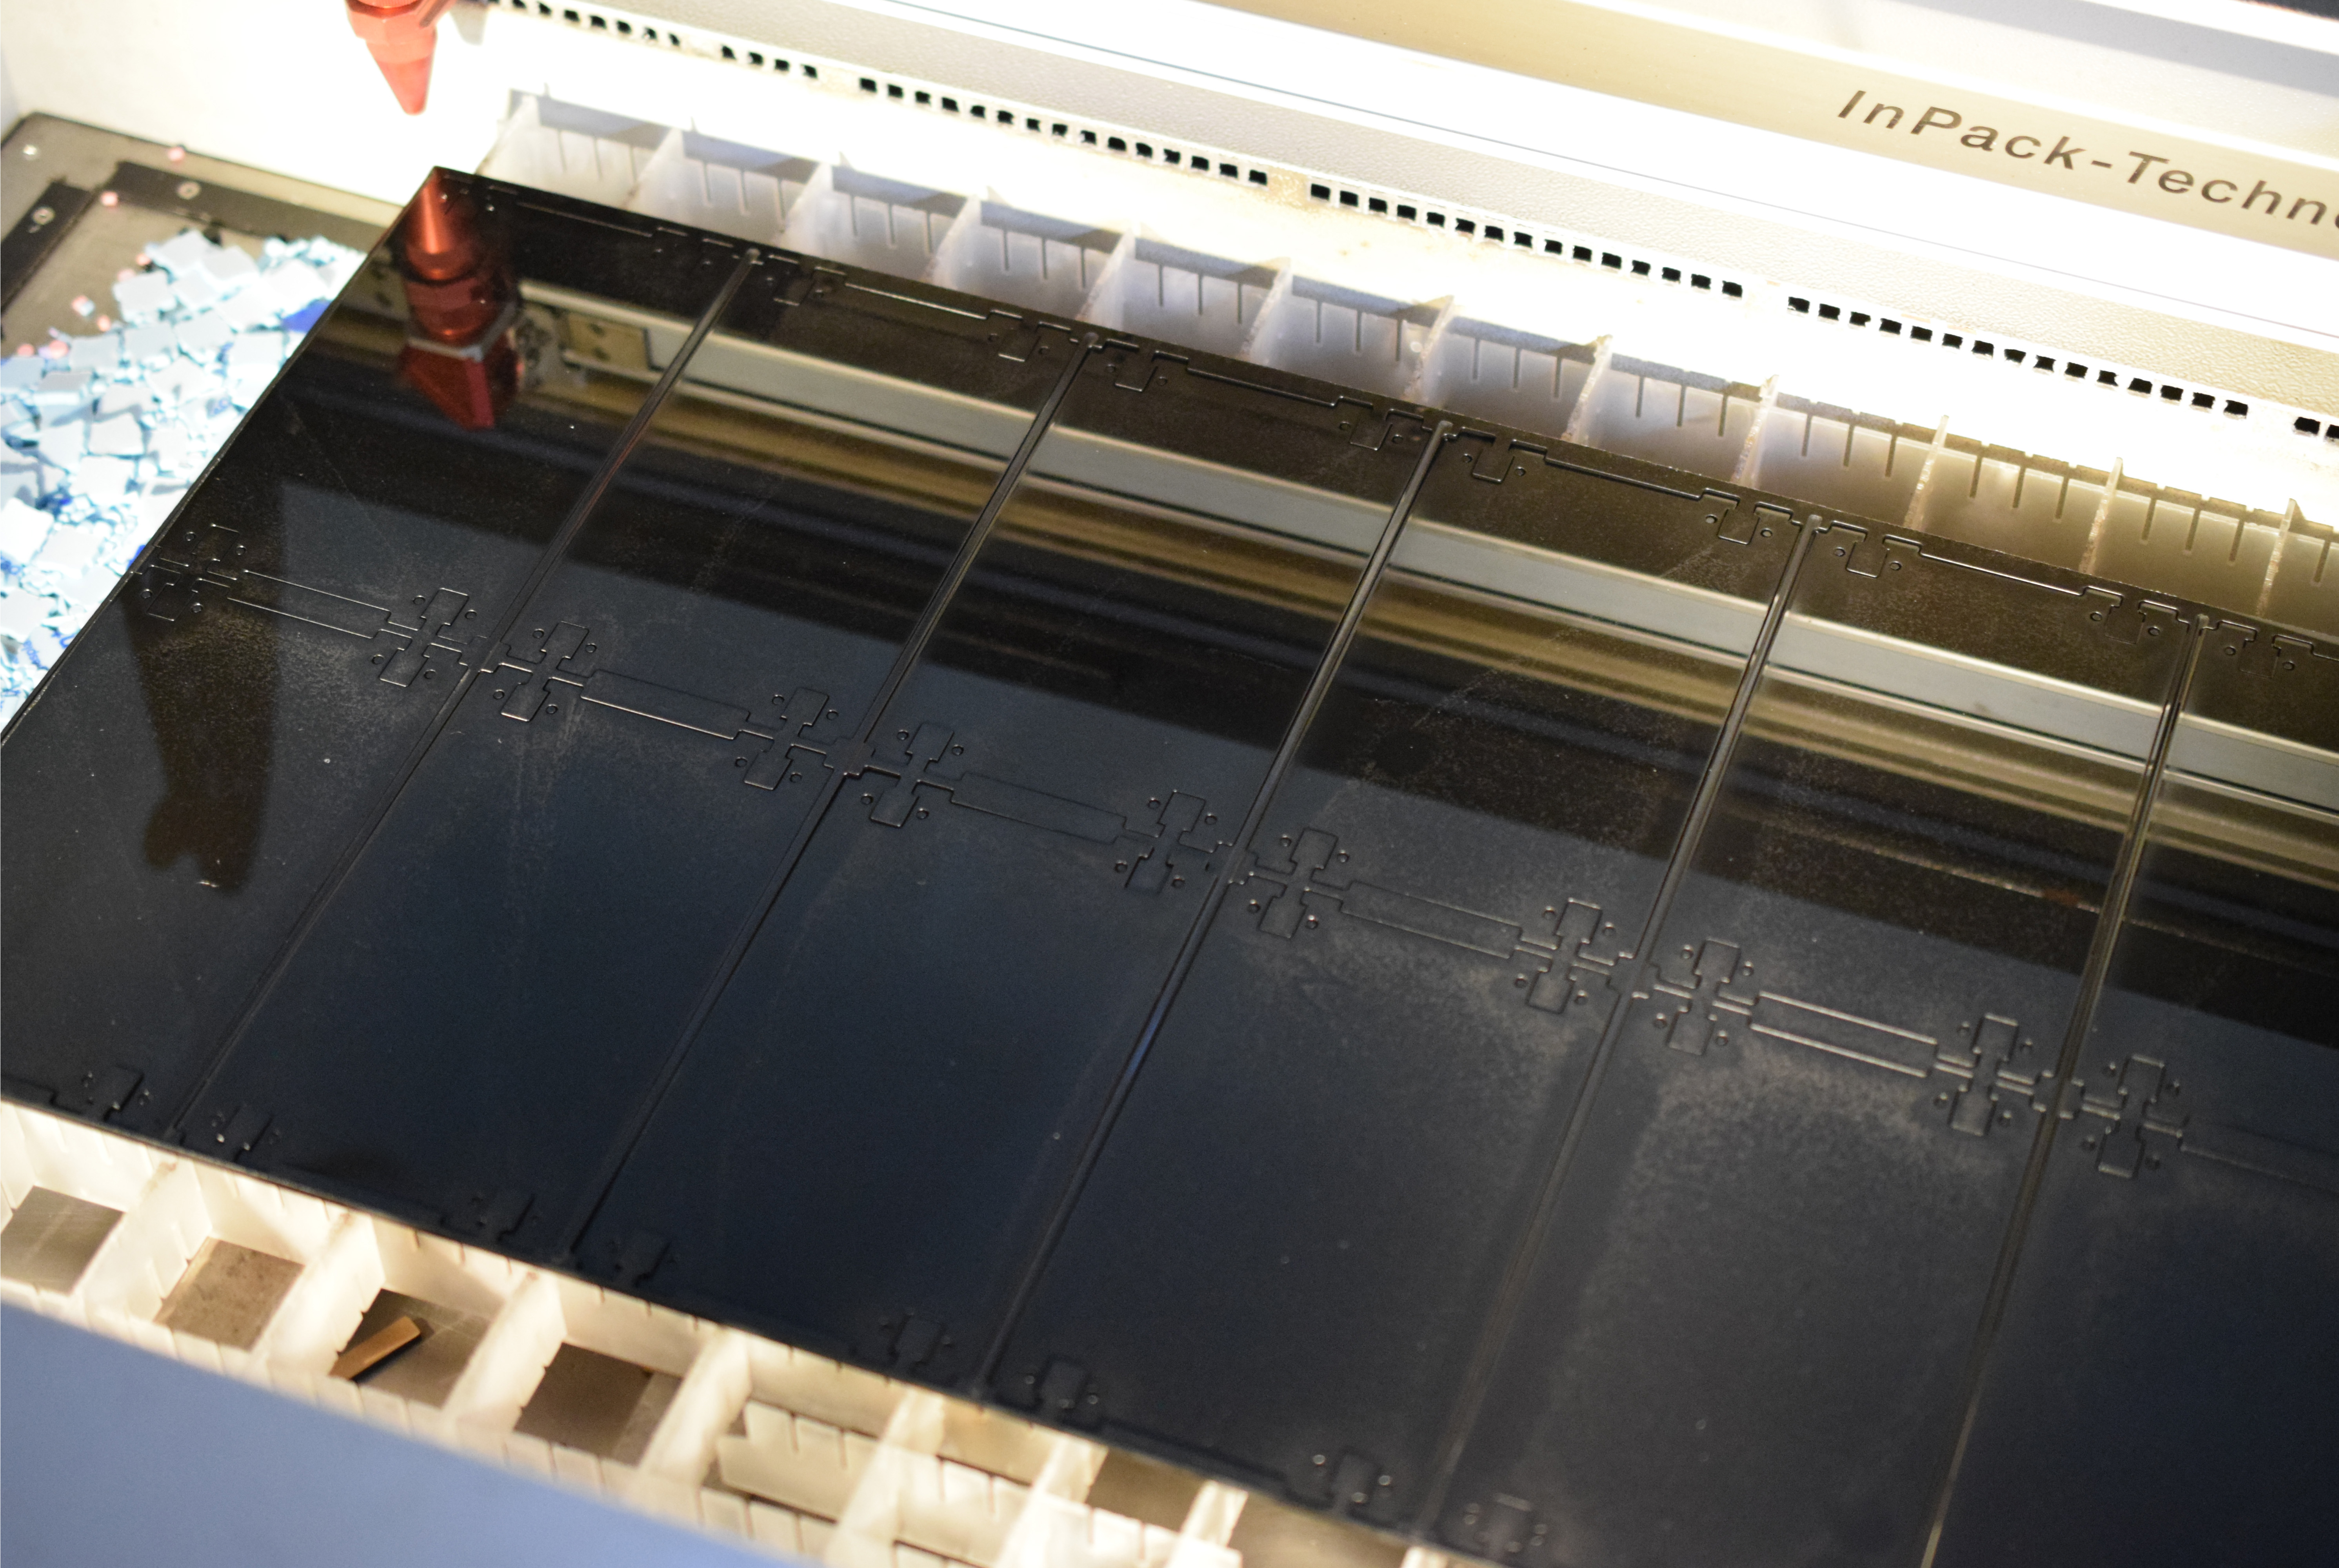
Cutting the Designs
My Designer Stands have four different files that need to be cut. Depending on the colourway, I might need up to four different coloured sheets of material.
In this example I need three different pieces of material:
- Right and Left Side Pieces - Matte Black
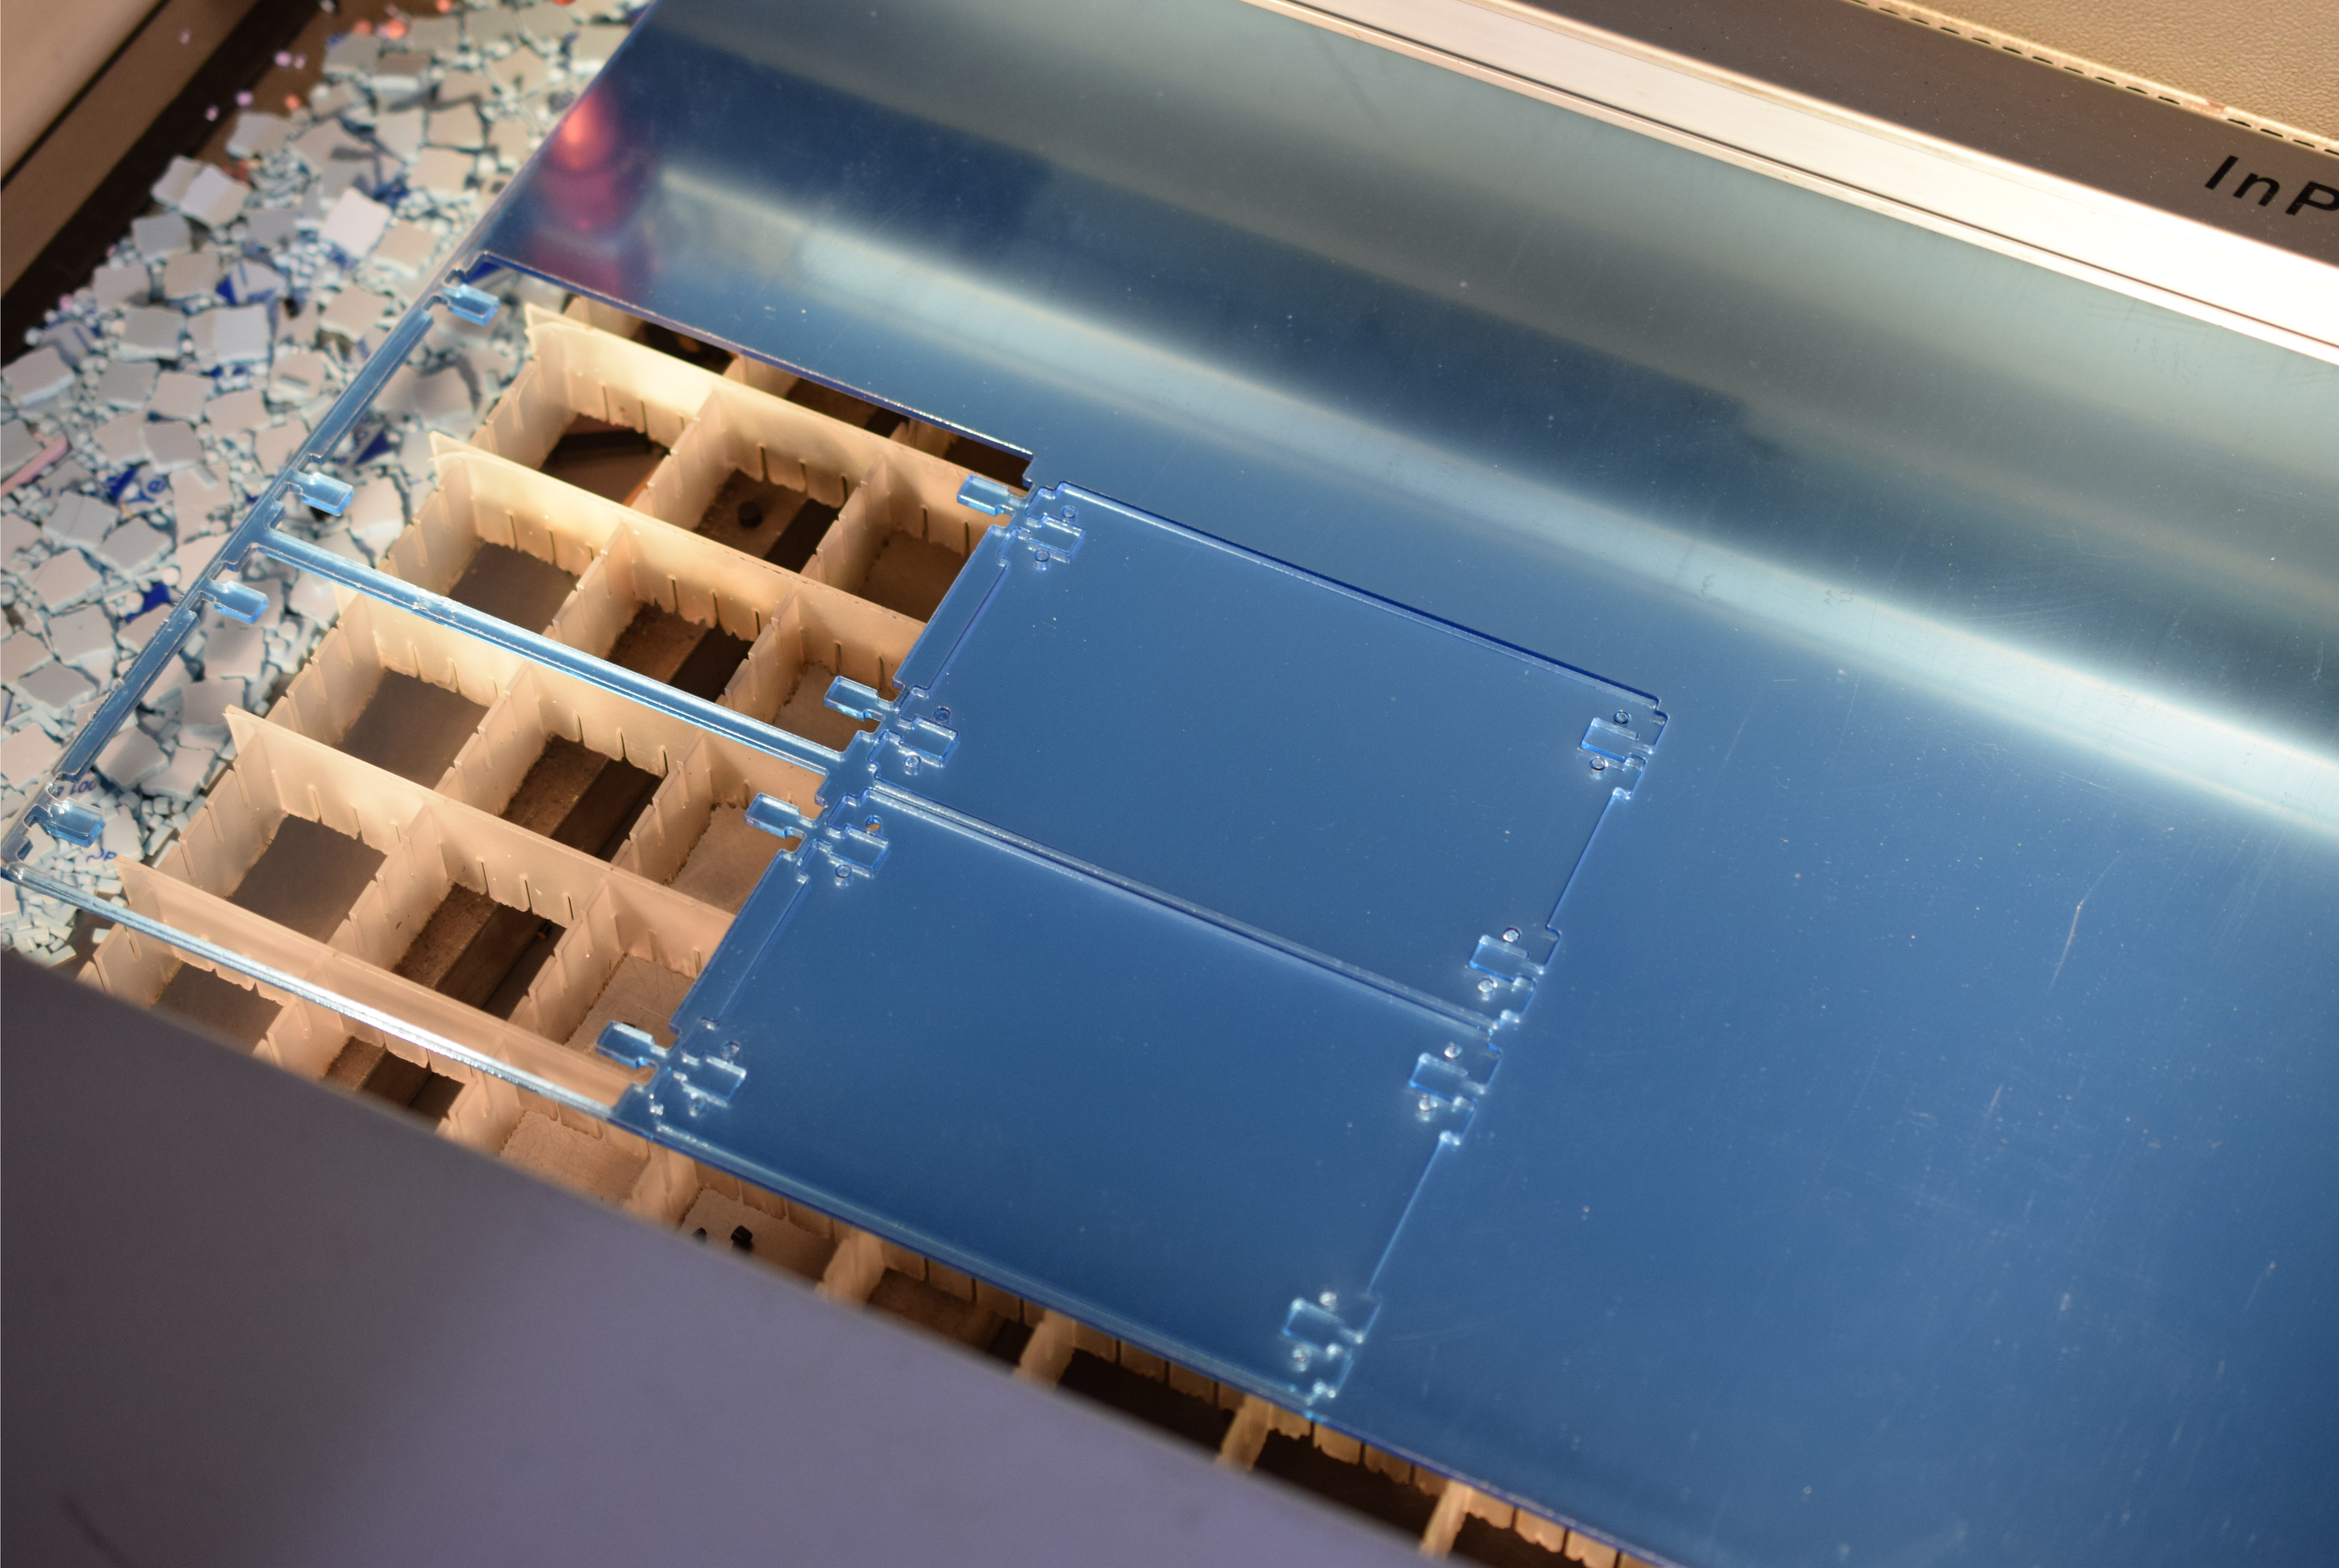
- Top Base Piece - Mirror Blue
- Bottom Base Piece - Gloss Black

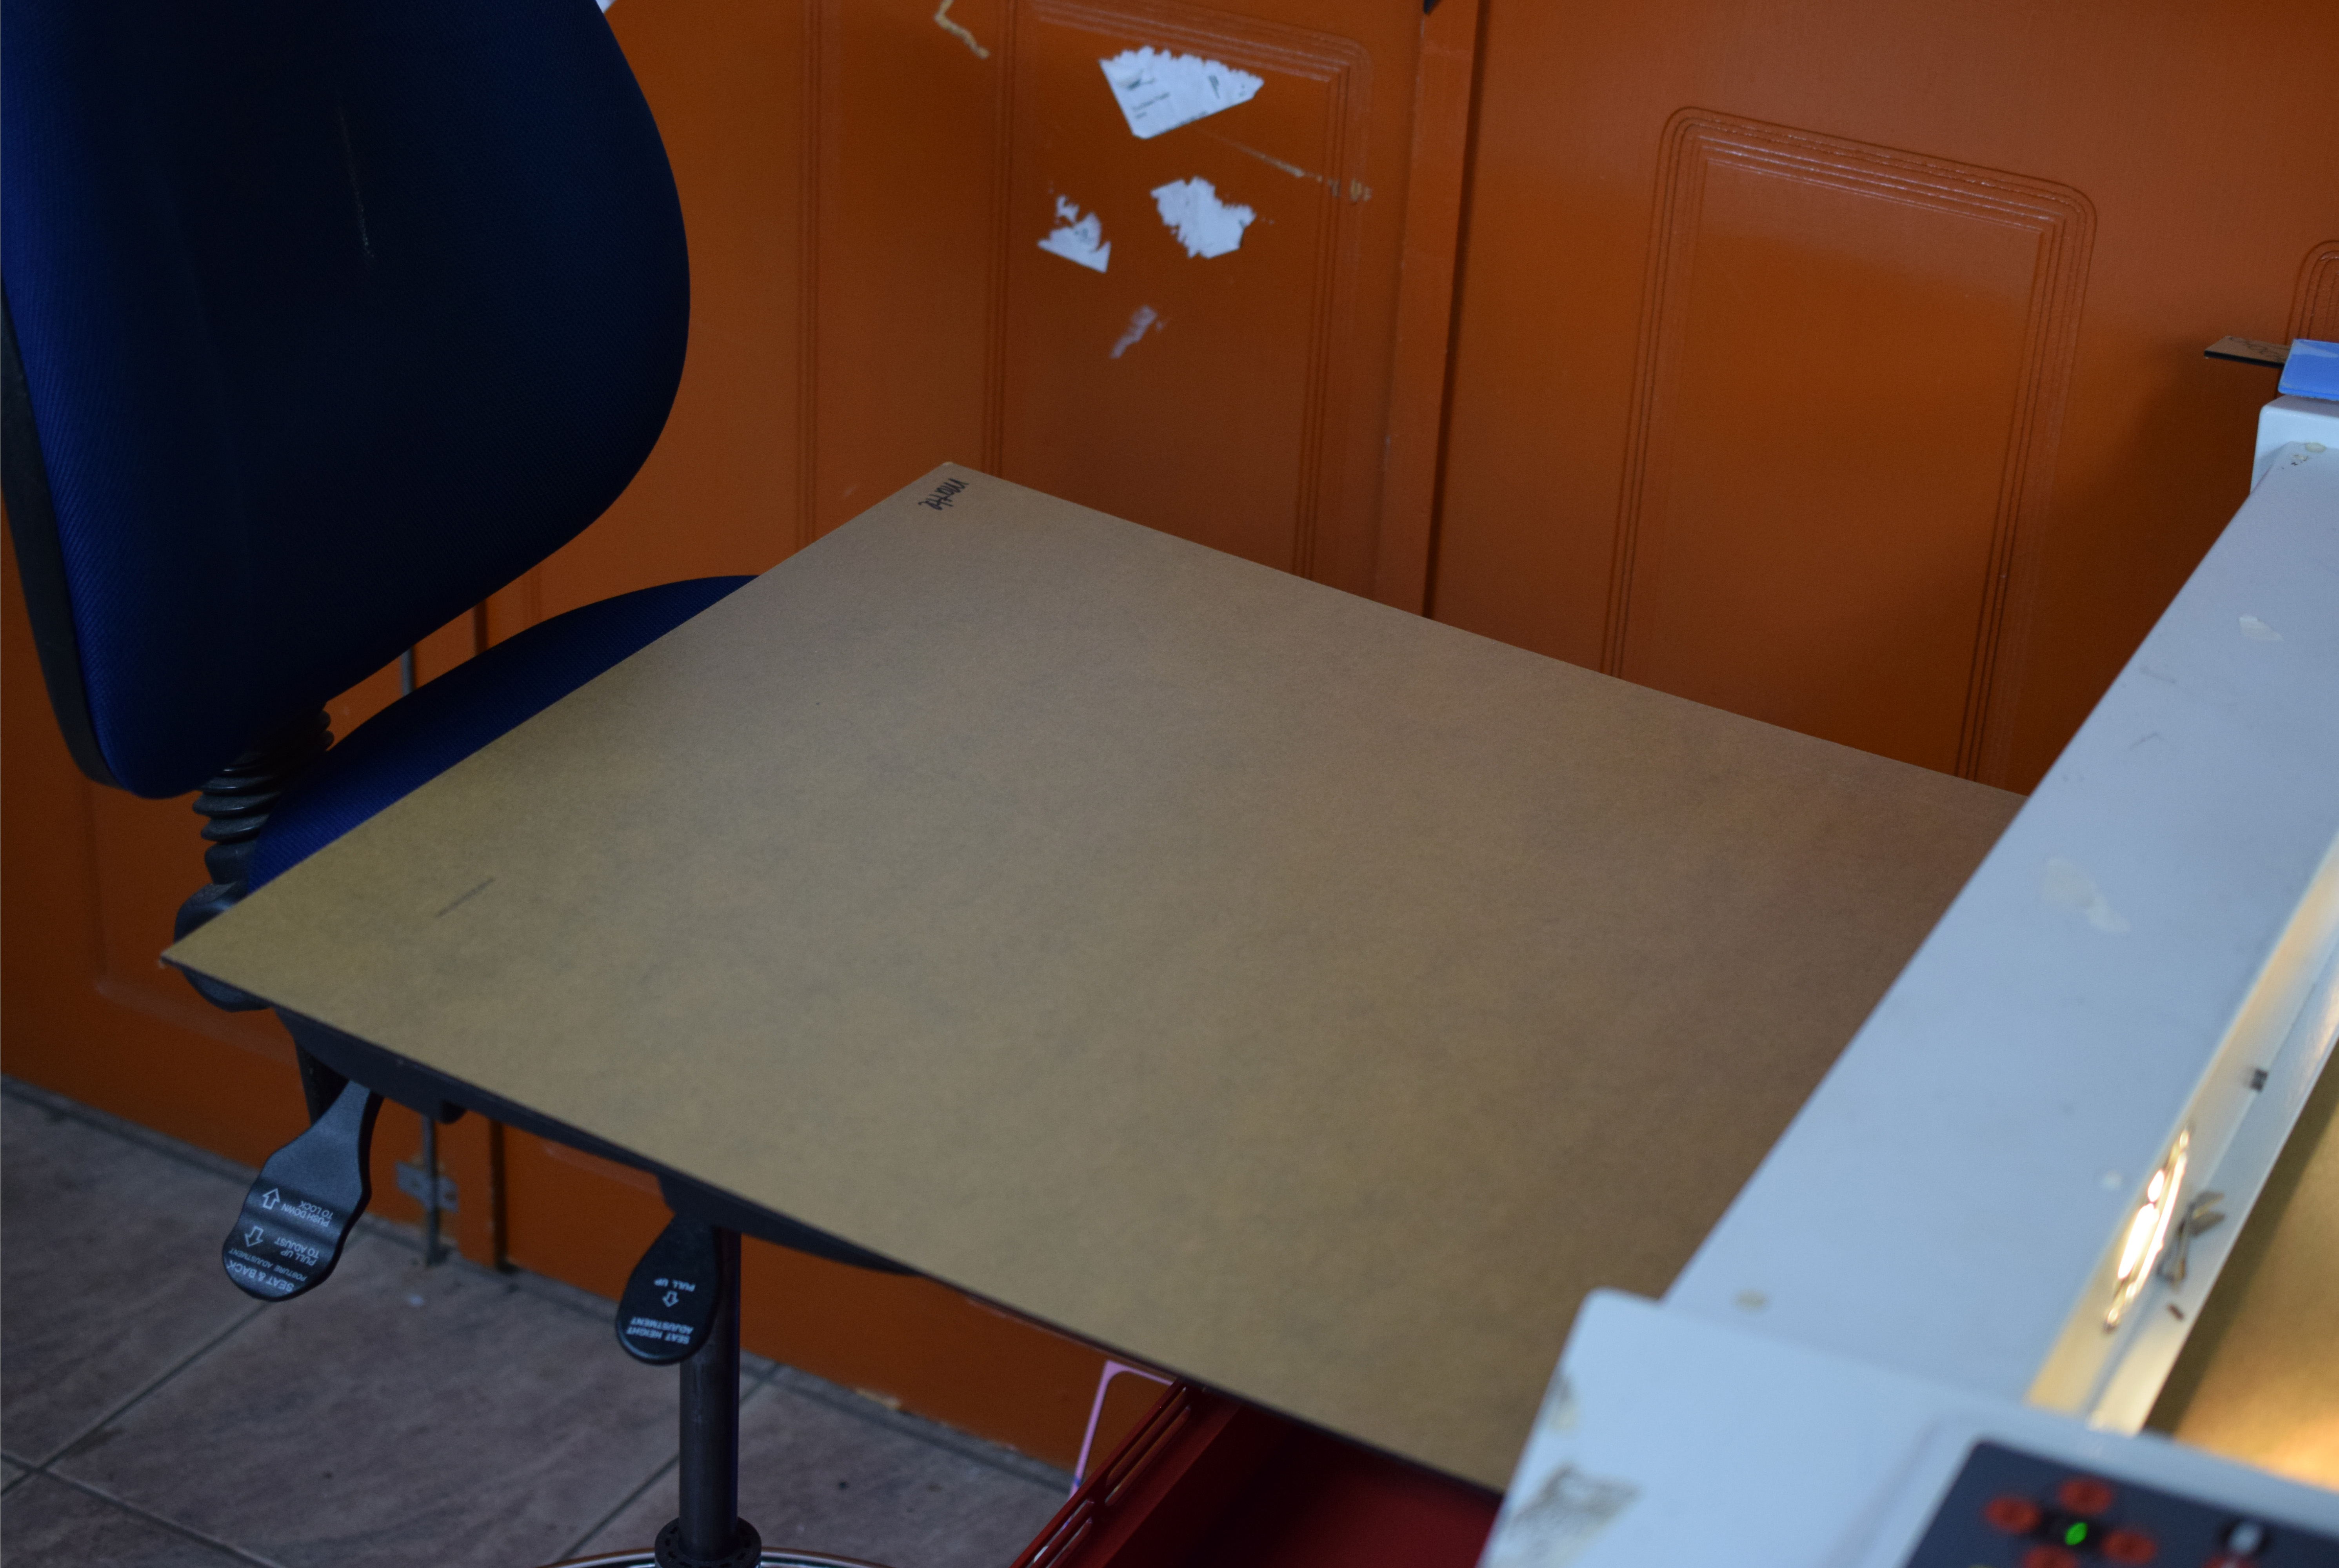
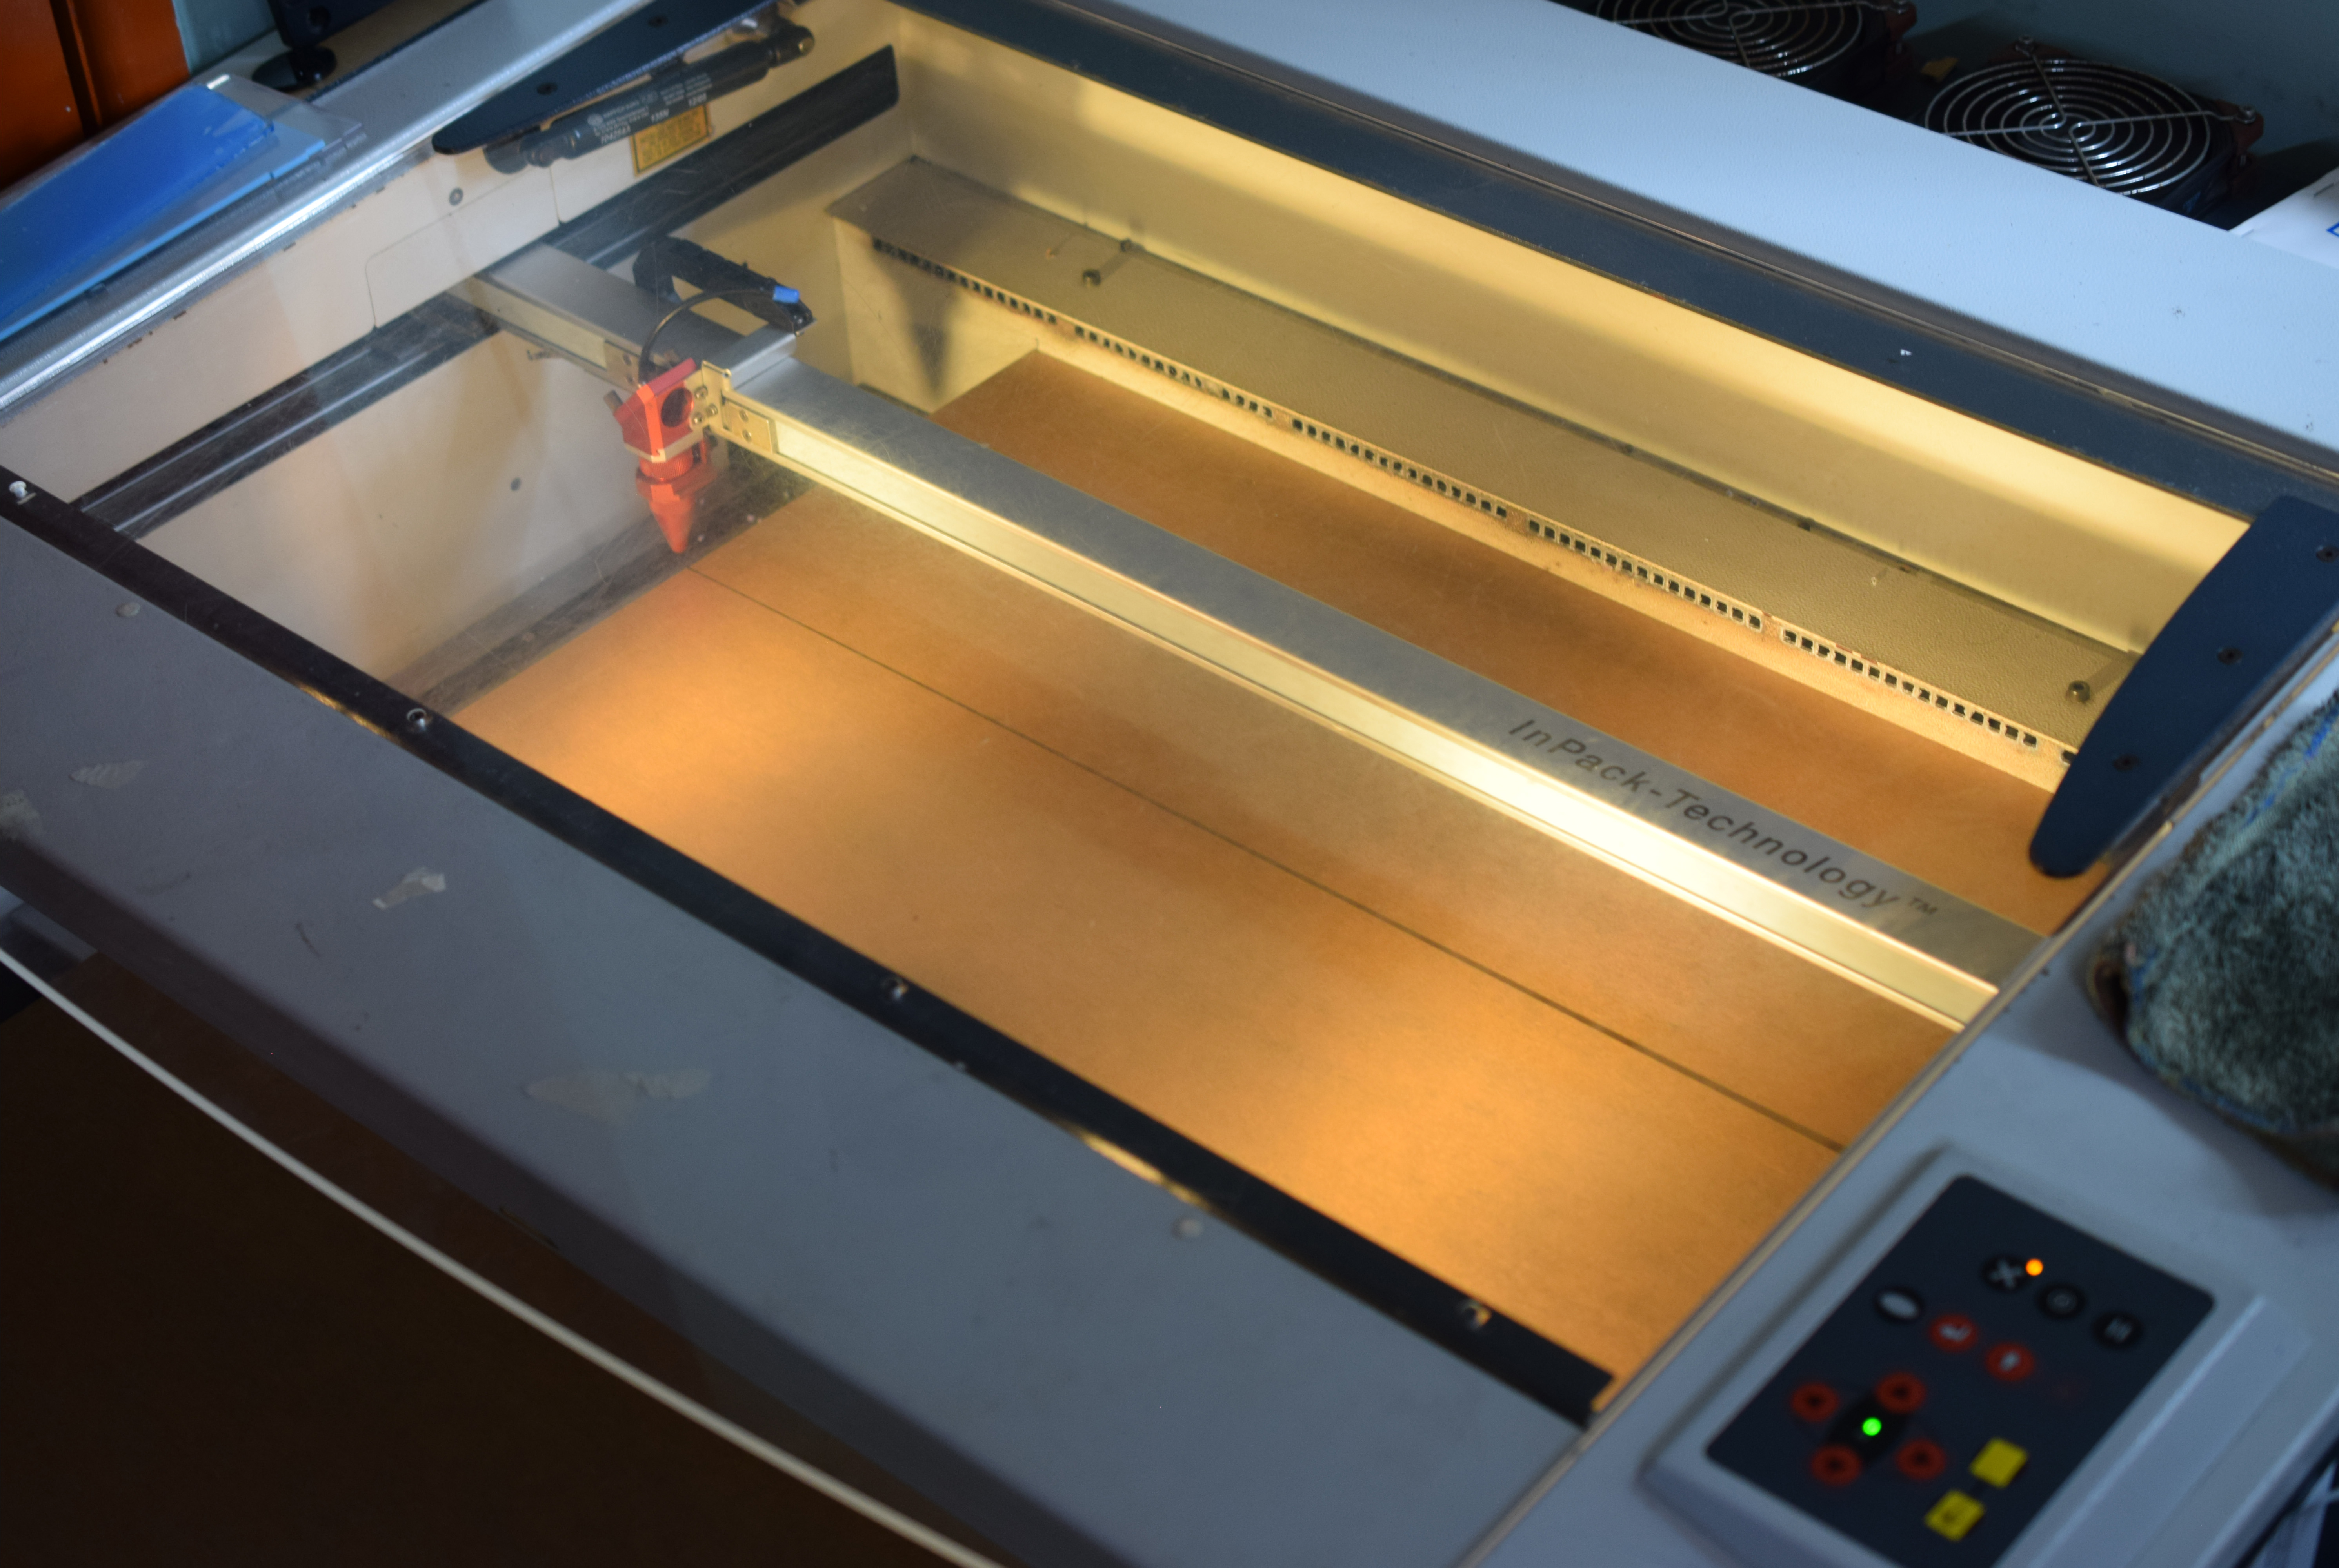
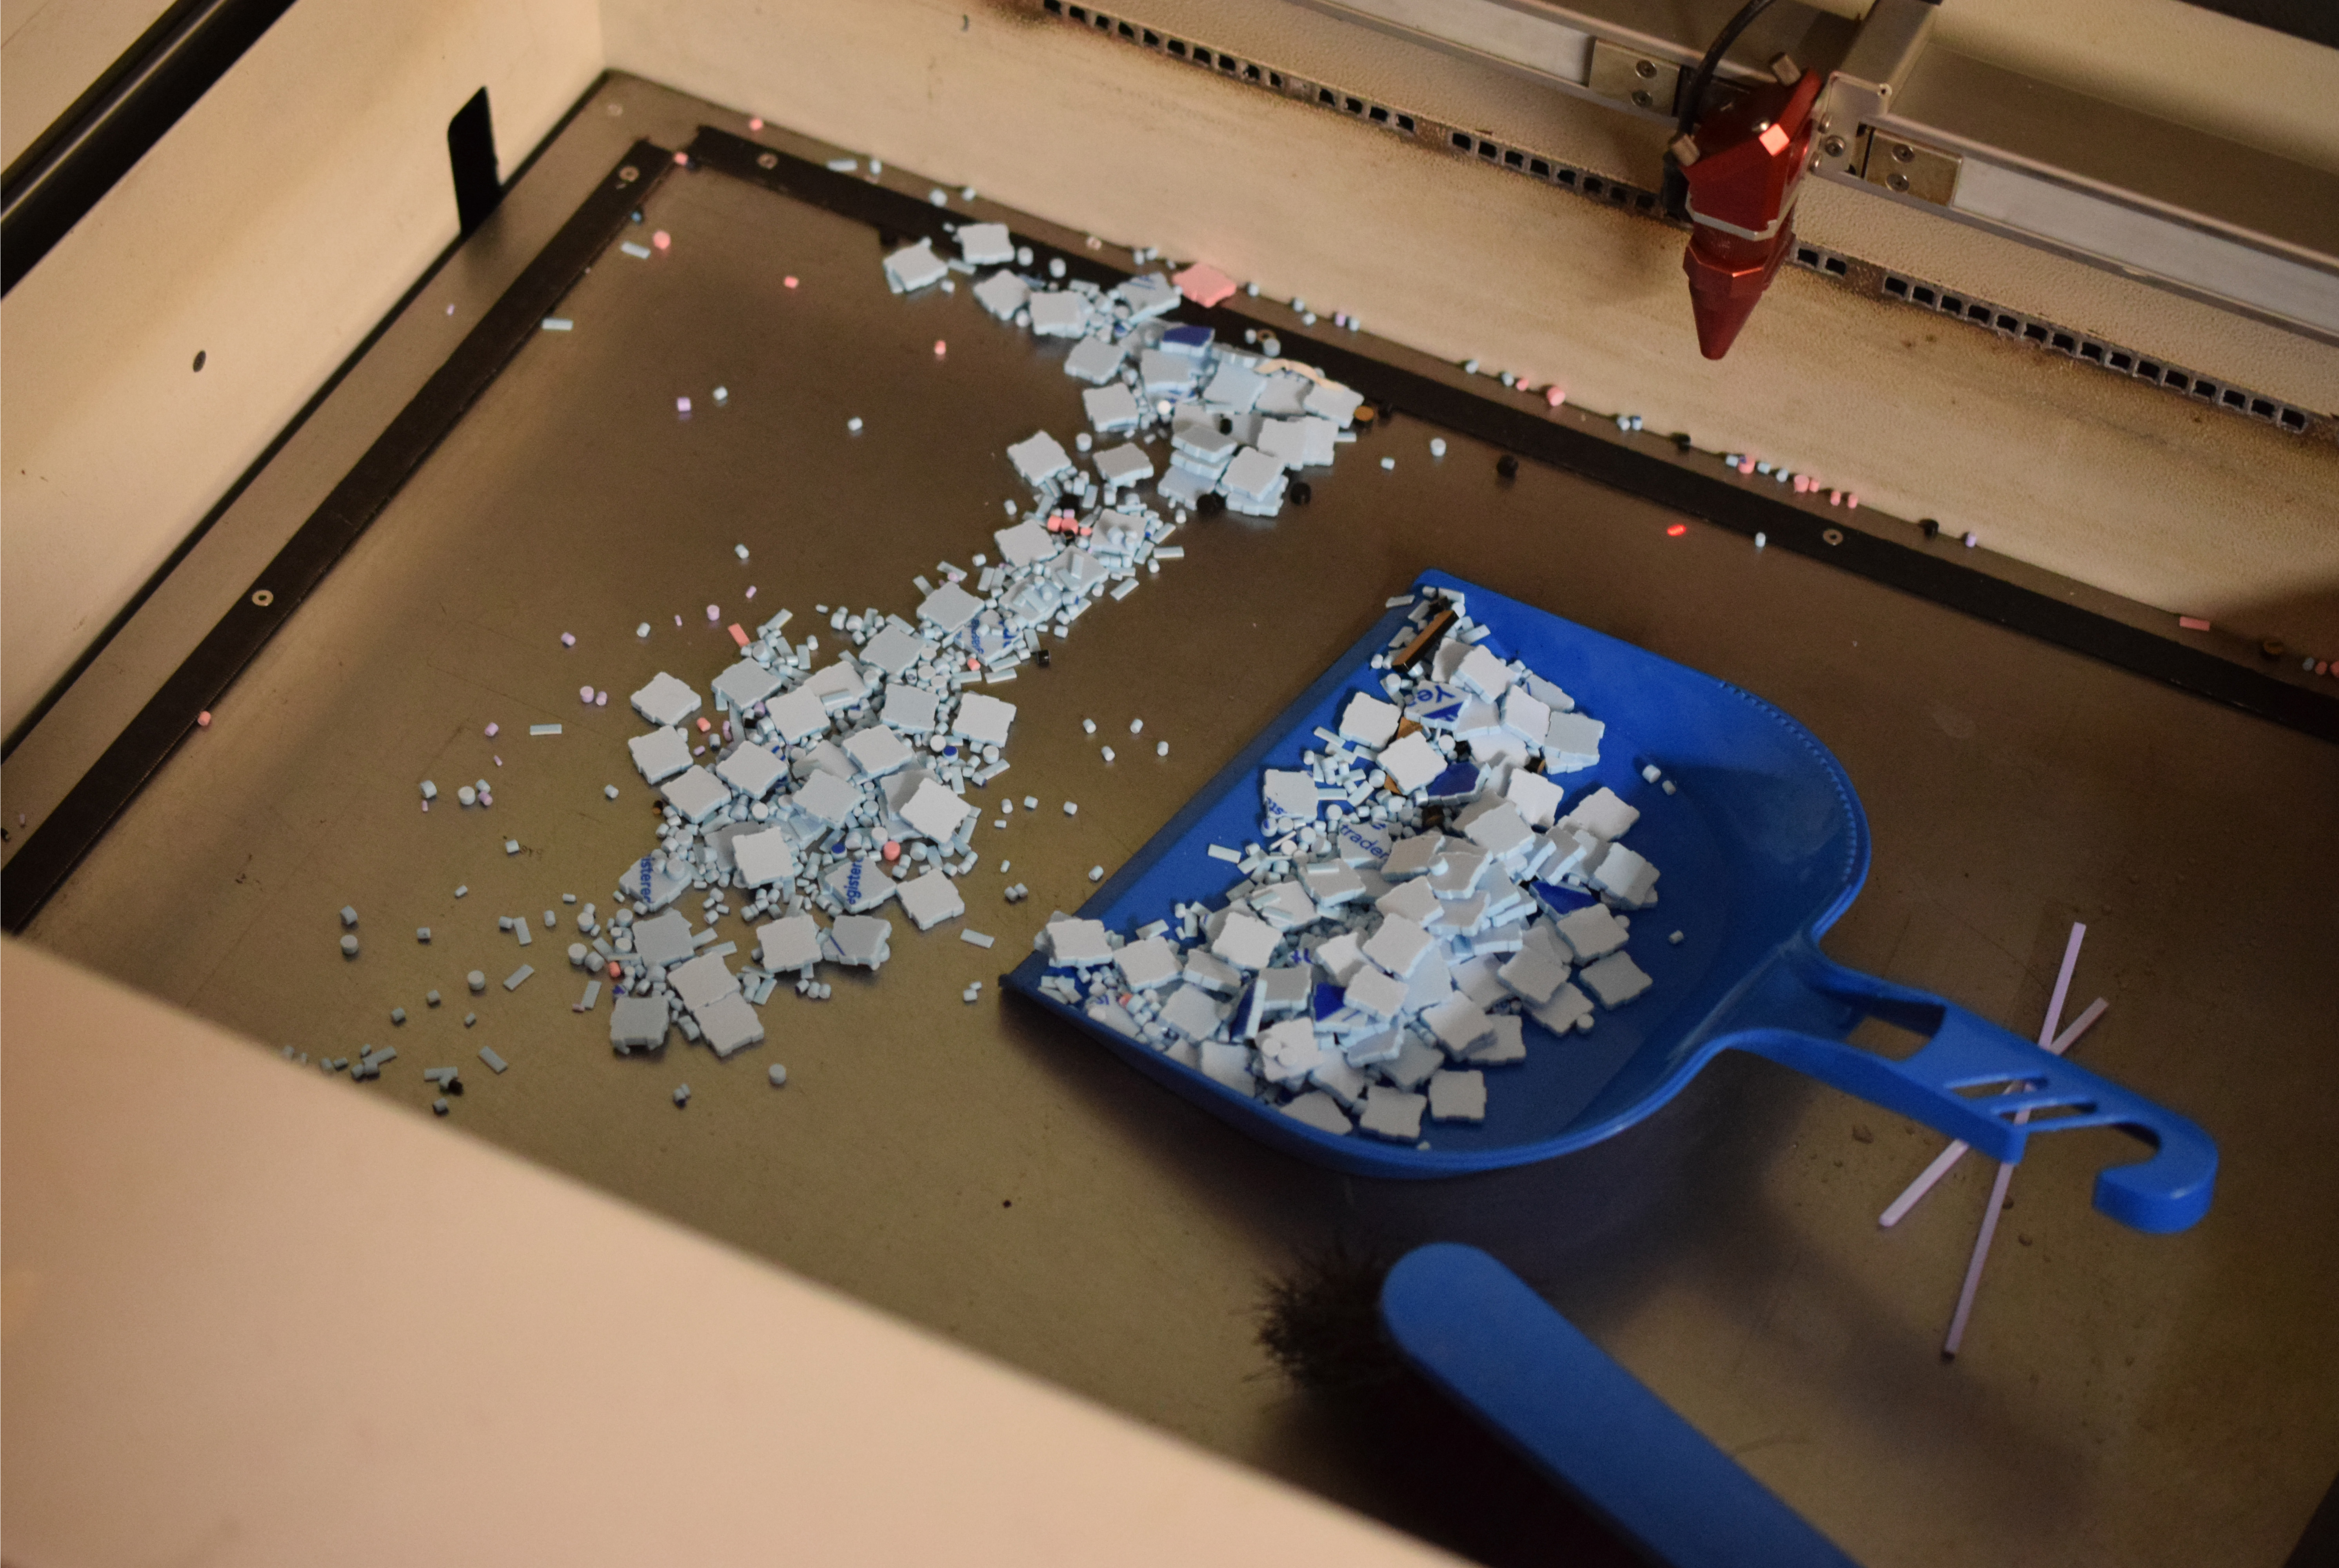
Cleaning Up the Off-Cuts
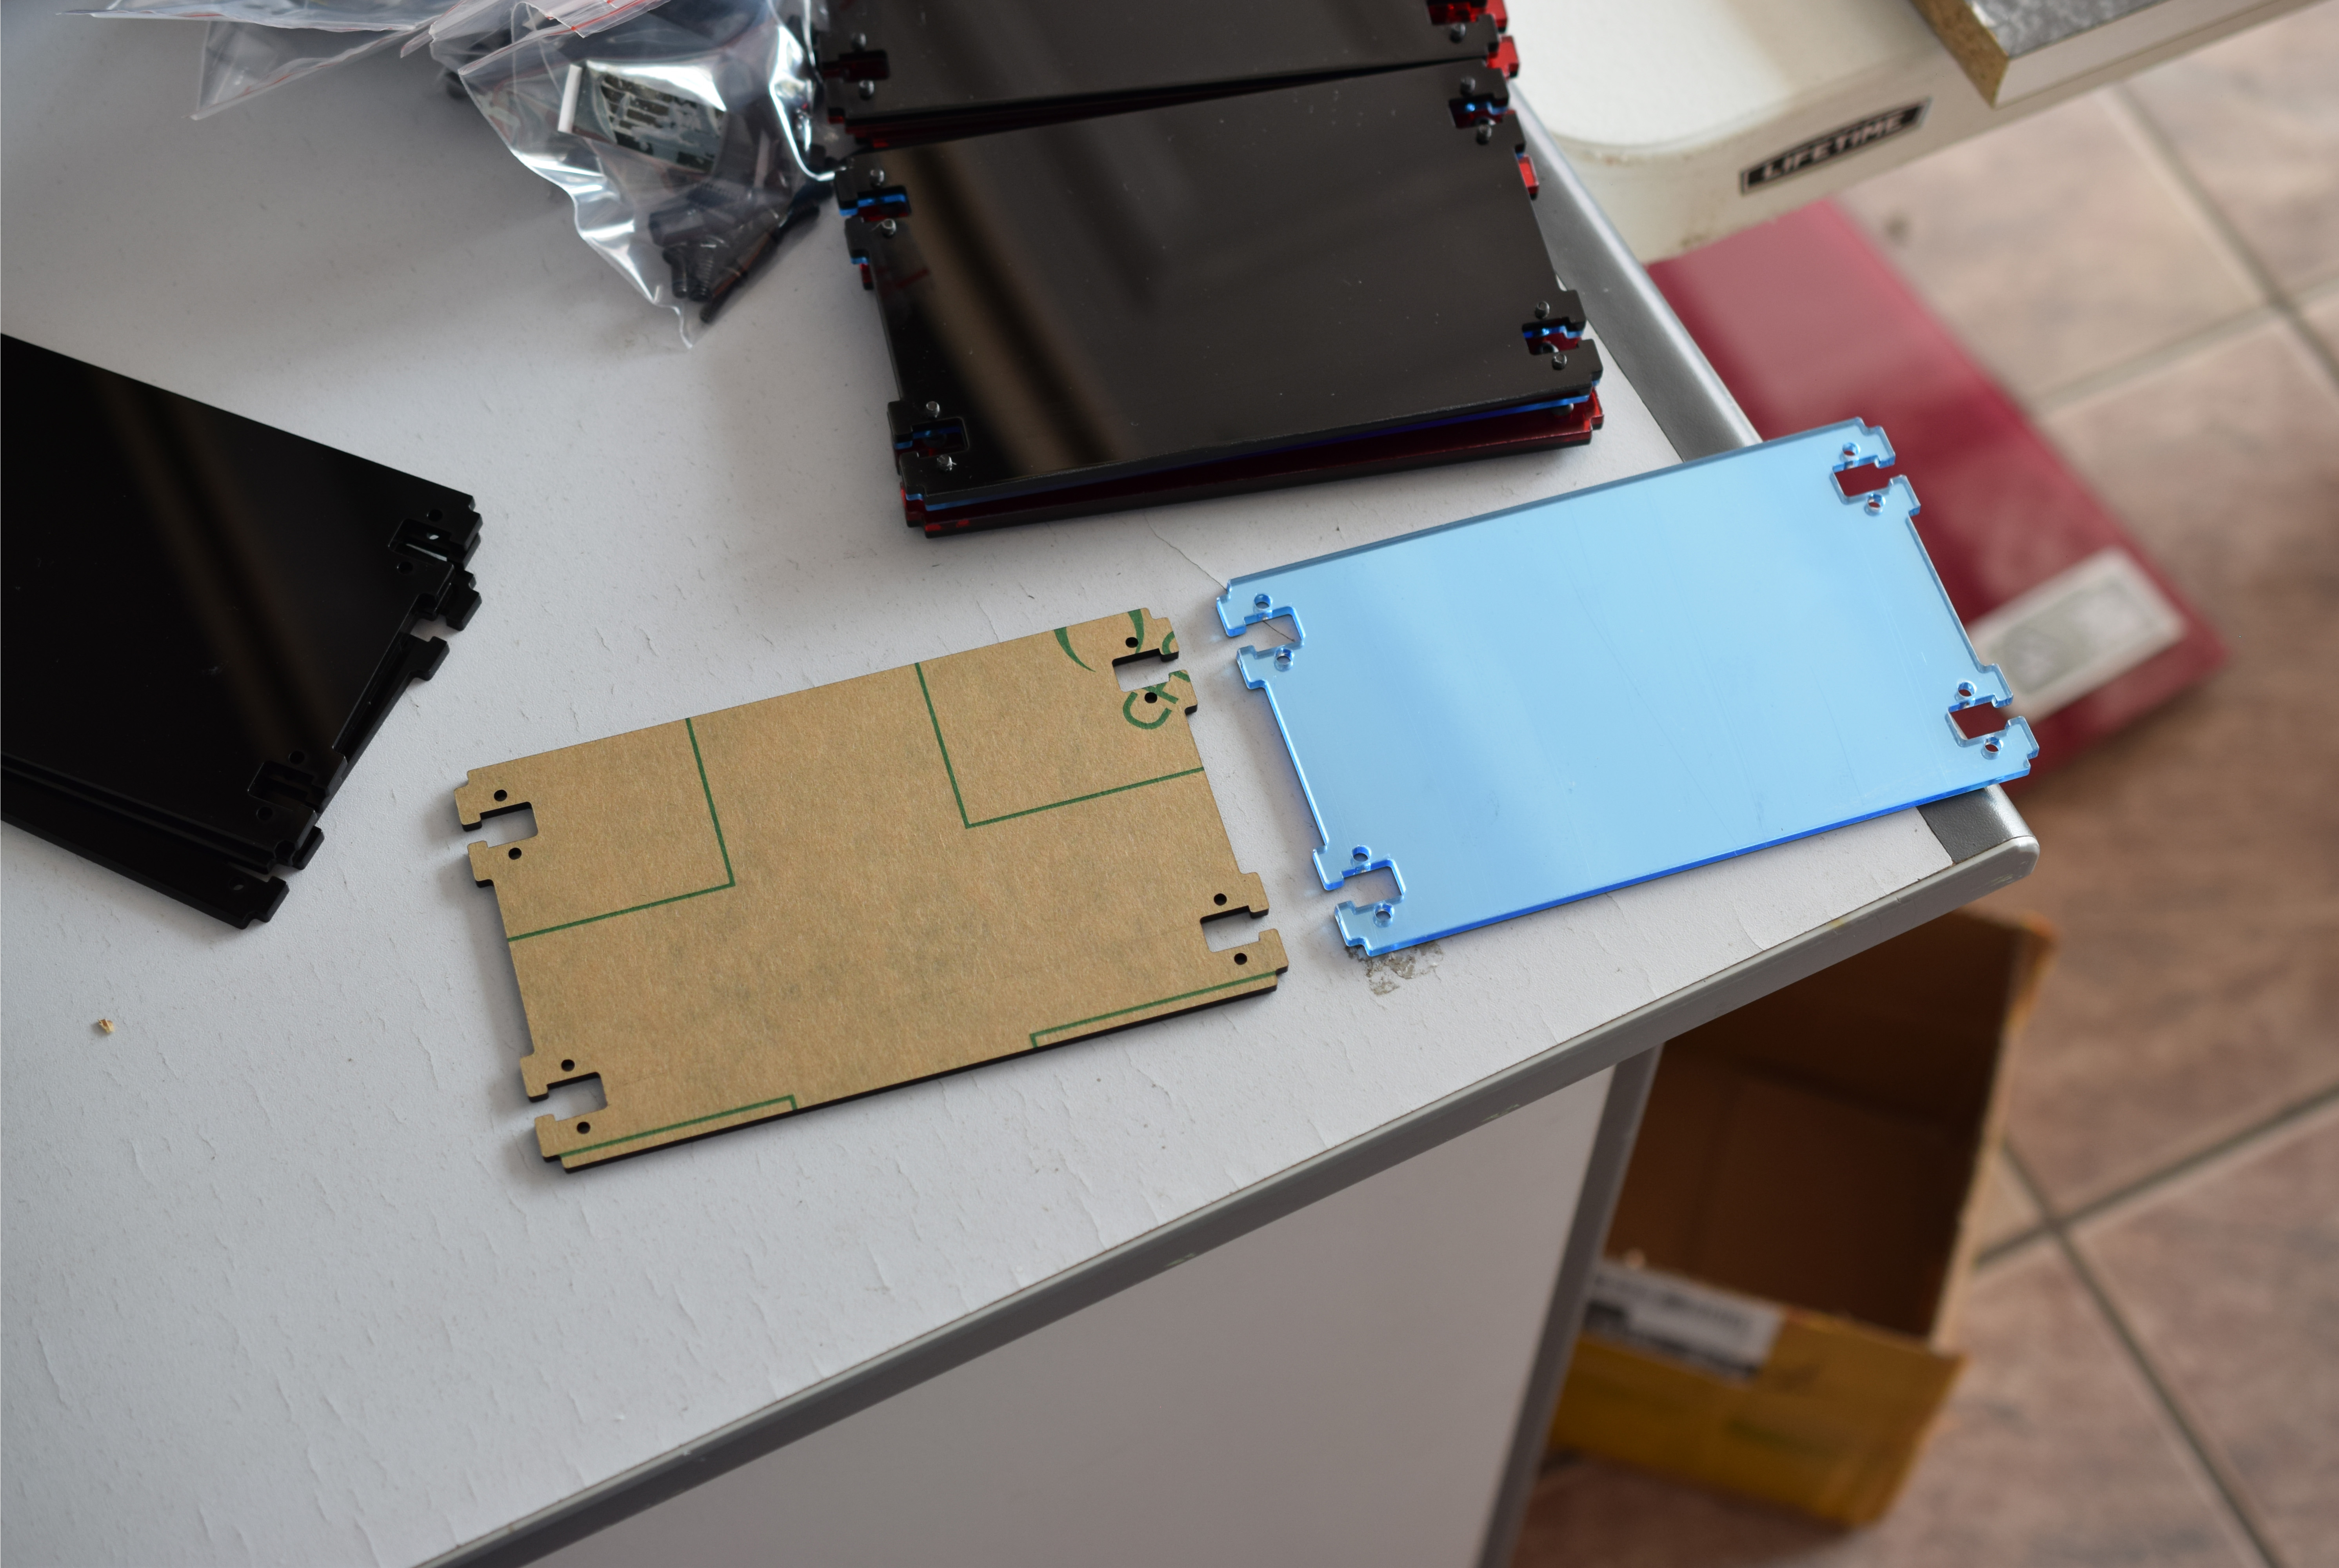
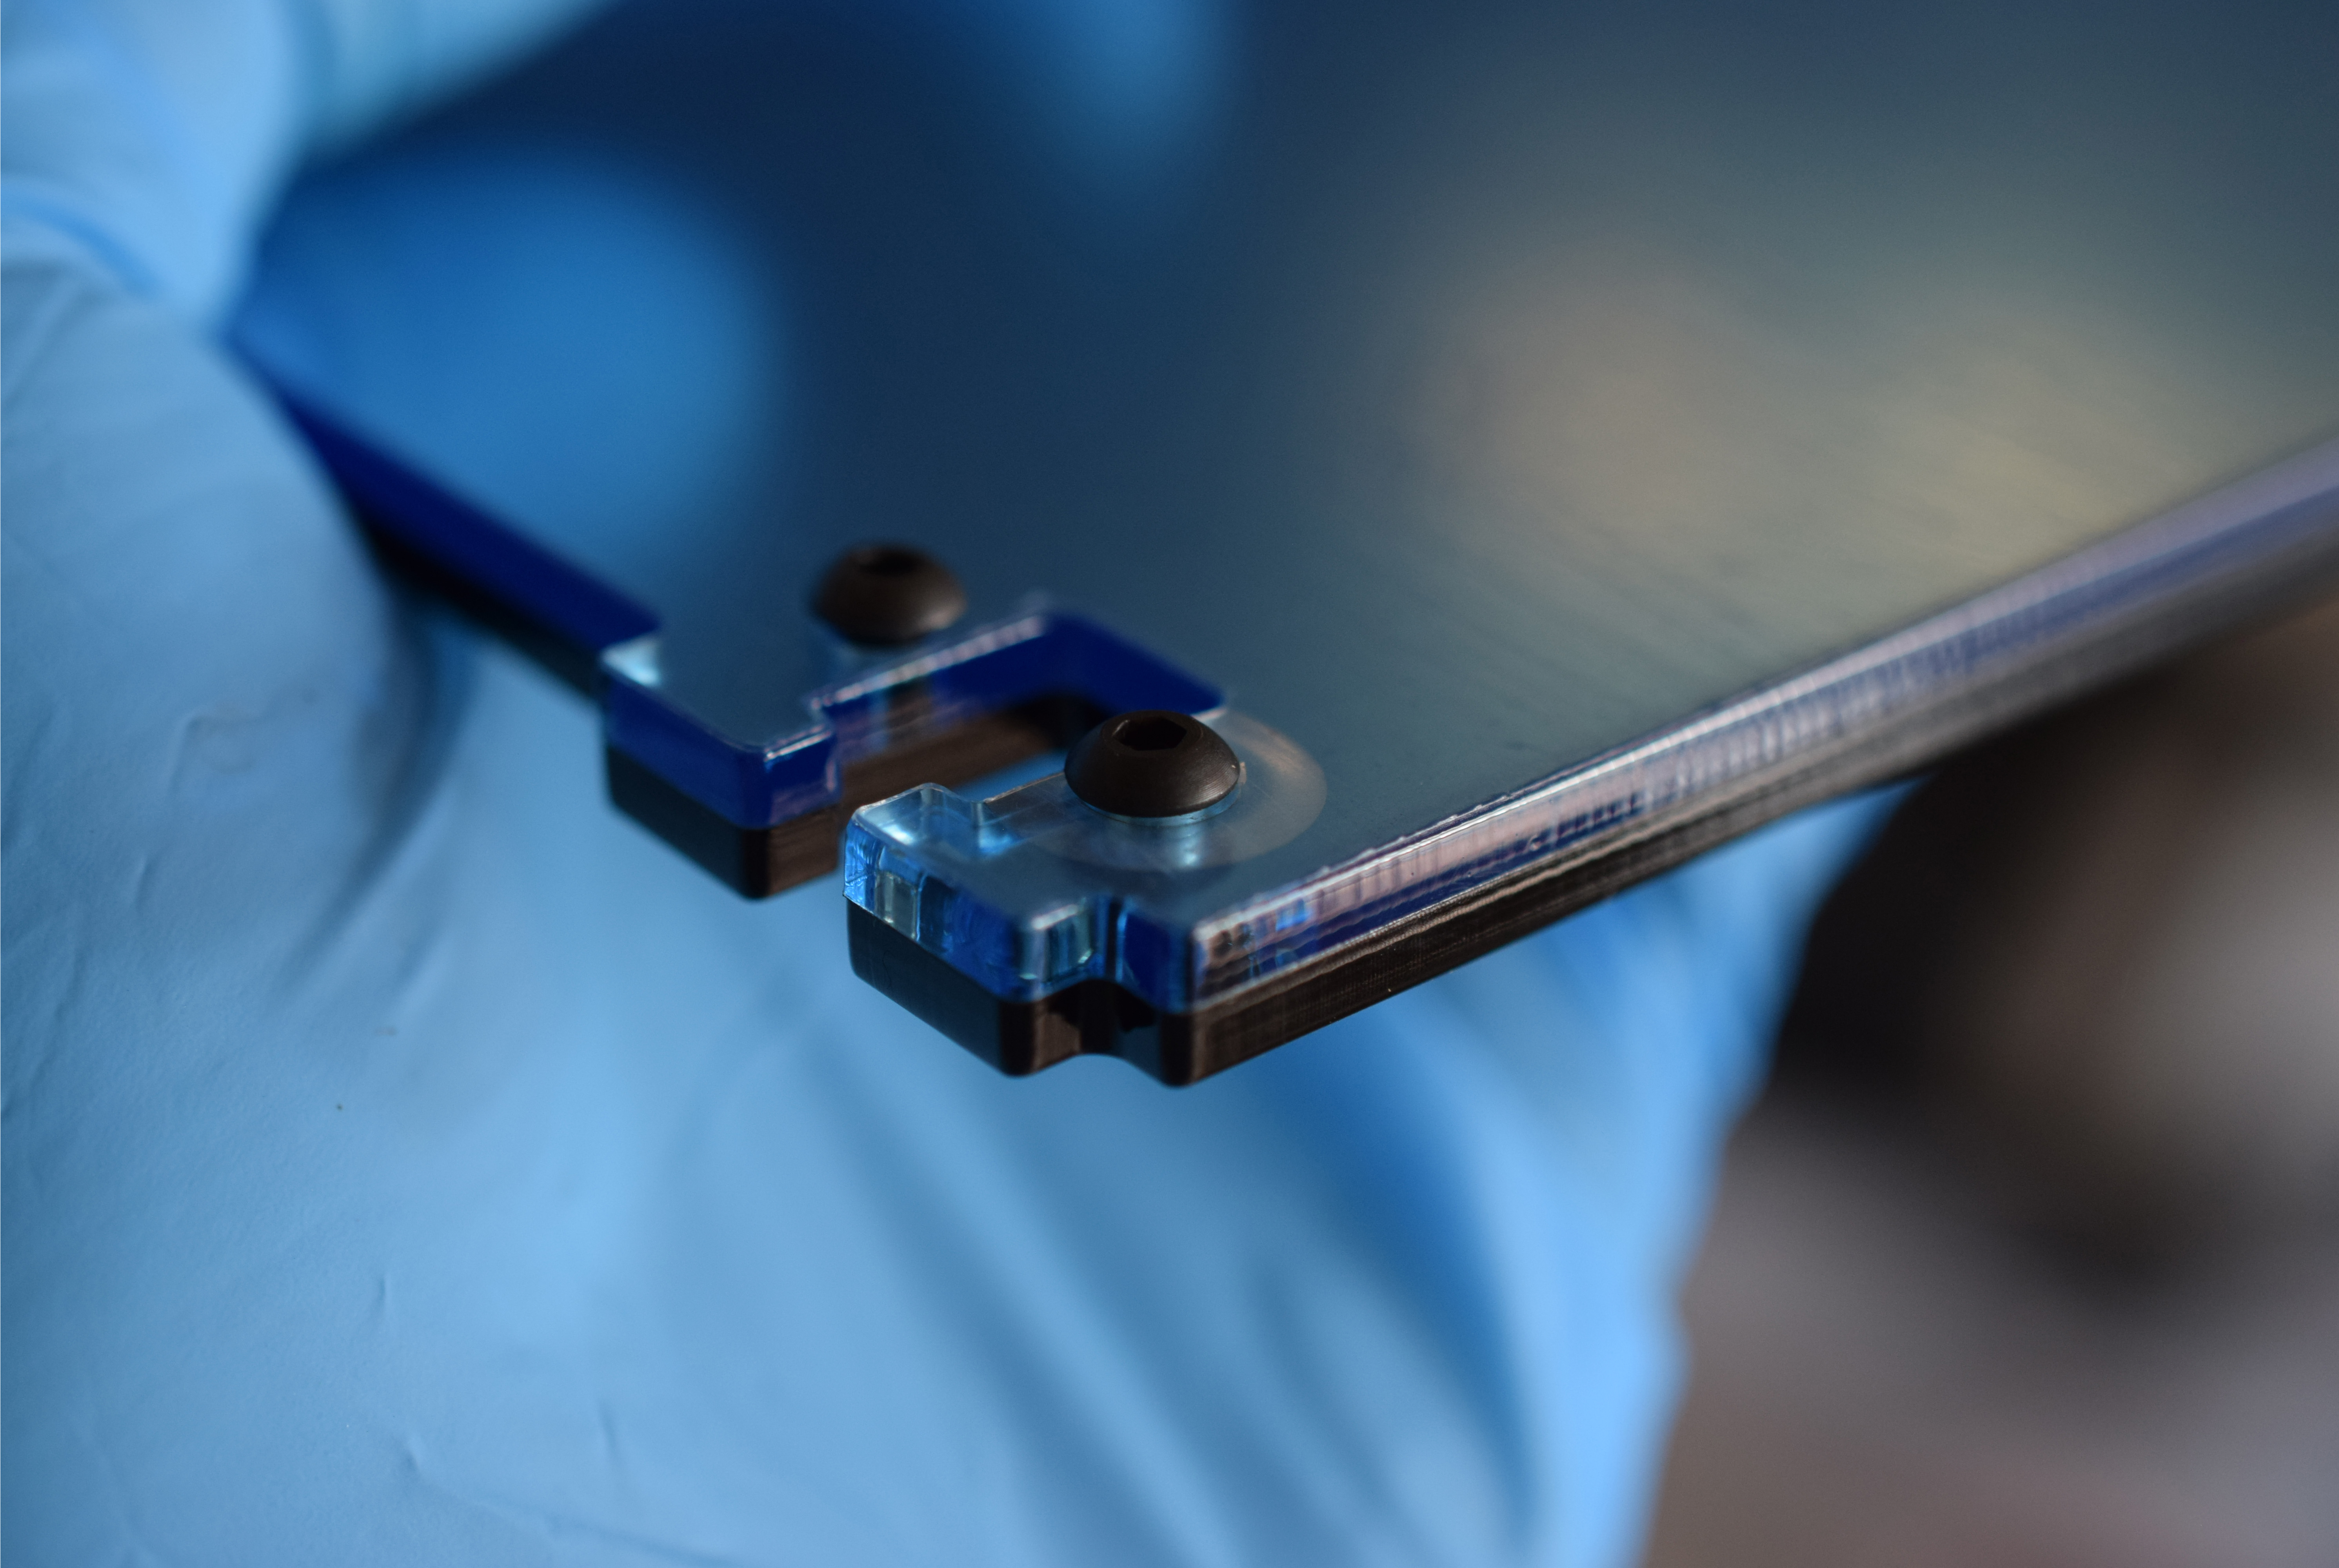
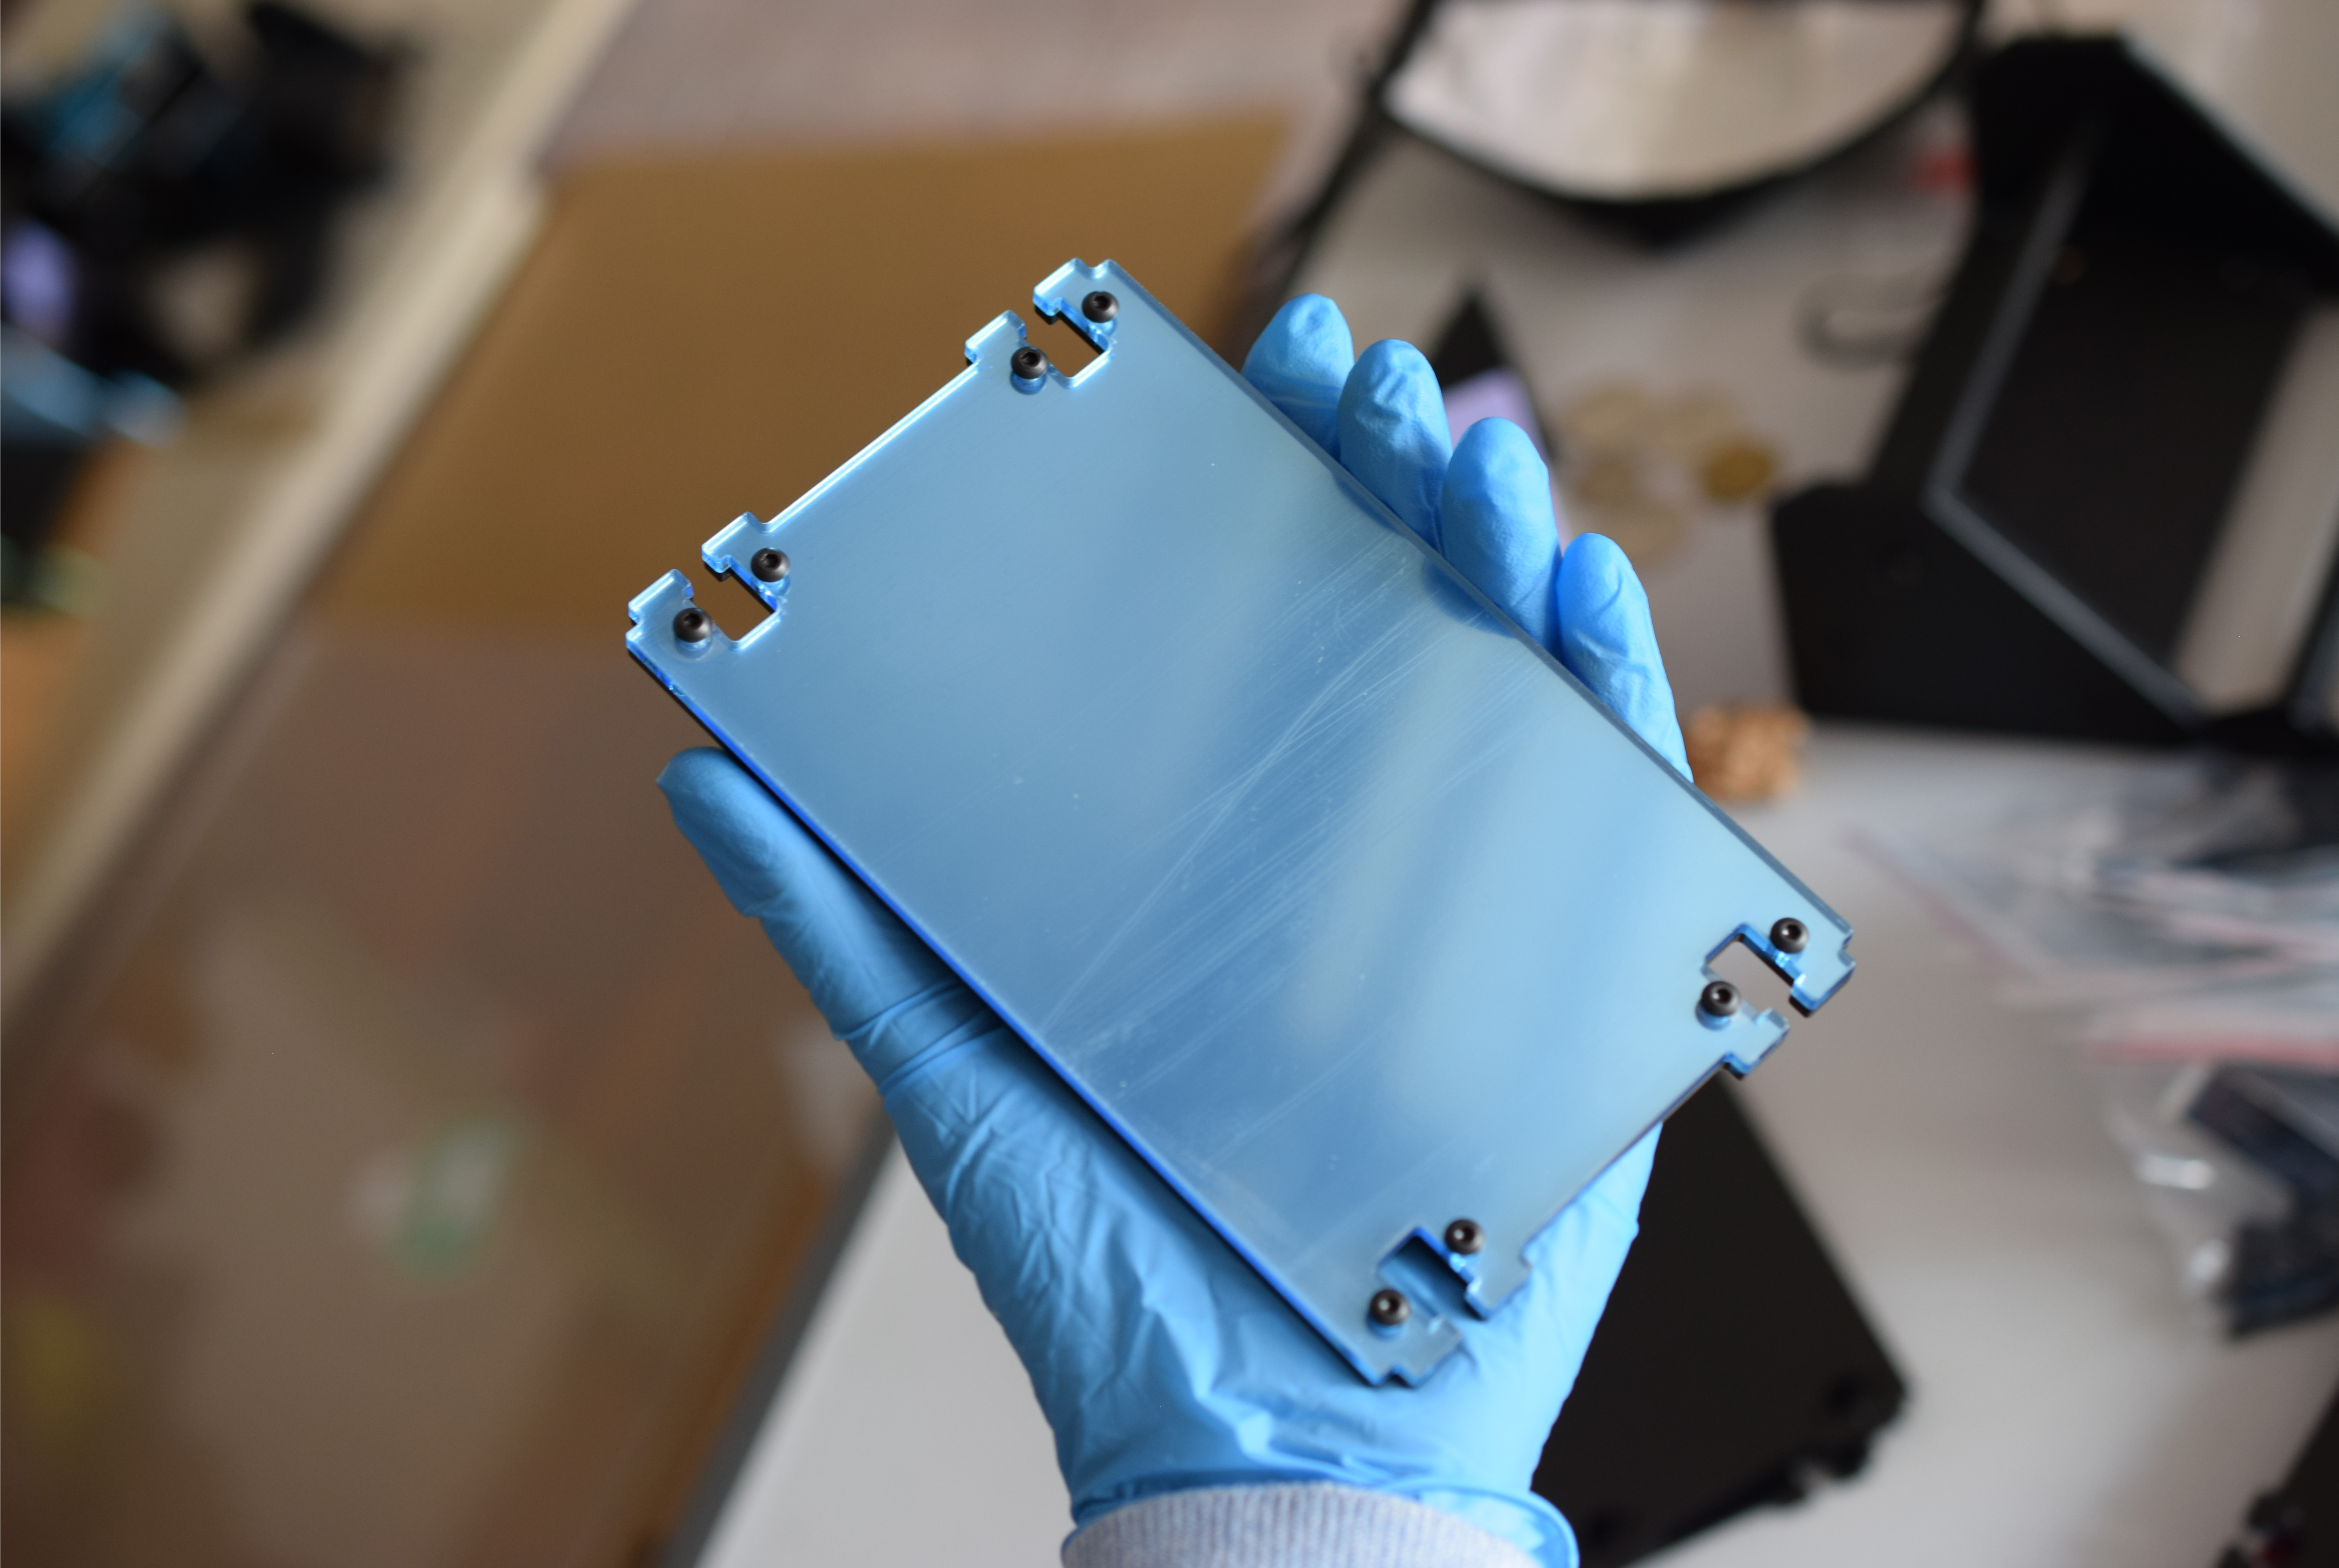
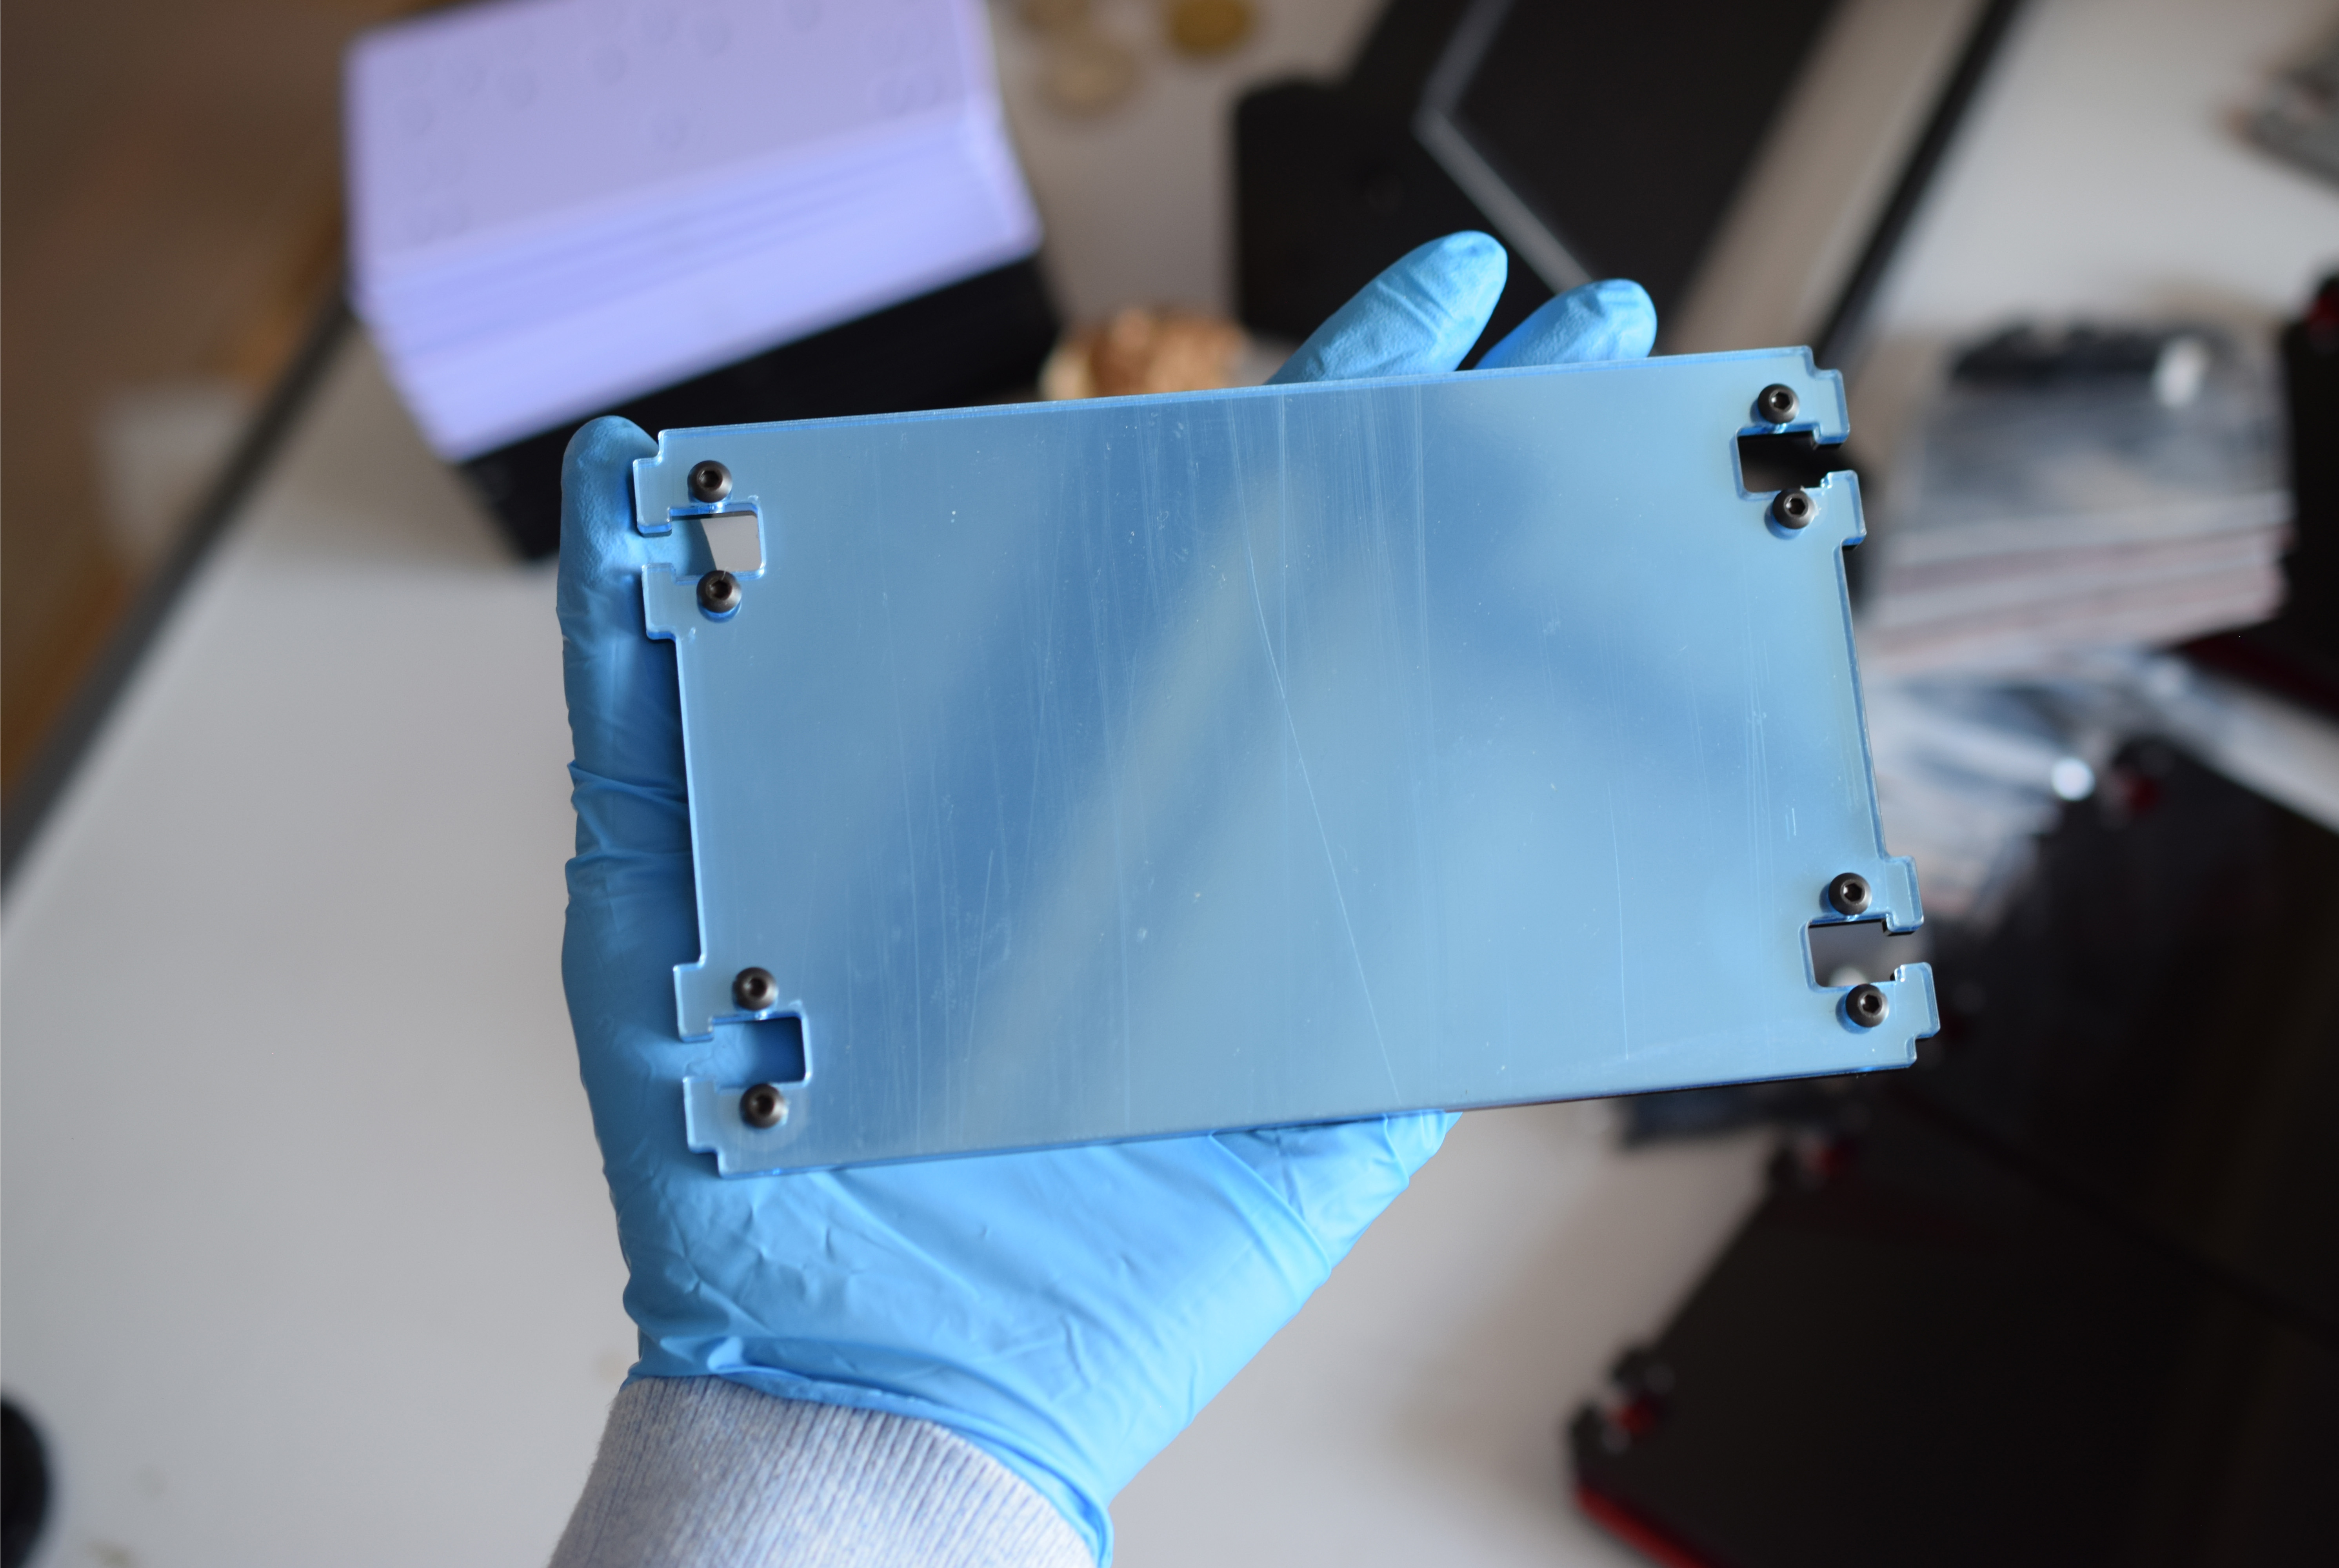
Assembling the Base Piece
For all the Stands I sell, I assemble the base pieces to make life easier for the end-user.
Admittedly , it is time consuming because there are several steps required:
- Peel off the protective film
- Align pieces in the correct orientation
- Install 8x M3 Screws into the acrylic

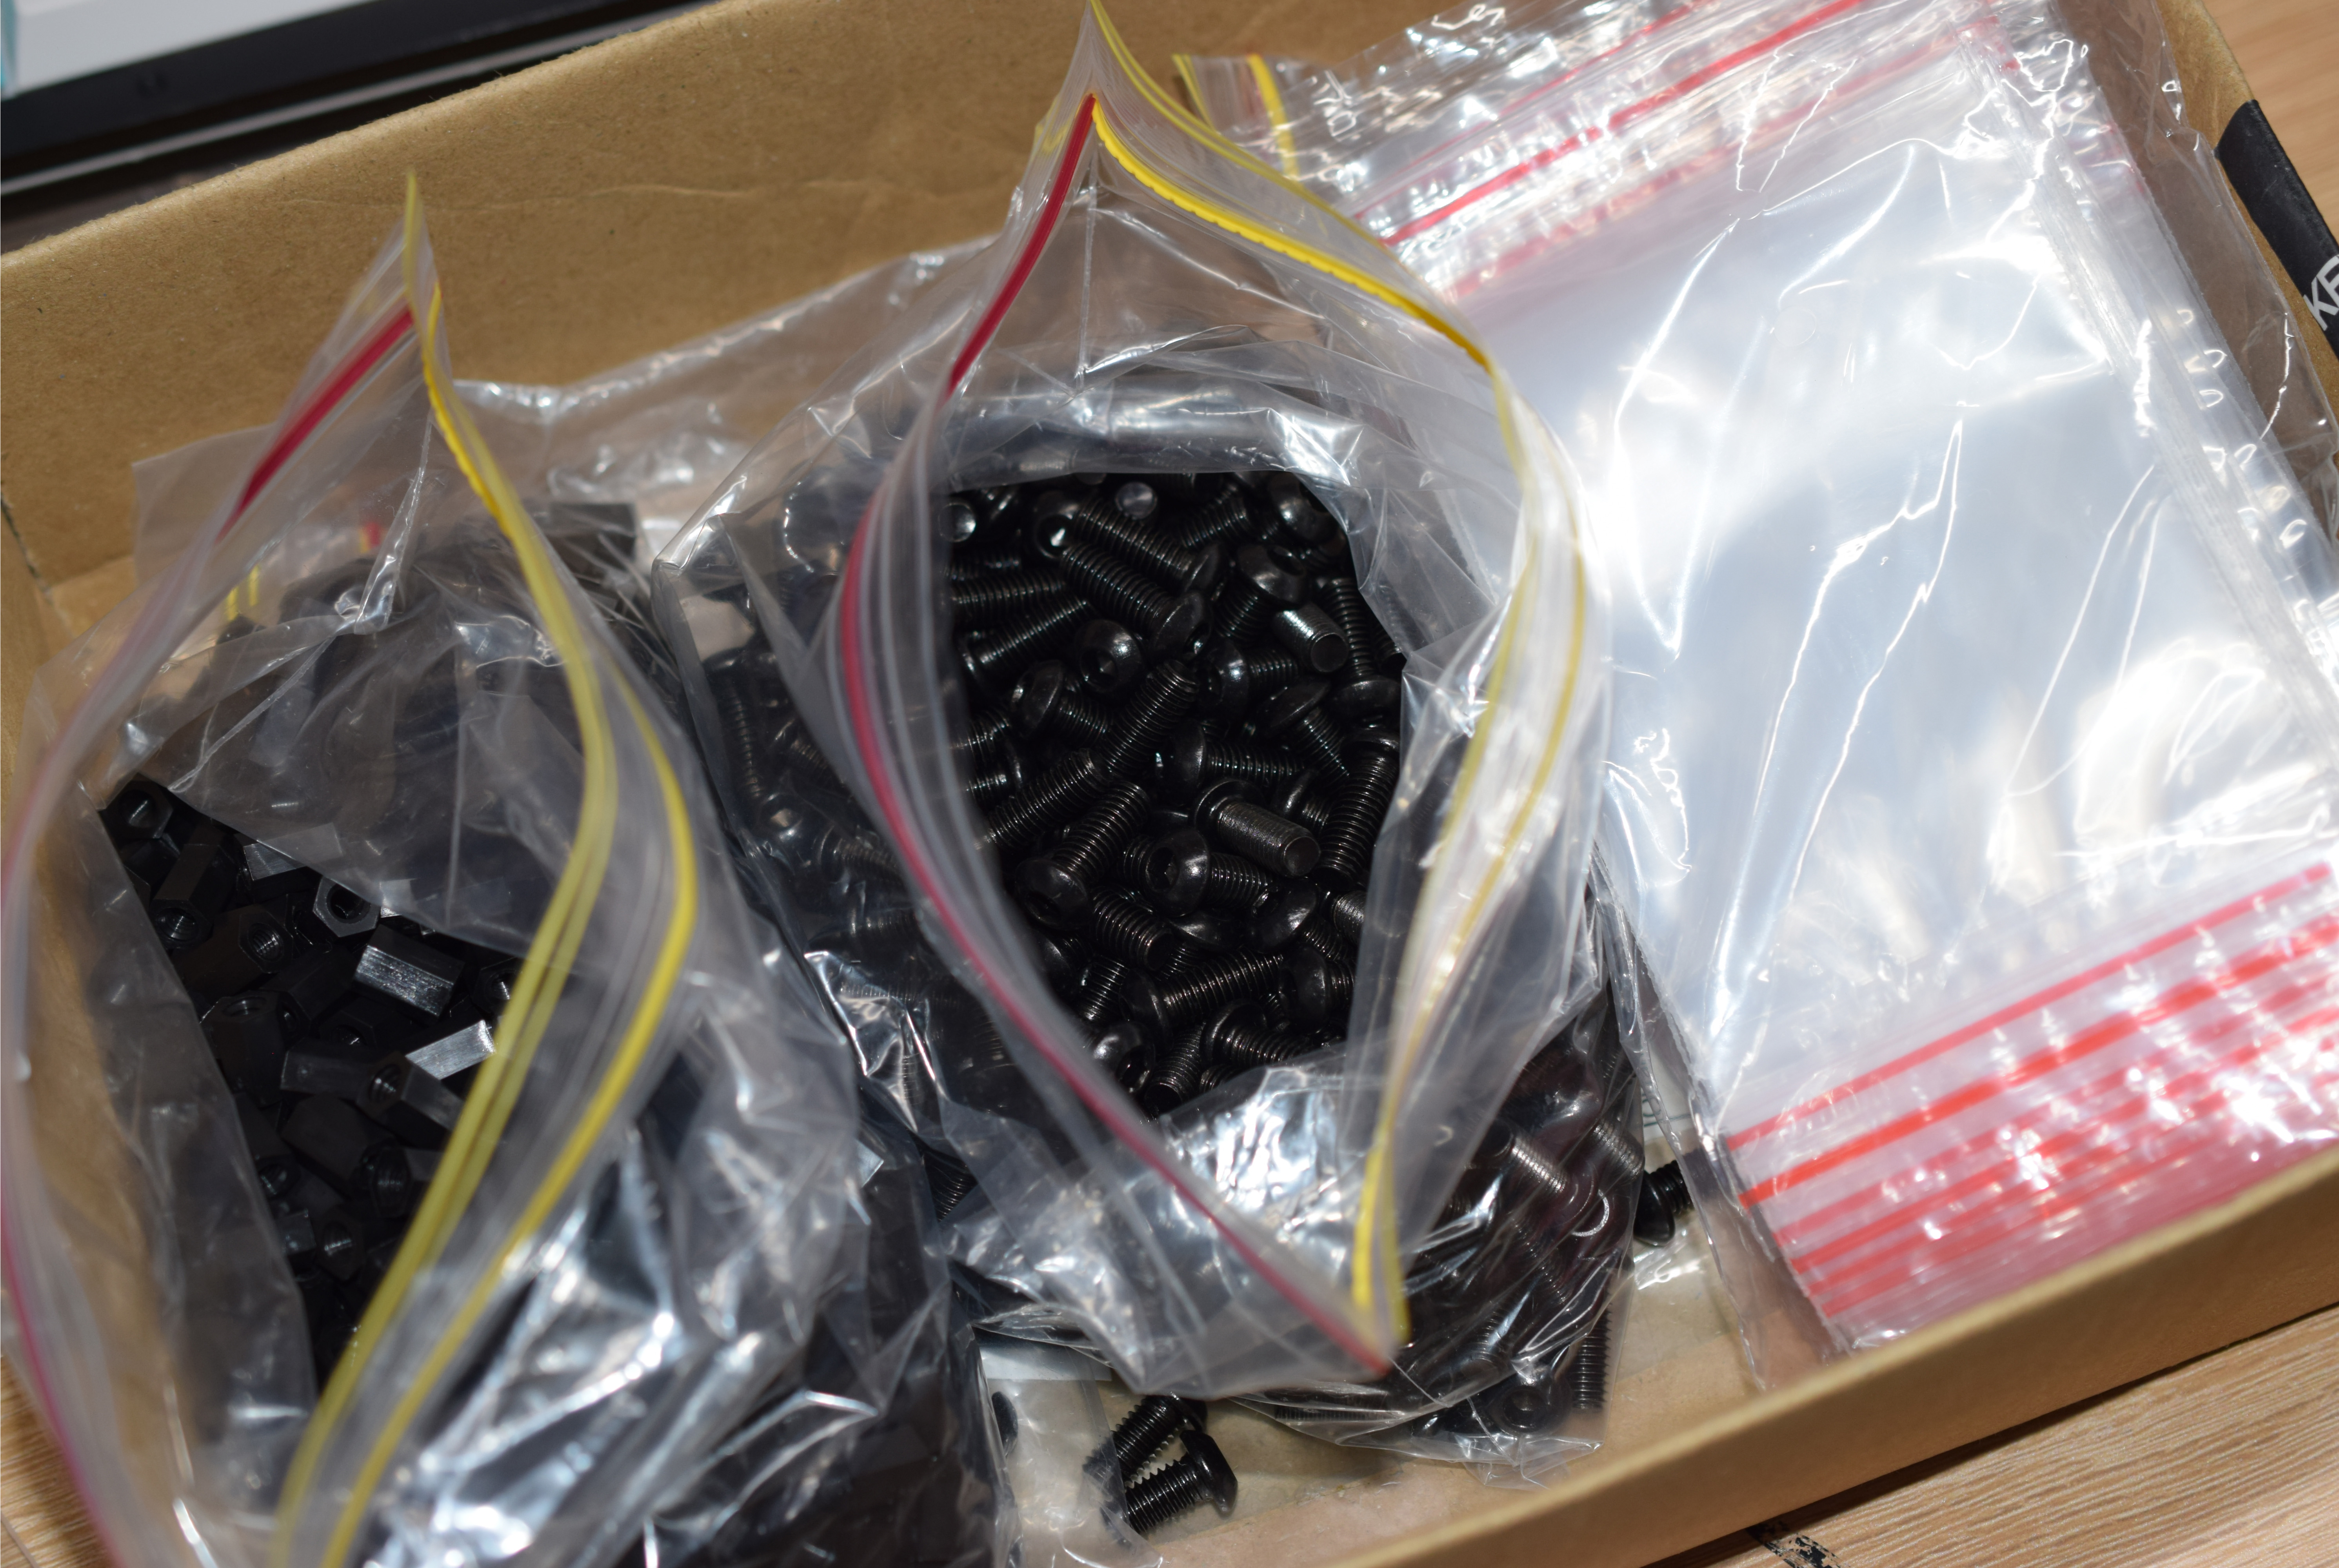
Packing the Hardware
Quite a bit of hardware needs to be arranged; I usually do this while the Laser Machine is running.
Packing and Counting:
- Adhesive Rubber Padding - Pack of Ten
- M4 Screws - Pack of Four
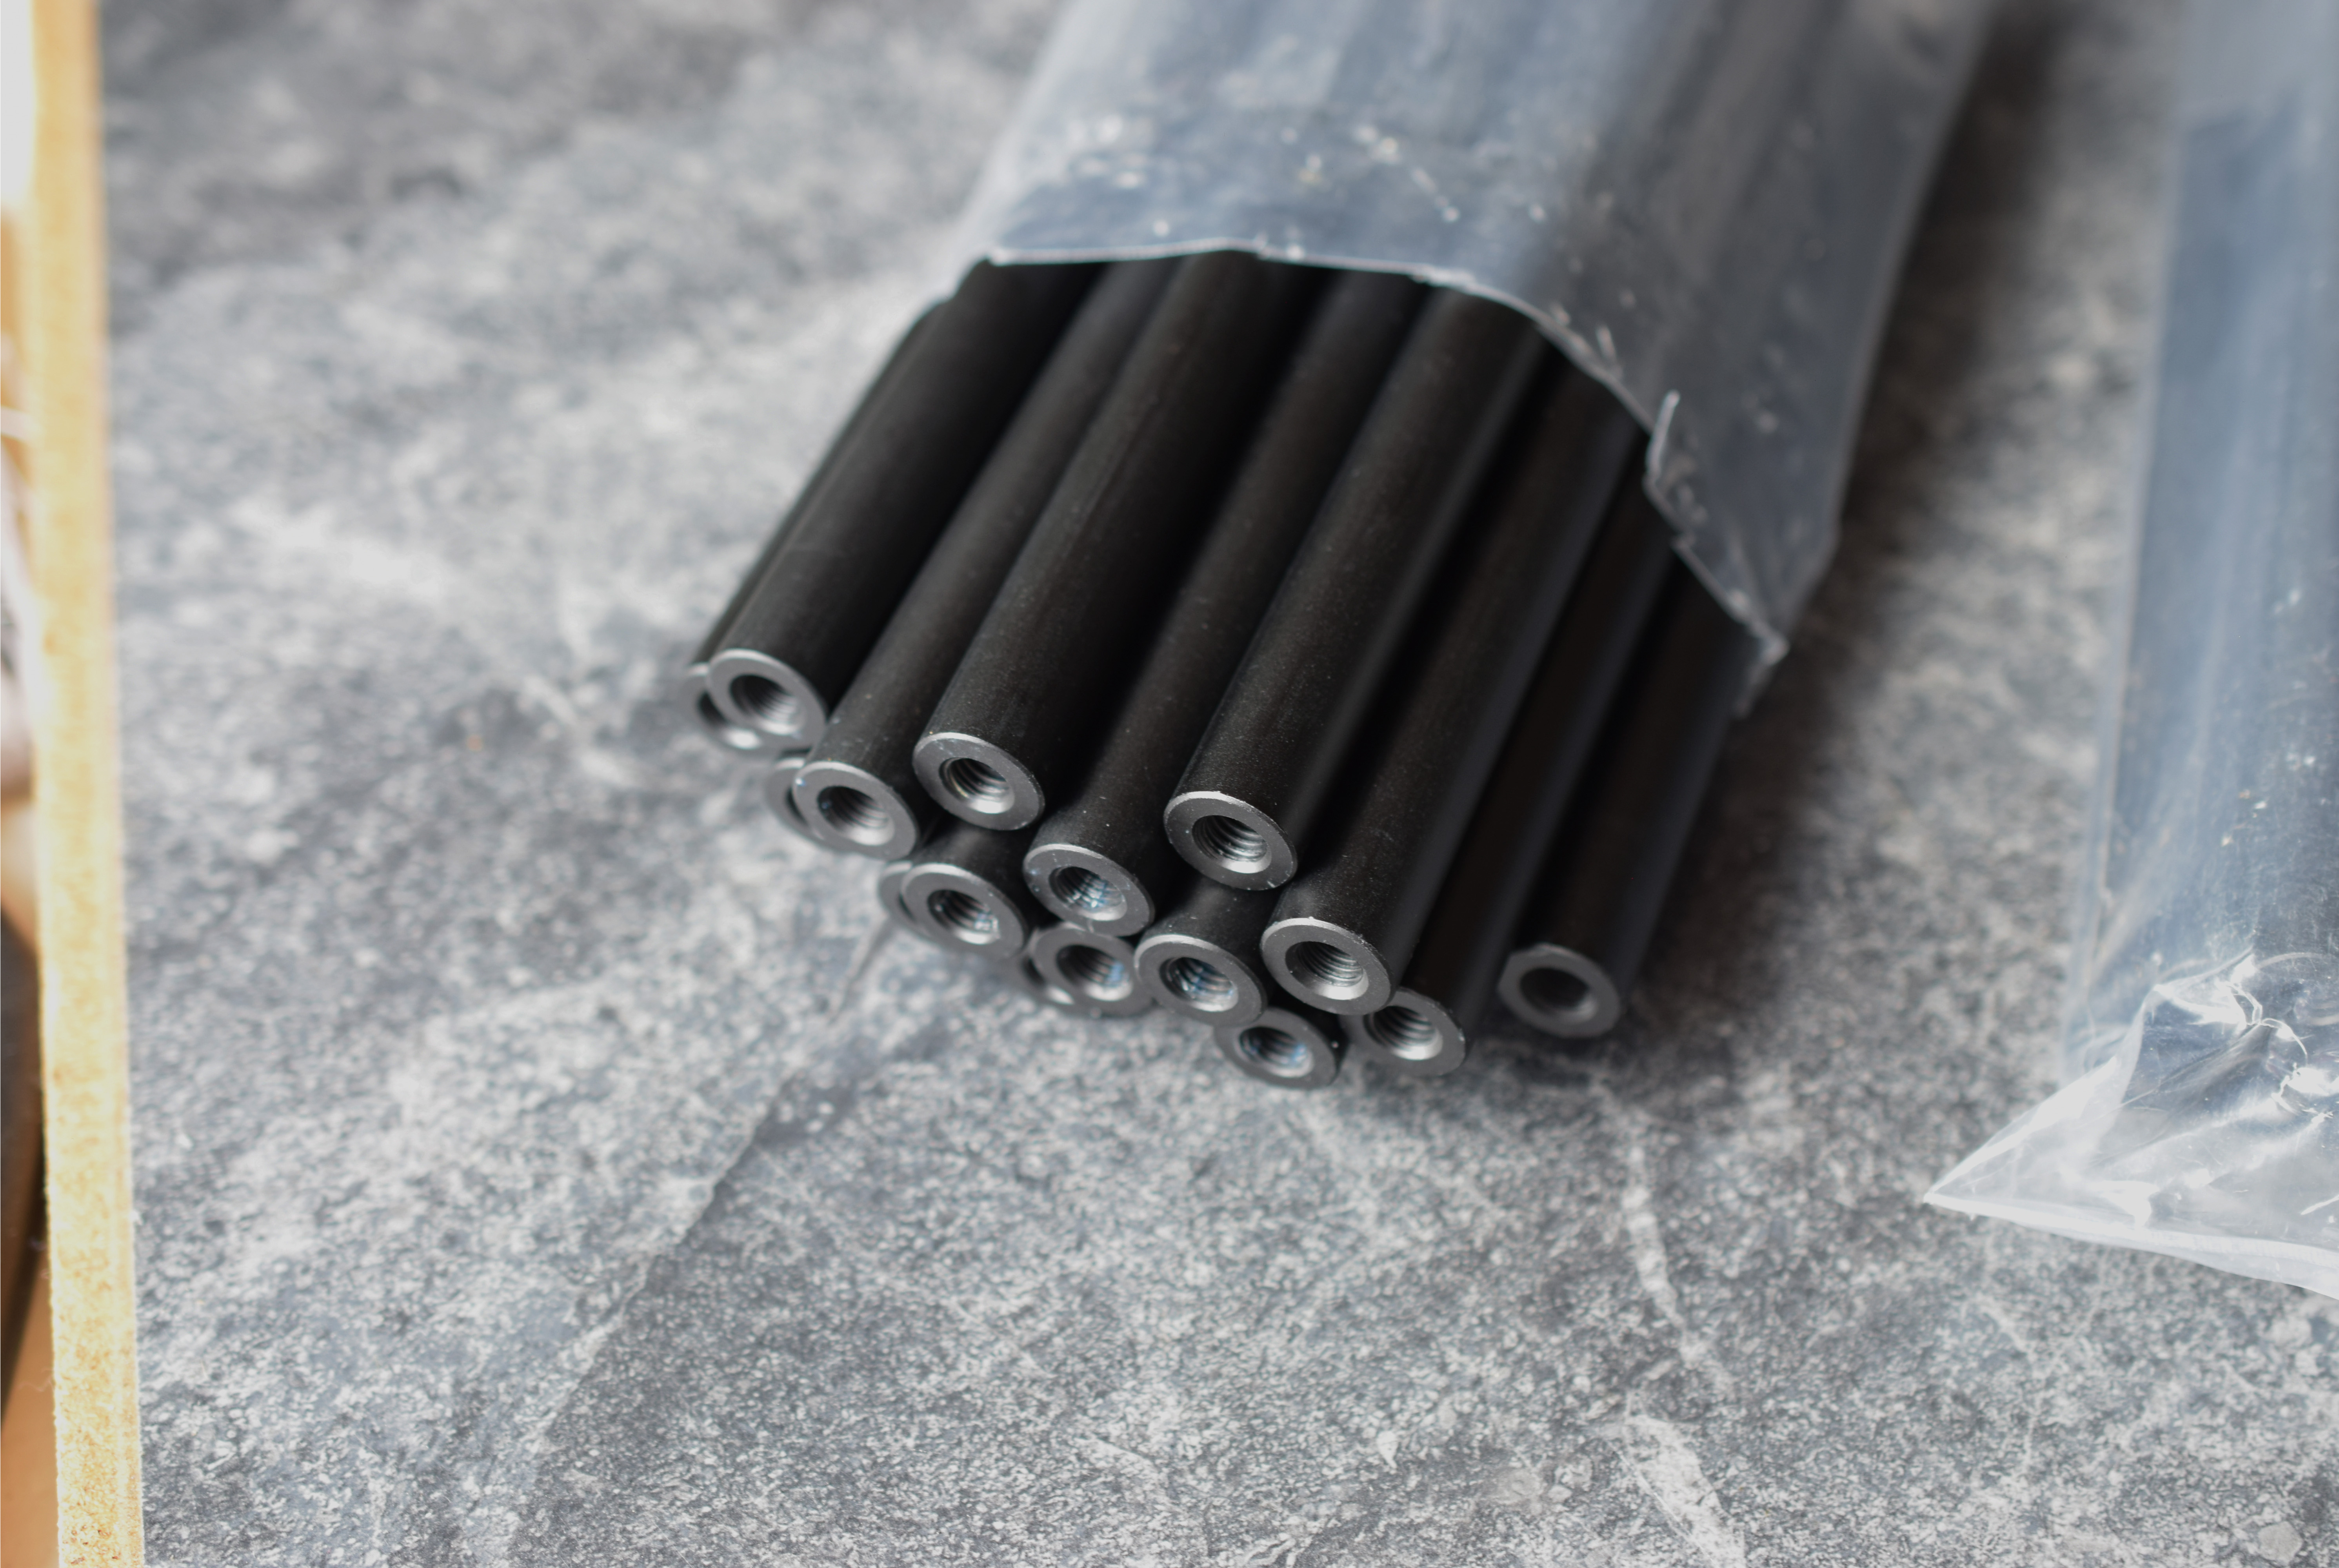
- M4 Nylon Standoff - Pack of Four
- M6 Screws - Pack of Four
- M6 Standoffs - Pack of Two
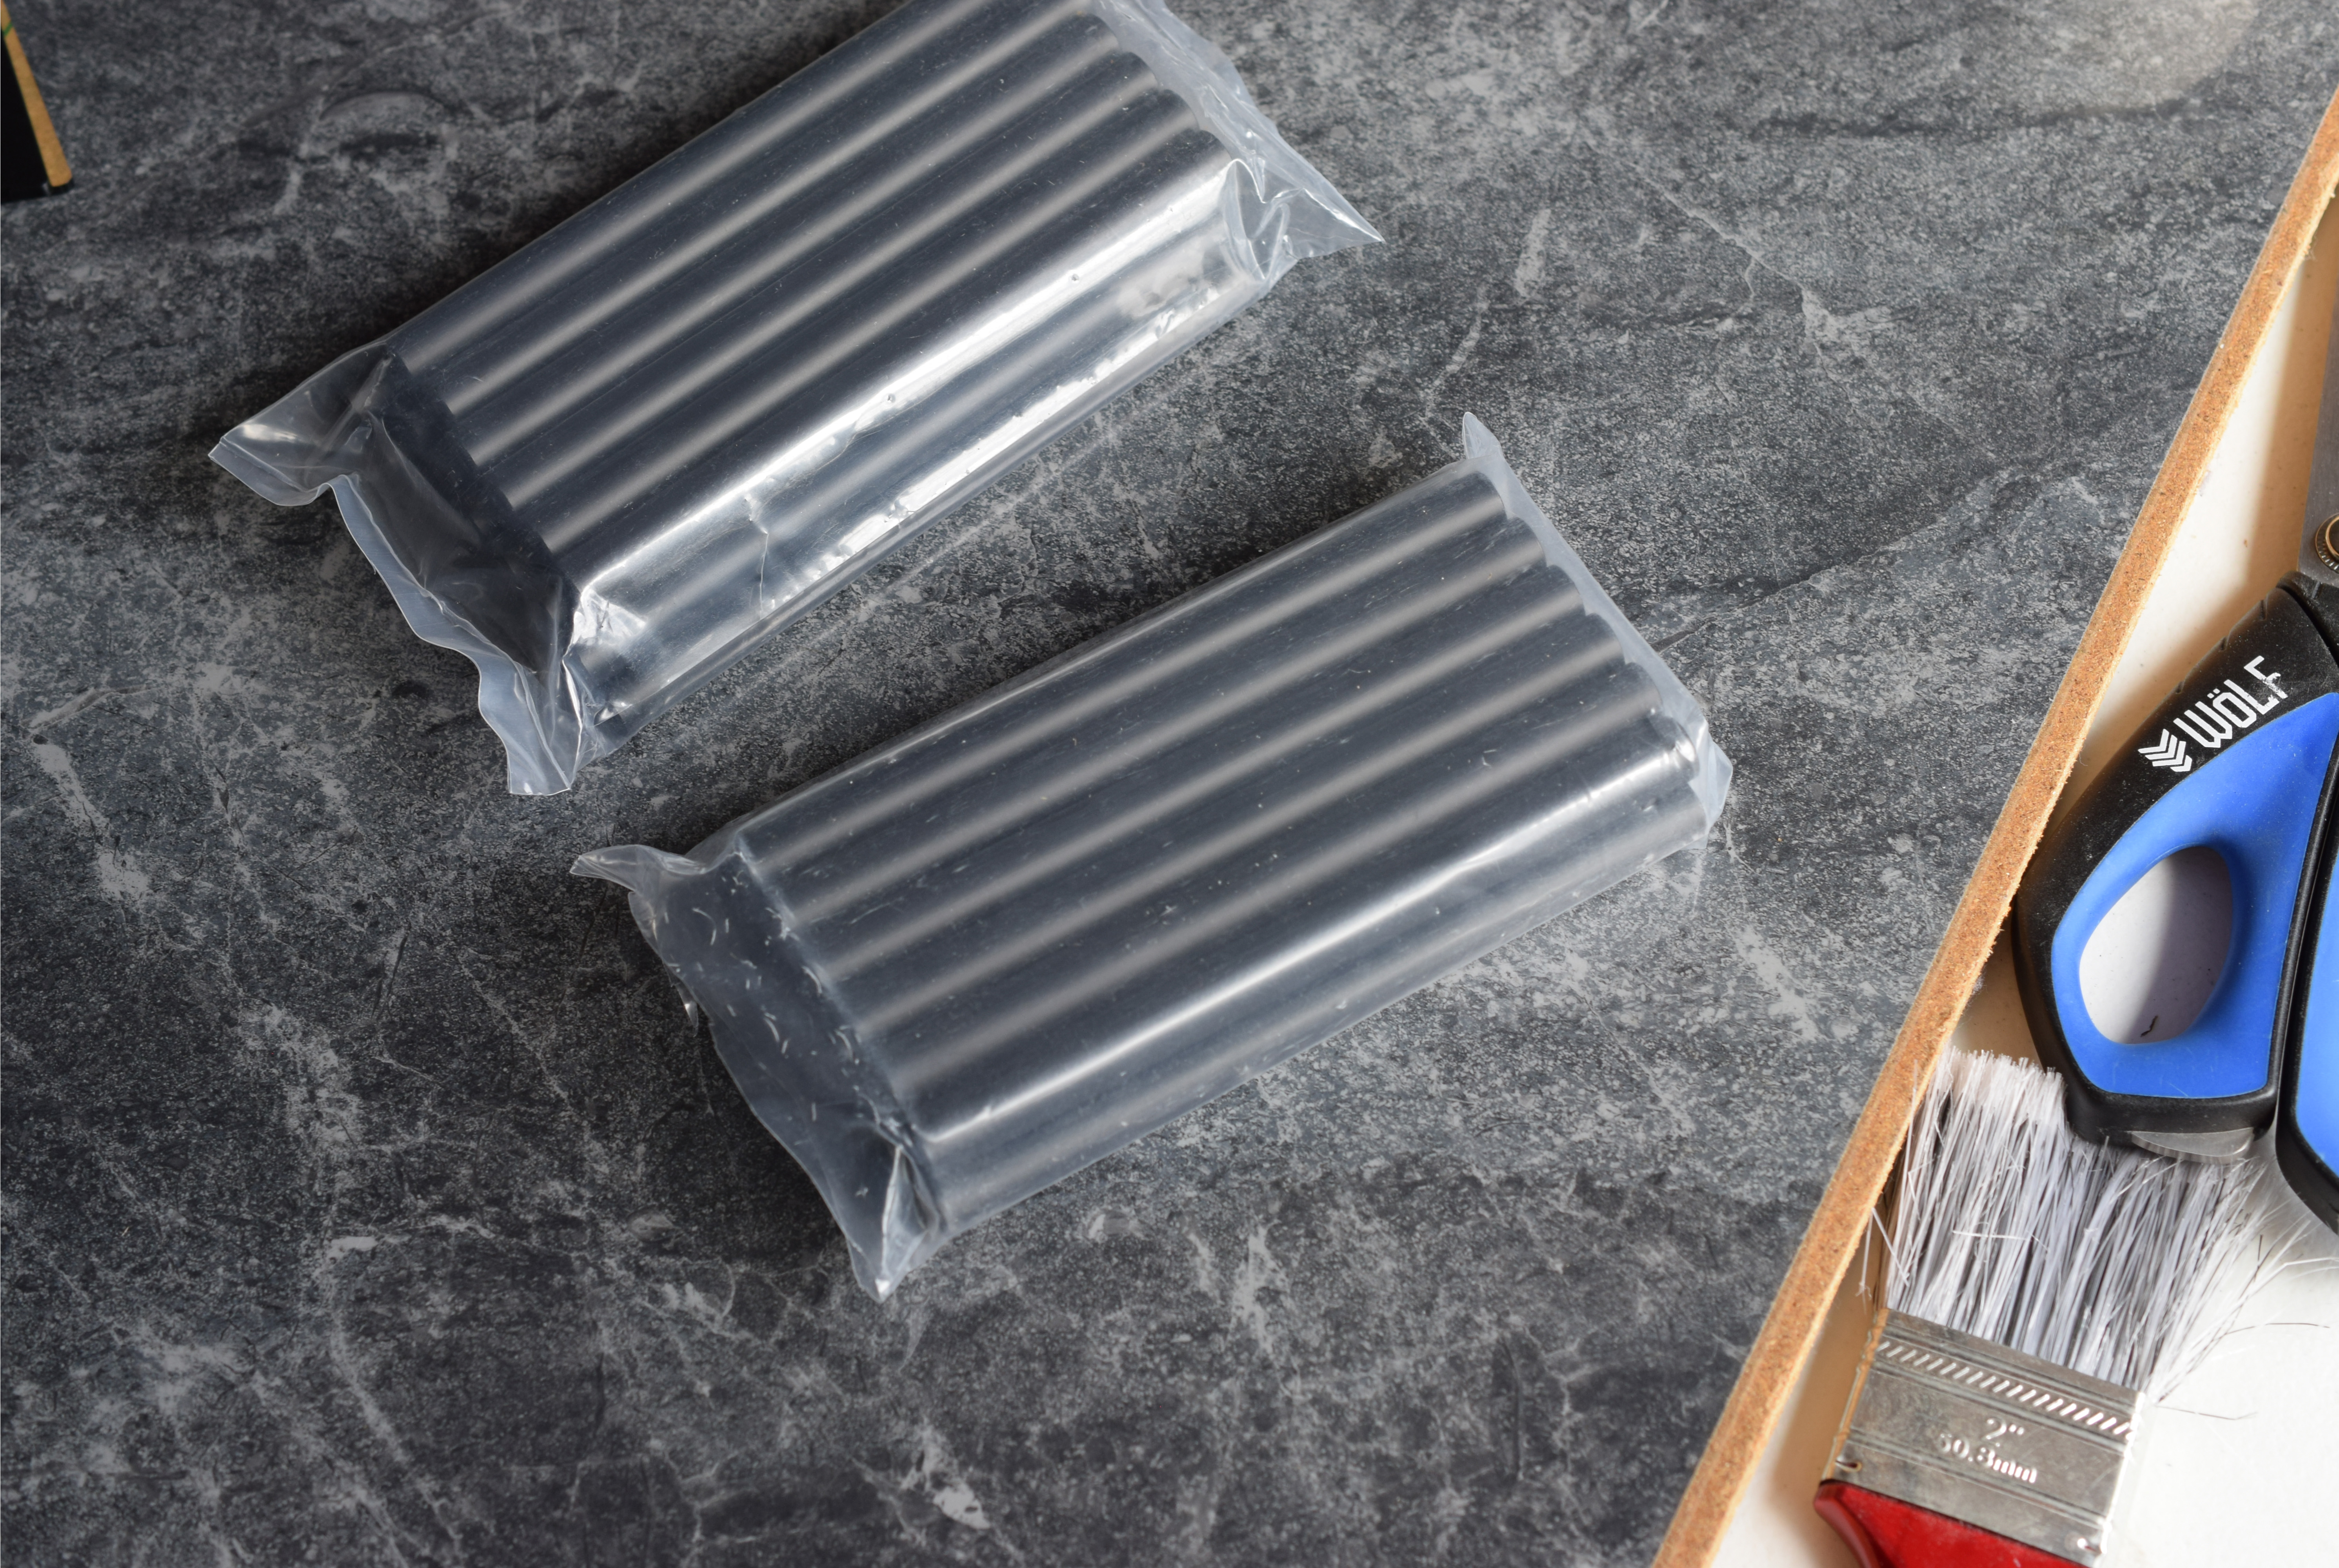
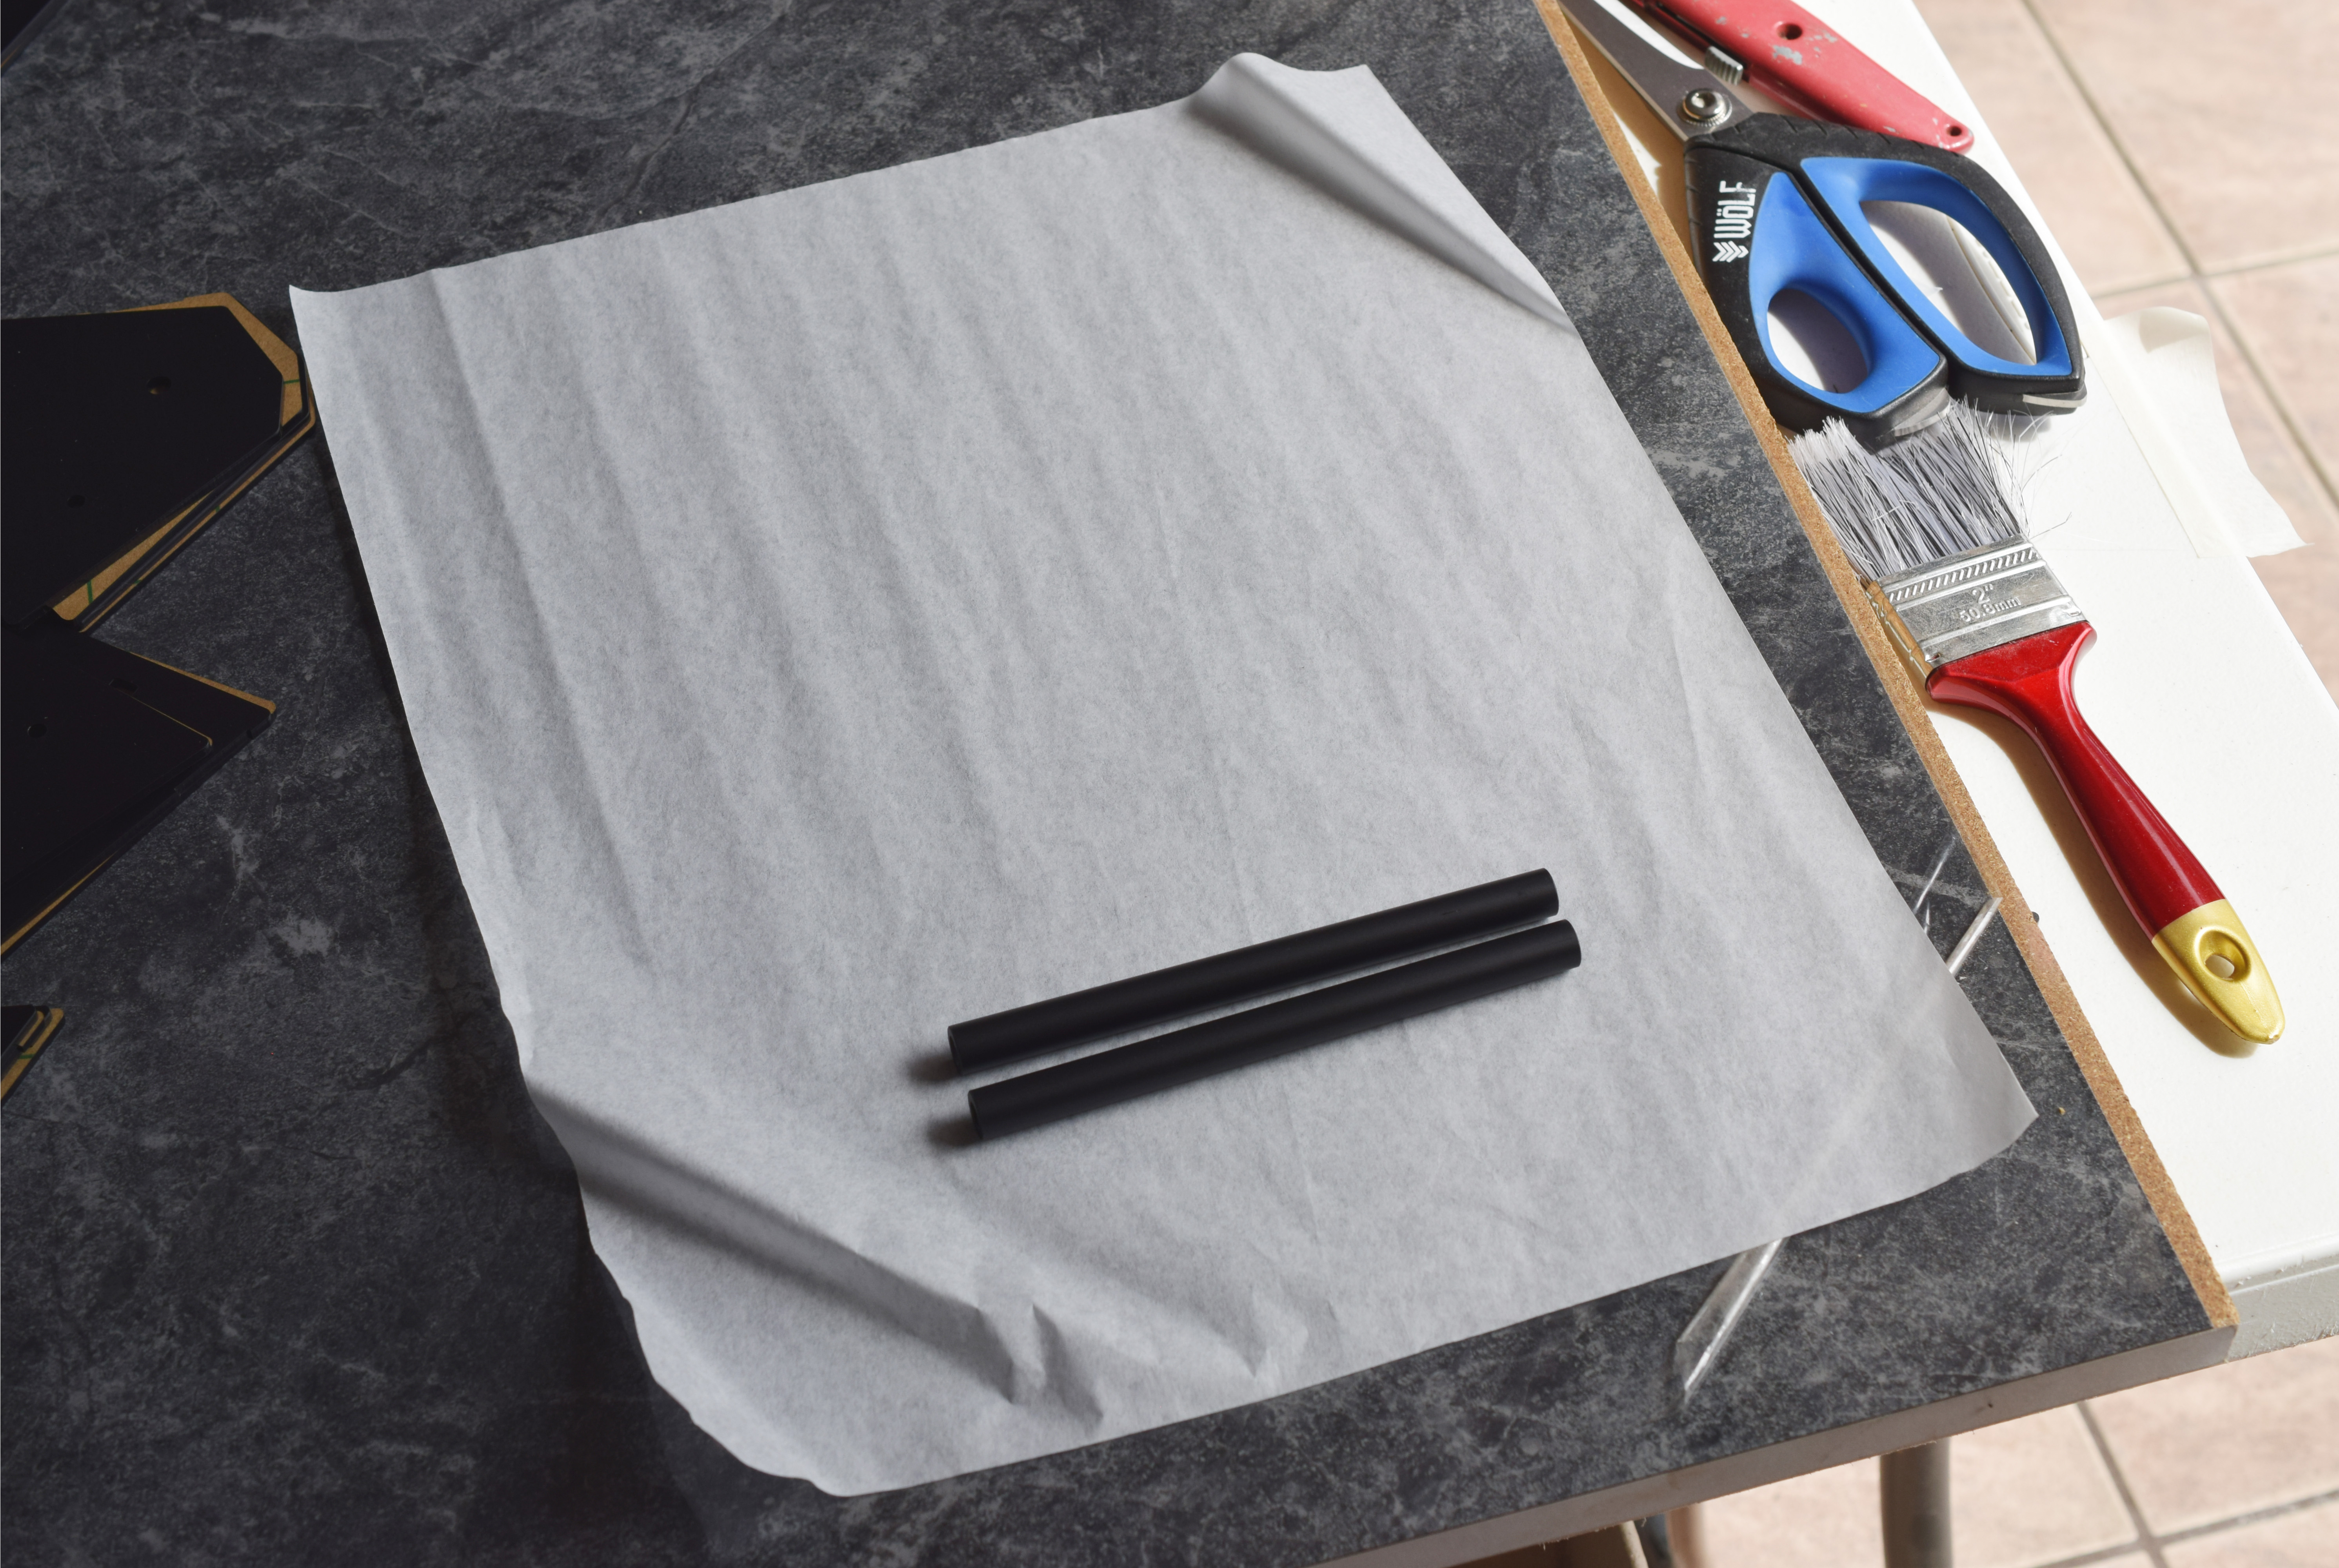
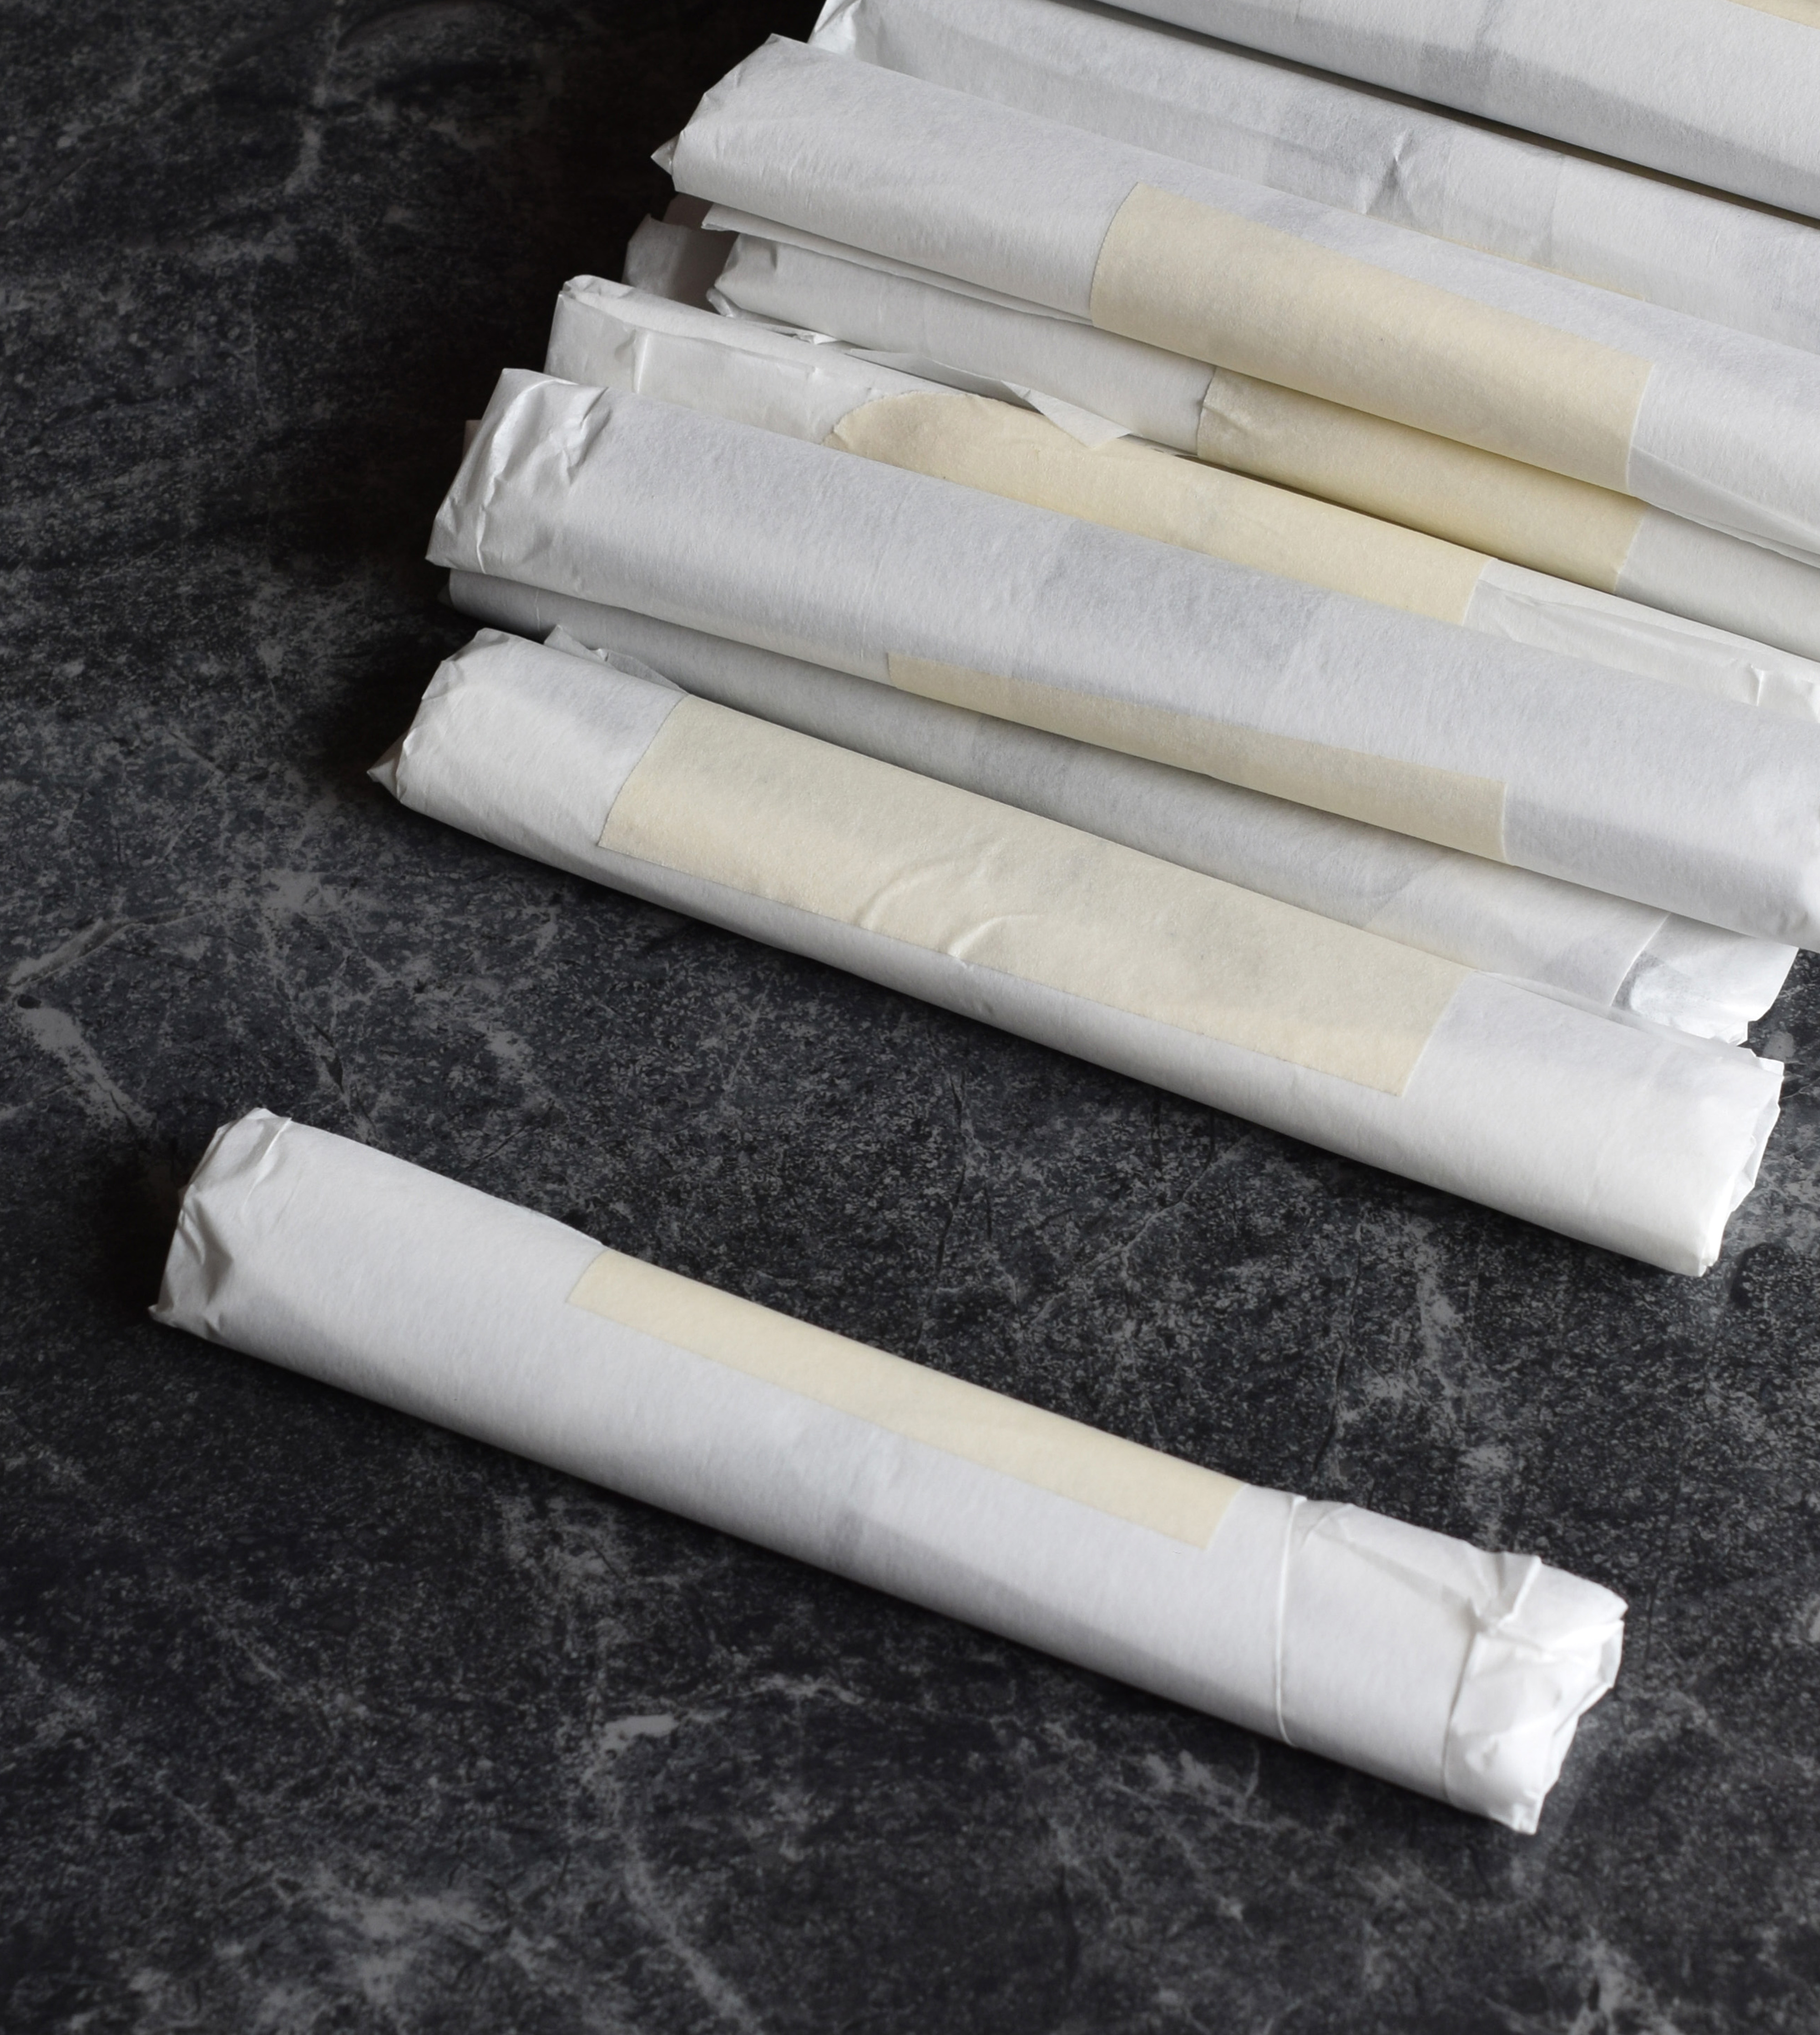
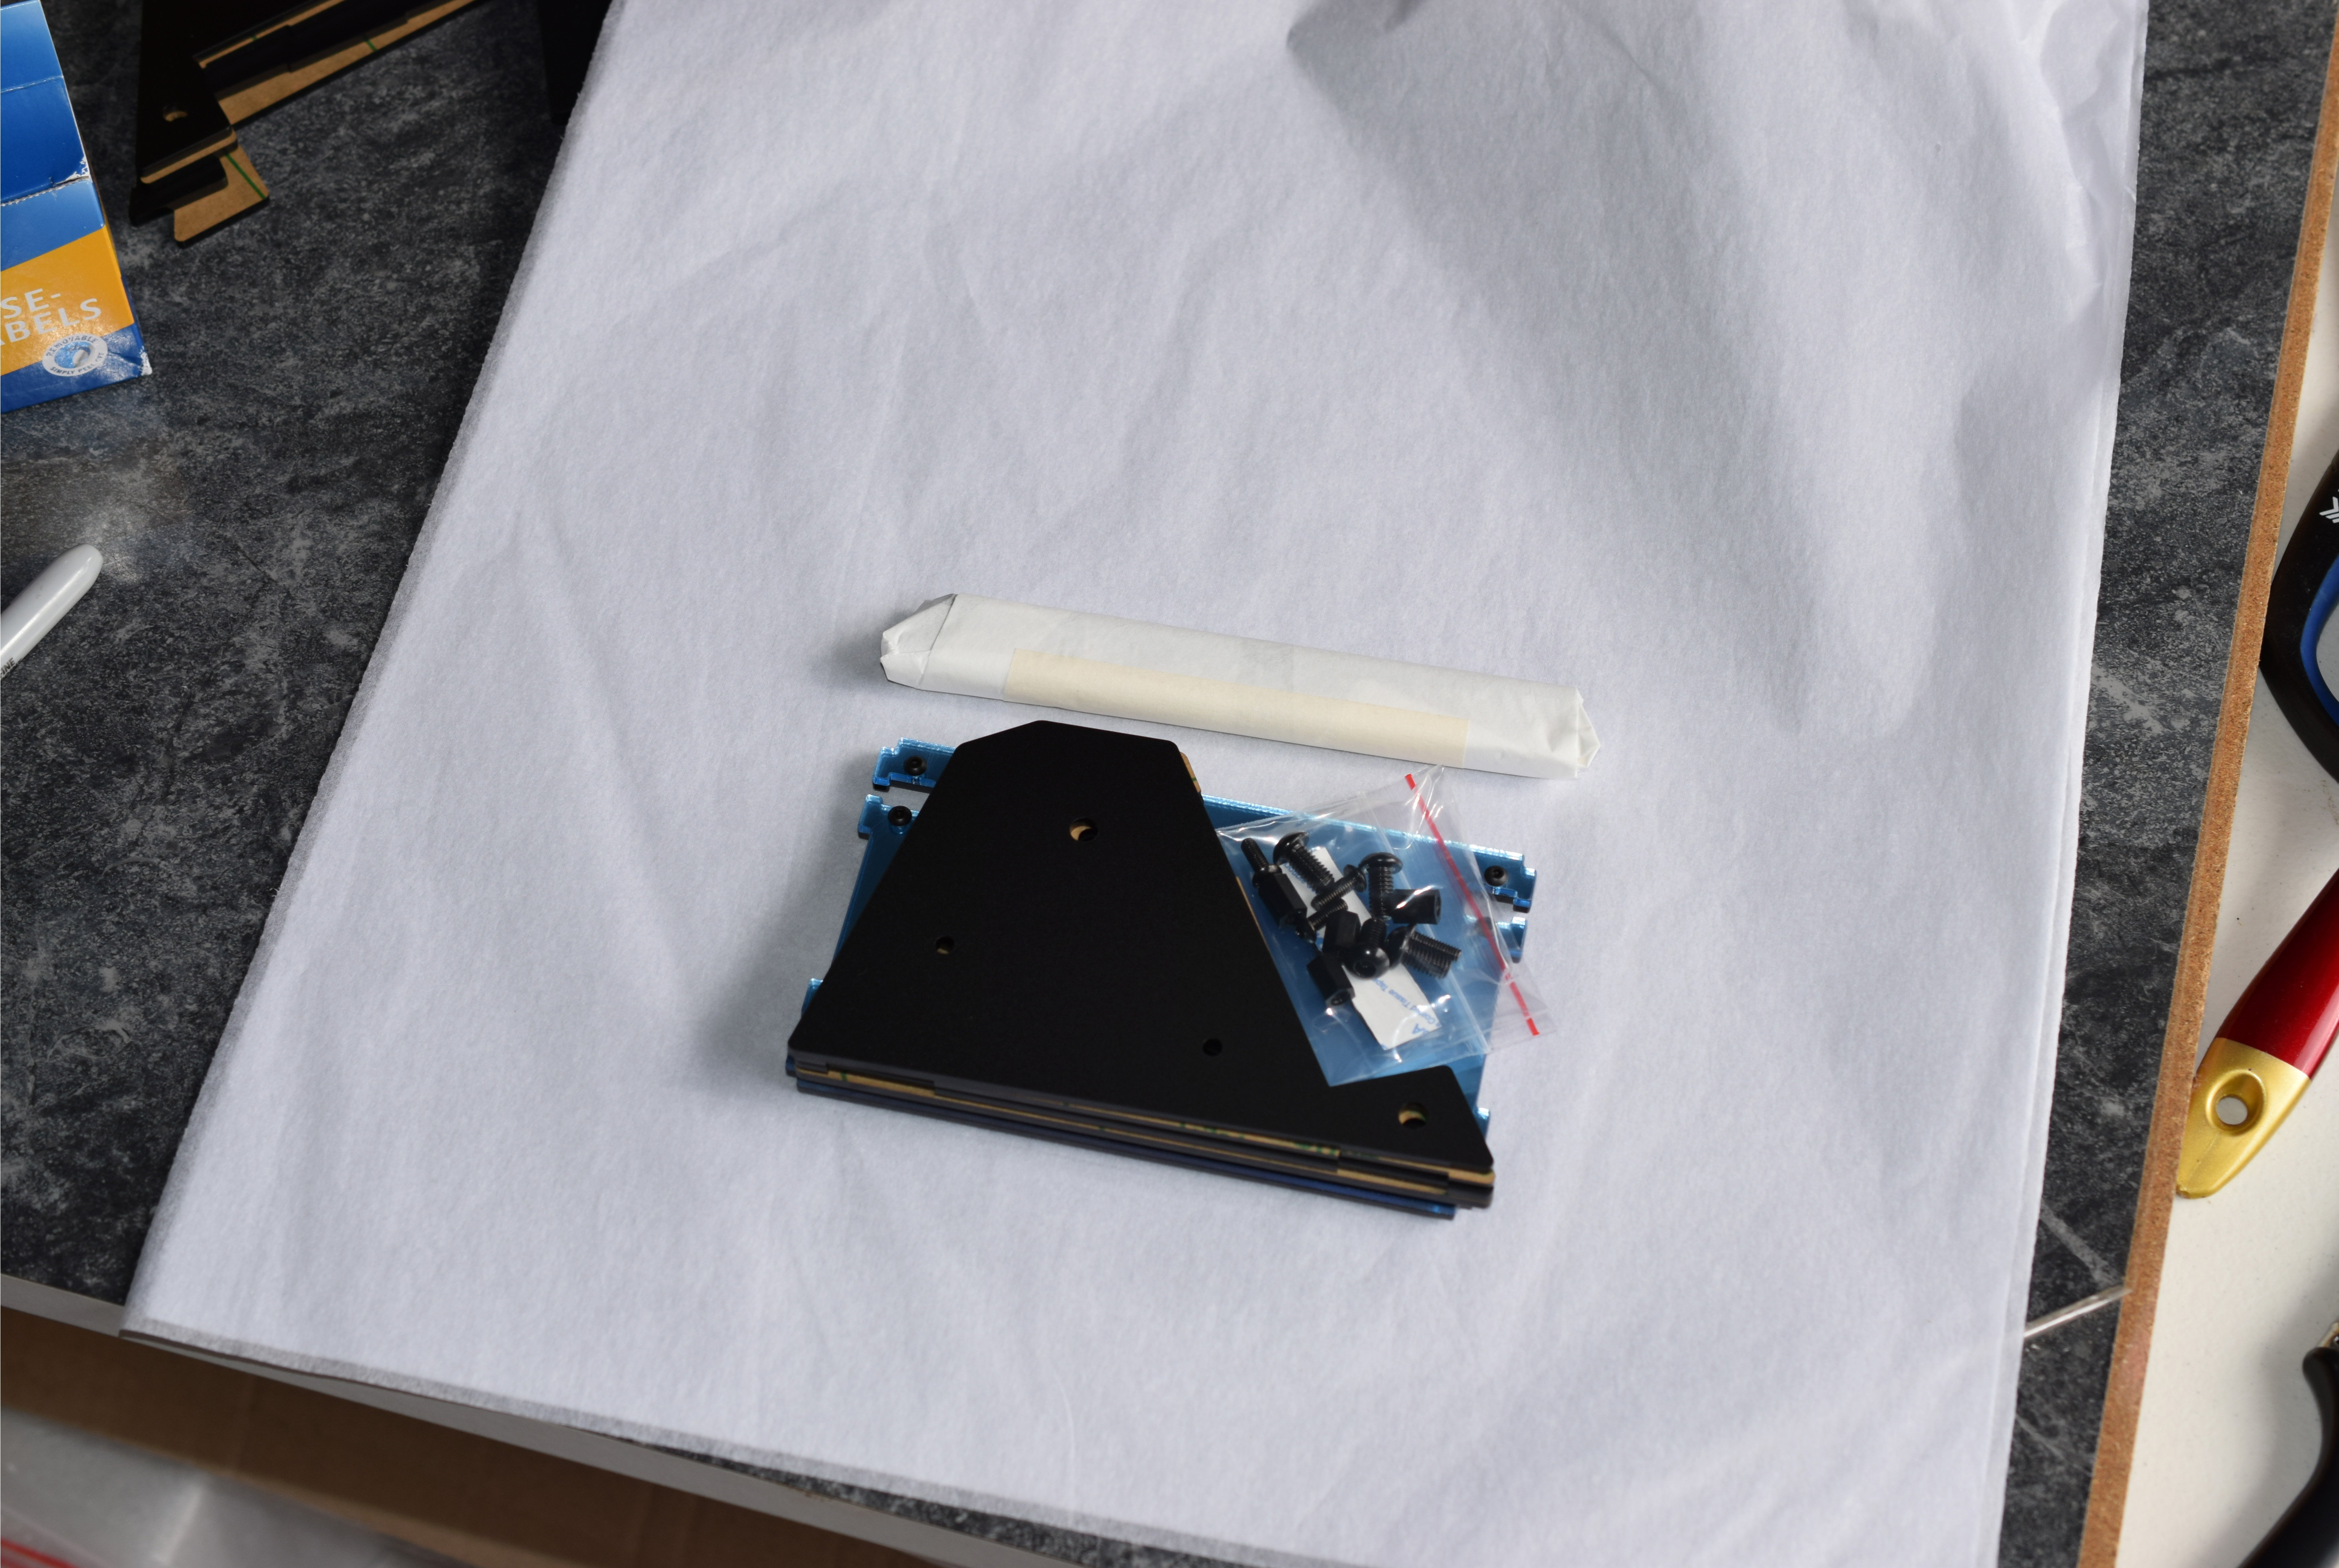
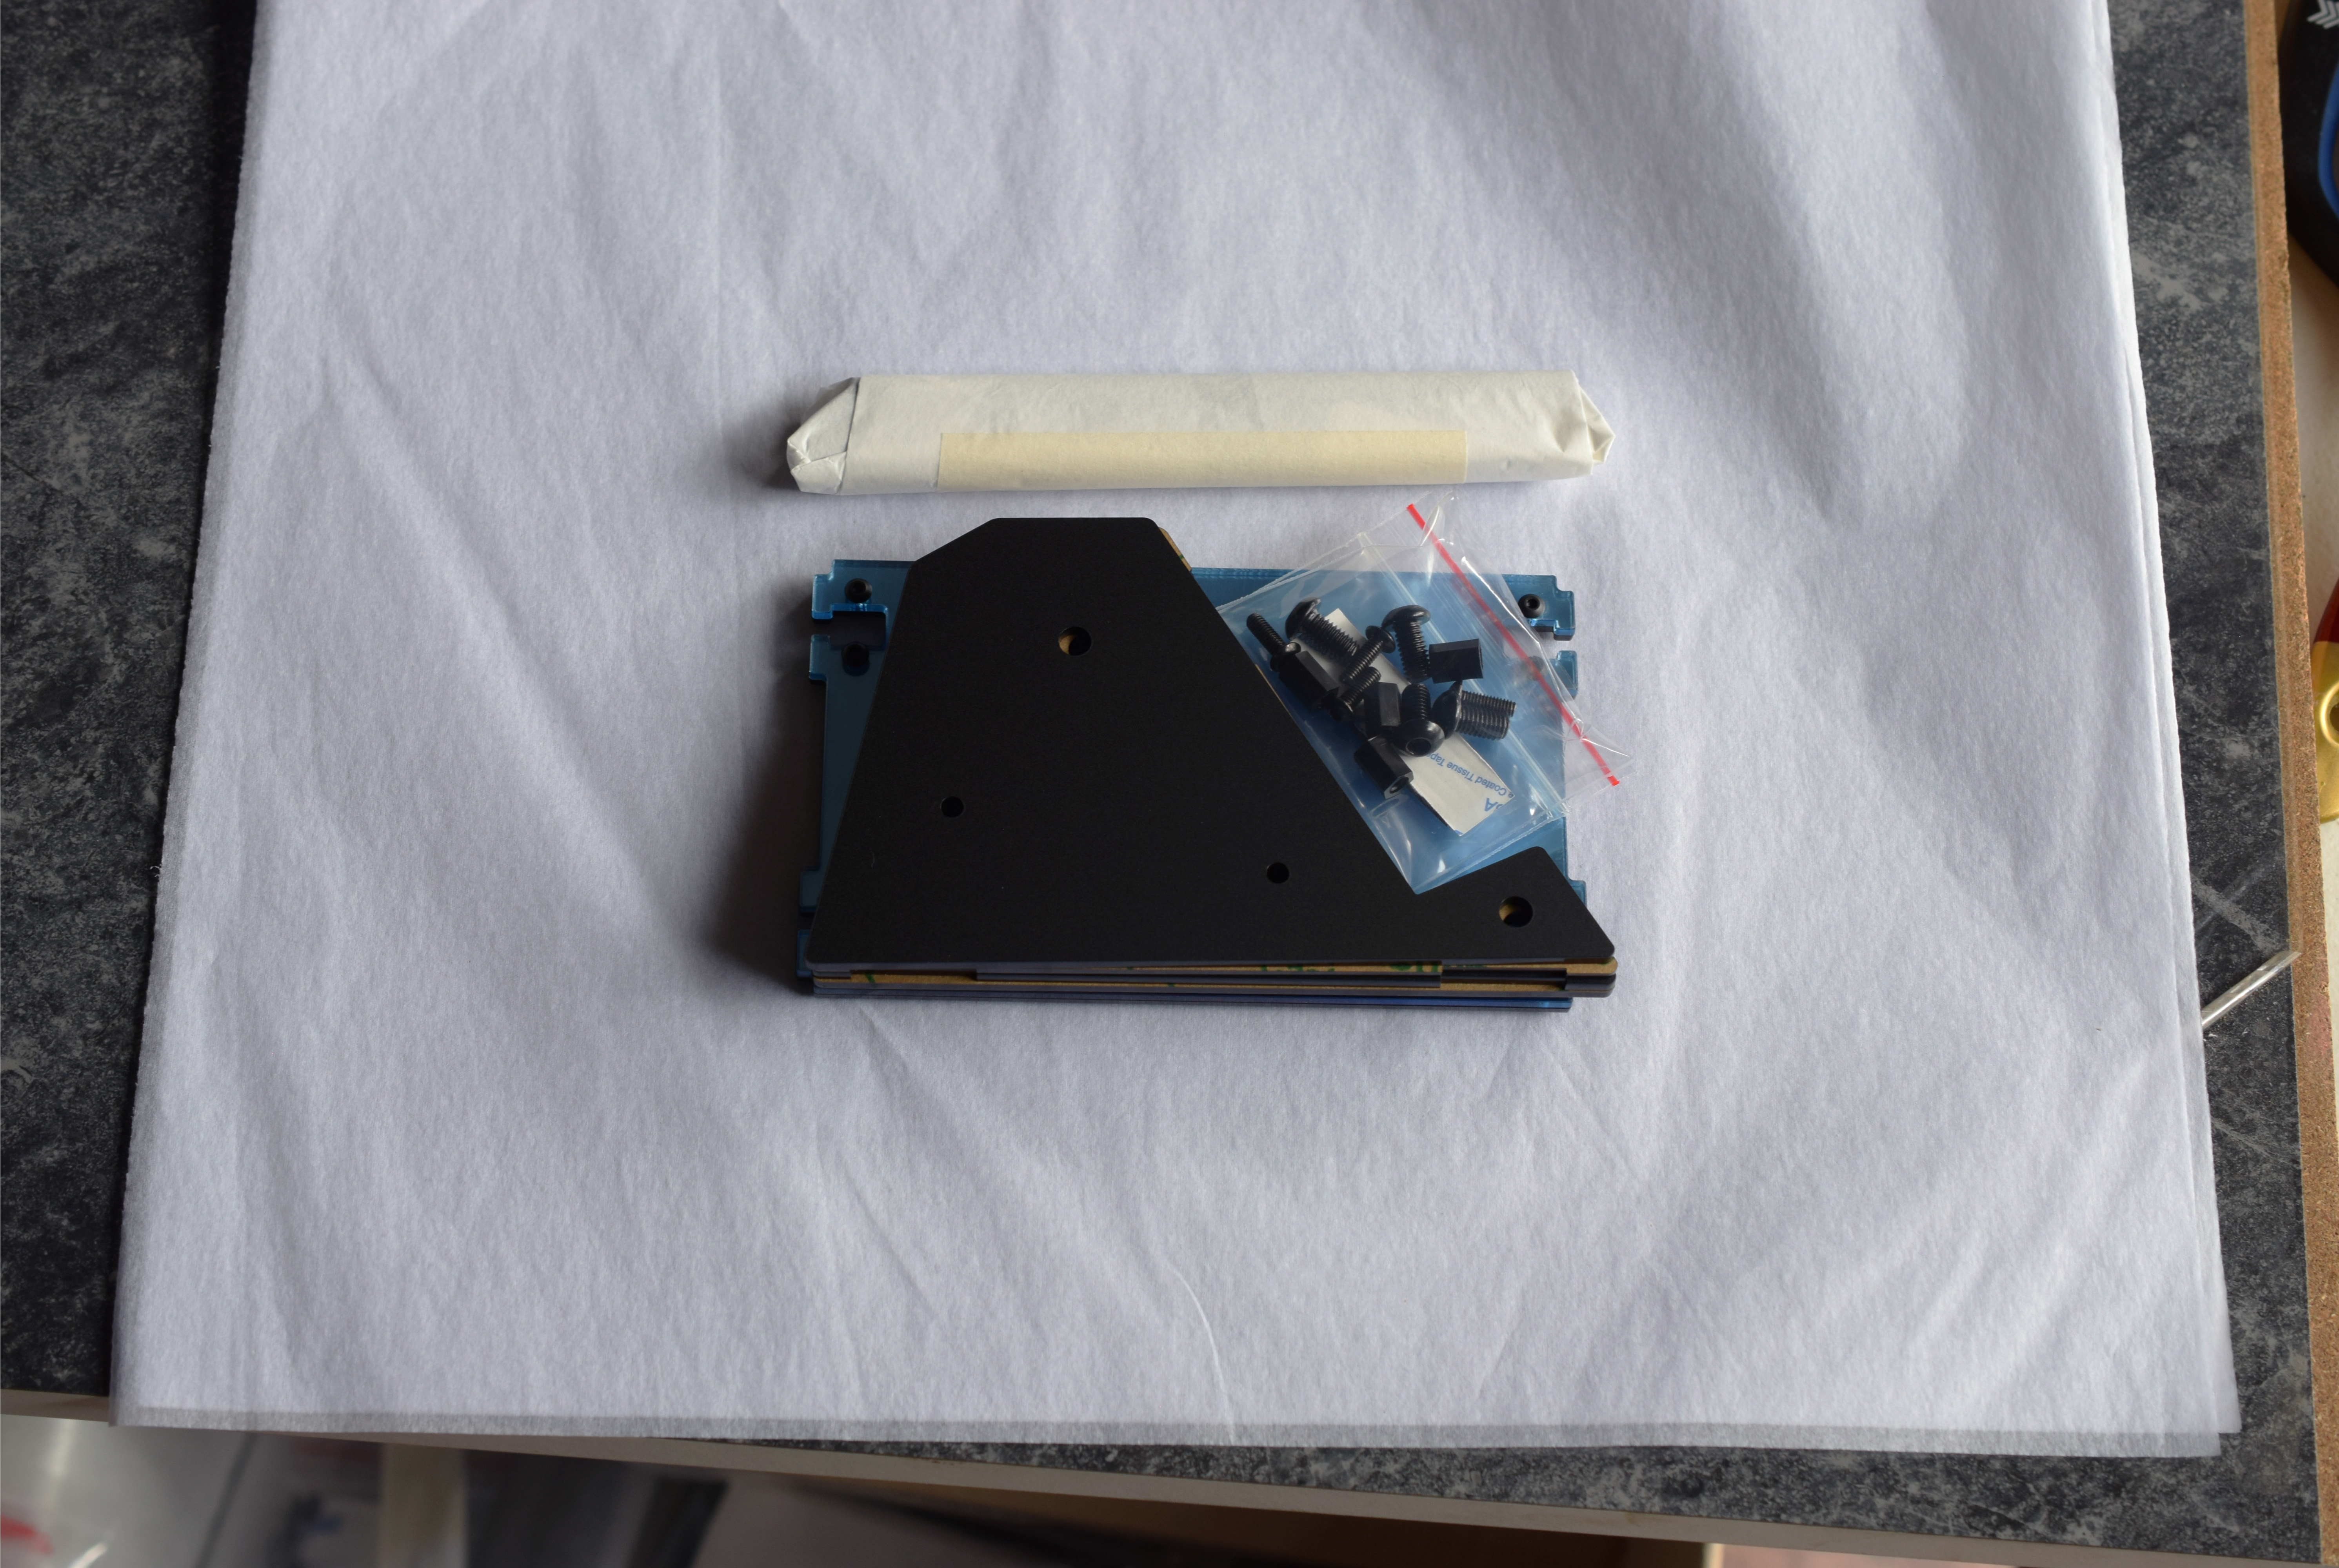
Once all the parts have been arranged, I finally get to wrap and pack everything together.
In the future, I aim to have correctly sized boxes to package my Stands into. Currently, the total package weighs roughly 400g.