Idyllic Cases - Build Guide
24 April 2022
Hardware Guide
PC Screws
- Size - M
- Colour - Clear
- Tool - Phillips screwdriver (I’ve had the most success using a PH00 size)
- Notes - Easy to damage threads and head. Avoid over-tightening.
Flat Screw
- Size - M2.5
- Colour - Silver
- Tool - Hex 1.5 screwdriver
- Notes - This screws into a metal nut hidden inside the case. For a softer typing experience, do not over-tightening.
Countersunk Screw
- Size - M2
- Colour - Silver
- Tool - Hex 1.3 screwdriver (not necessary)
- Notes - These can be left untouched and don’t need to be unscrewed for assesmbly.
Checklist and Notes
PCB
- Please check the Valor/EXT65 PCB to make sure it is working and responsive. If you need to the update software, the most recent firmware can be found in the Keyboard Treehouse Discord.
- There is a physical reset button on the bottom of the Valor/EXT65 PCB. This is useful for flashing in the QMK Toolbox.
- Check Stabilizers are installed and are functioning.
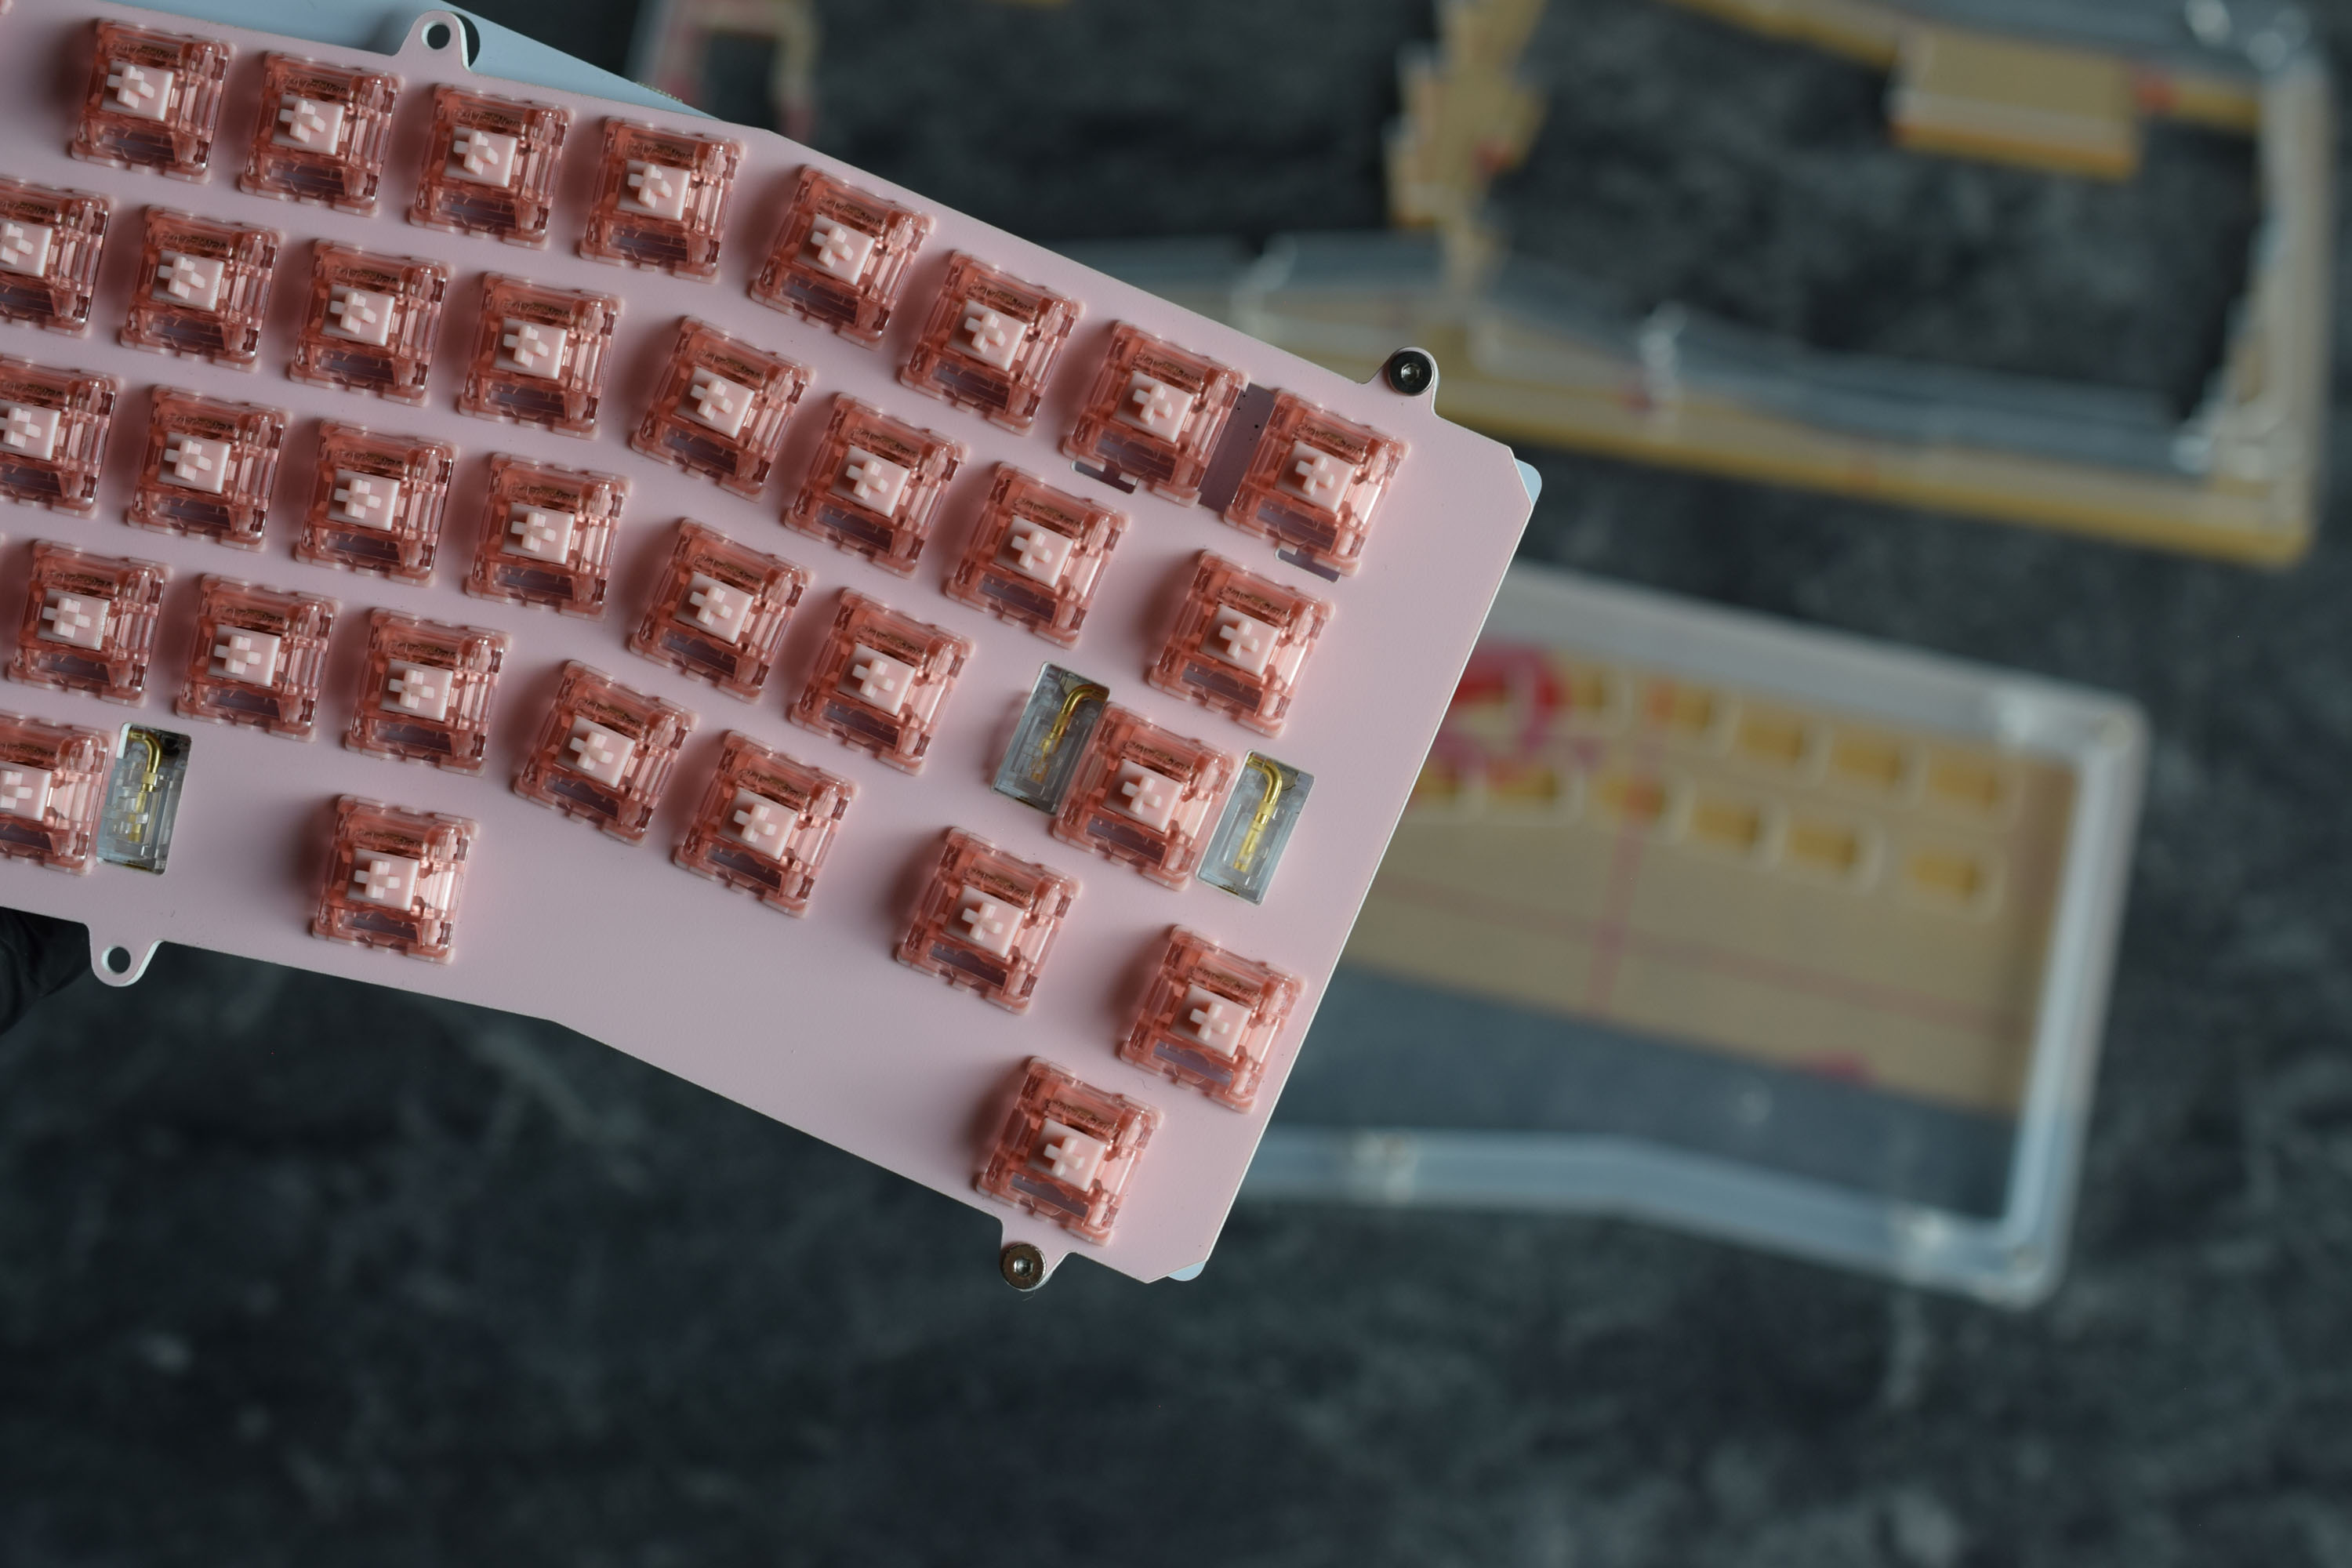
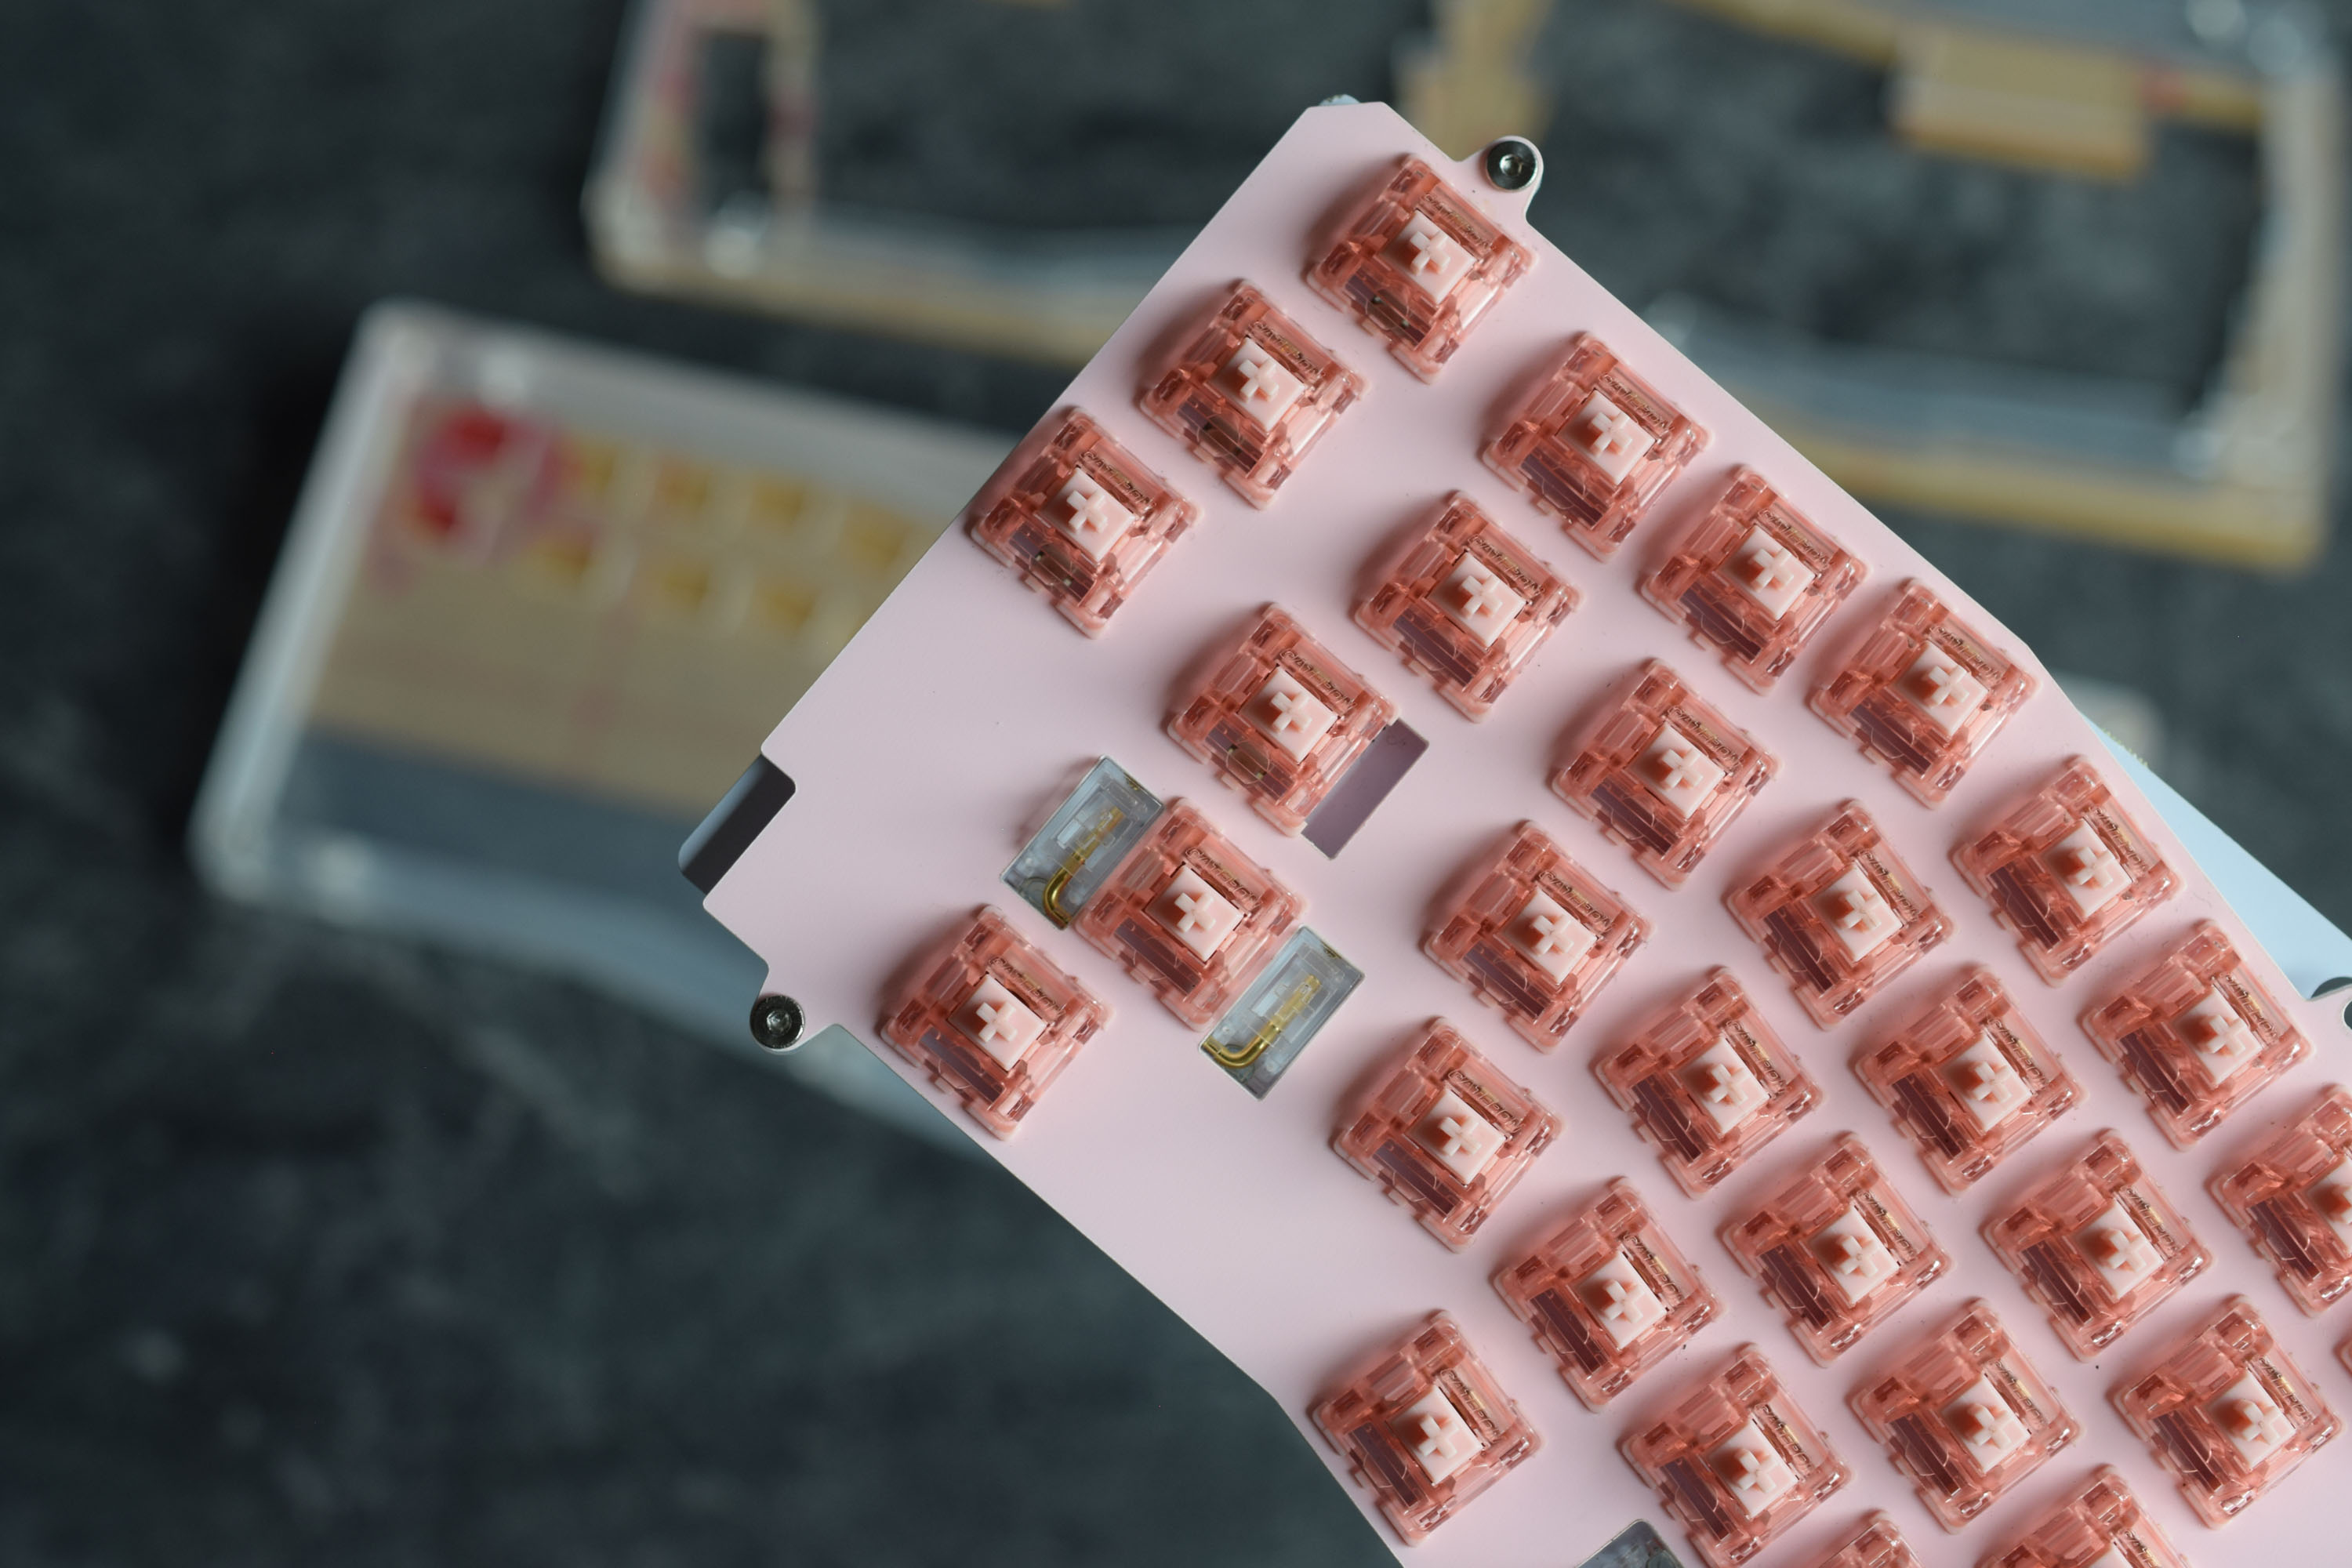
- Clip your switches into the plate and solder the switches into the PCB.
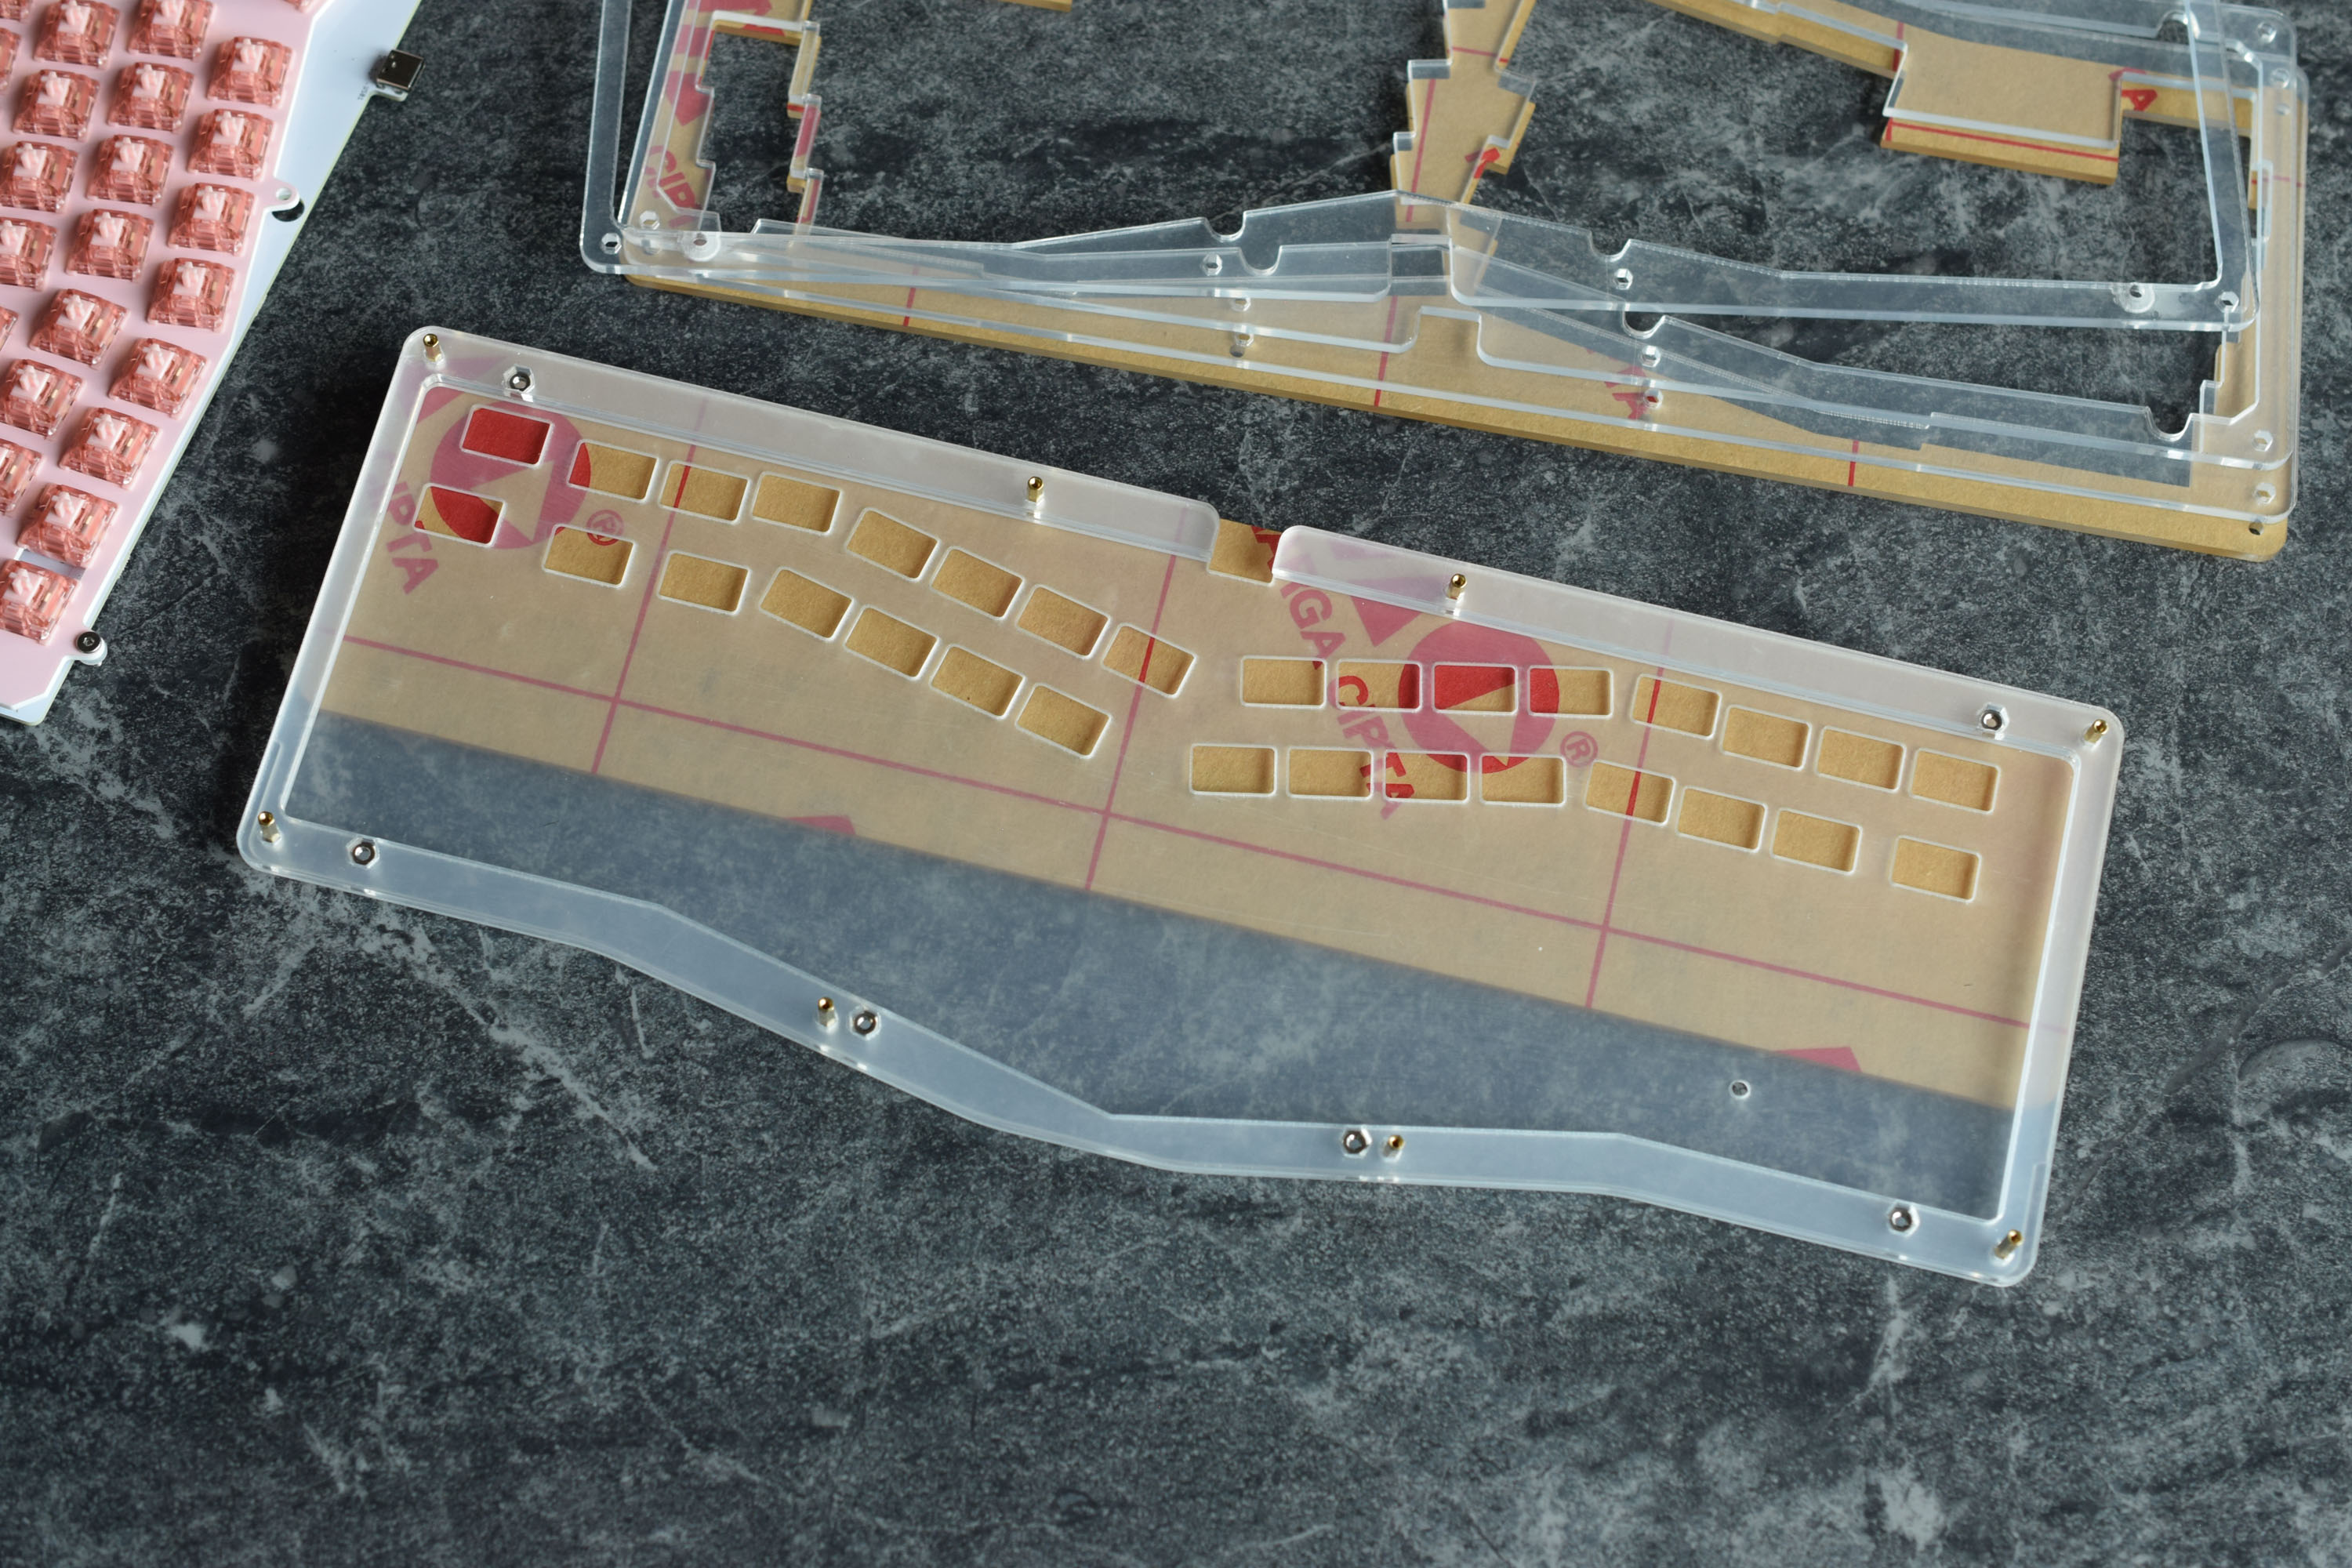
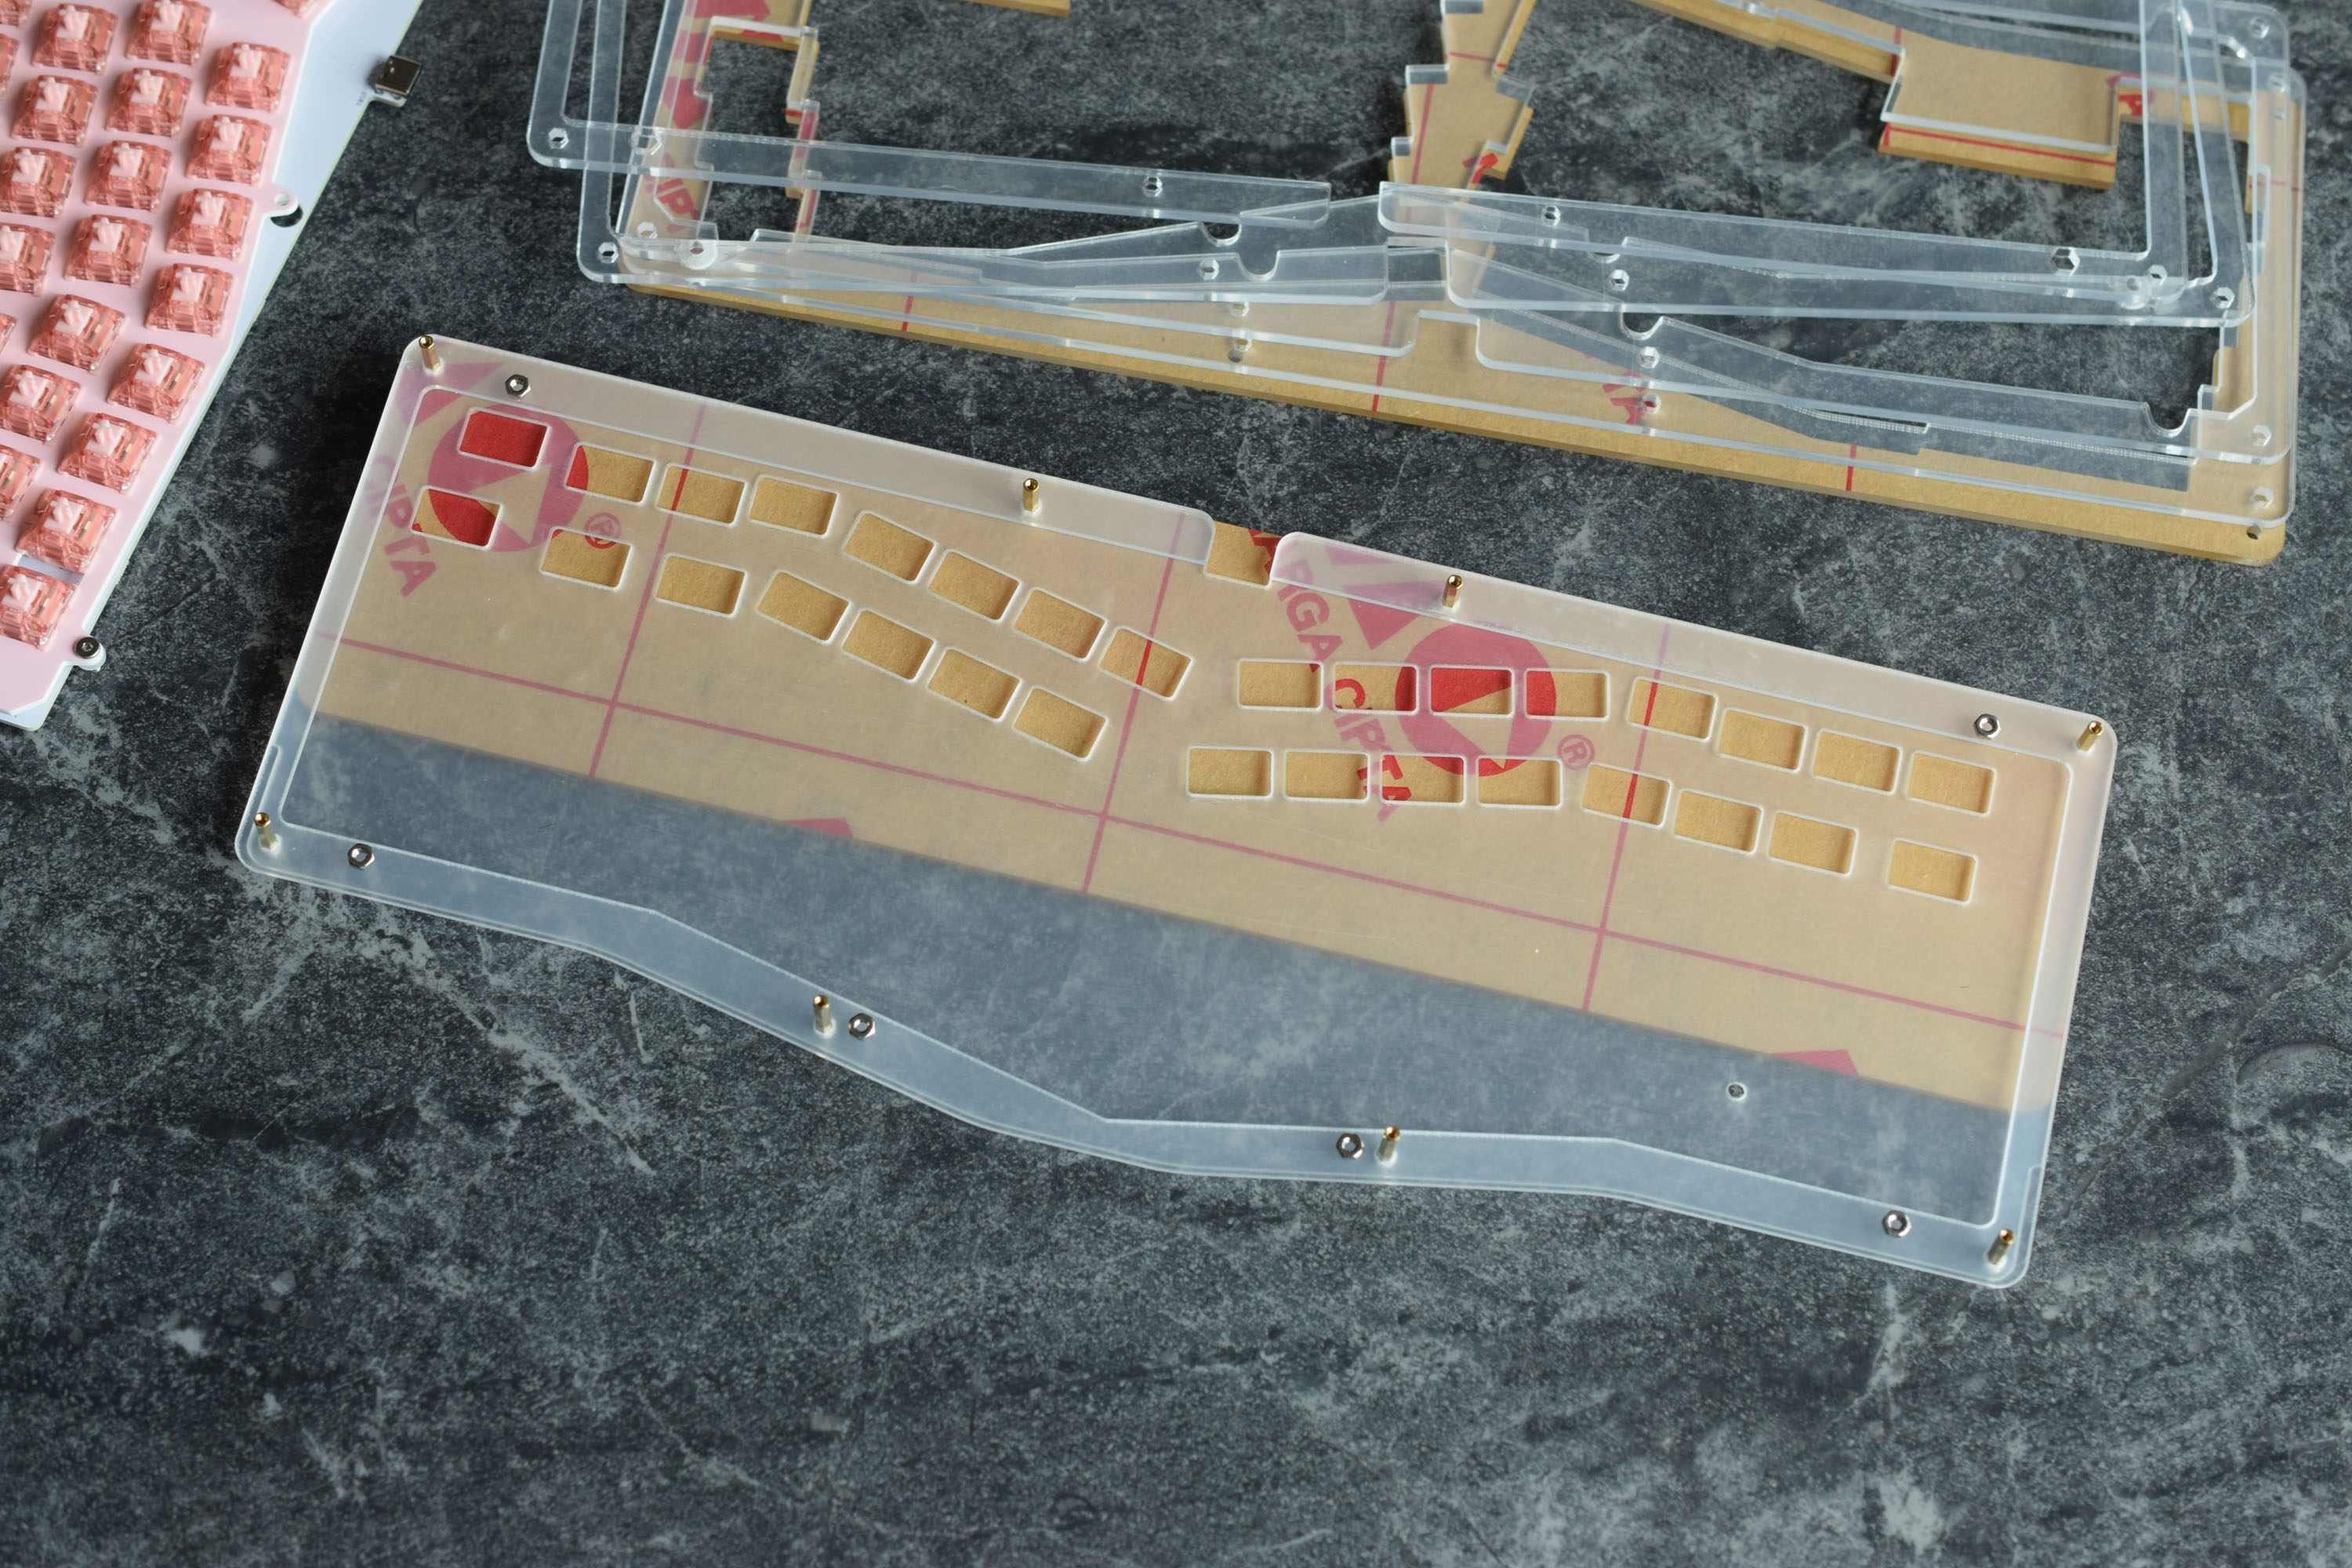
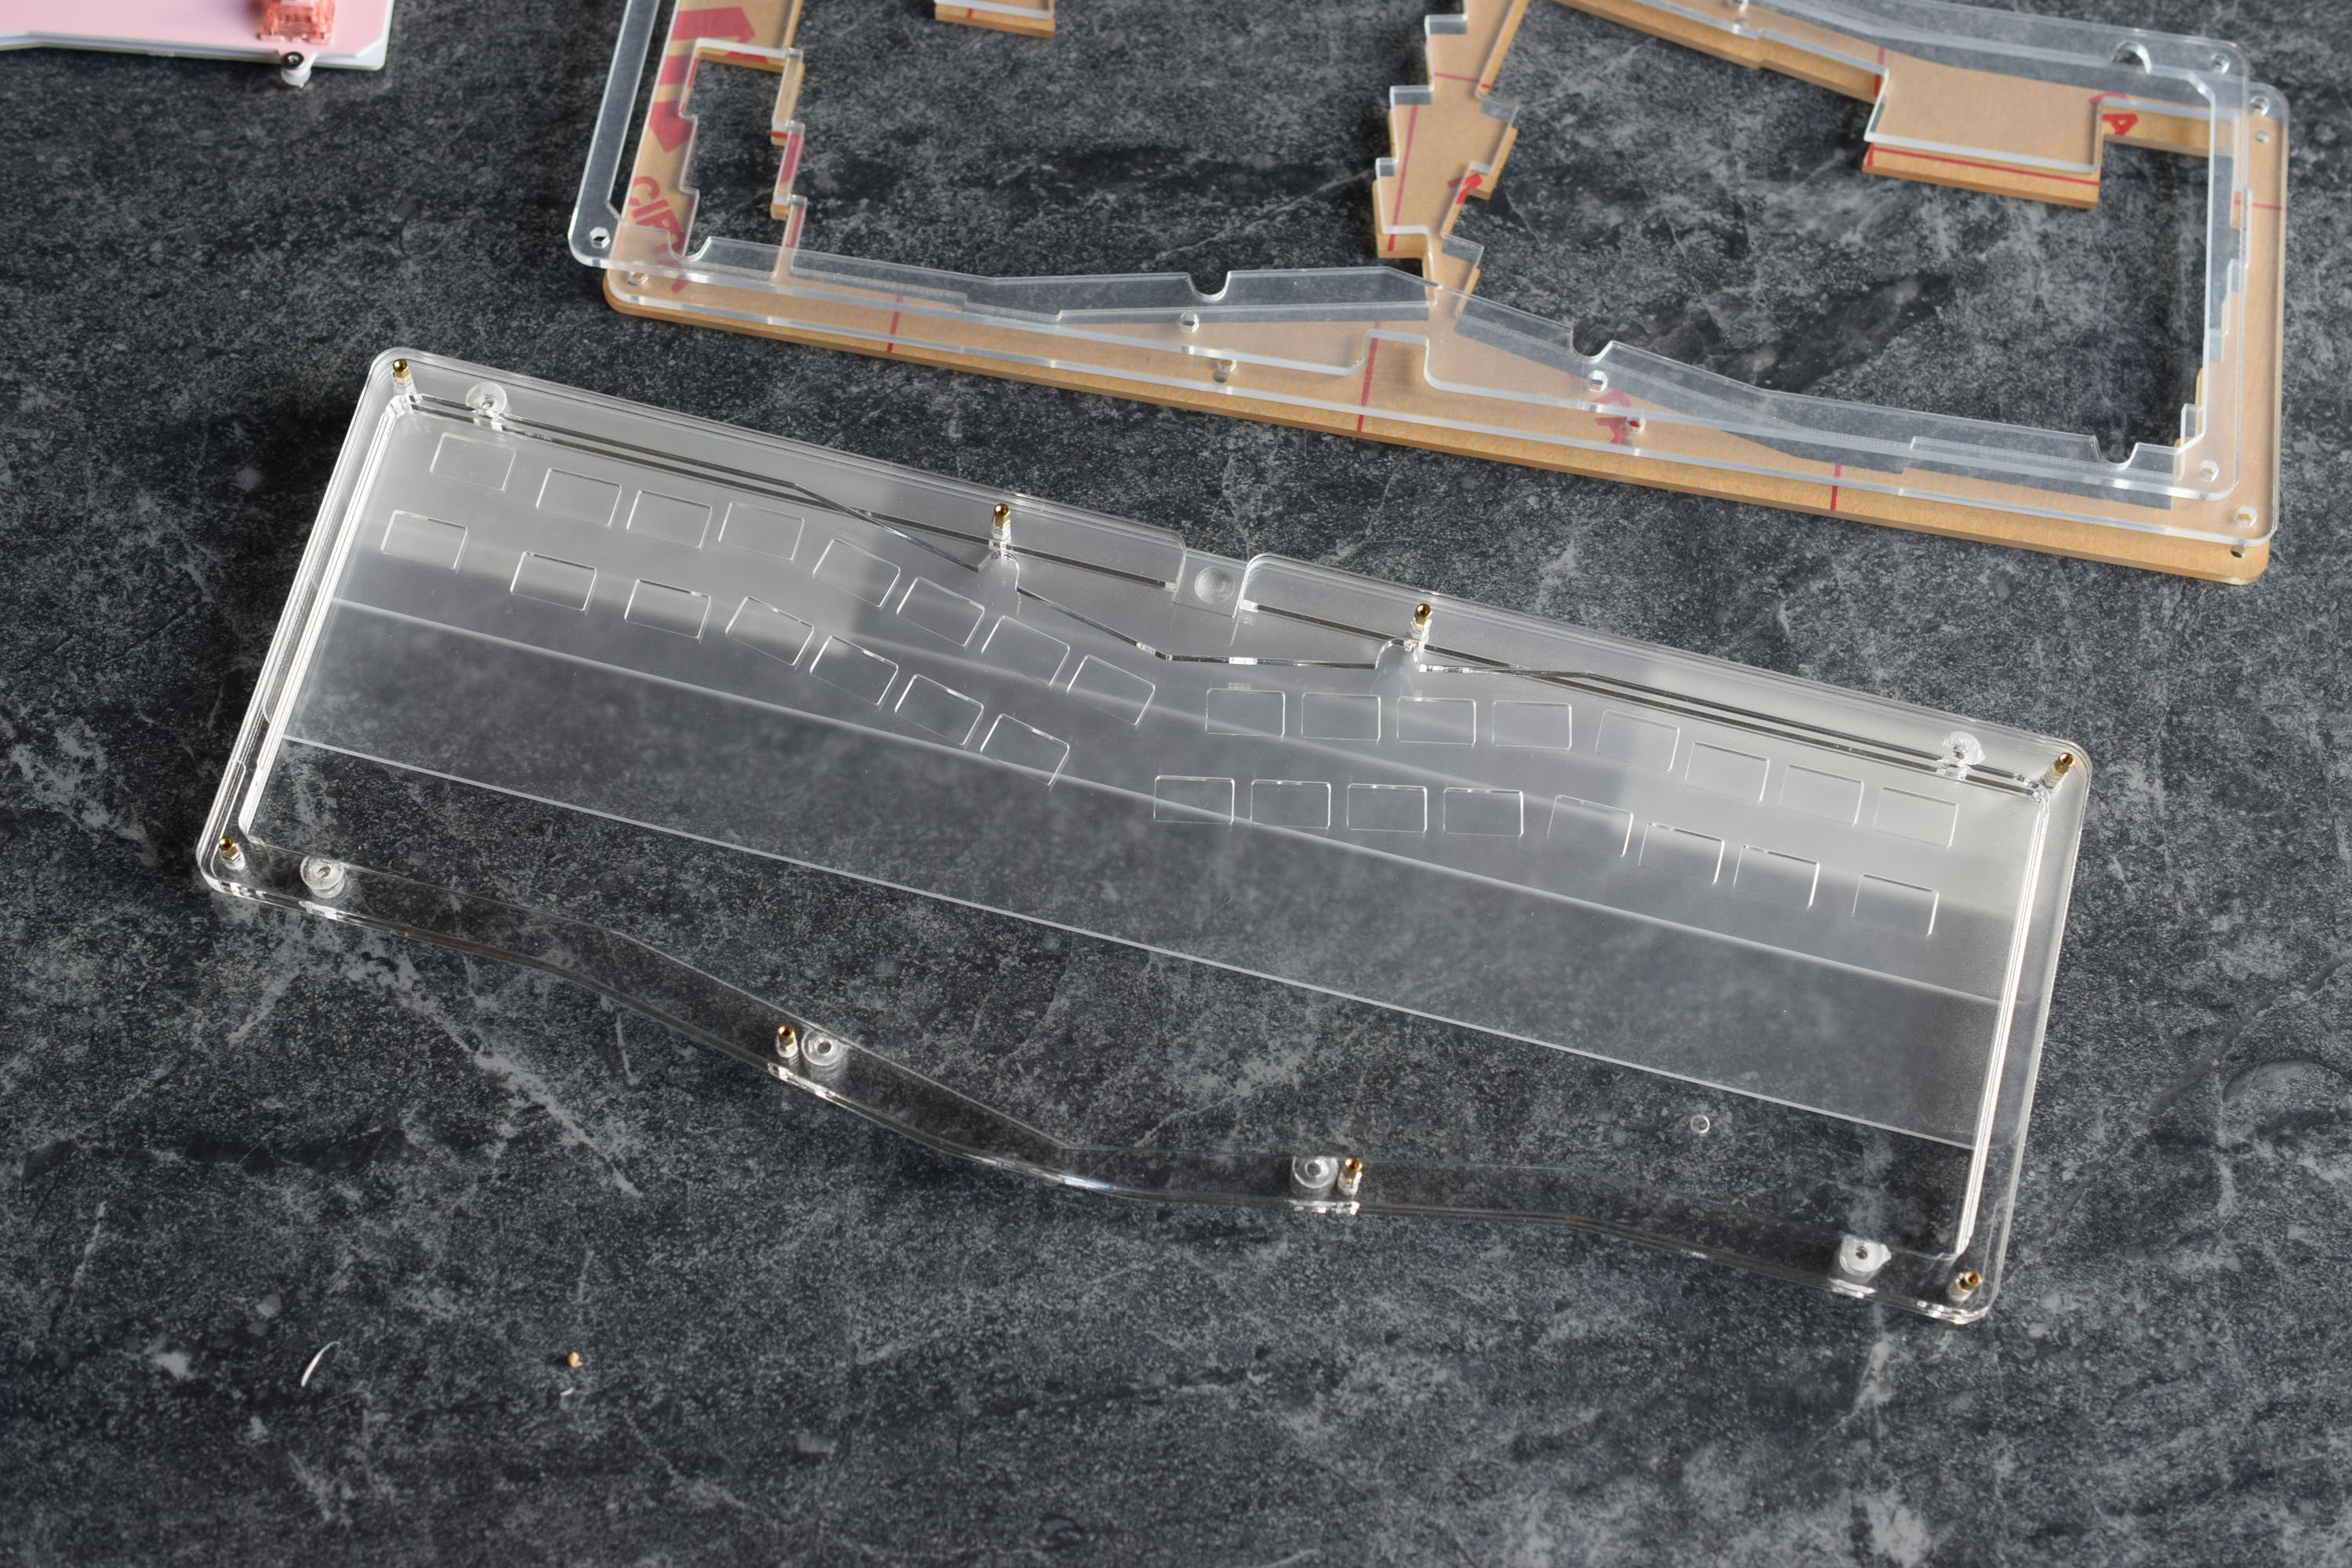
Acrylic Layers
- Have an adequate working space. The more table space the better.
- Acrylic Layers can snap easily. Handle with care, and take your time peeling the protective film.
- Build from the bottom-upwards (refer to below “Build Guide with Pictures”).
- Don’t start peeling and building the case till the PCB and Plate are soldered together. This minimizes the time for exposed acrylic to accumulate dust.
- Do not wipe with isopropyl alcohol. This damages the acrylic and causes it to fracture.
- Wiping down each layer of acrylic with a damp cloth is recommended to minimize dust and the risk of ElectroStatic Discharge (EST).
- Some surfaces have protective film on both sides. Acrylic with brown-film only has protection on 1 side.
- To make the peeling process easier, tweezers or a hobby blade are convenient to use. Sometimes sticky-tape can also be used to help pull film off.
- The plate also has protective film that needs removing.
Build Guide with Pictures - Step by Step

Take note of how the case is constructed and how all the pieces fit together. Unscrew the PC Screws at the top and begin working downwards.
Keep track of the layers. When you take them off, flip them over and begin stacking the layers “upside-down”.
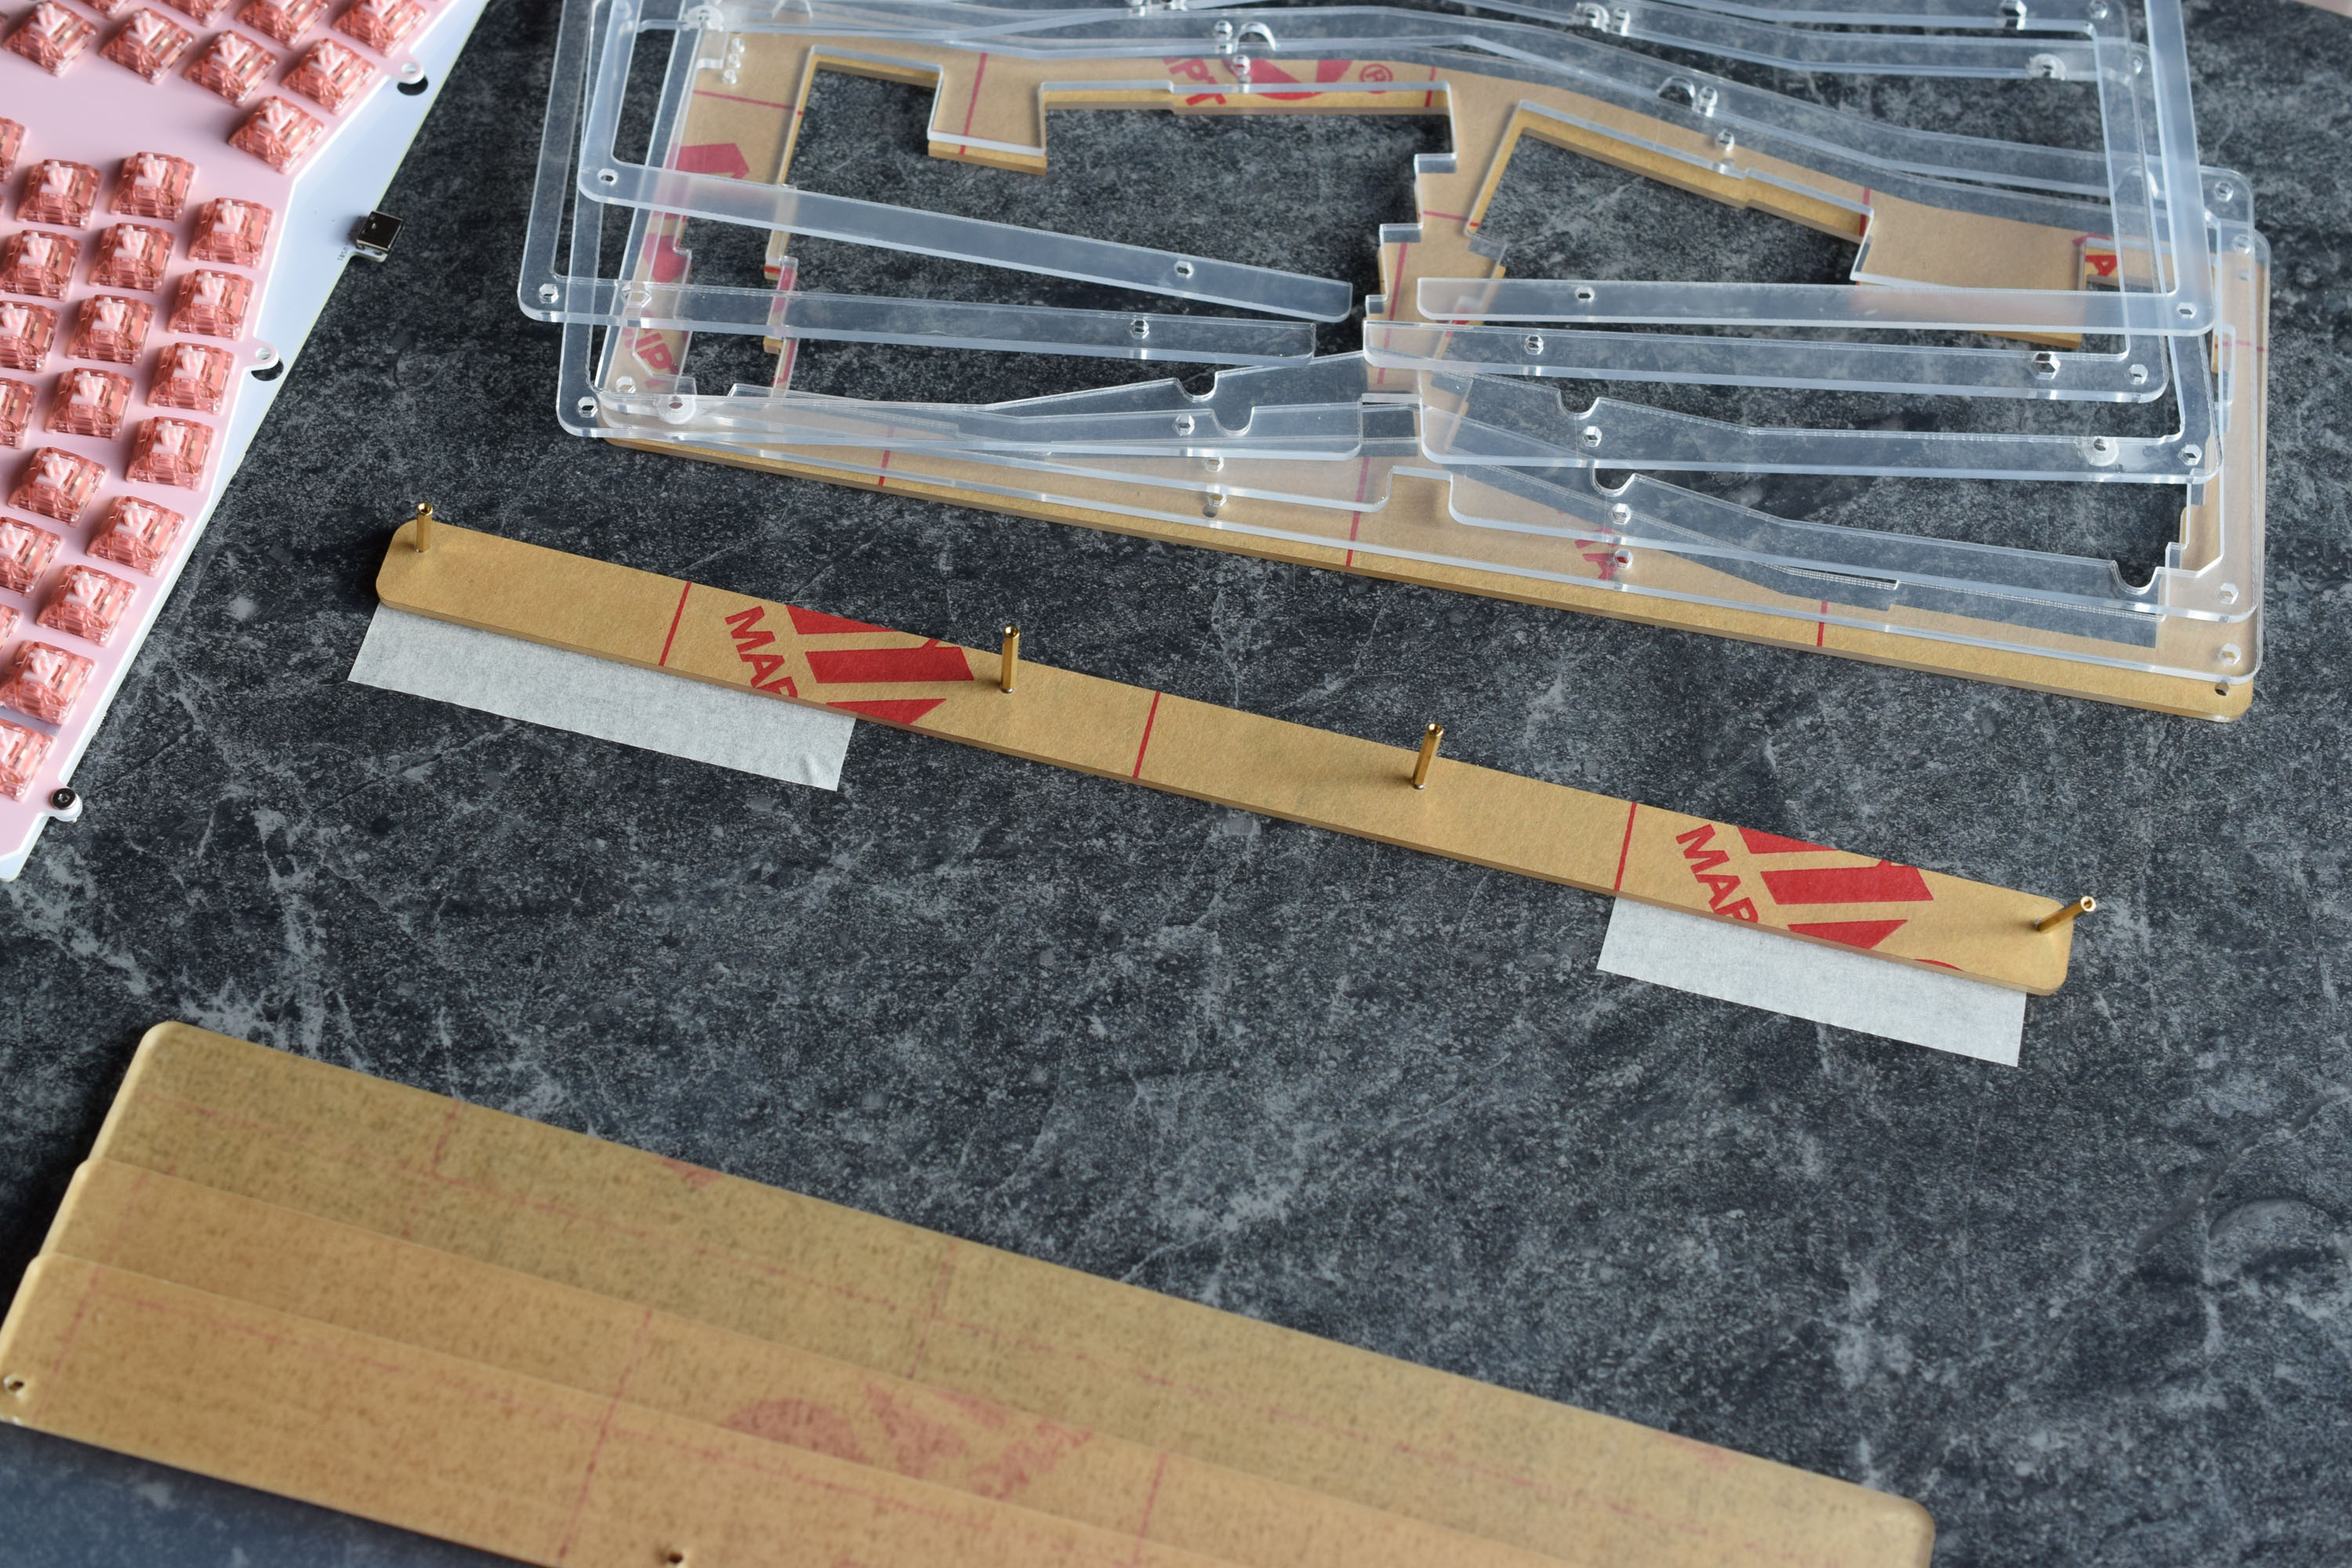
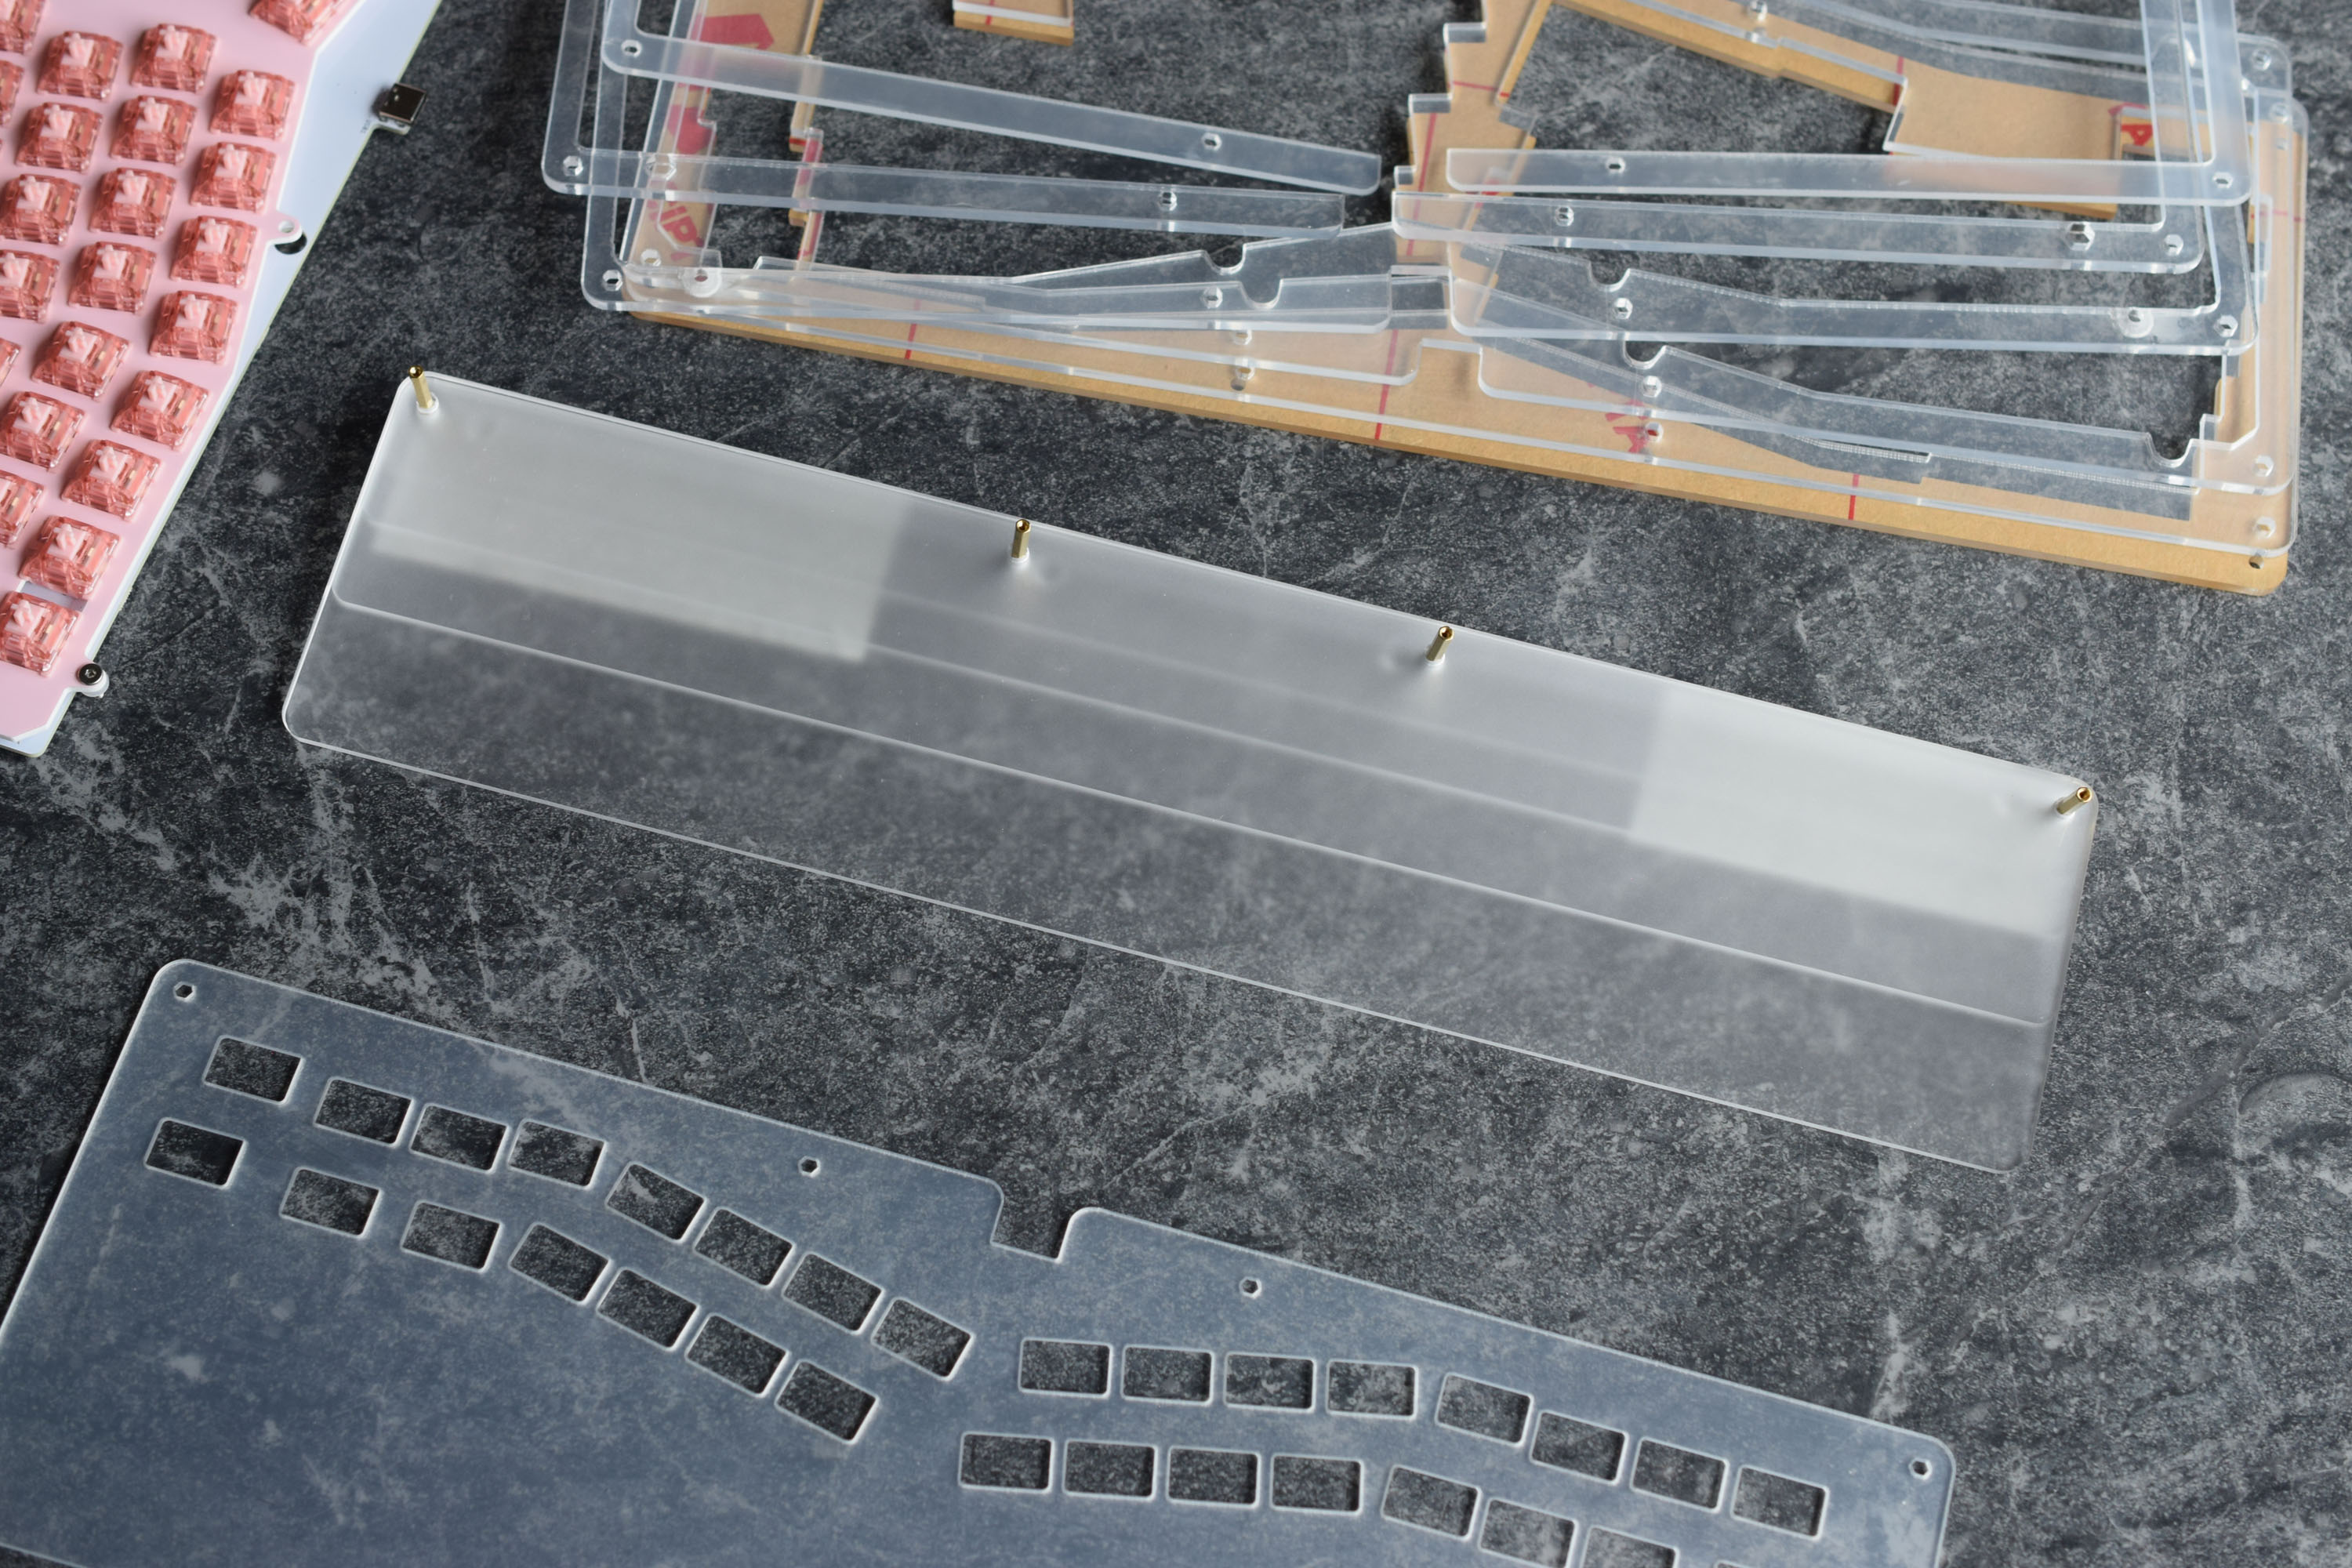
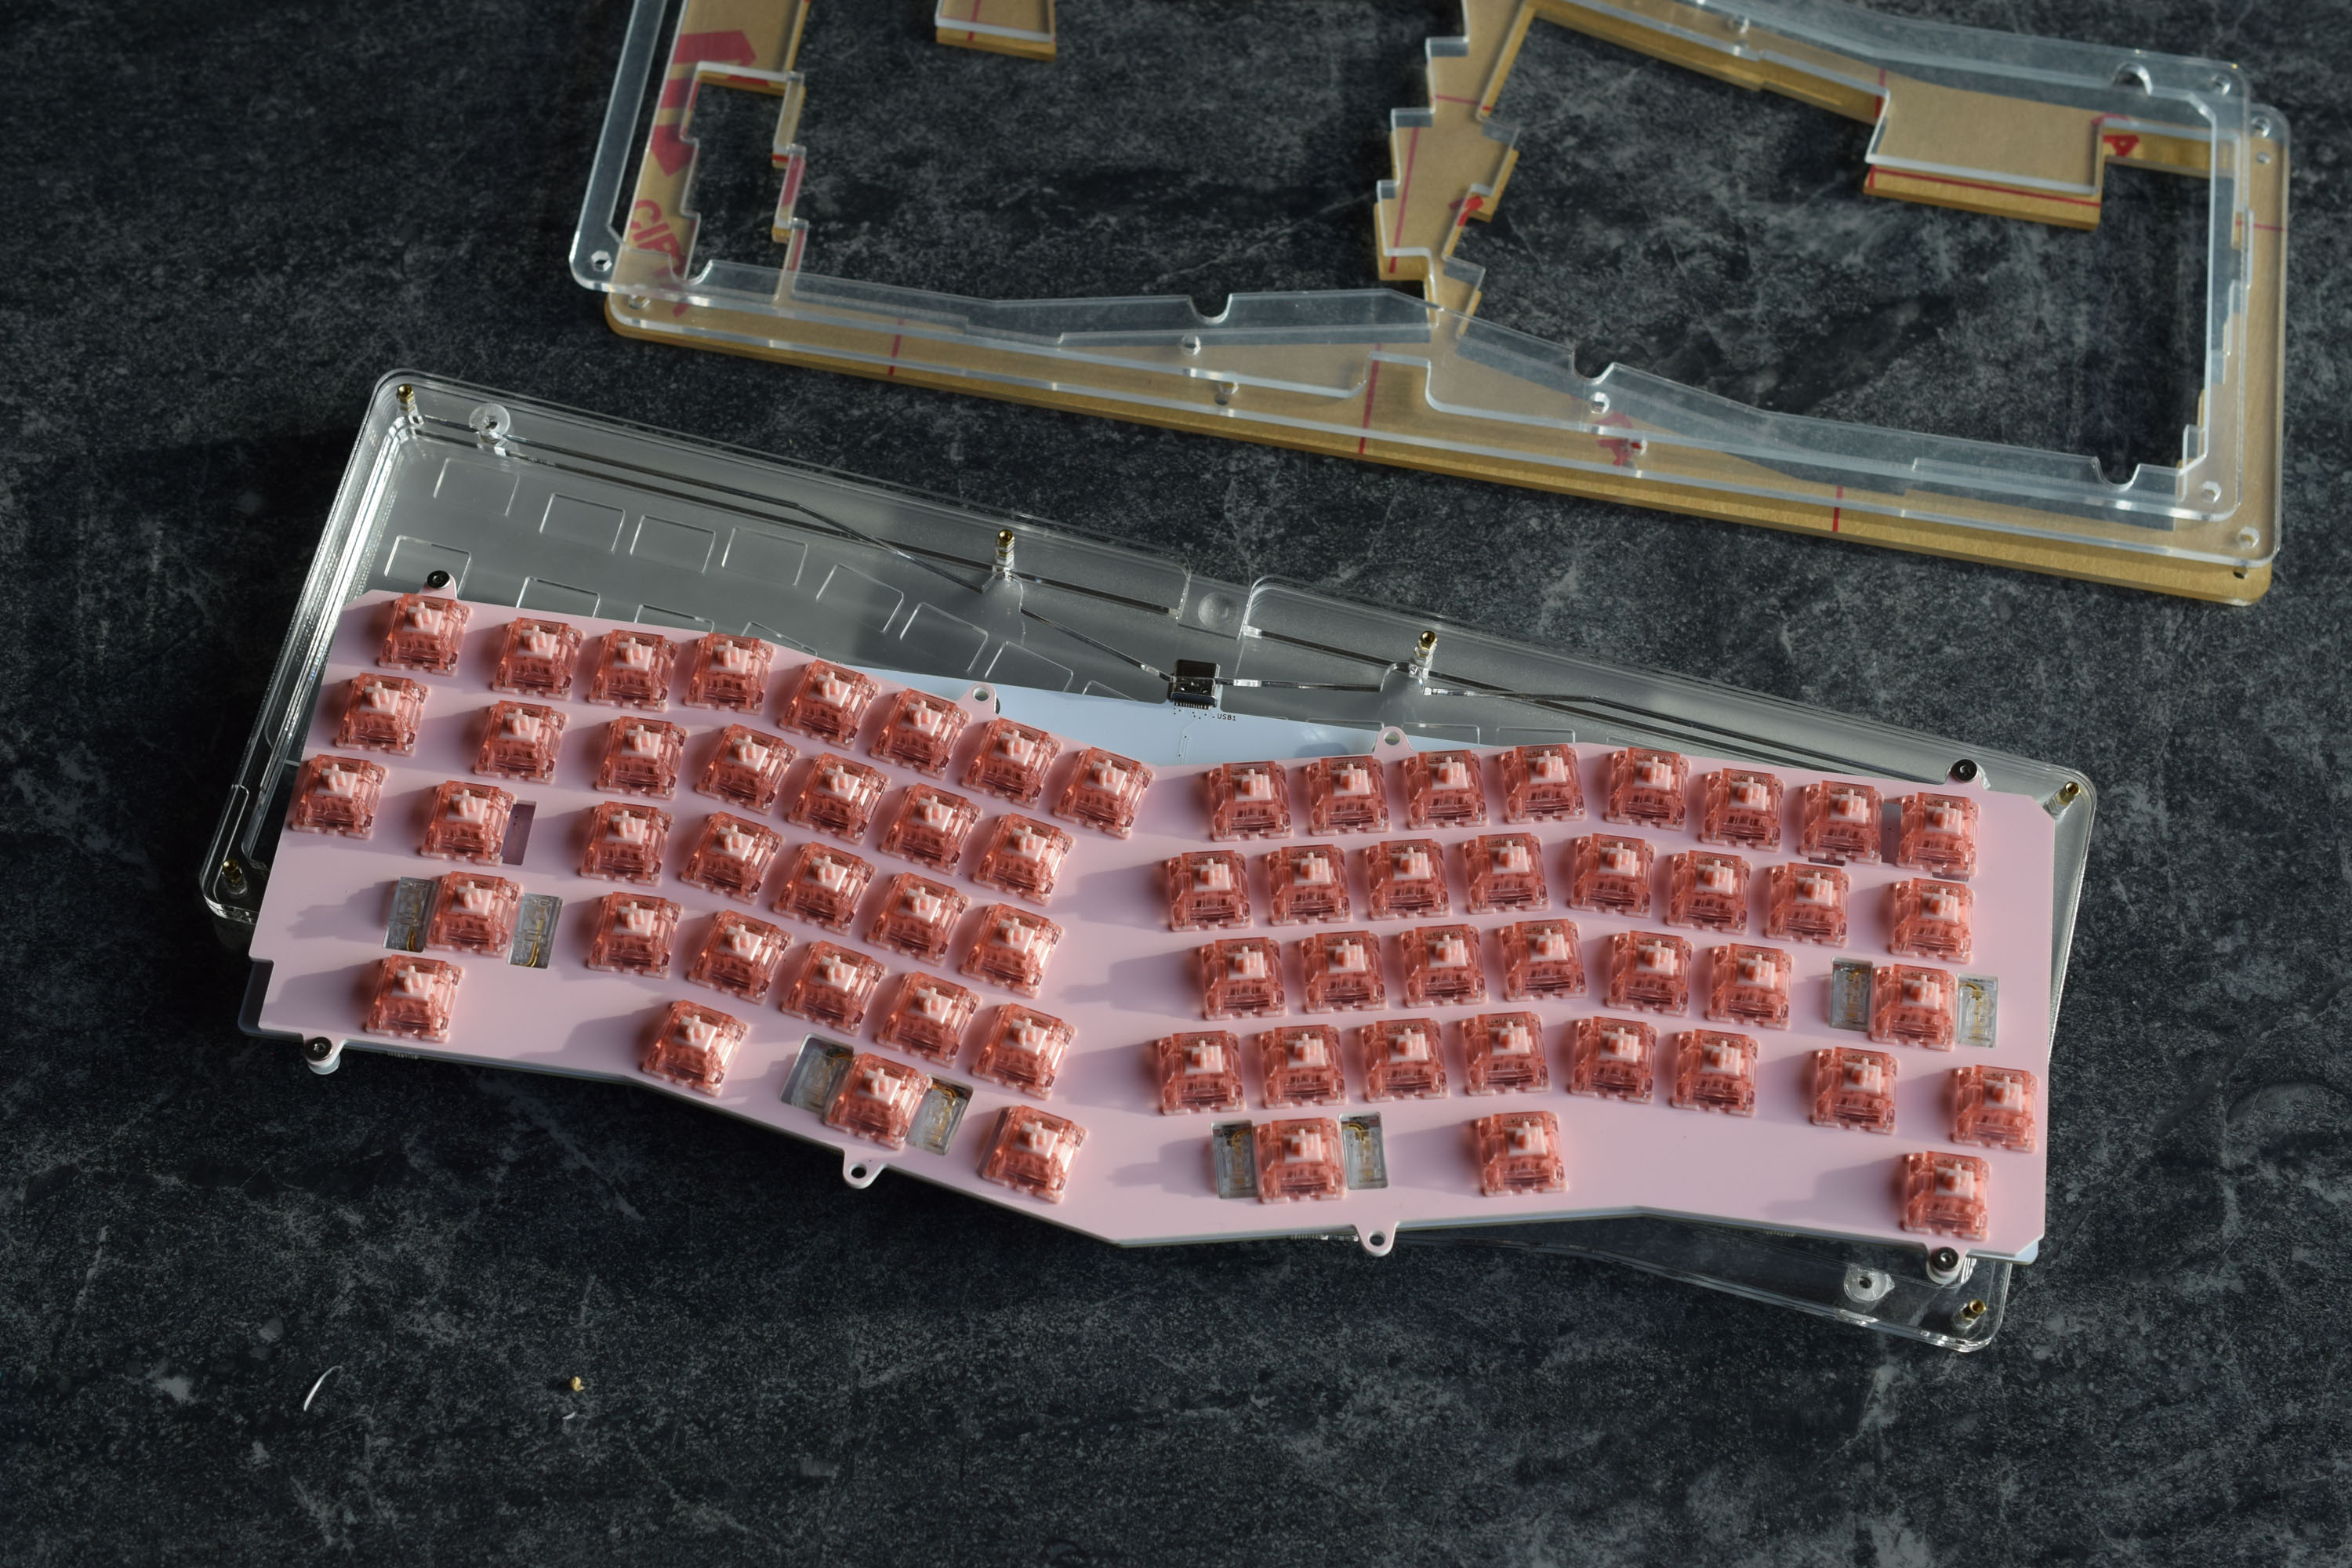
Removing the Plate
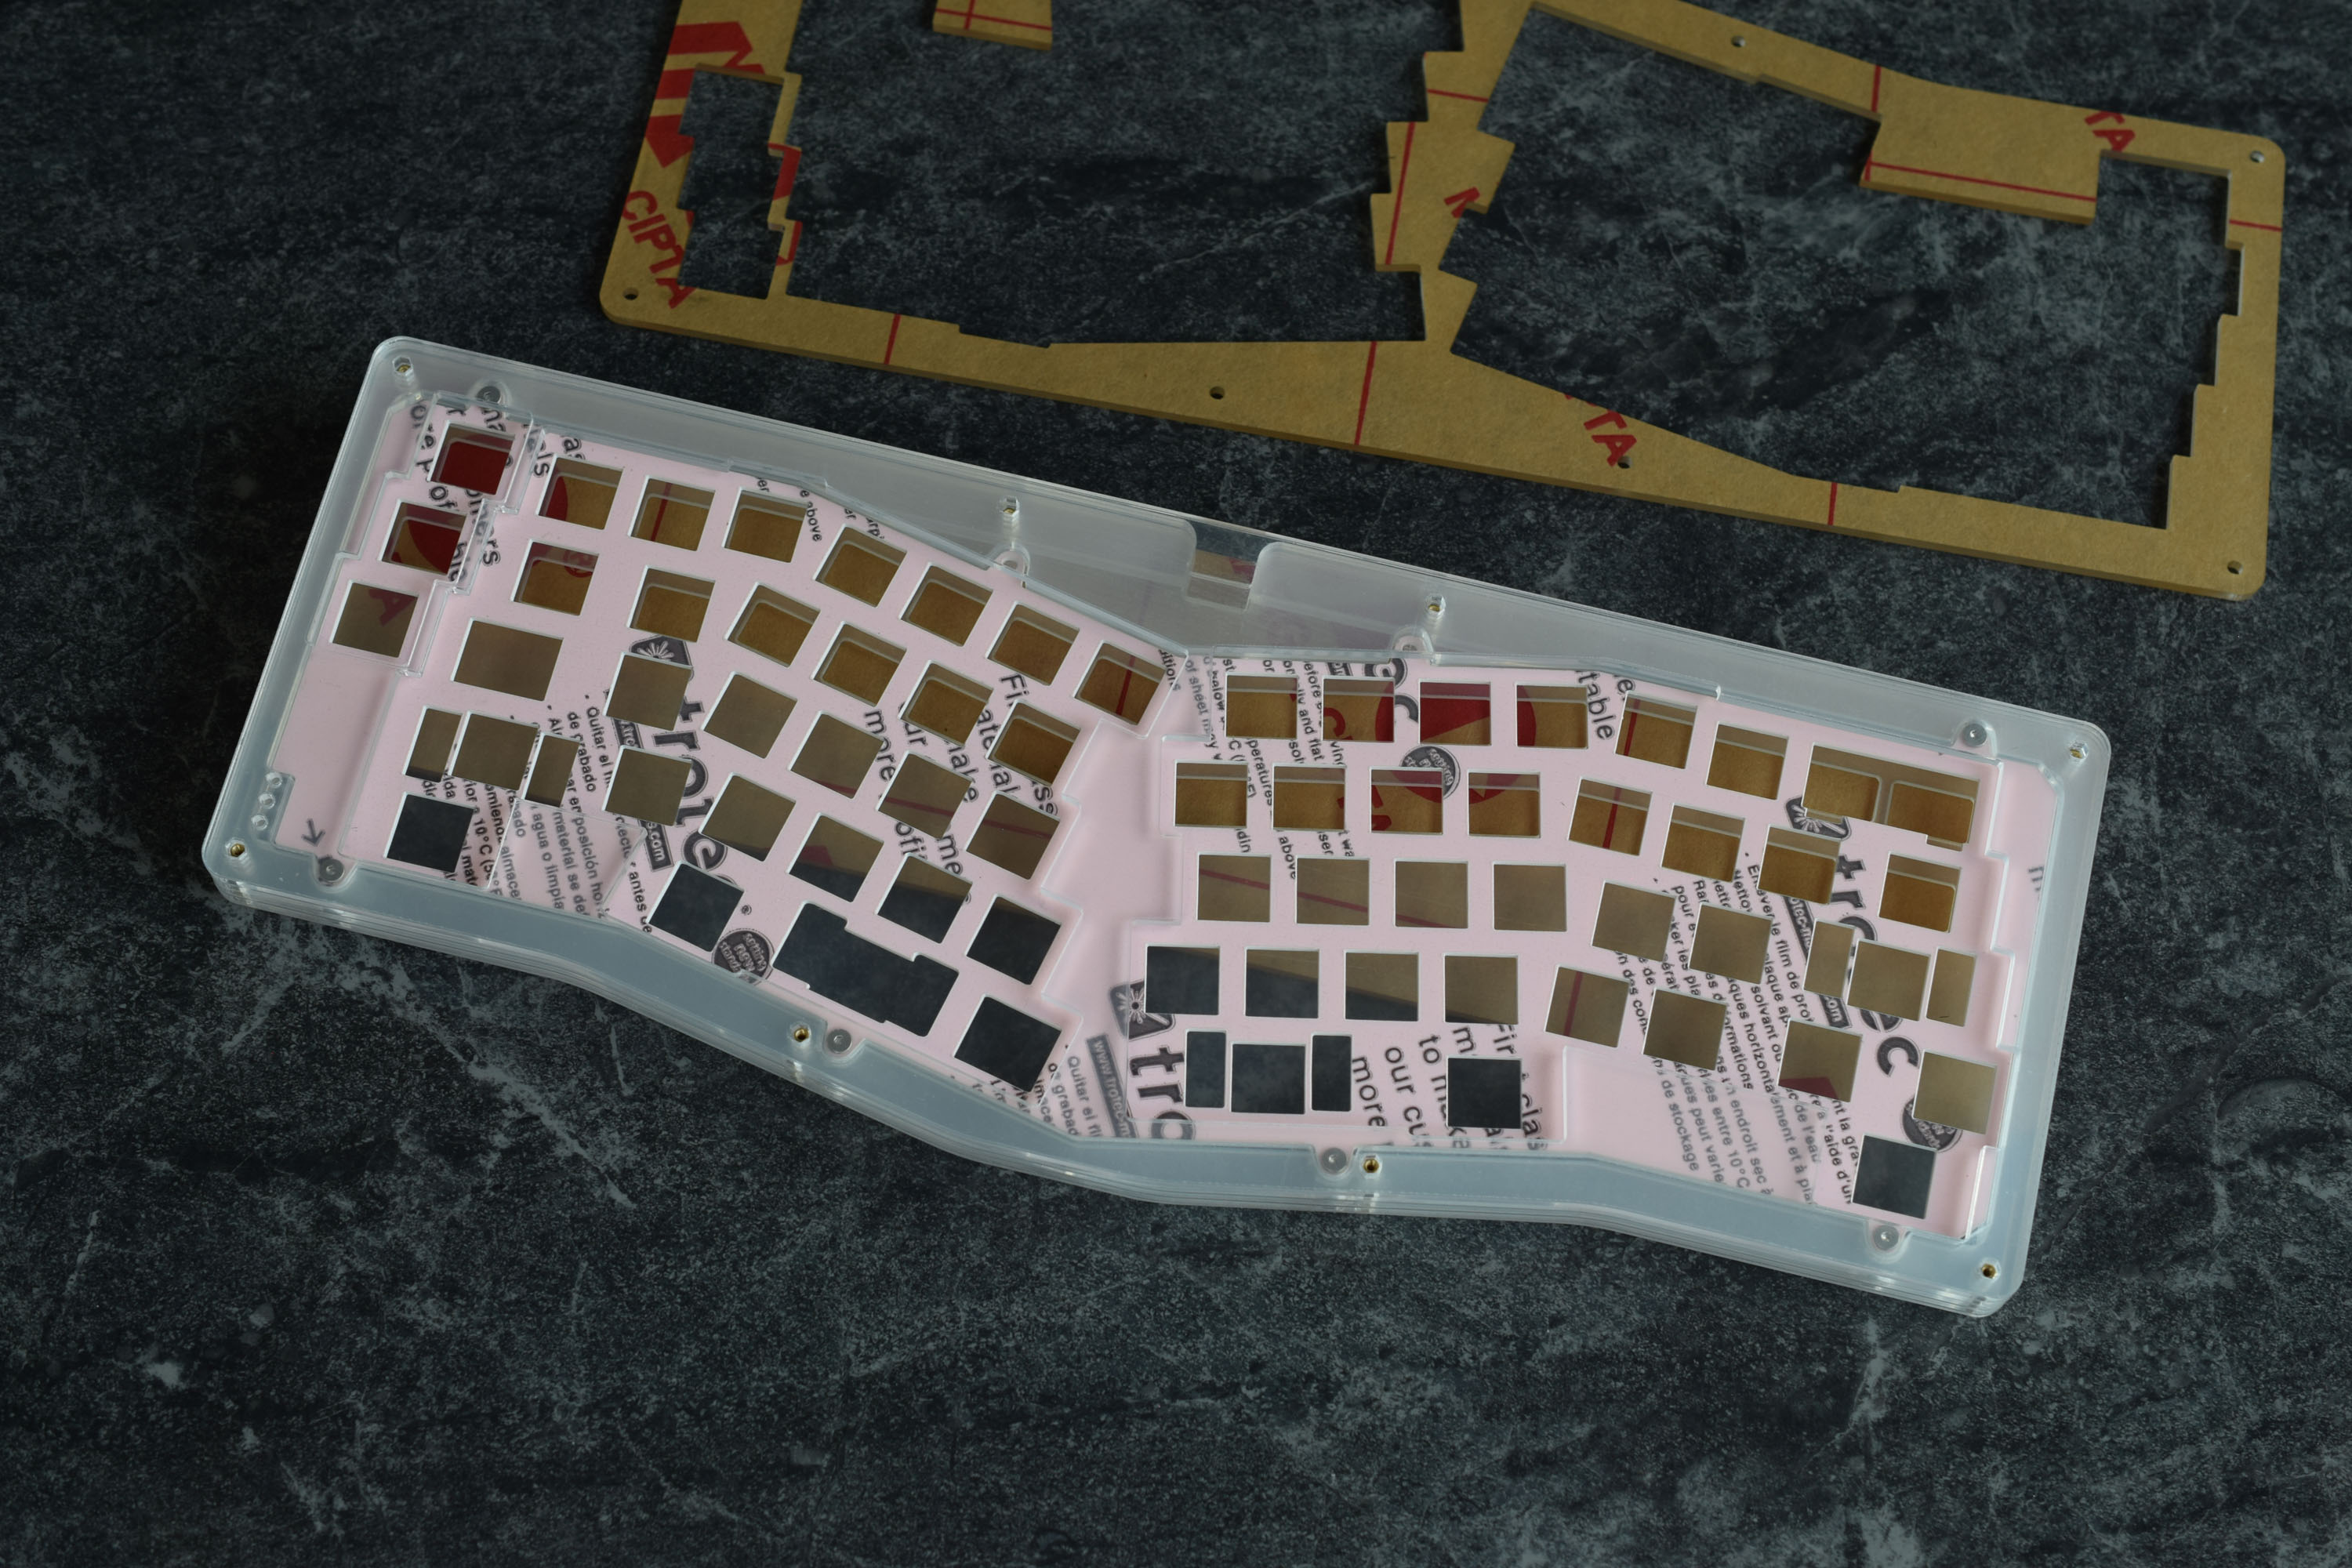
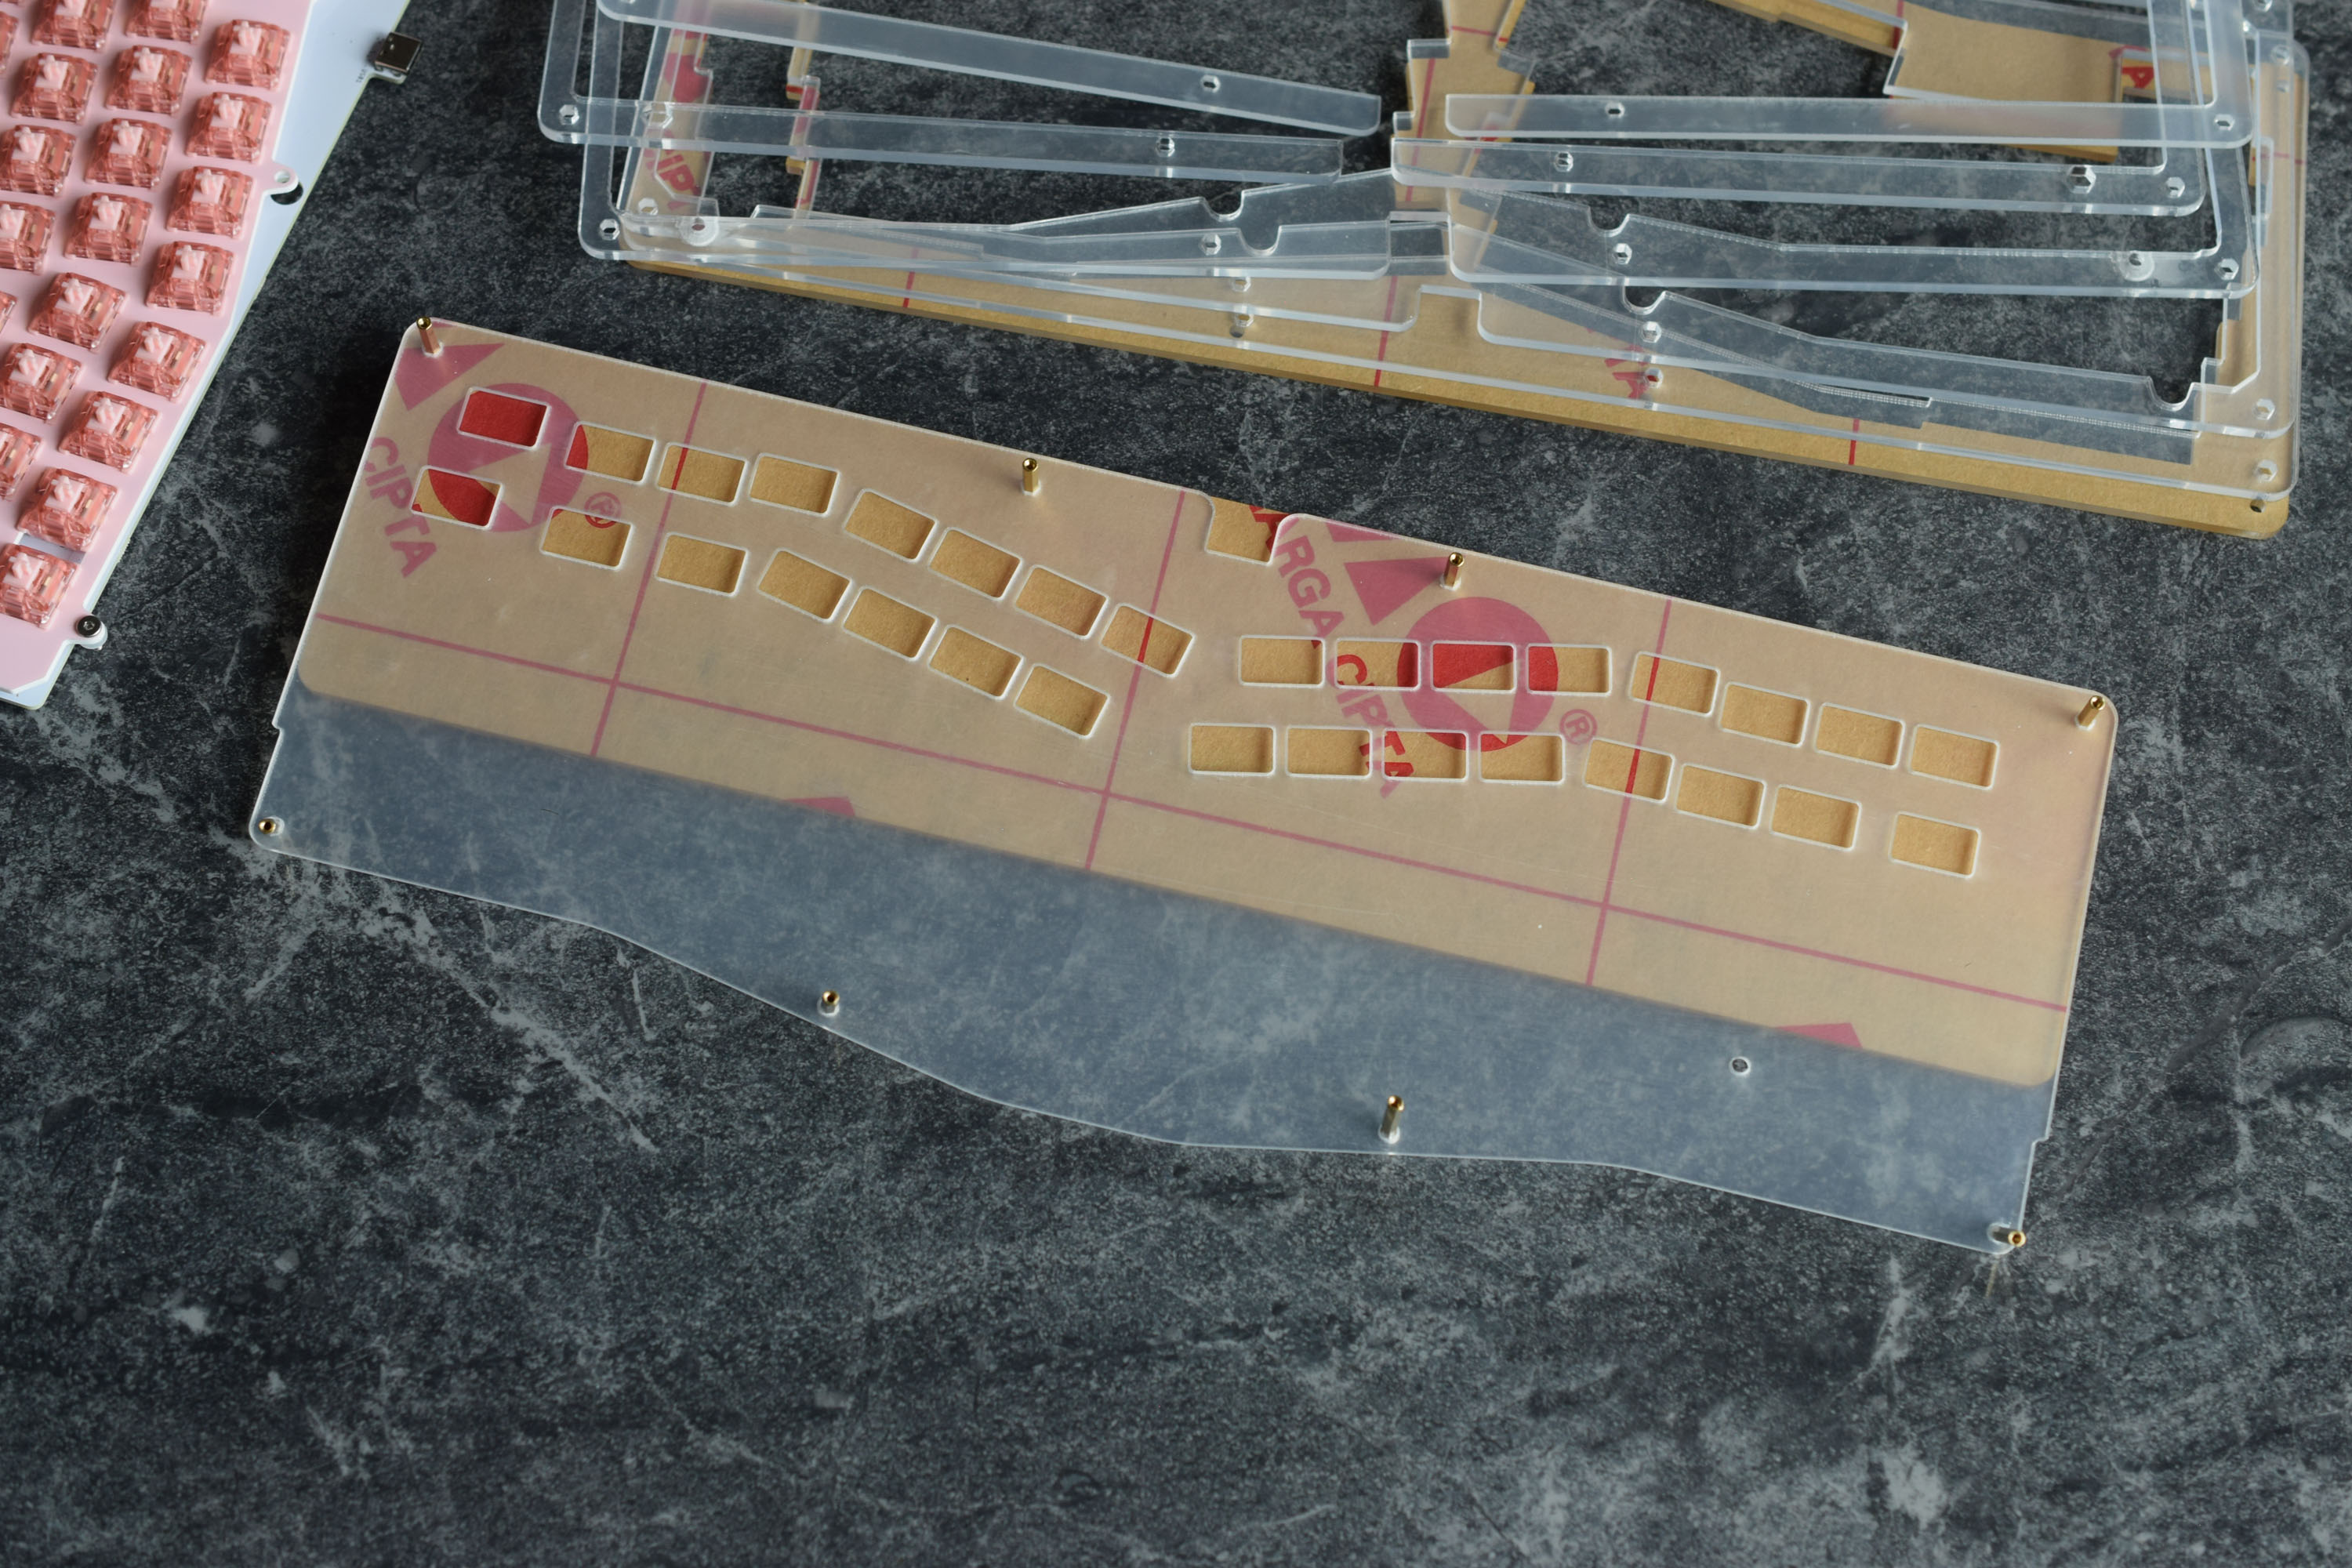
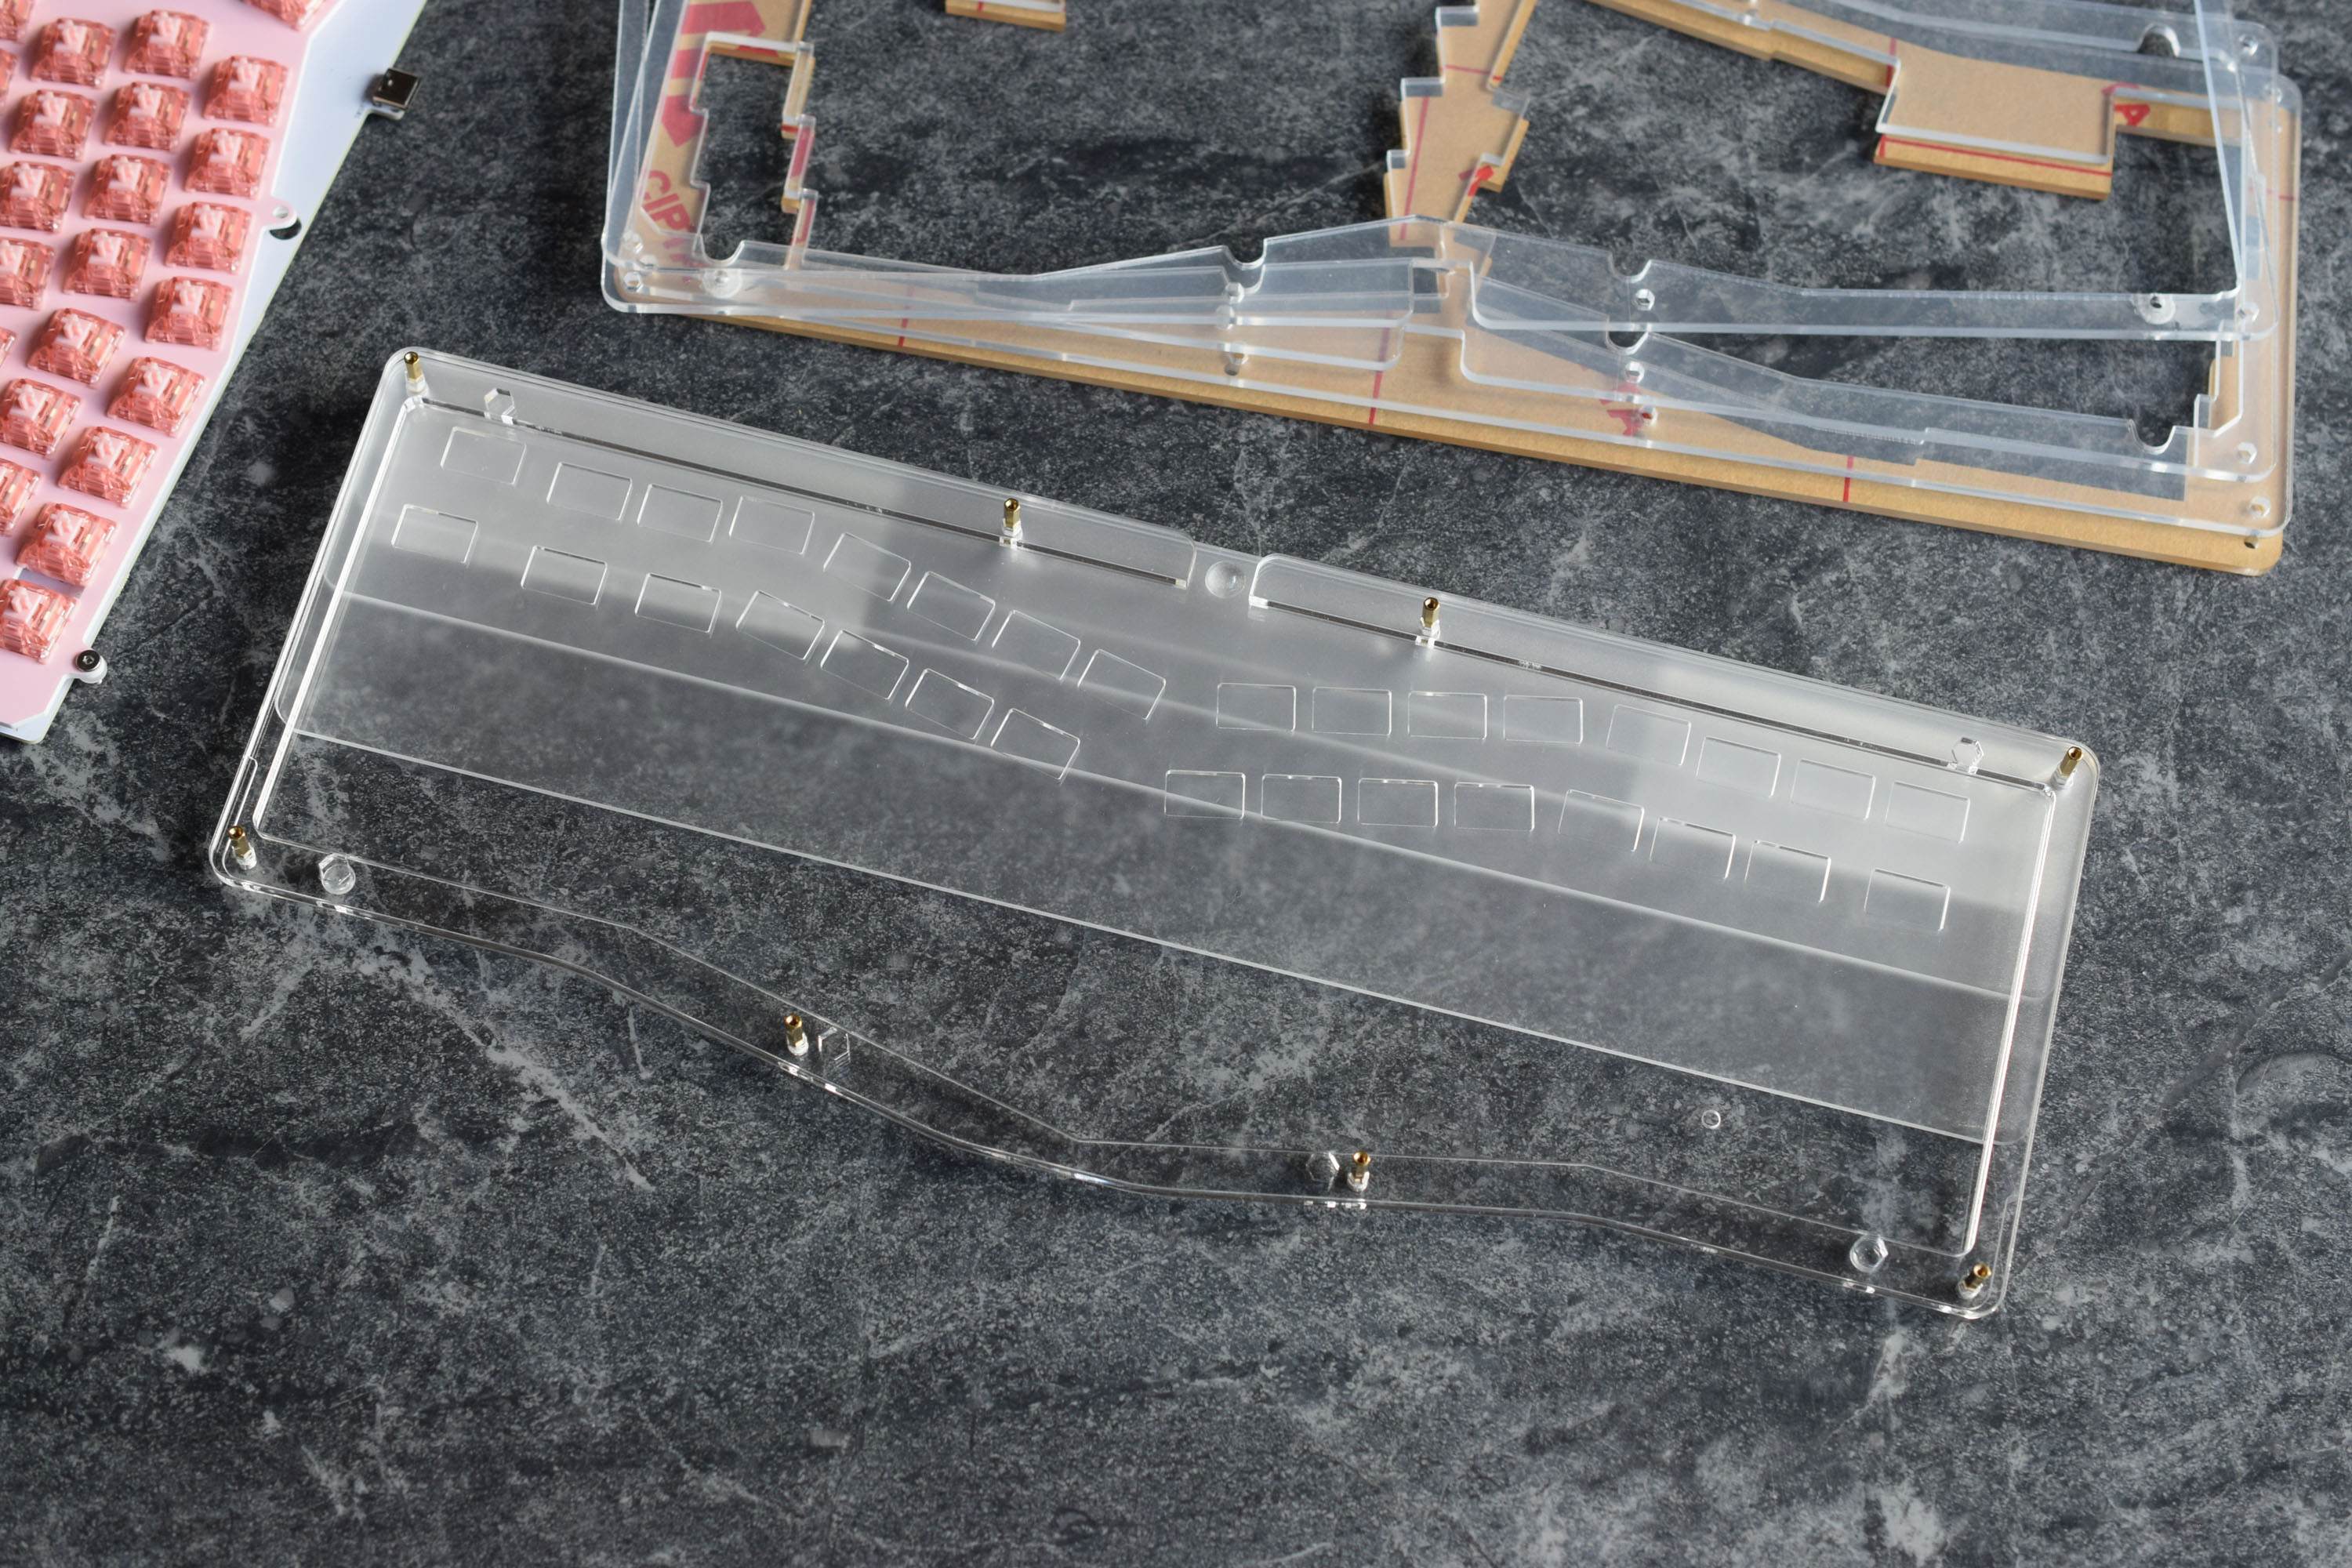
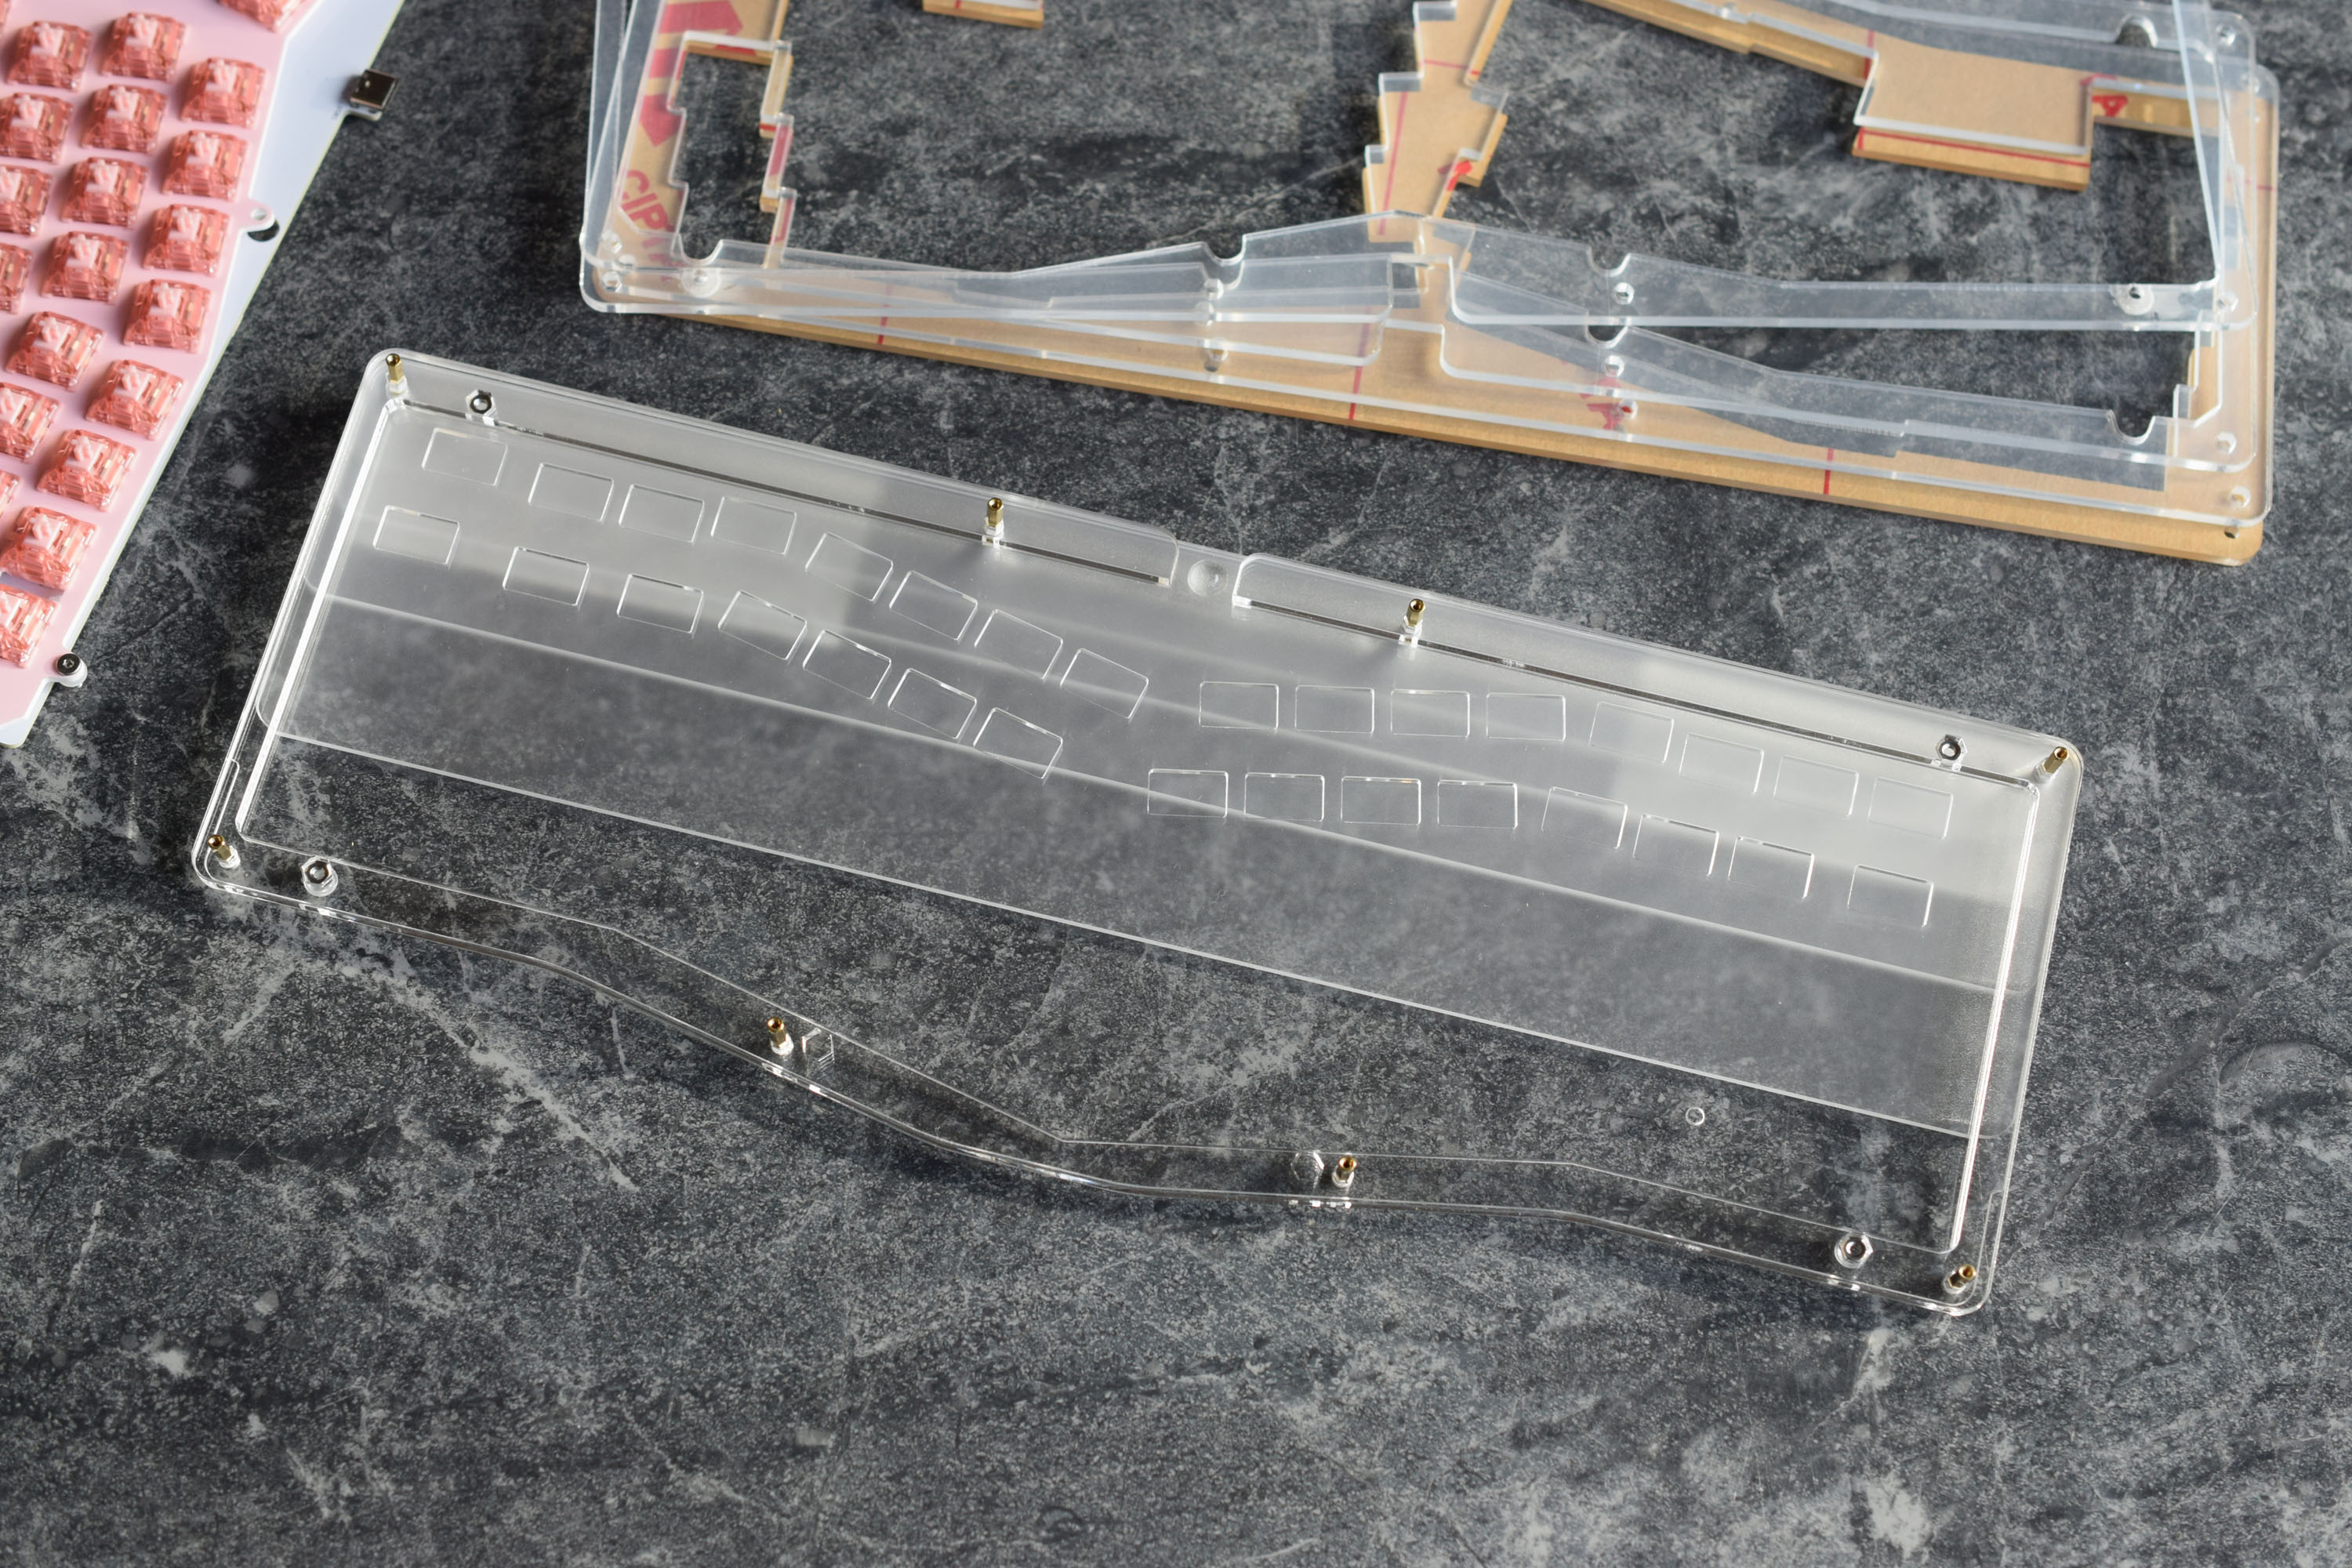
After removing three layers off, you can now access the plate. The plate is screwed into the case and needs to be removed.
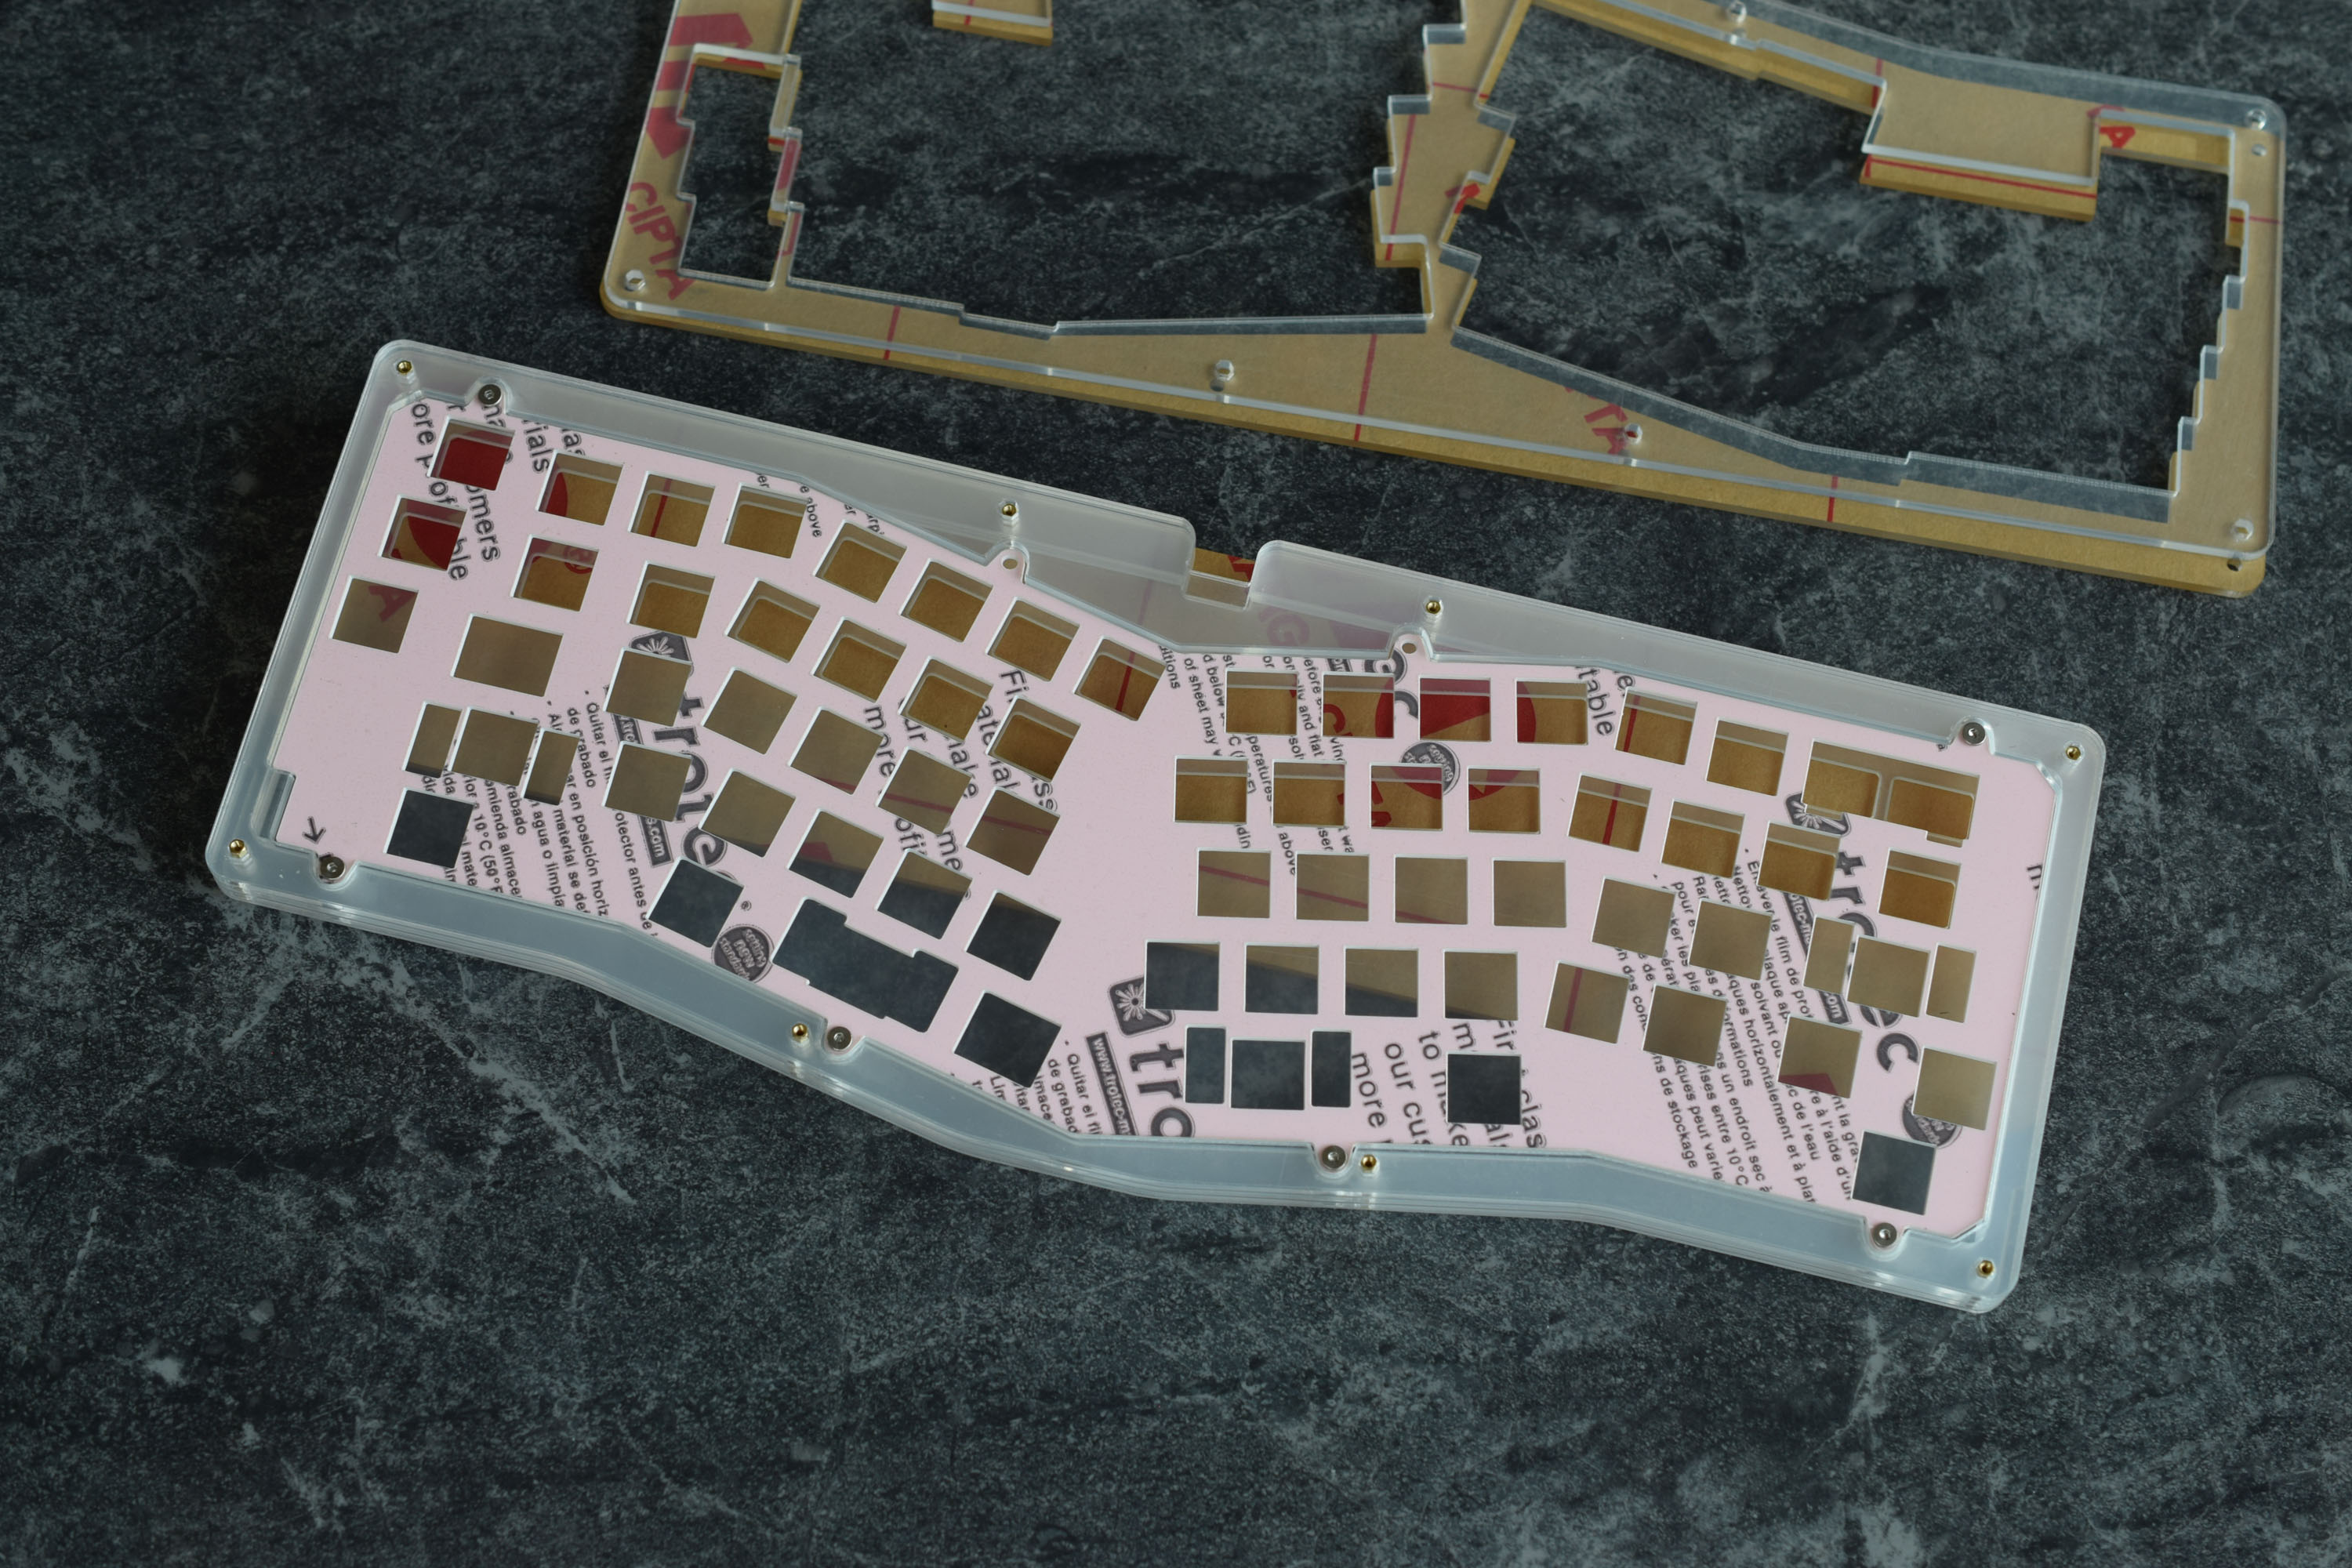

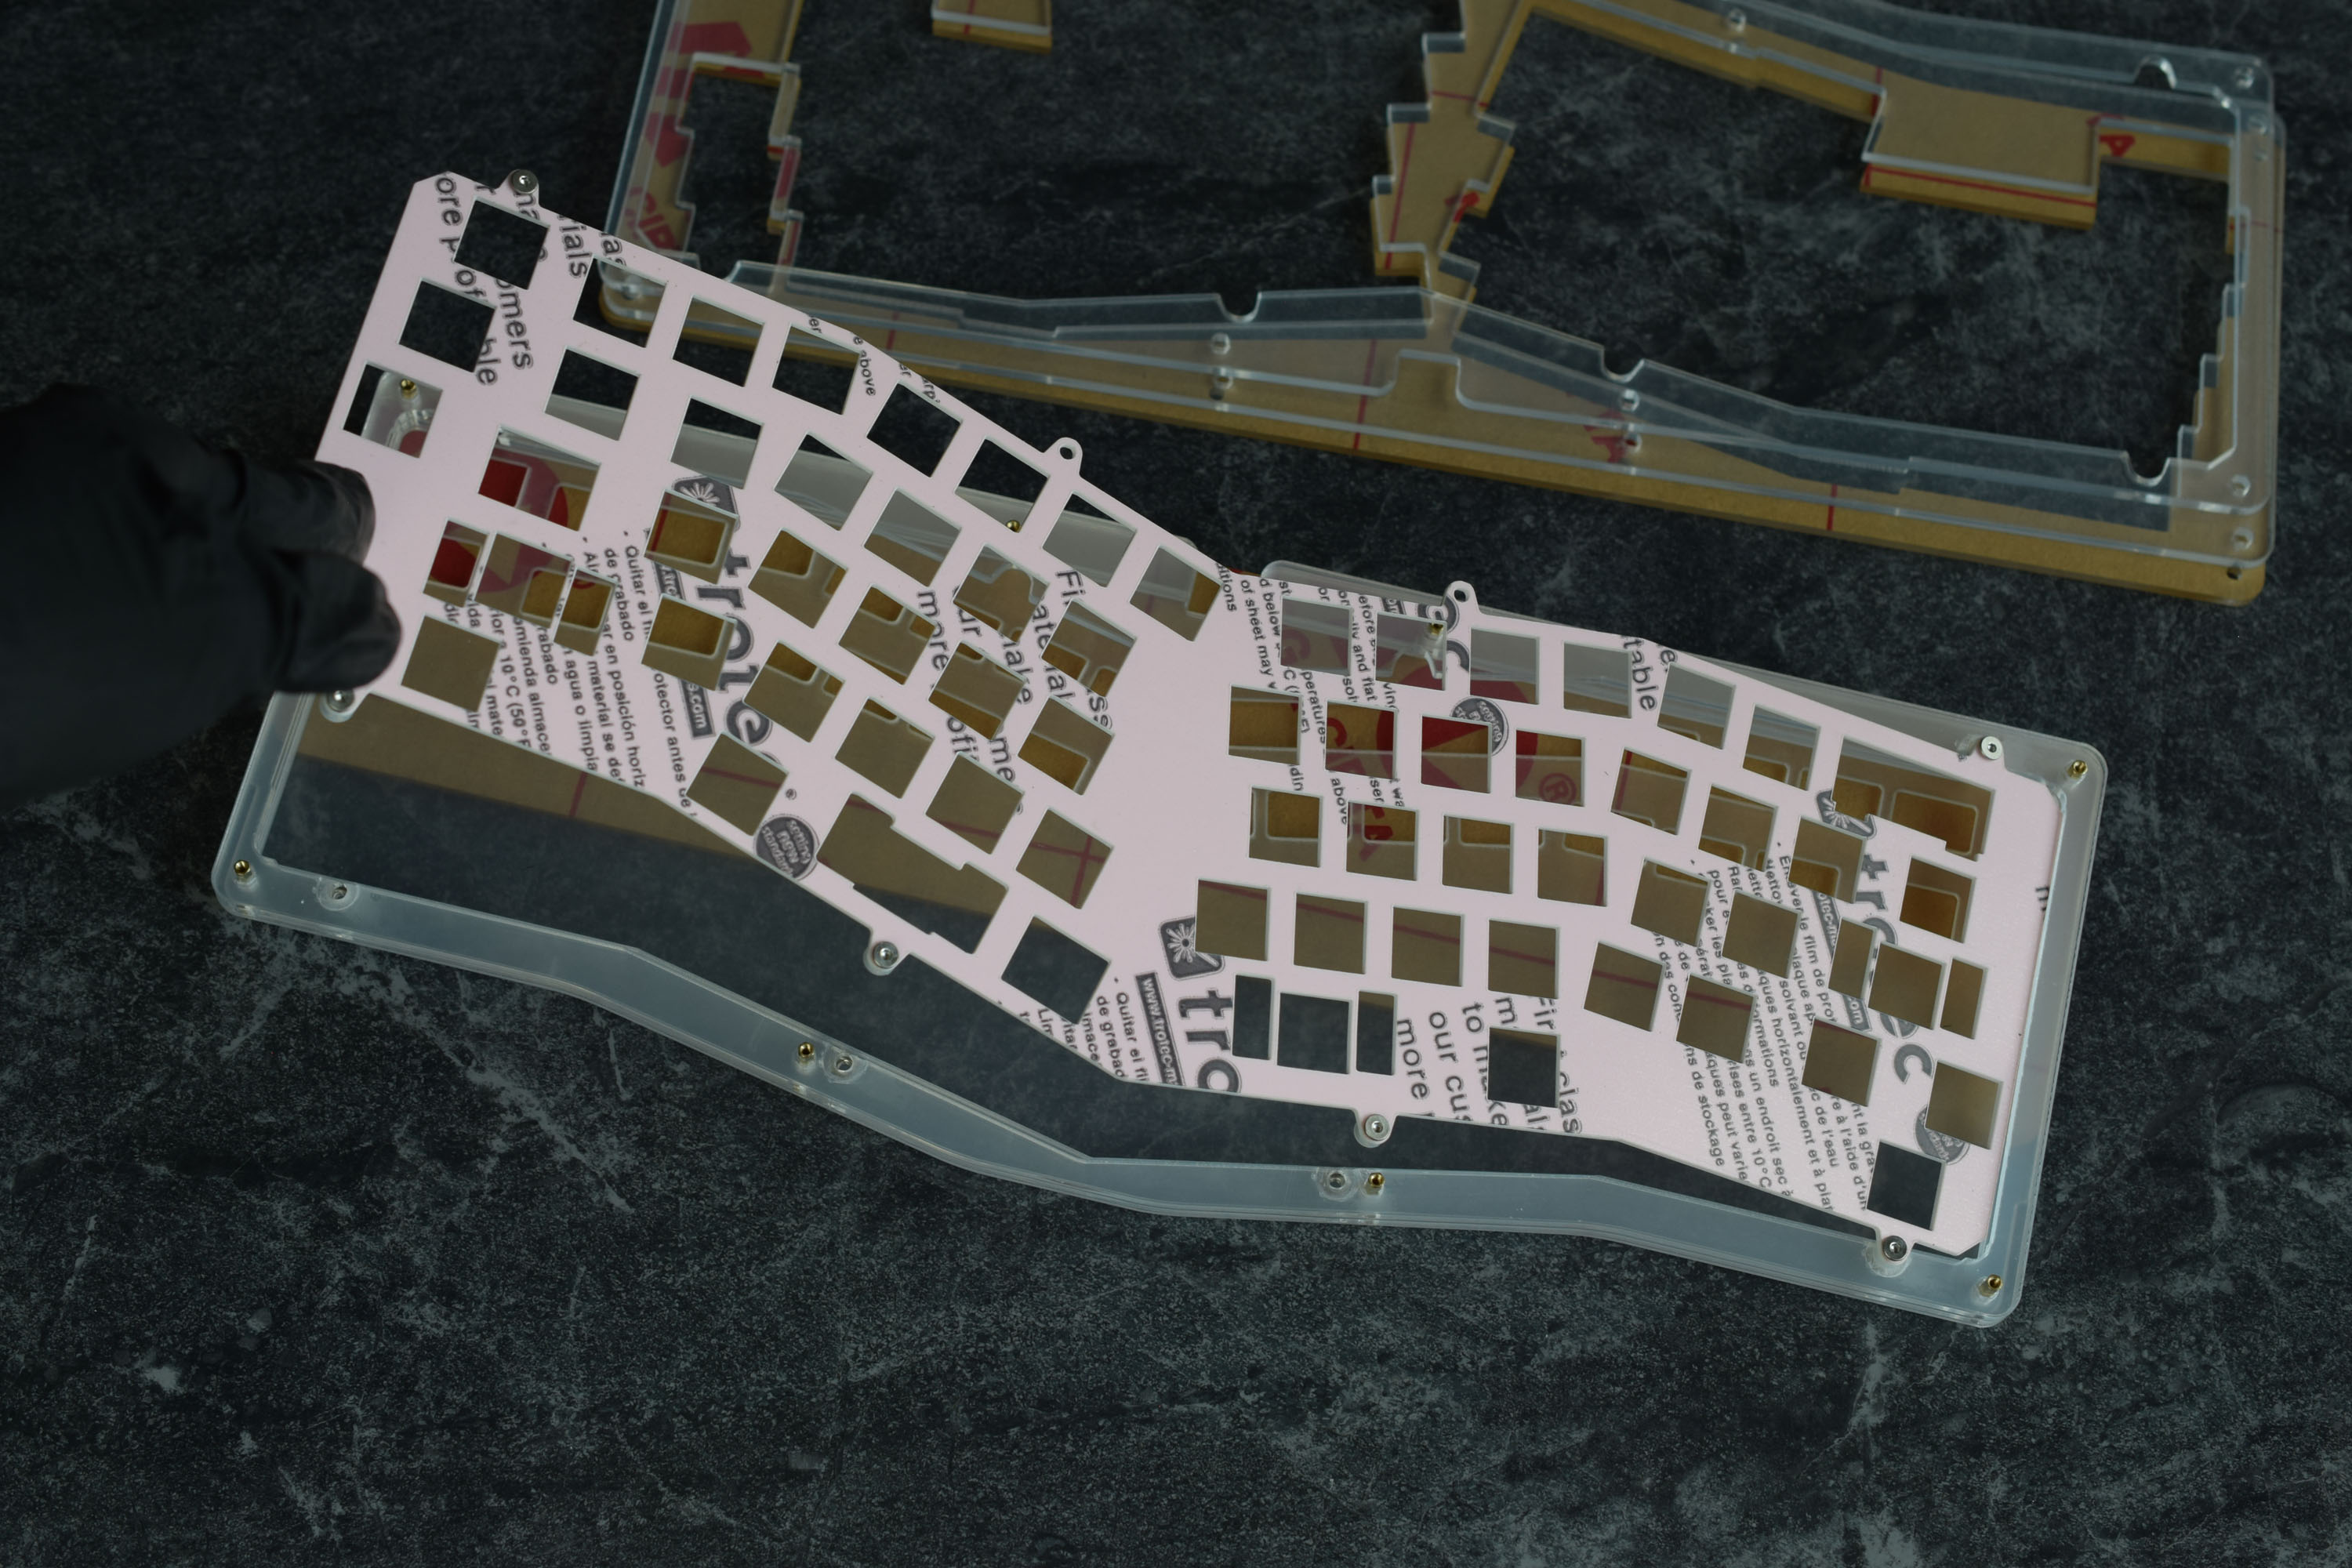
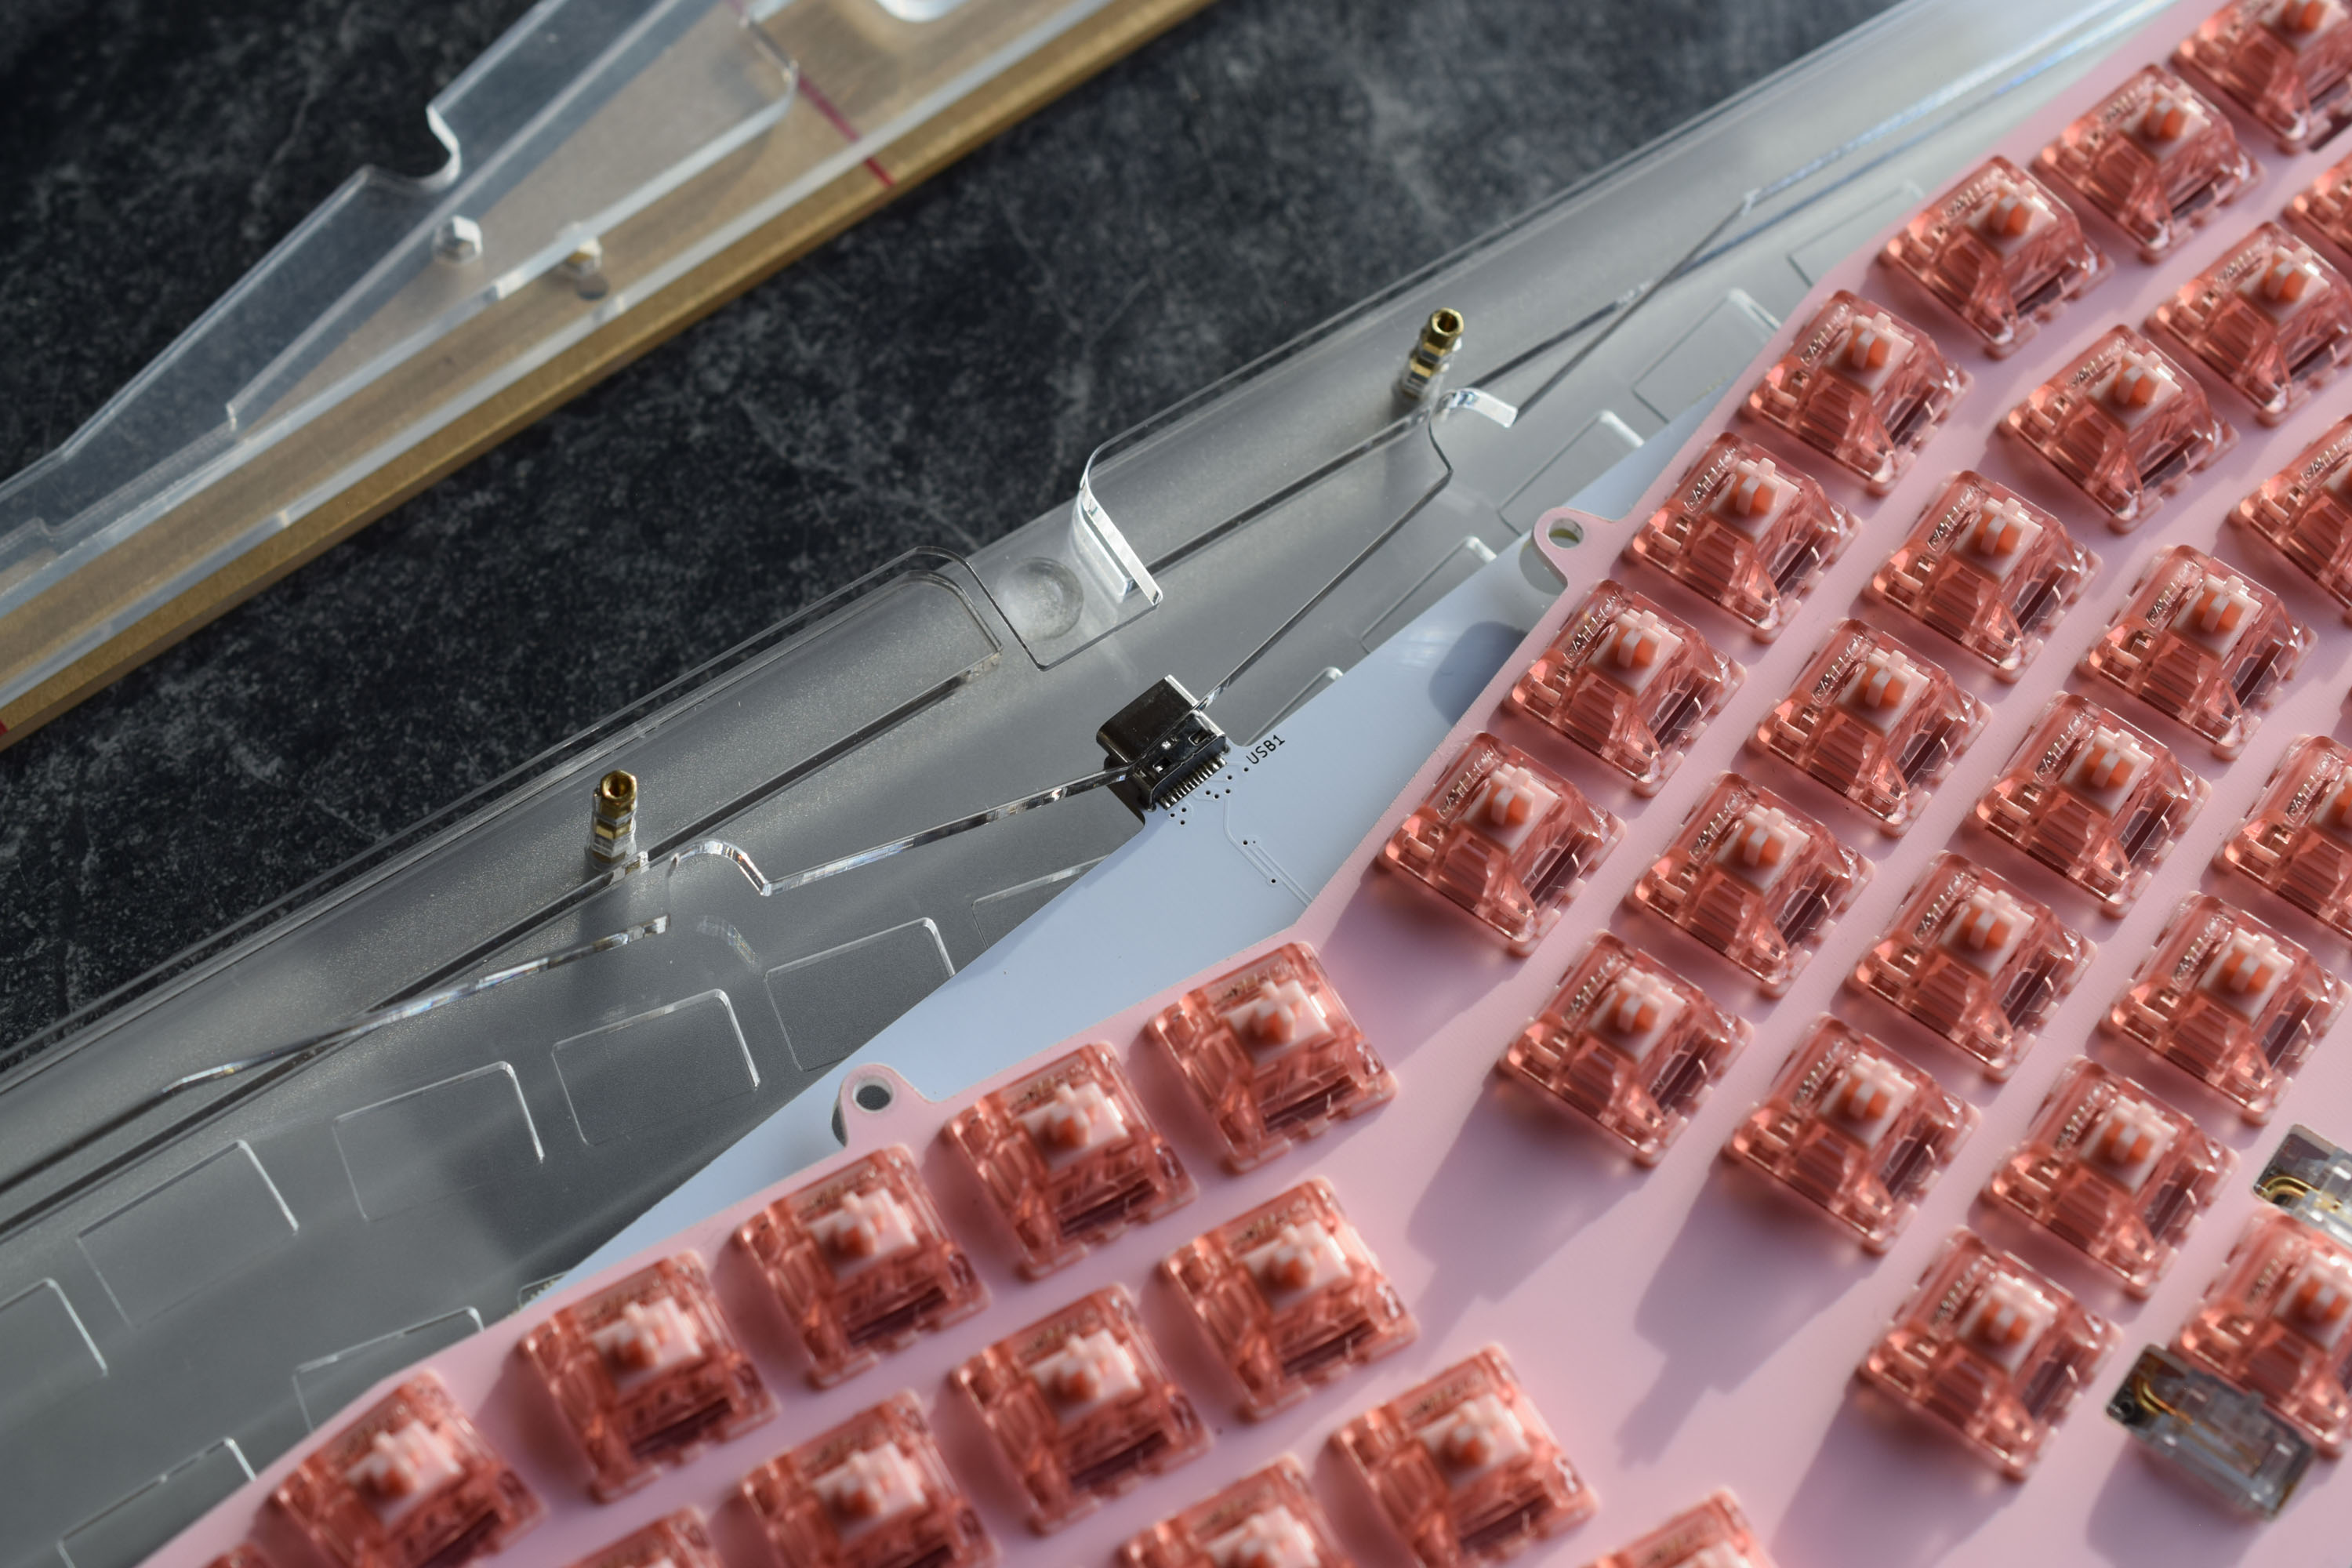
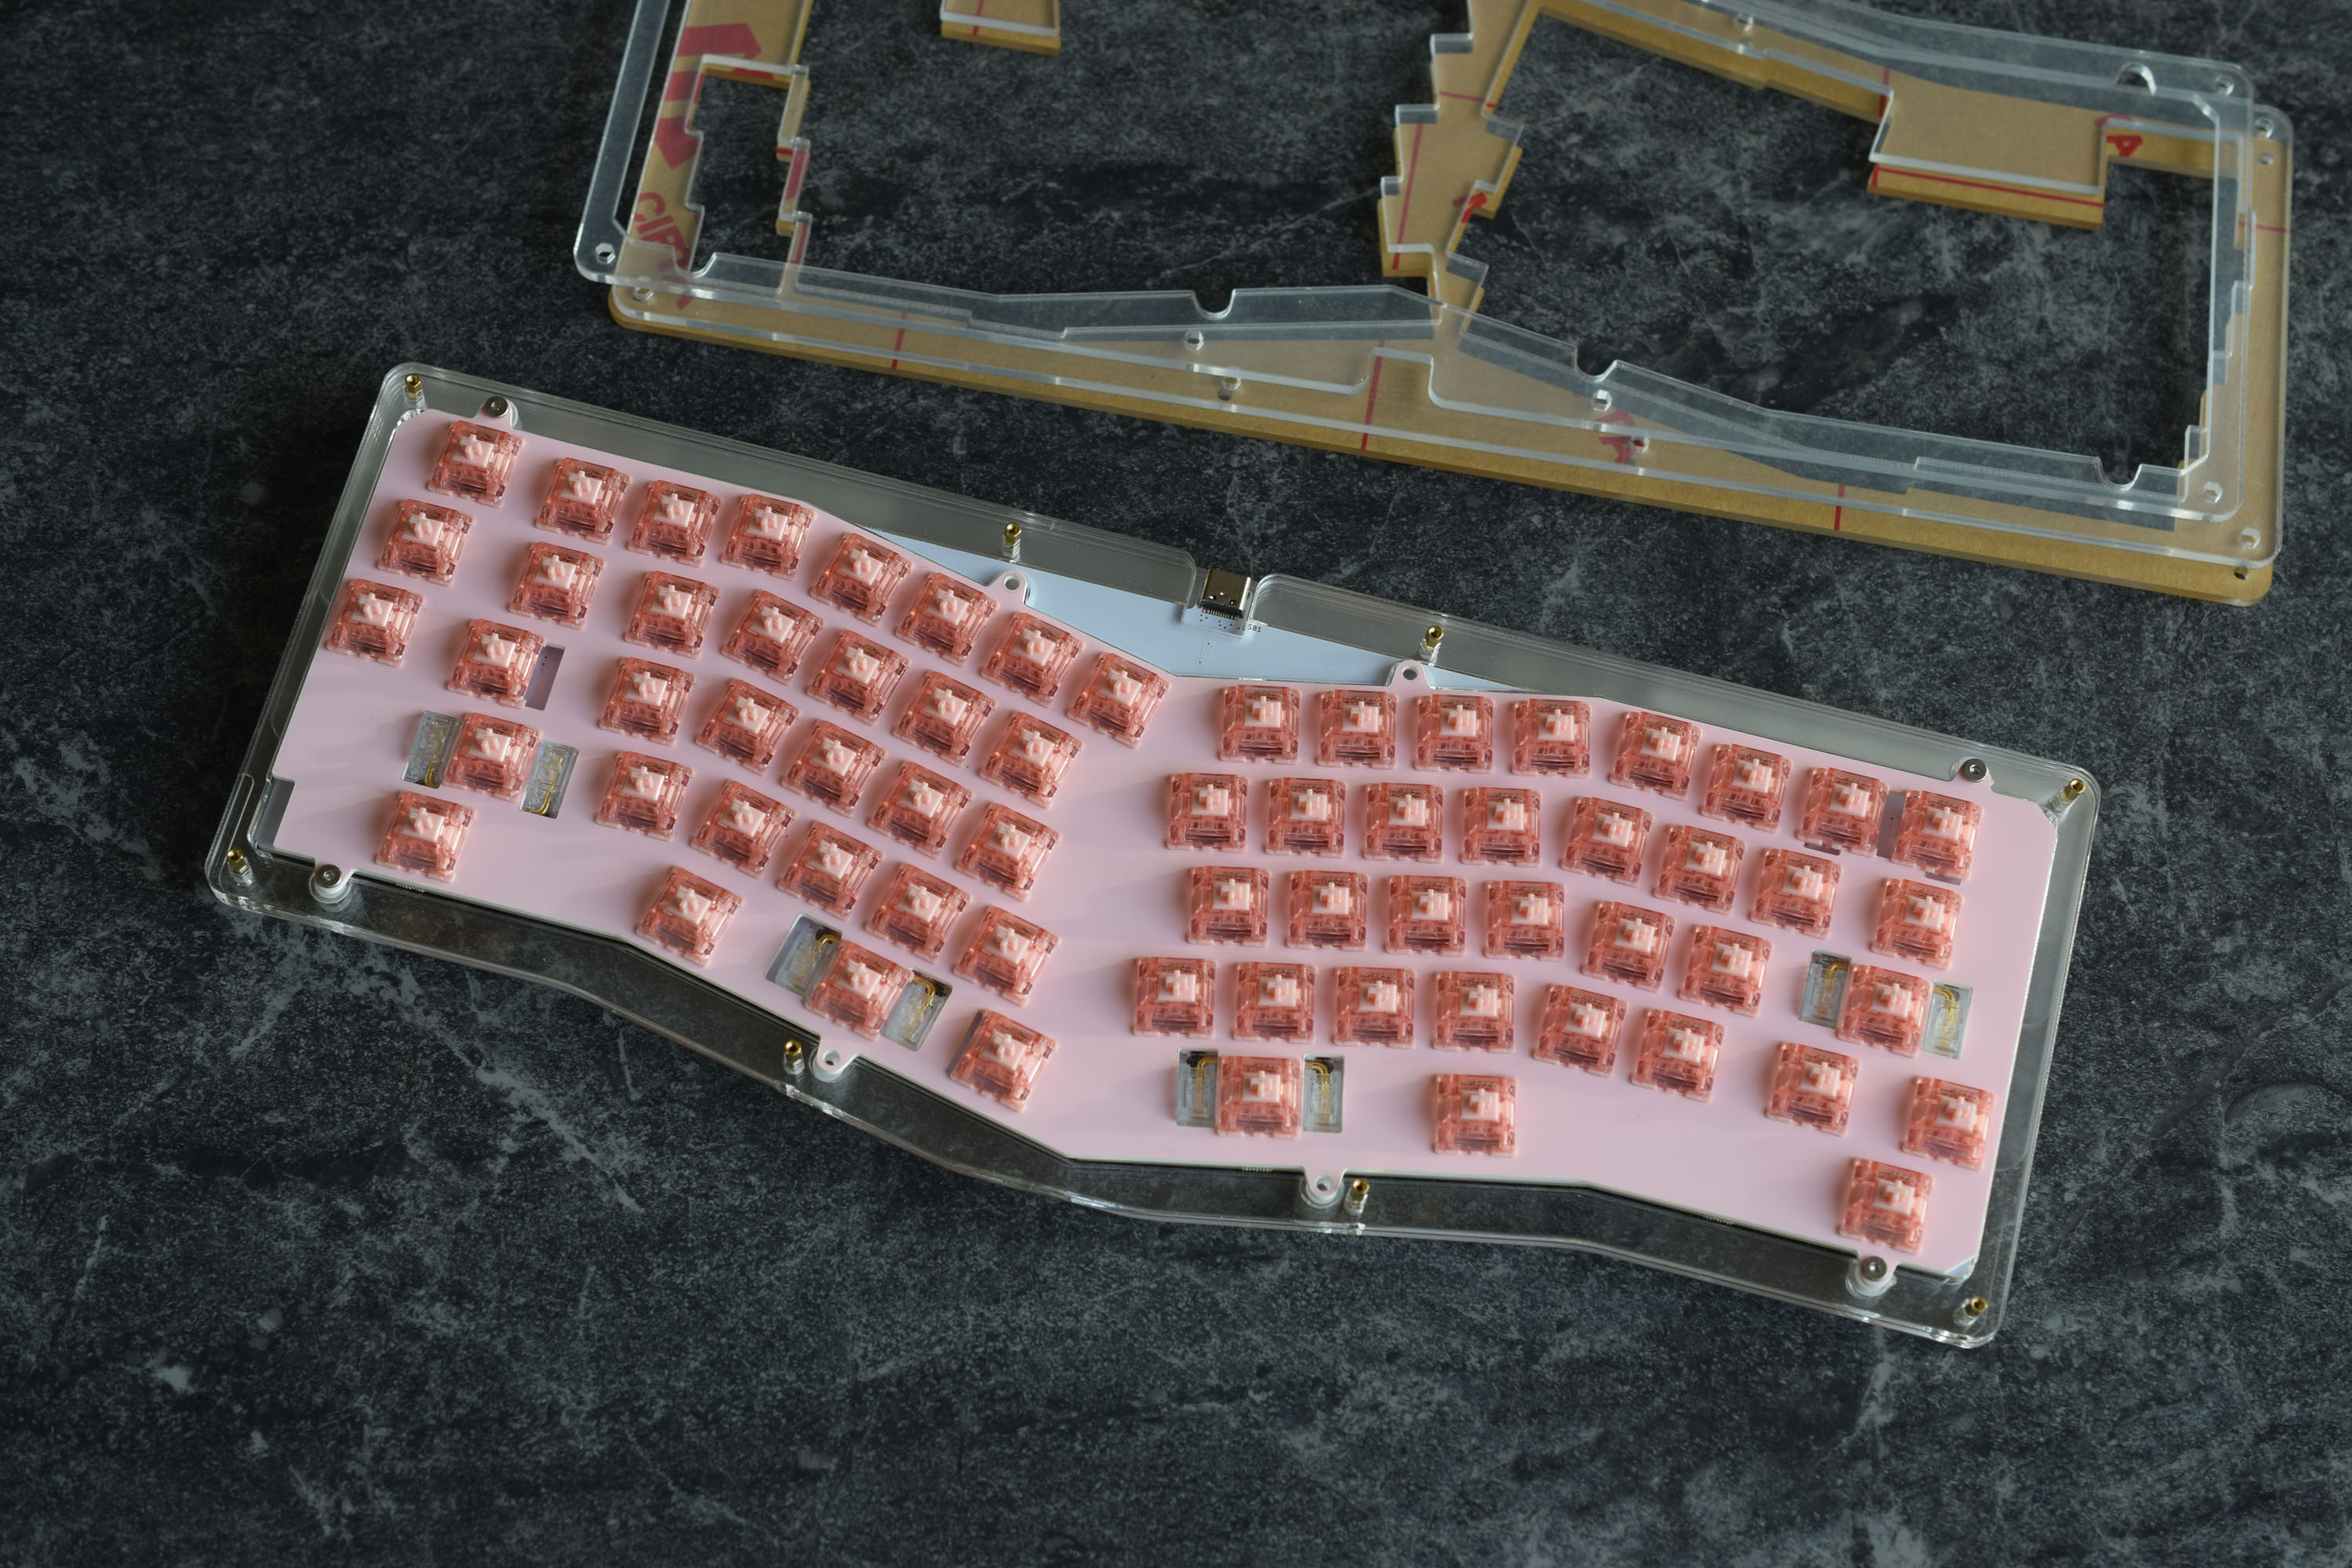
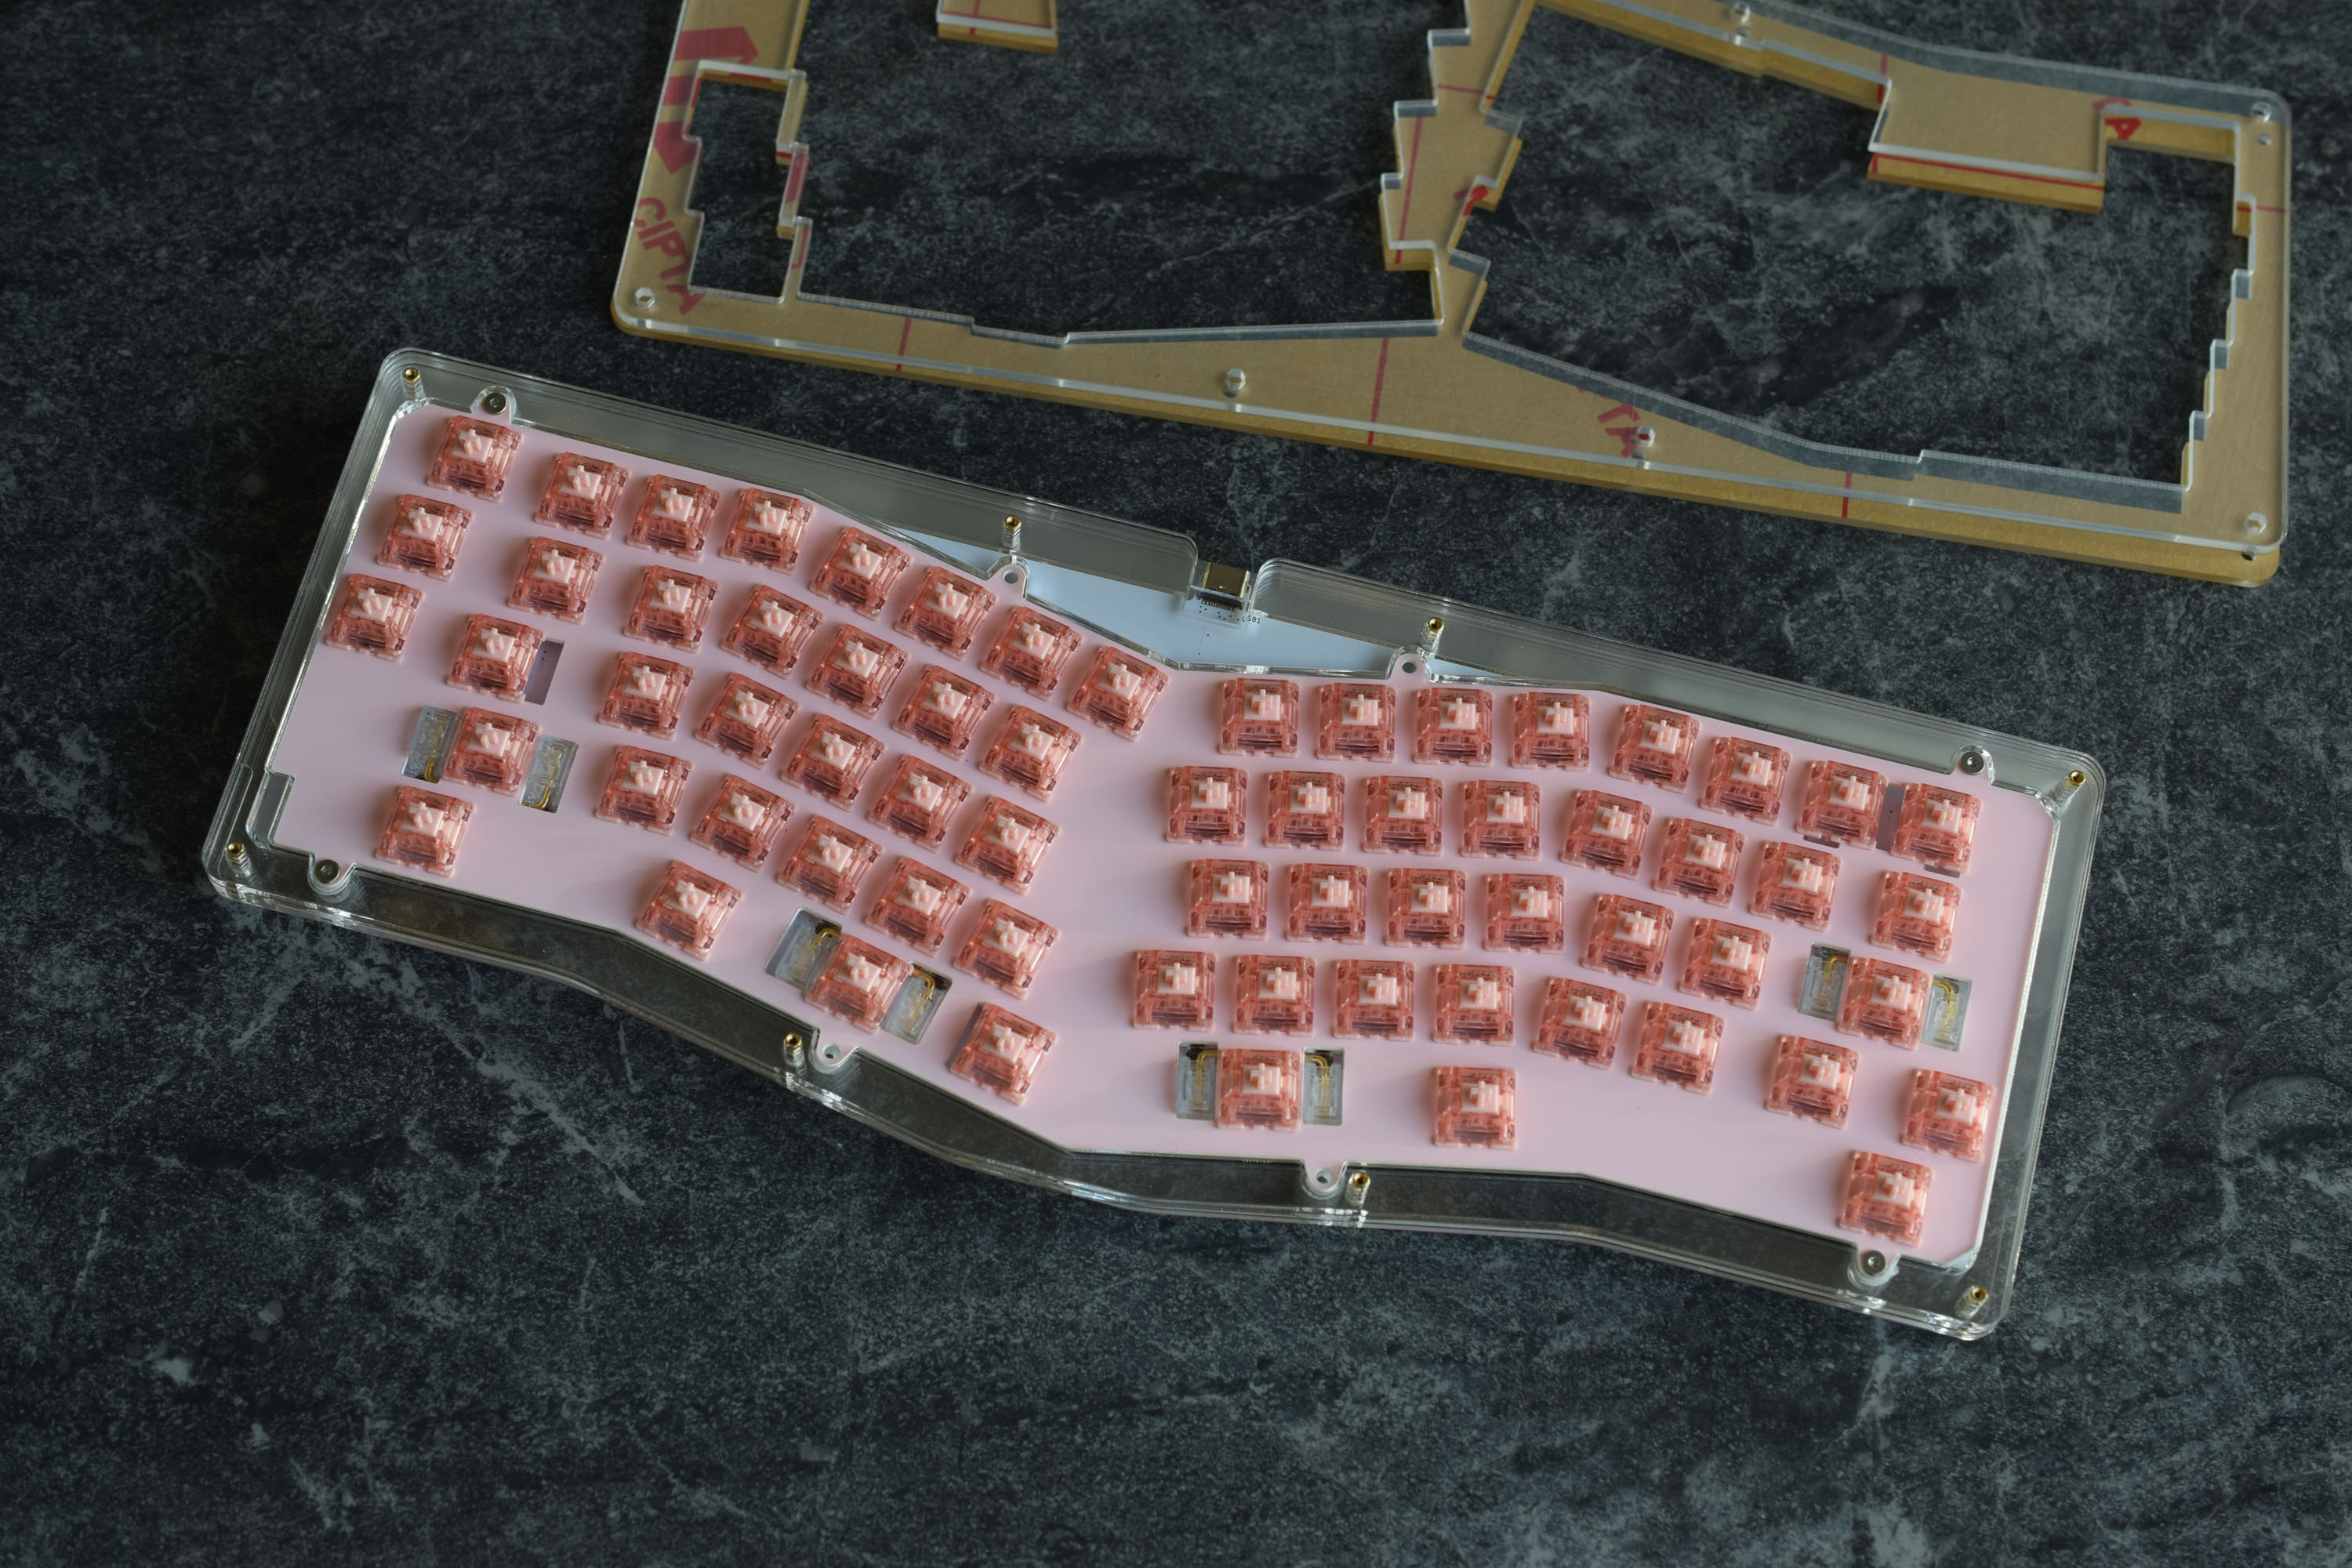
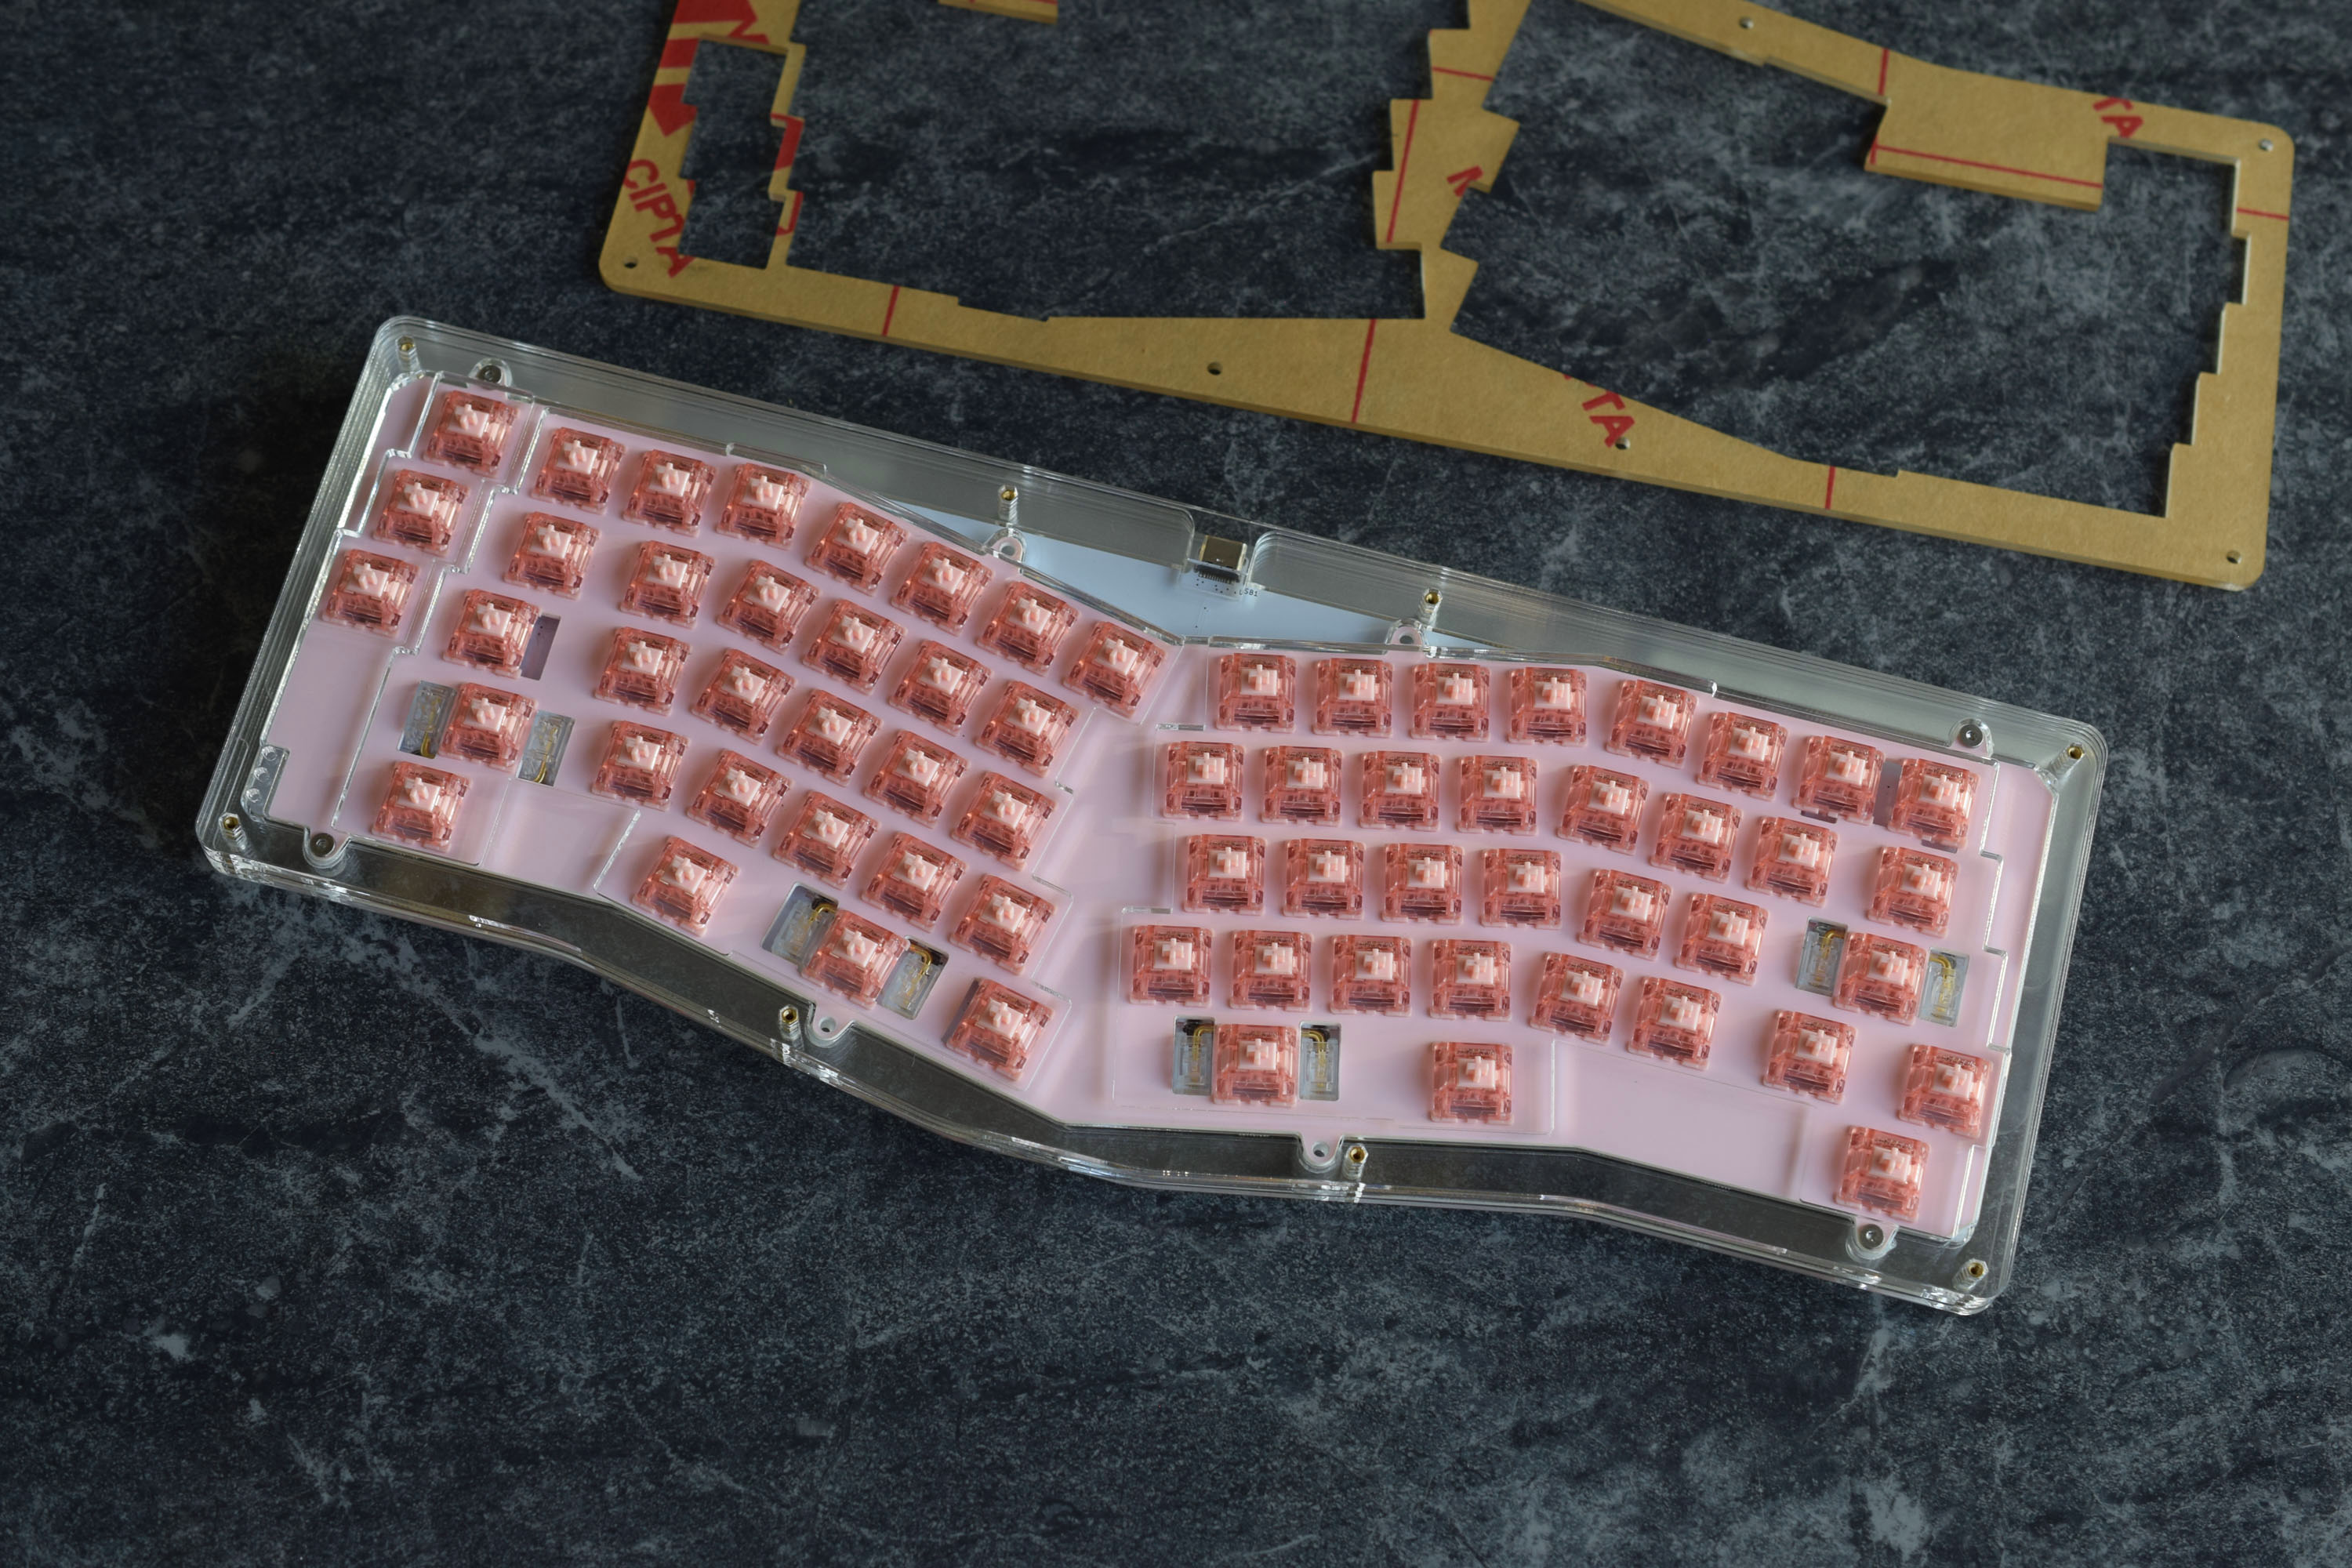
The Plate and PCB need to be assembled first.
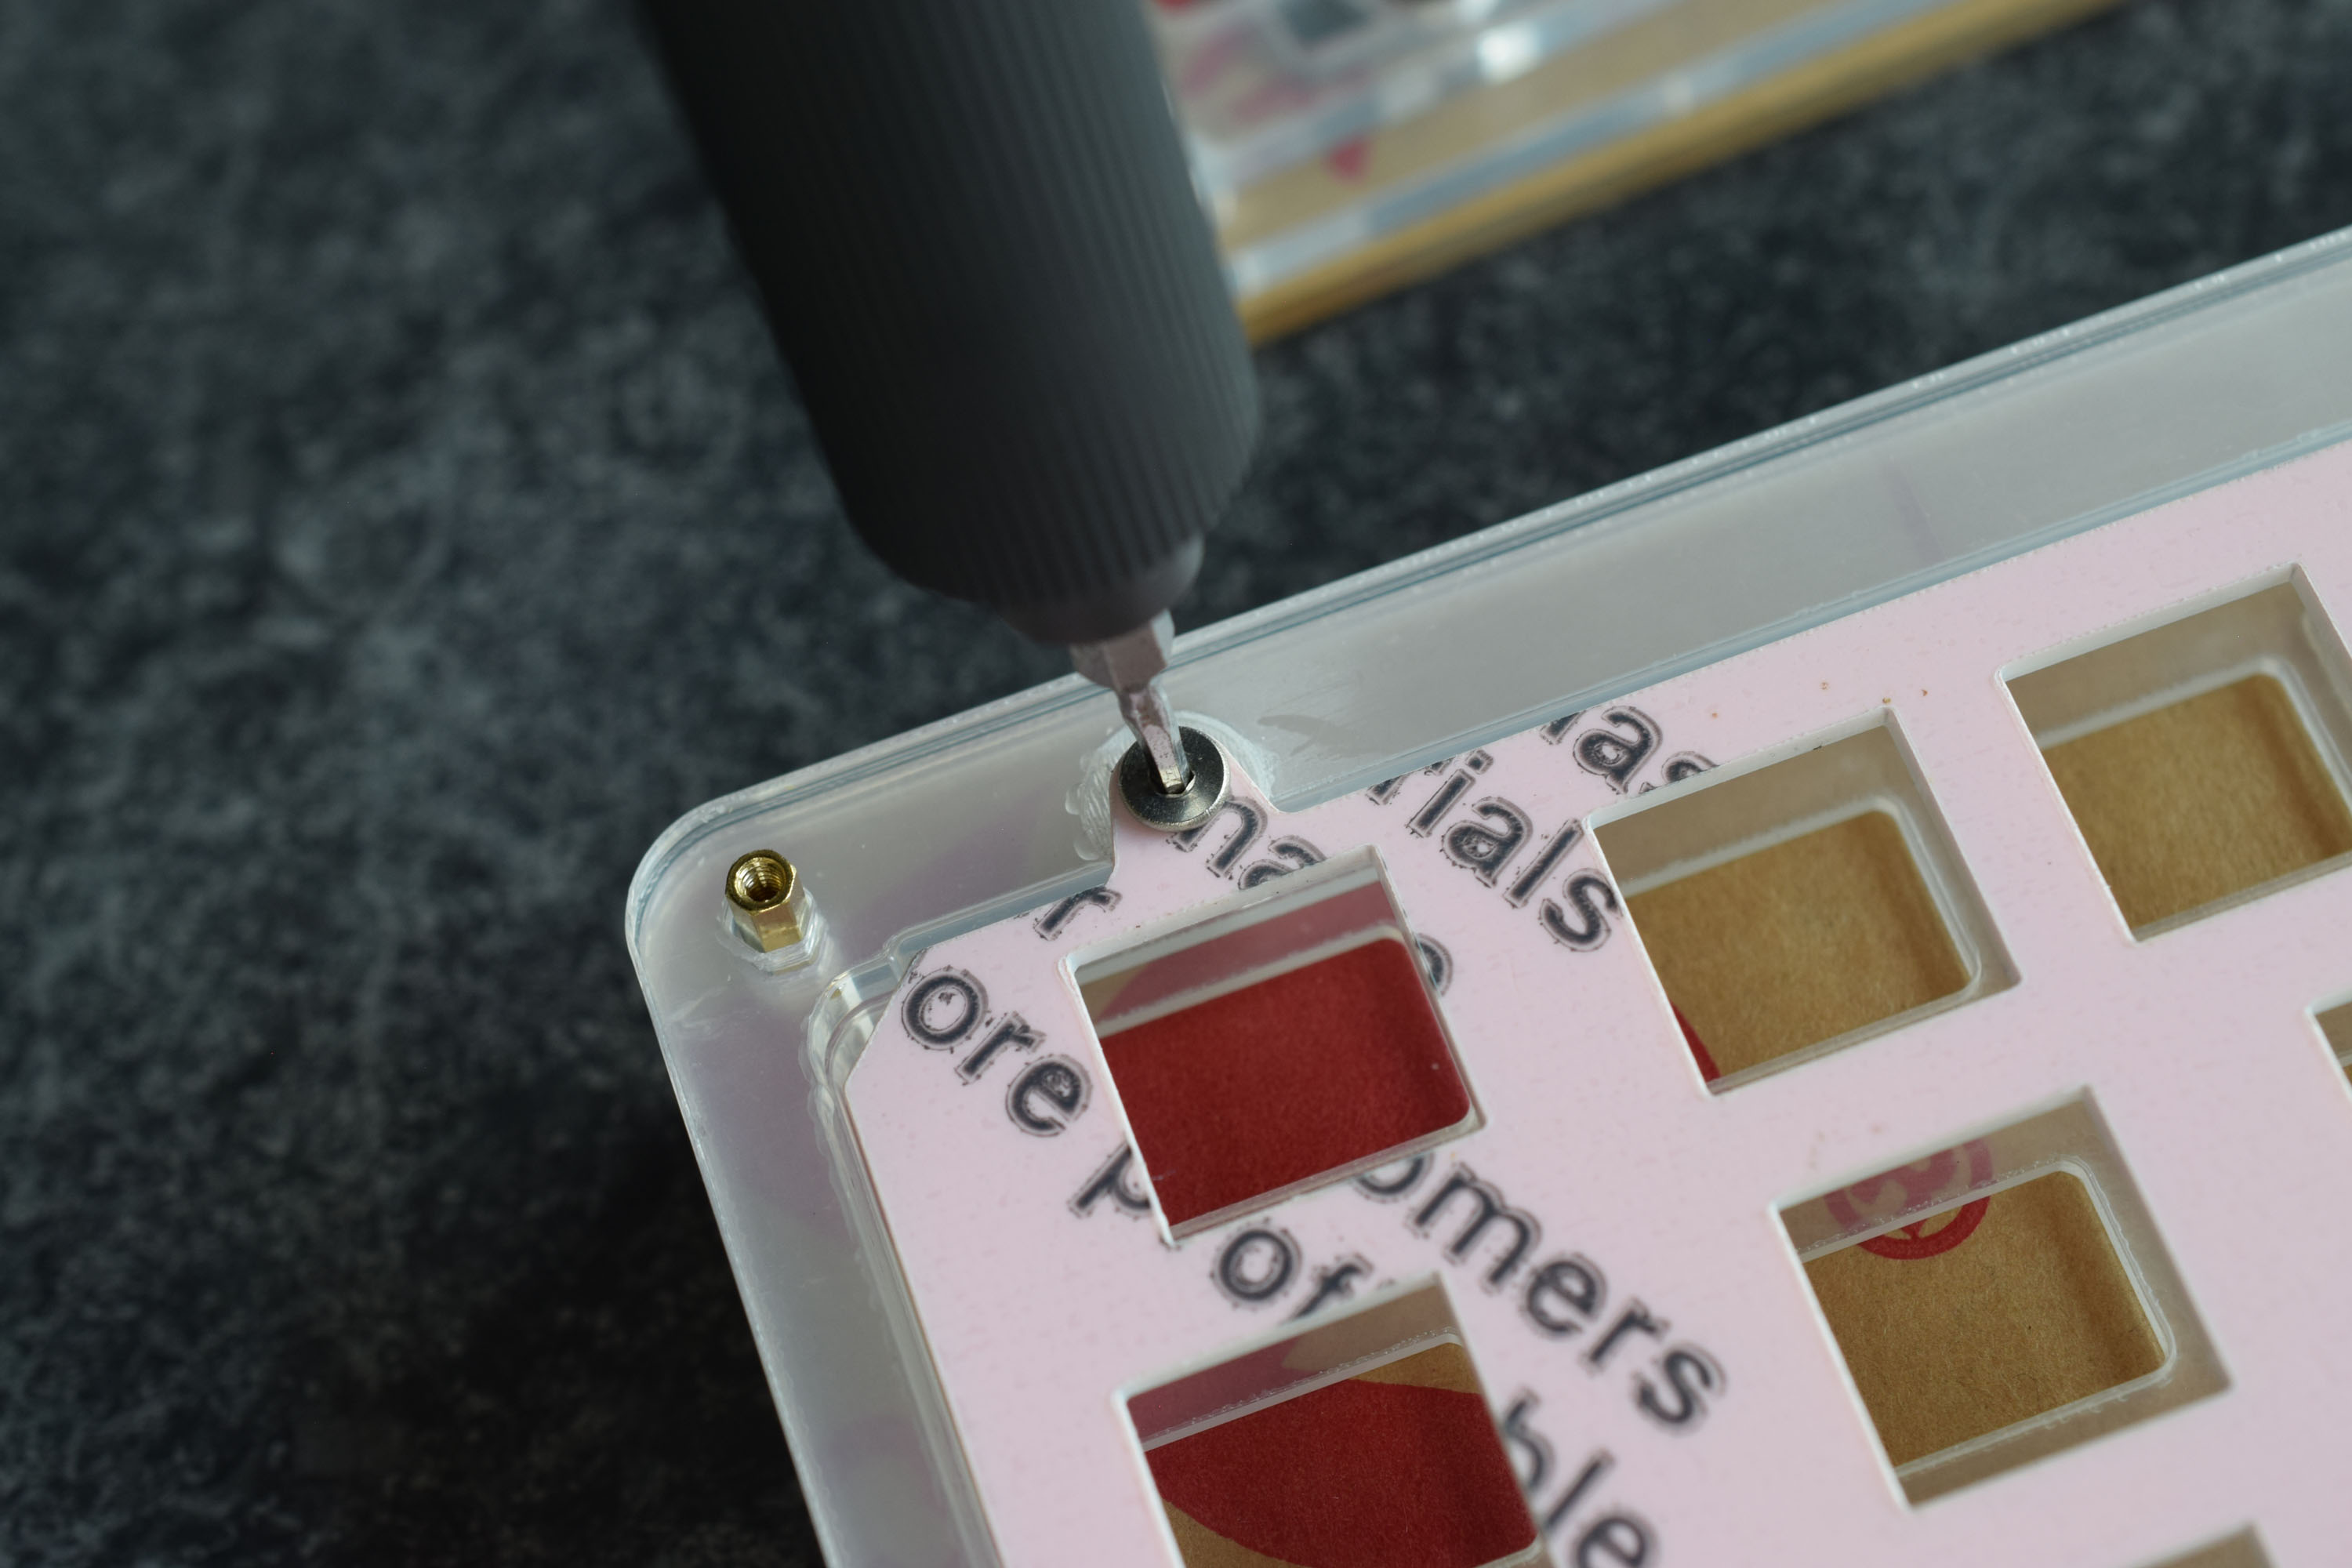
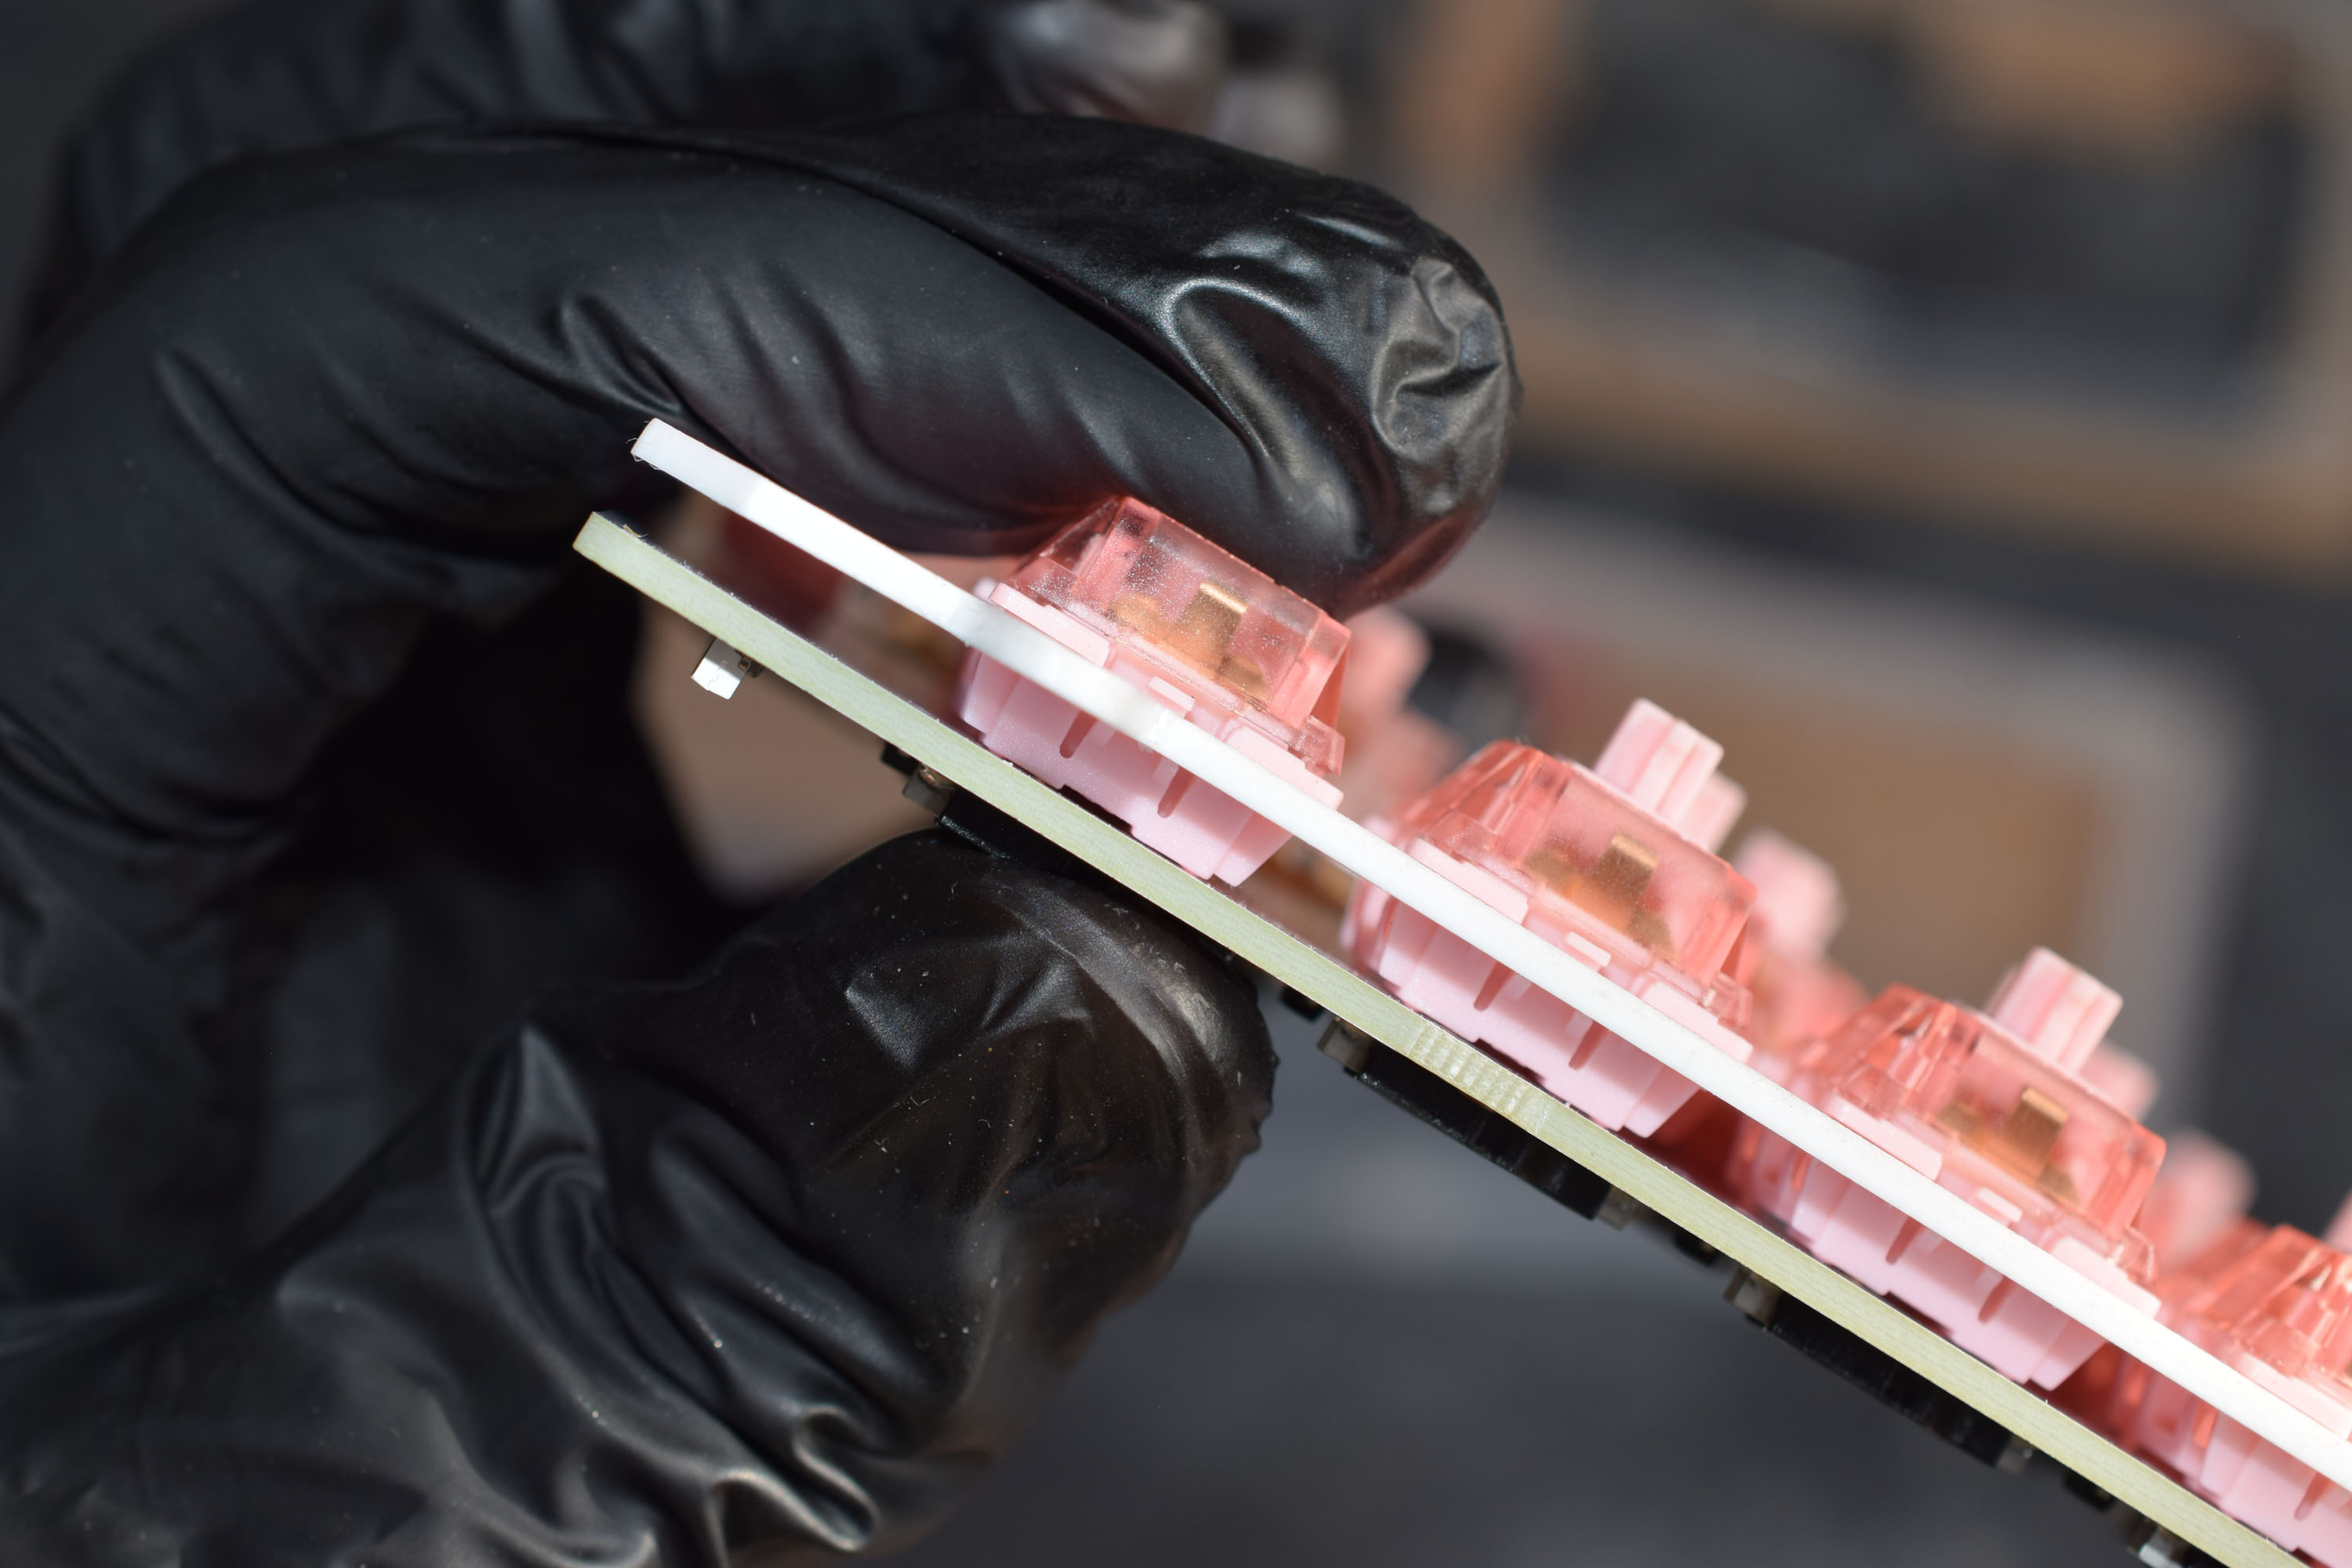
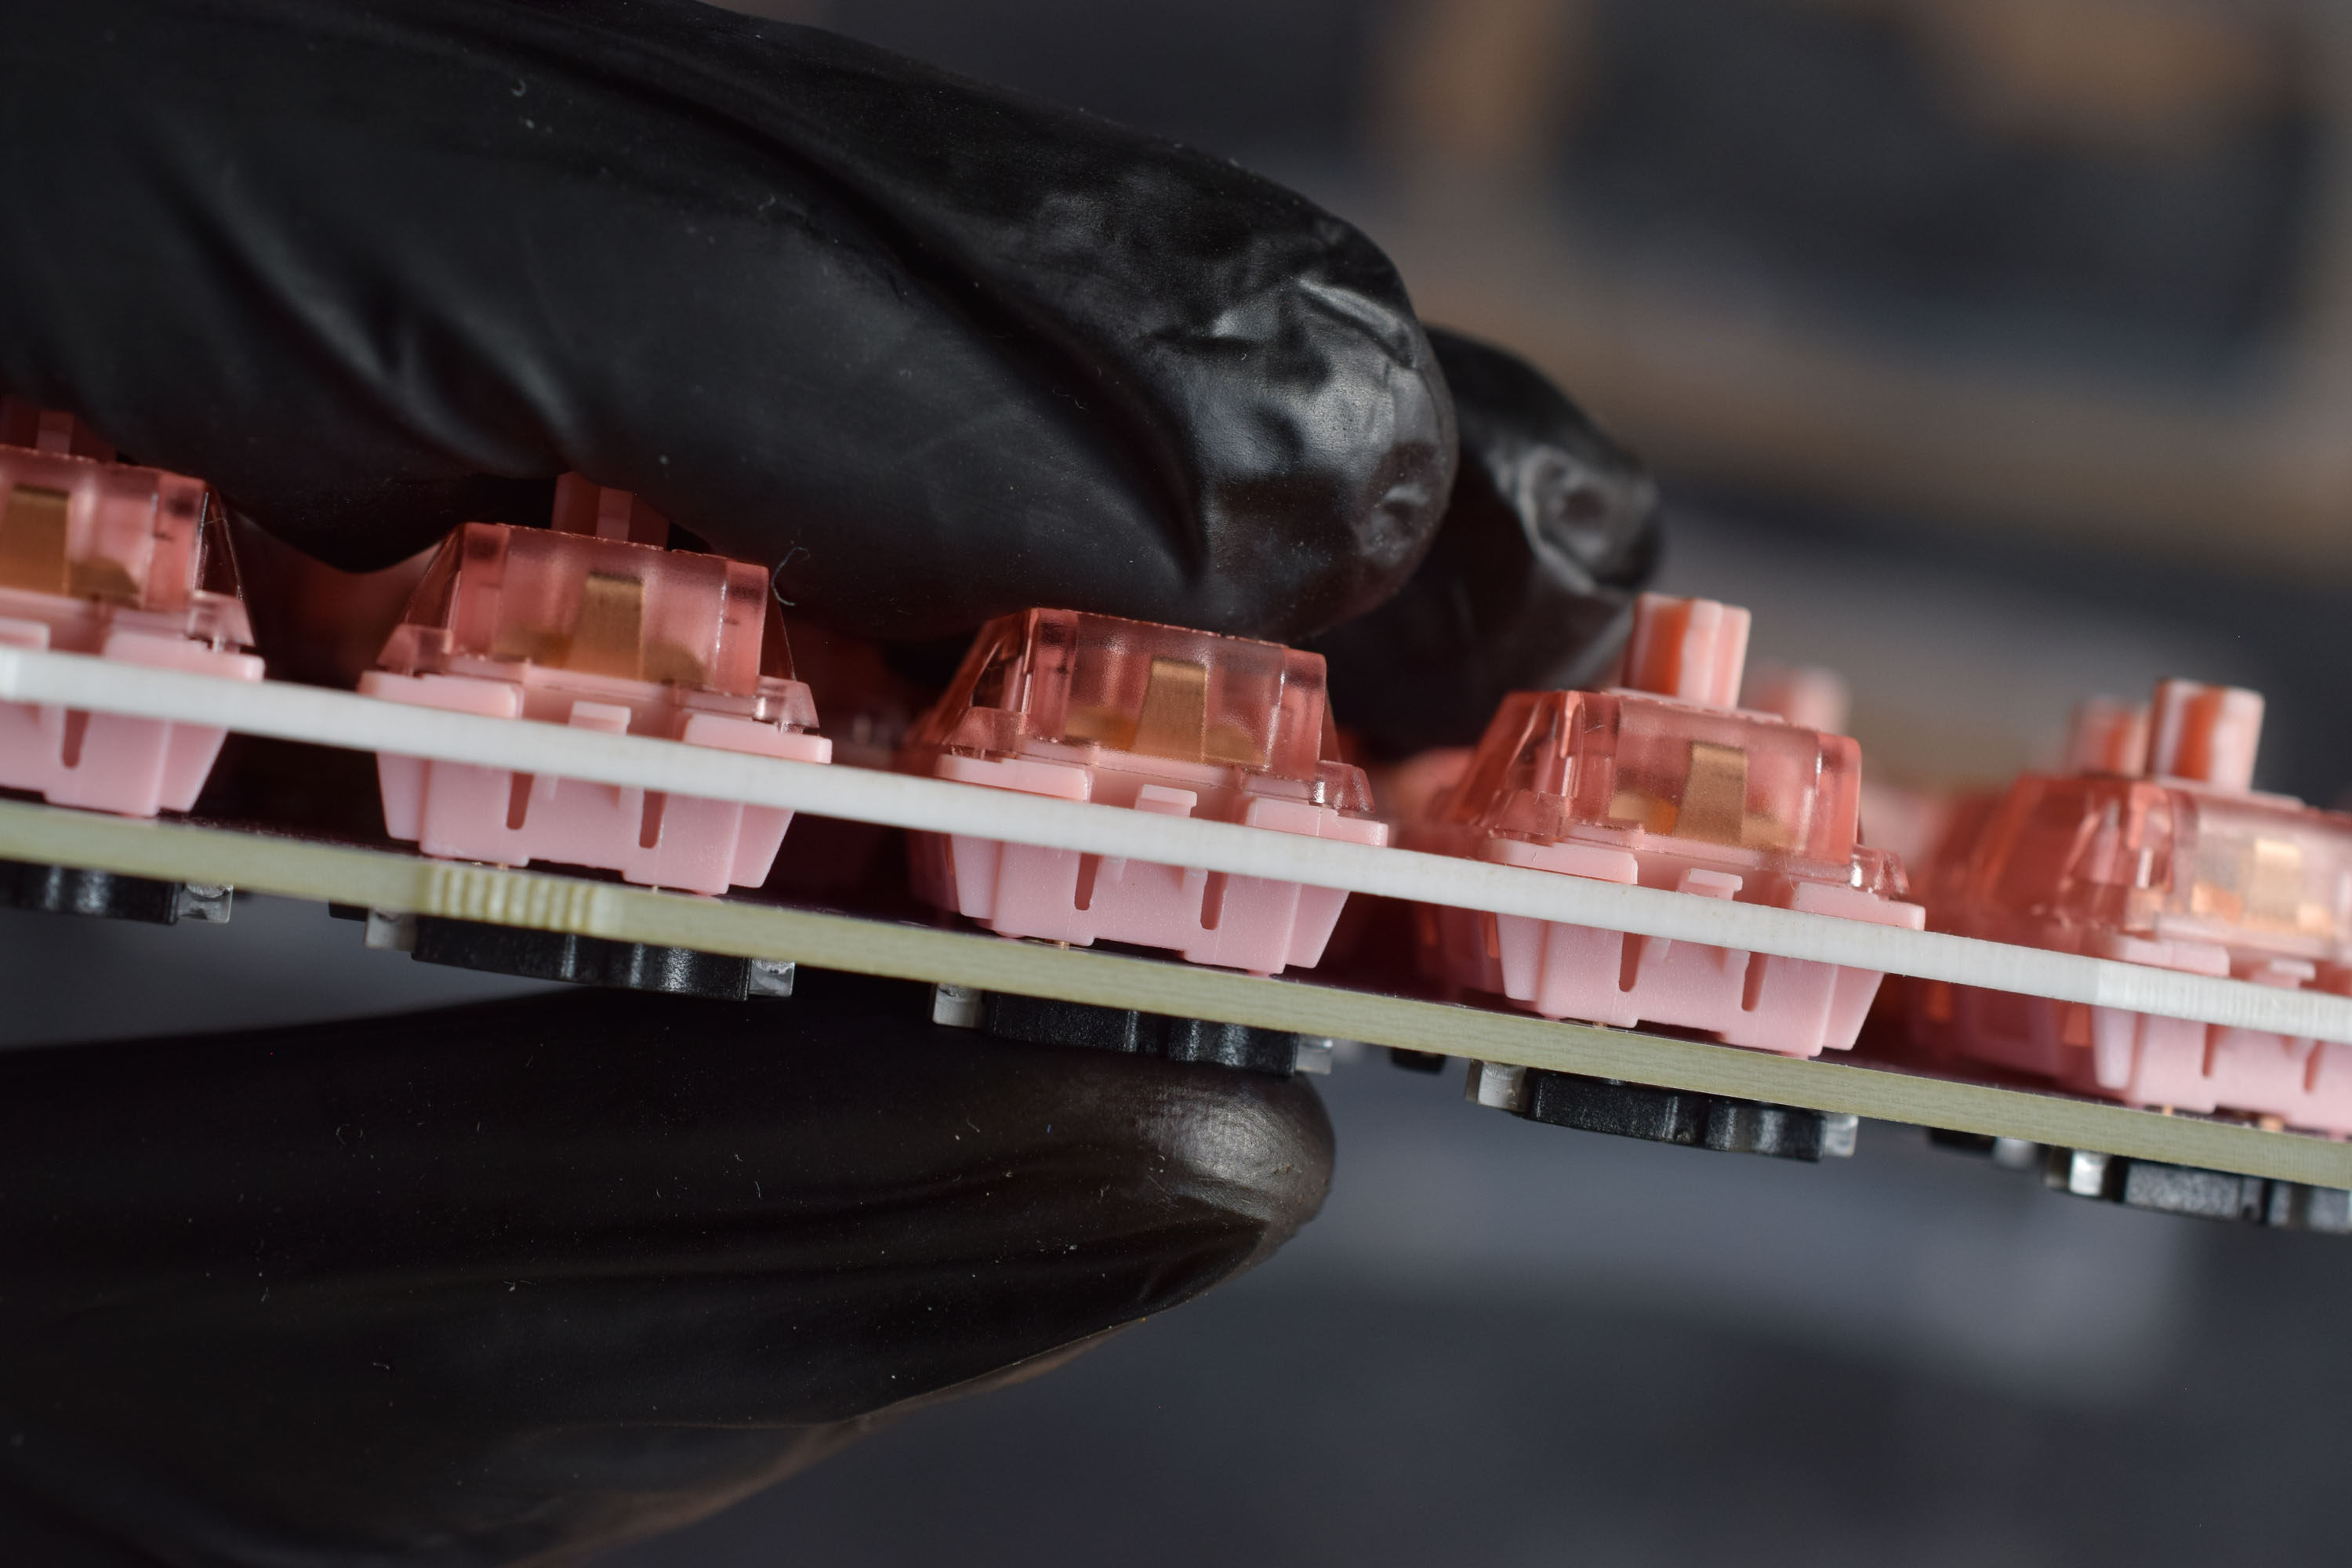
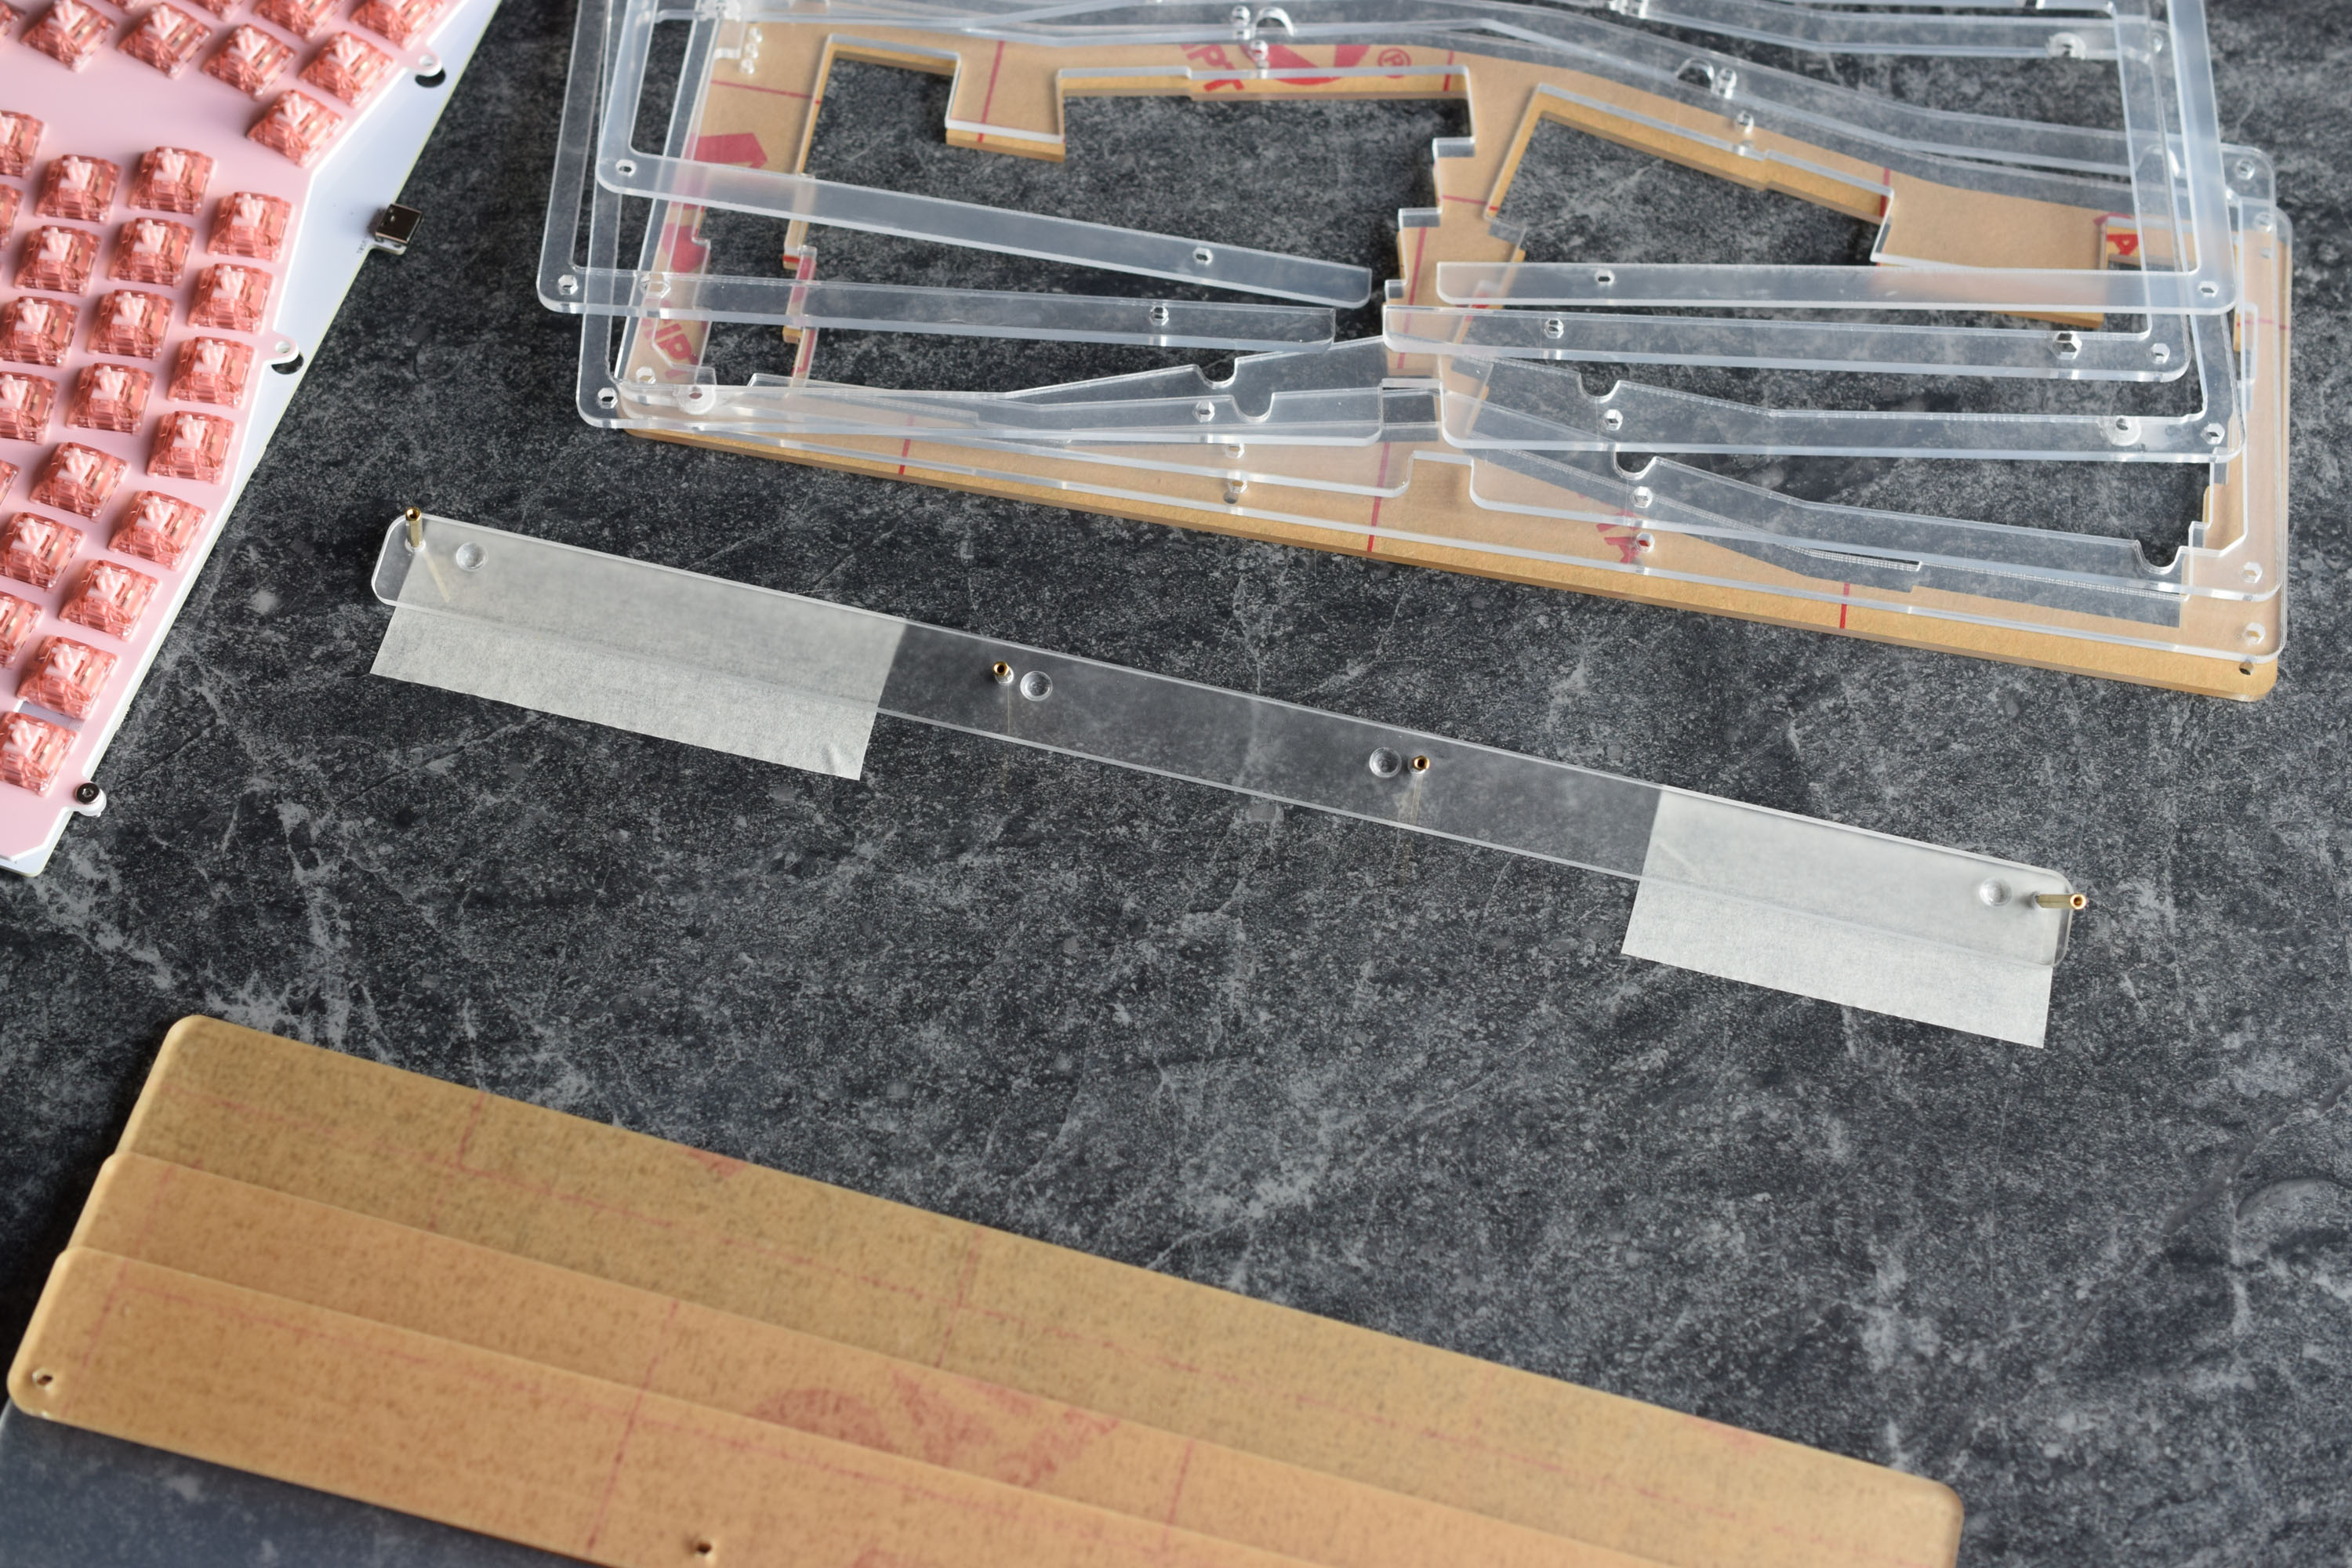
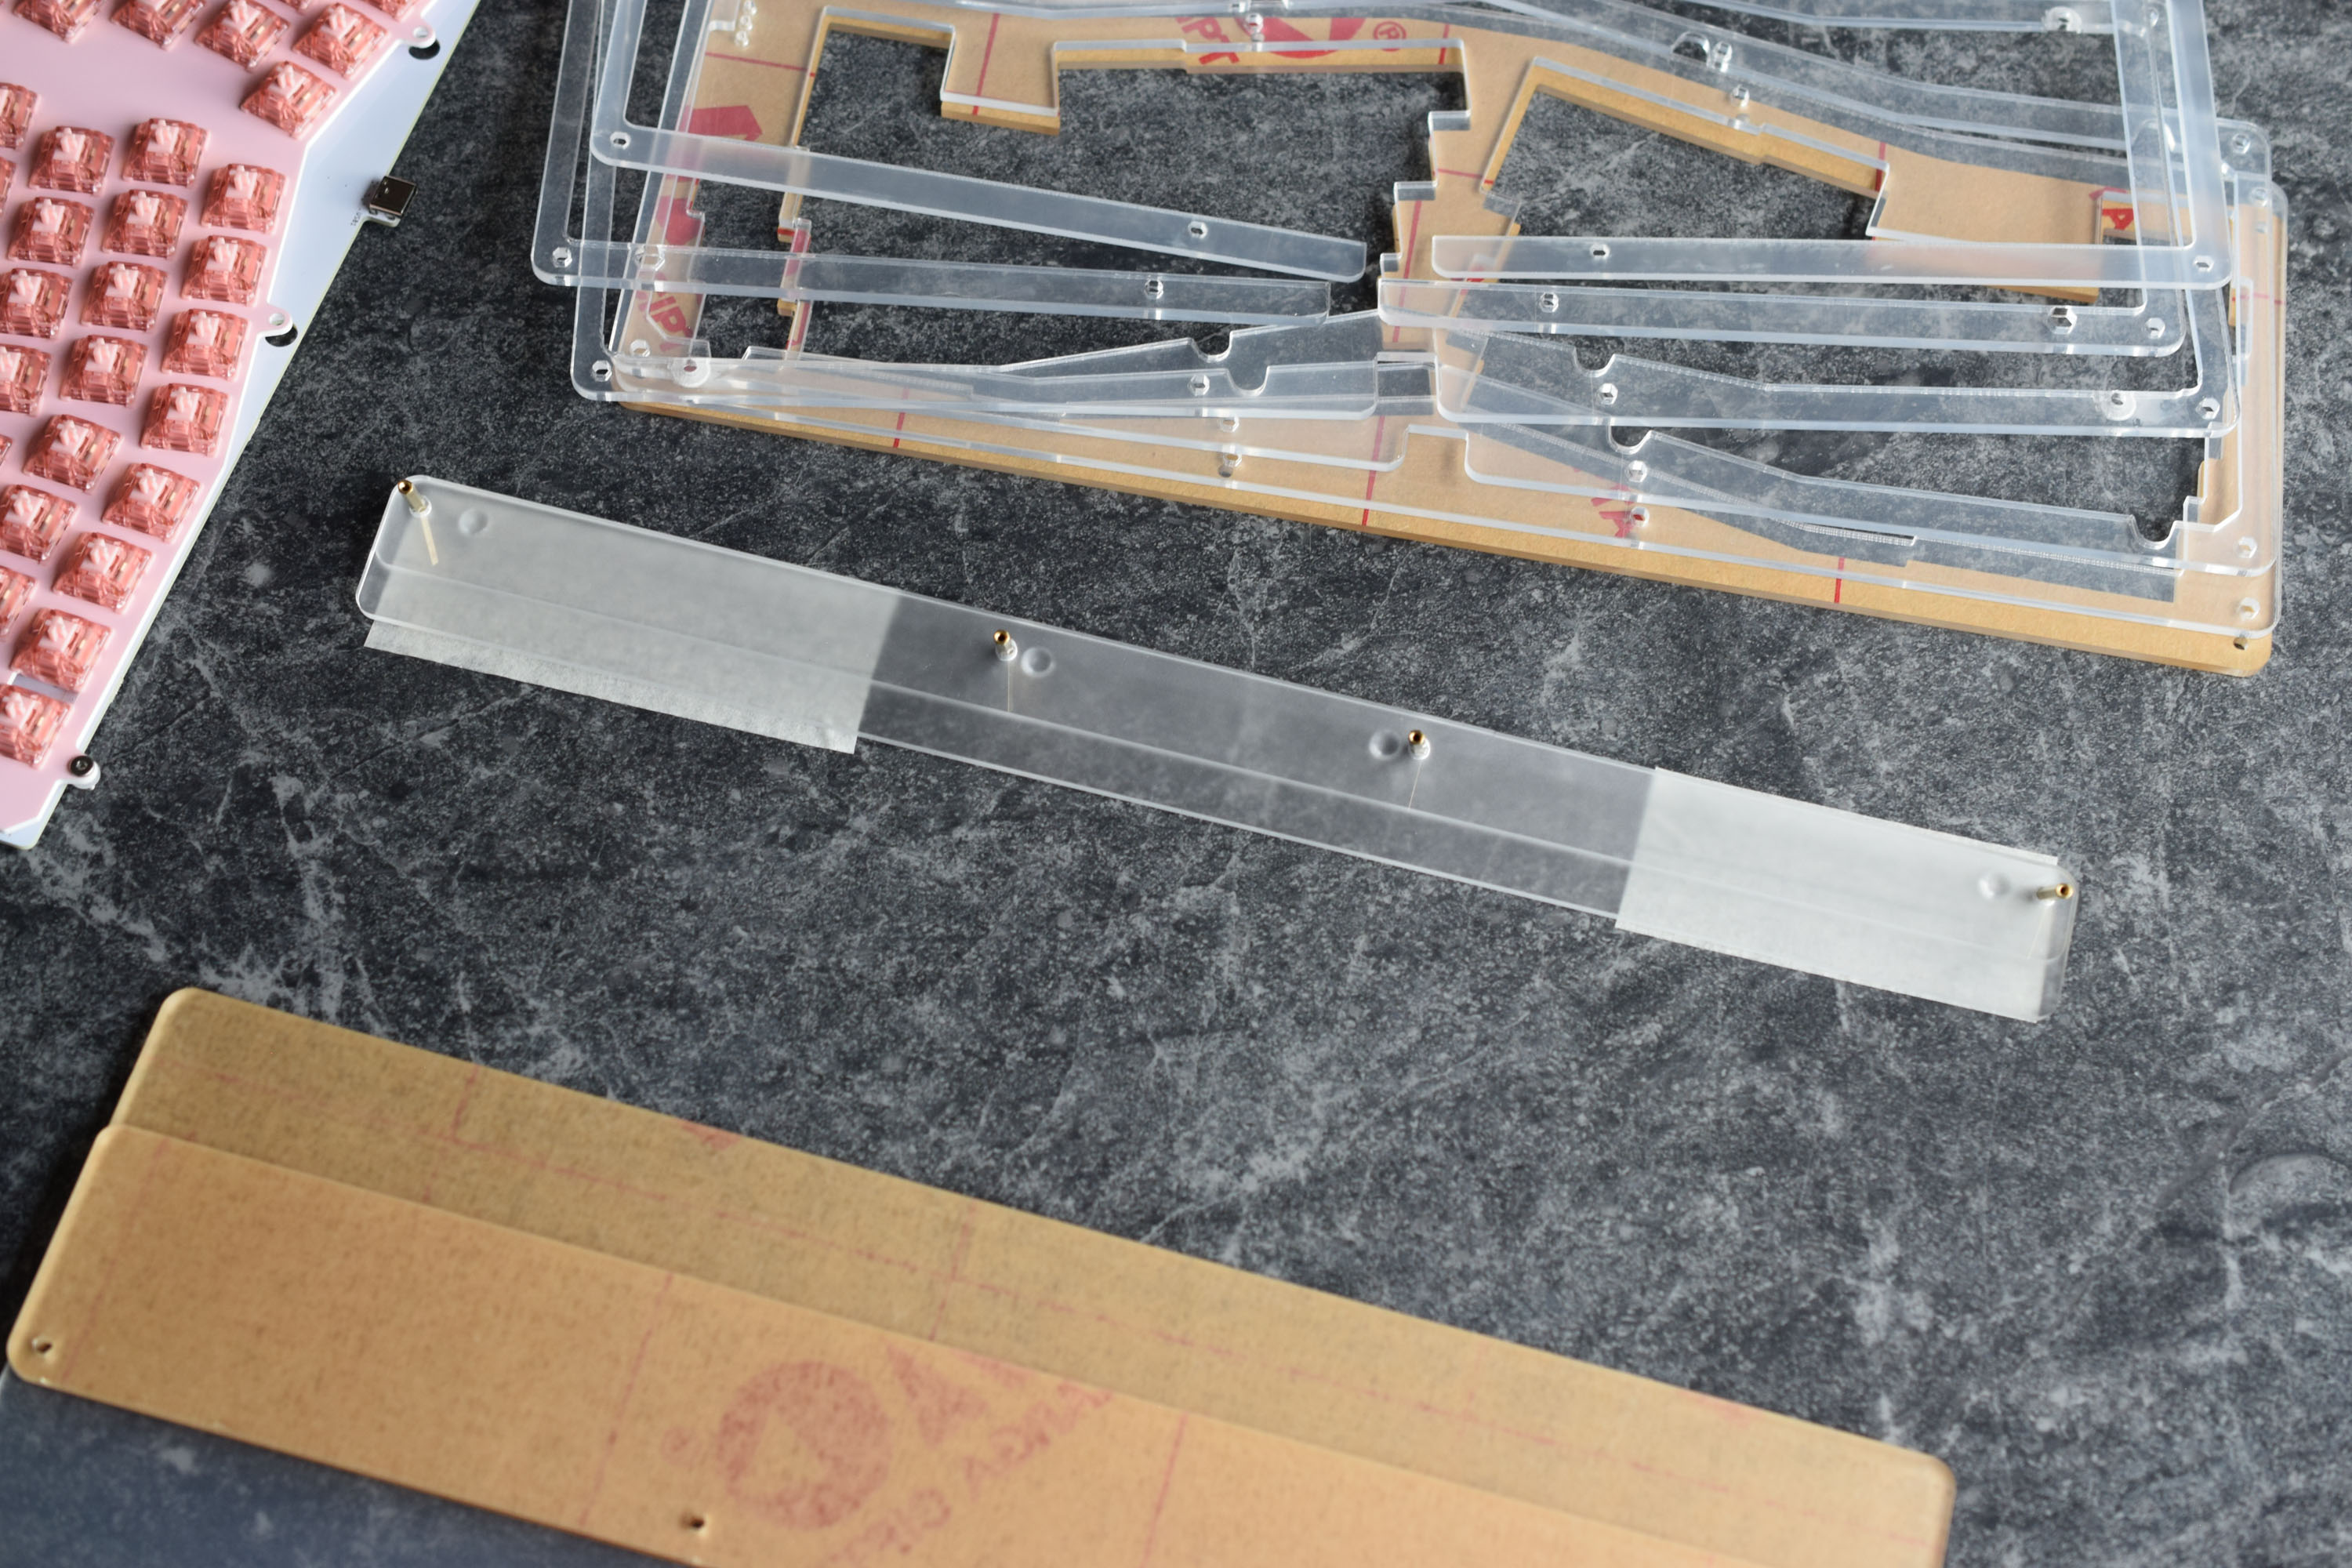
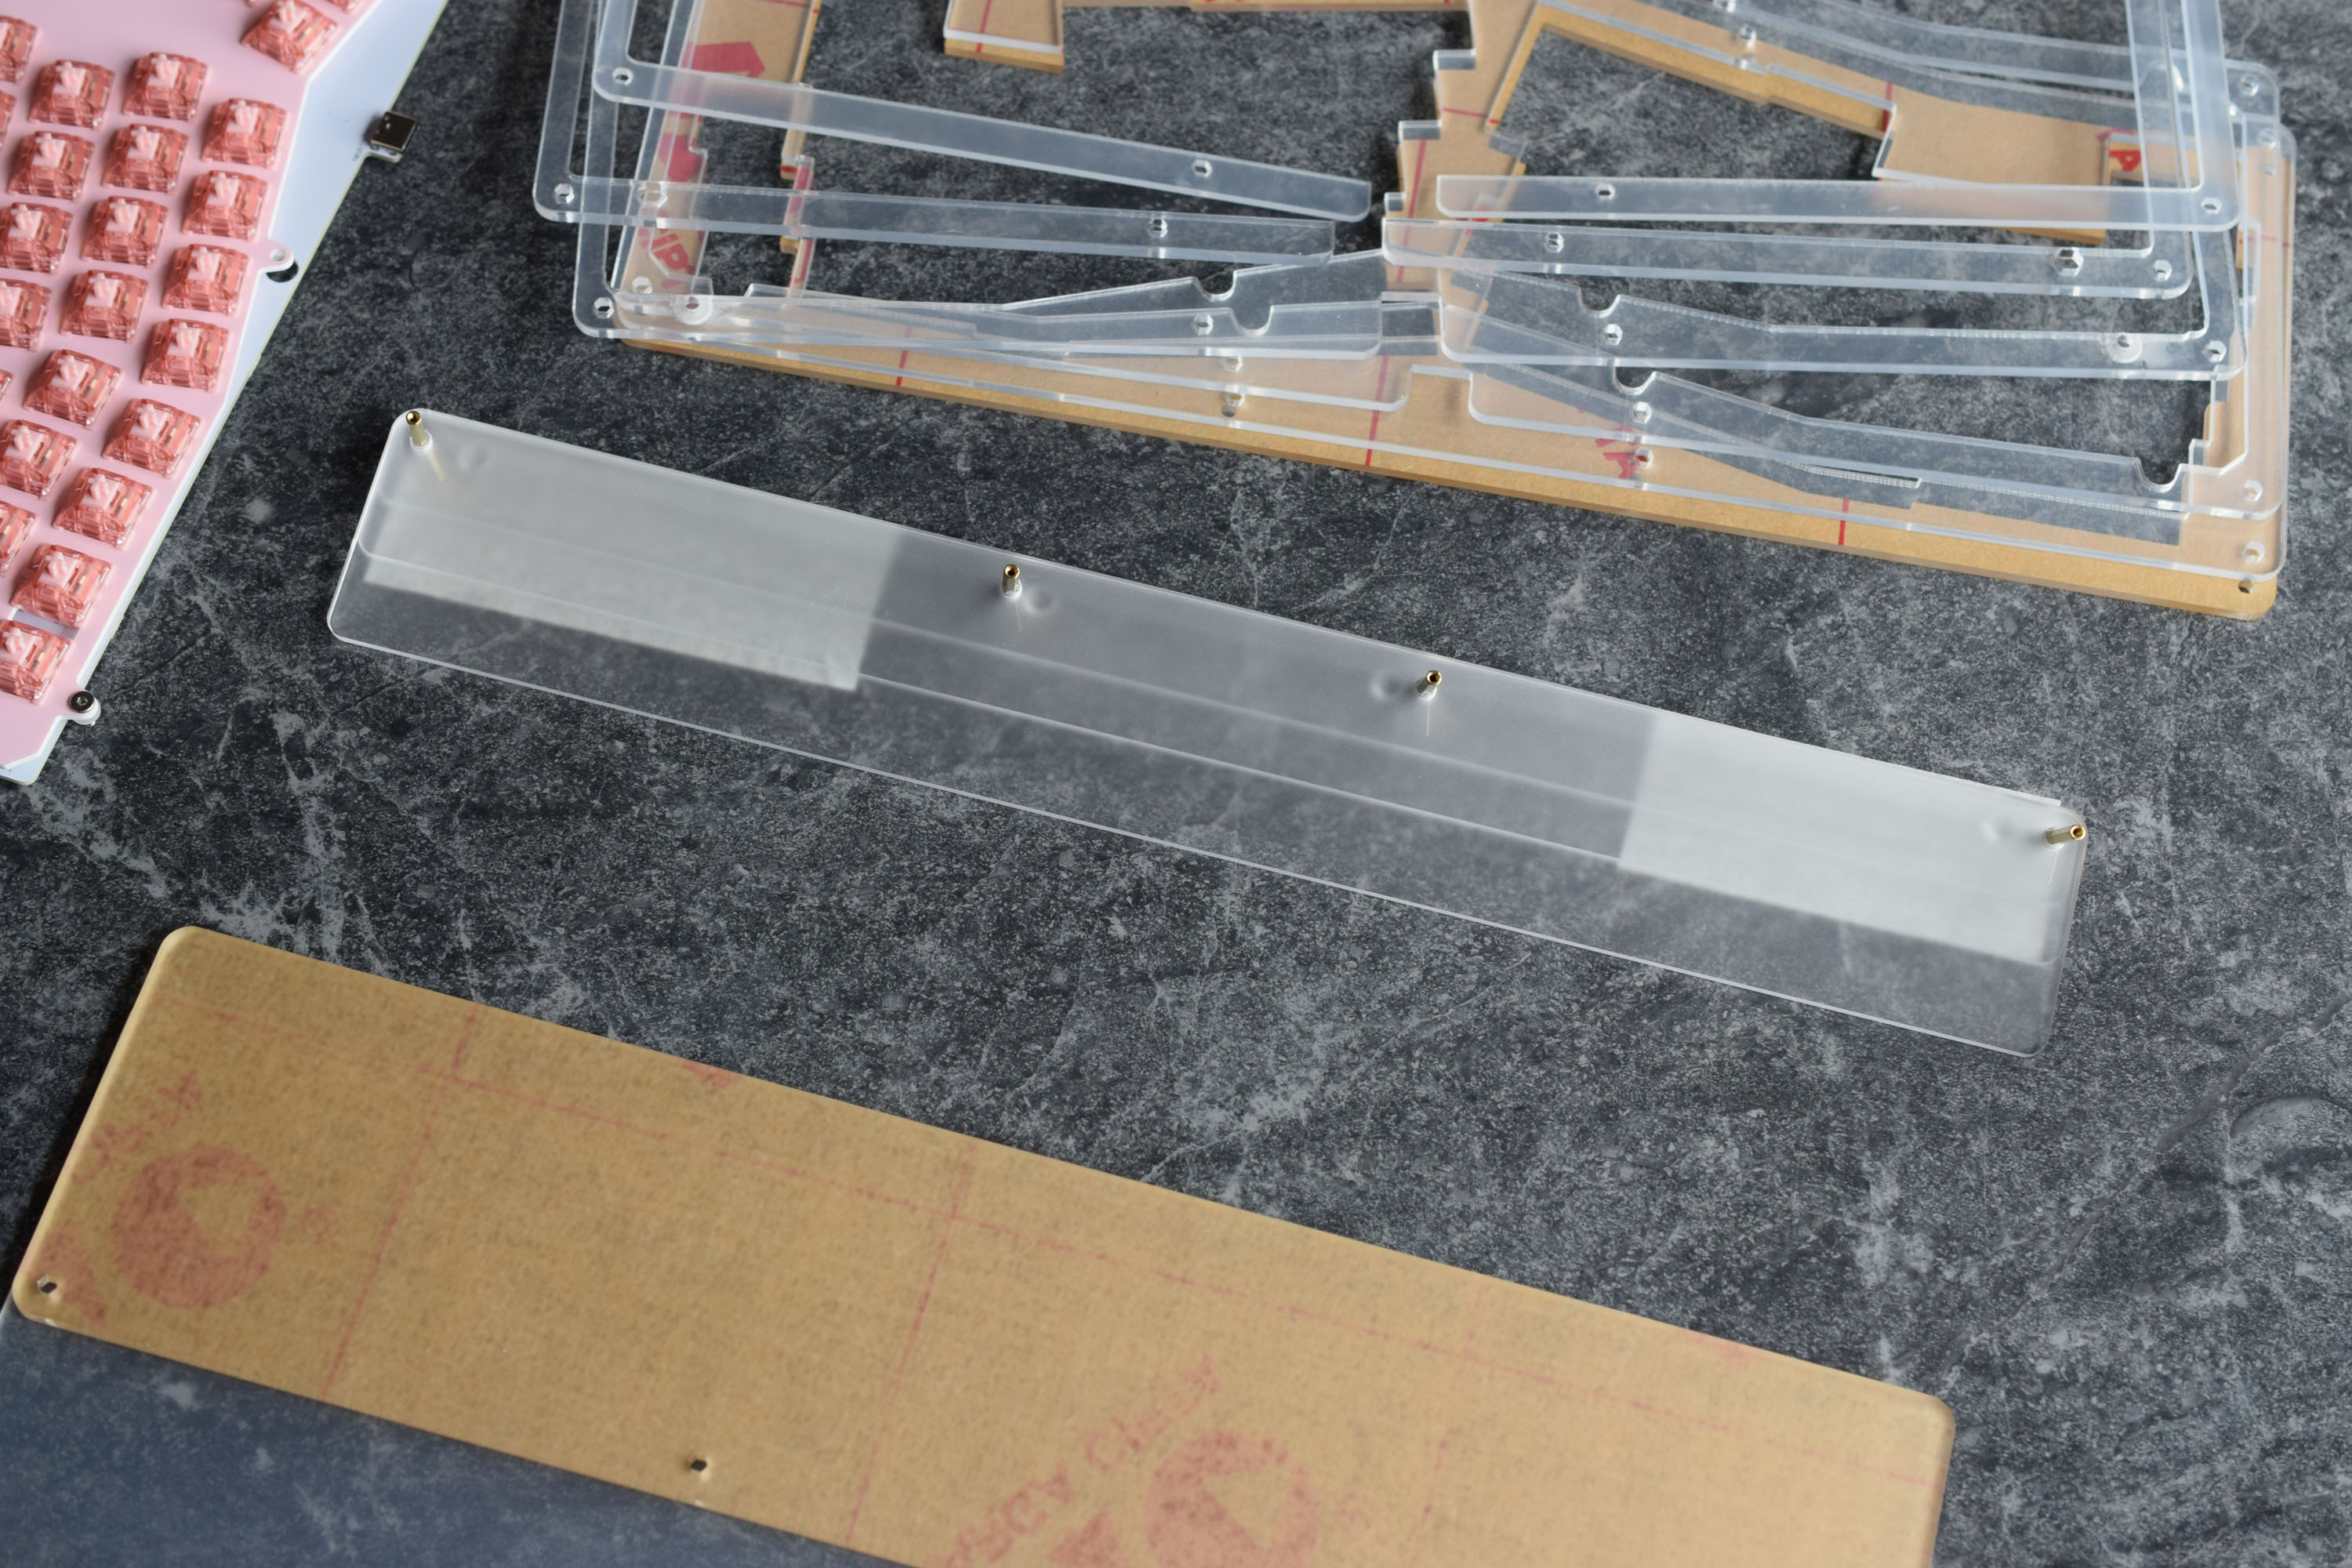
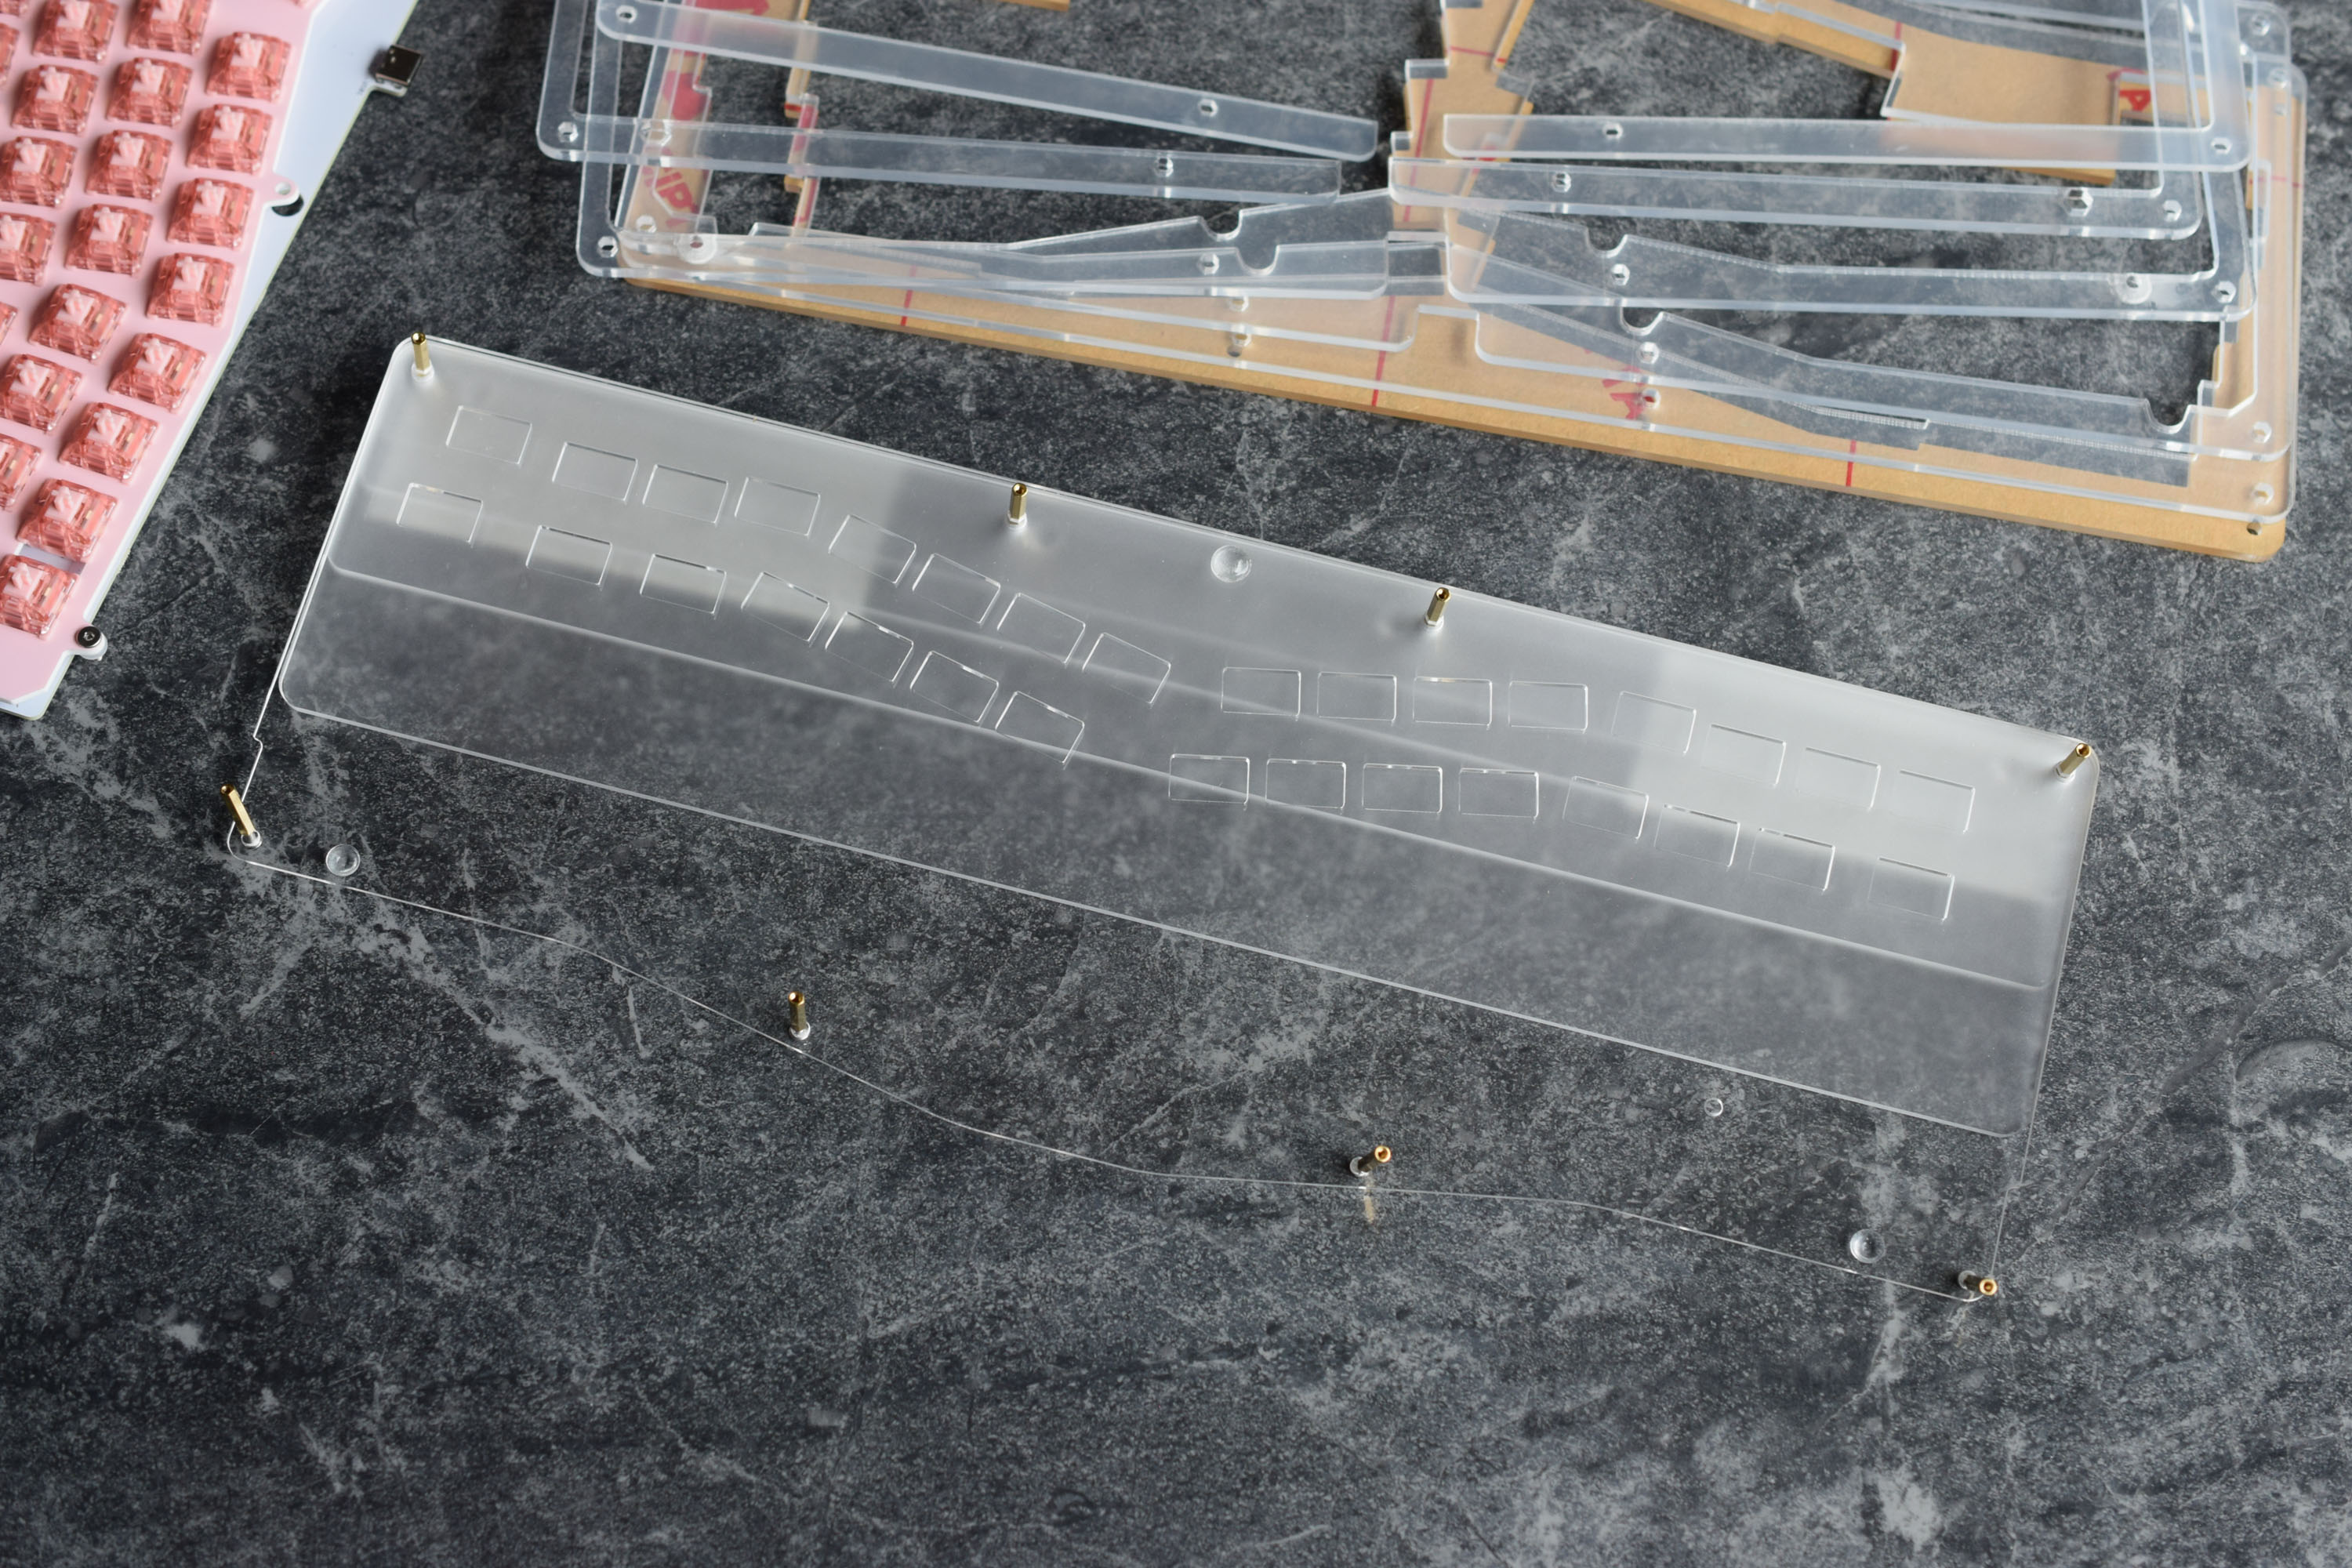
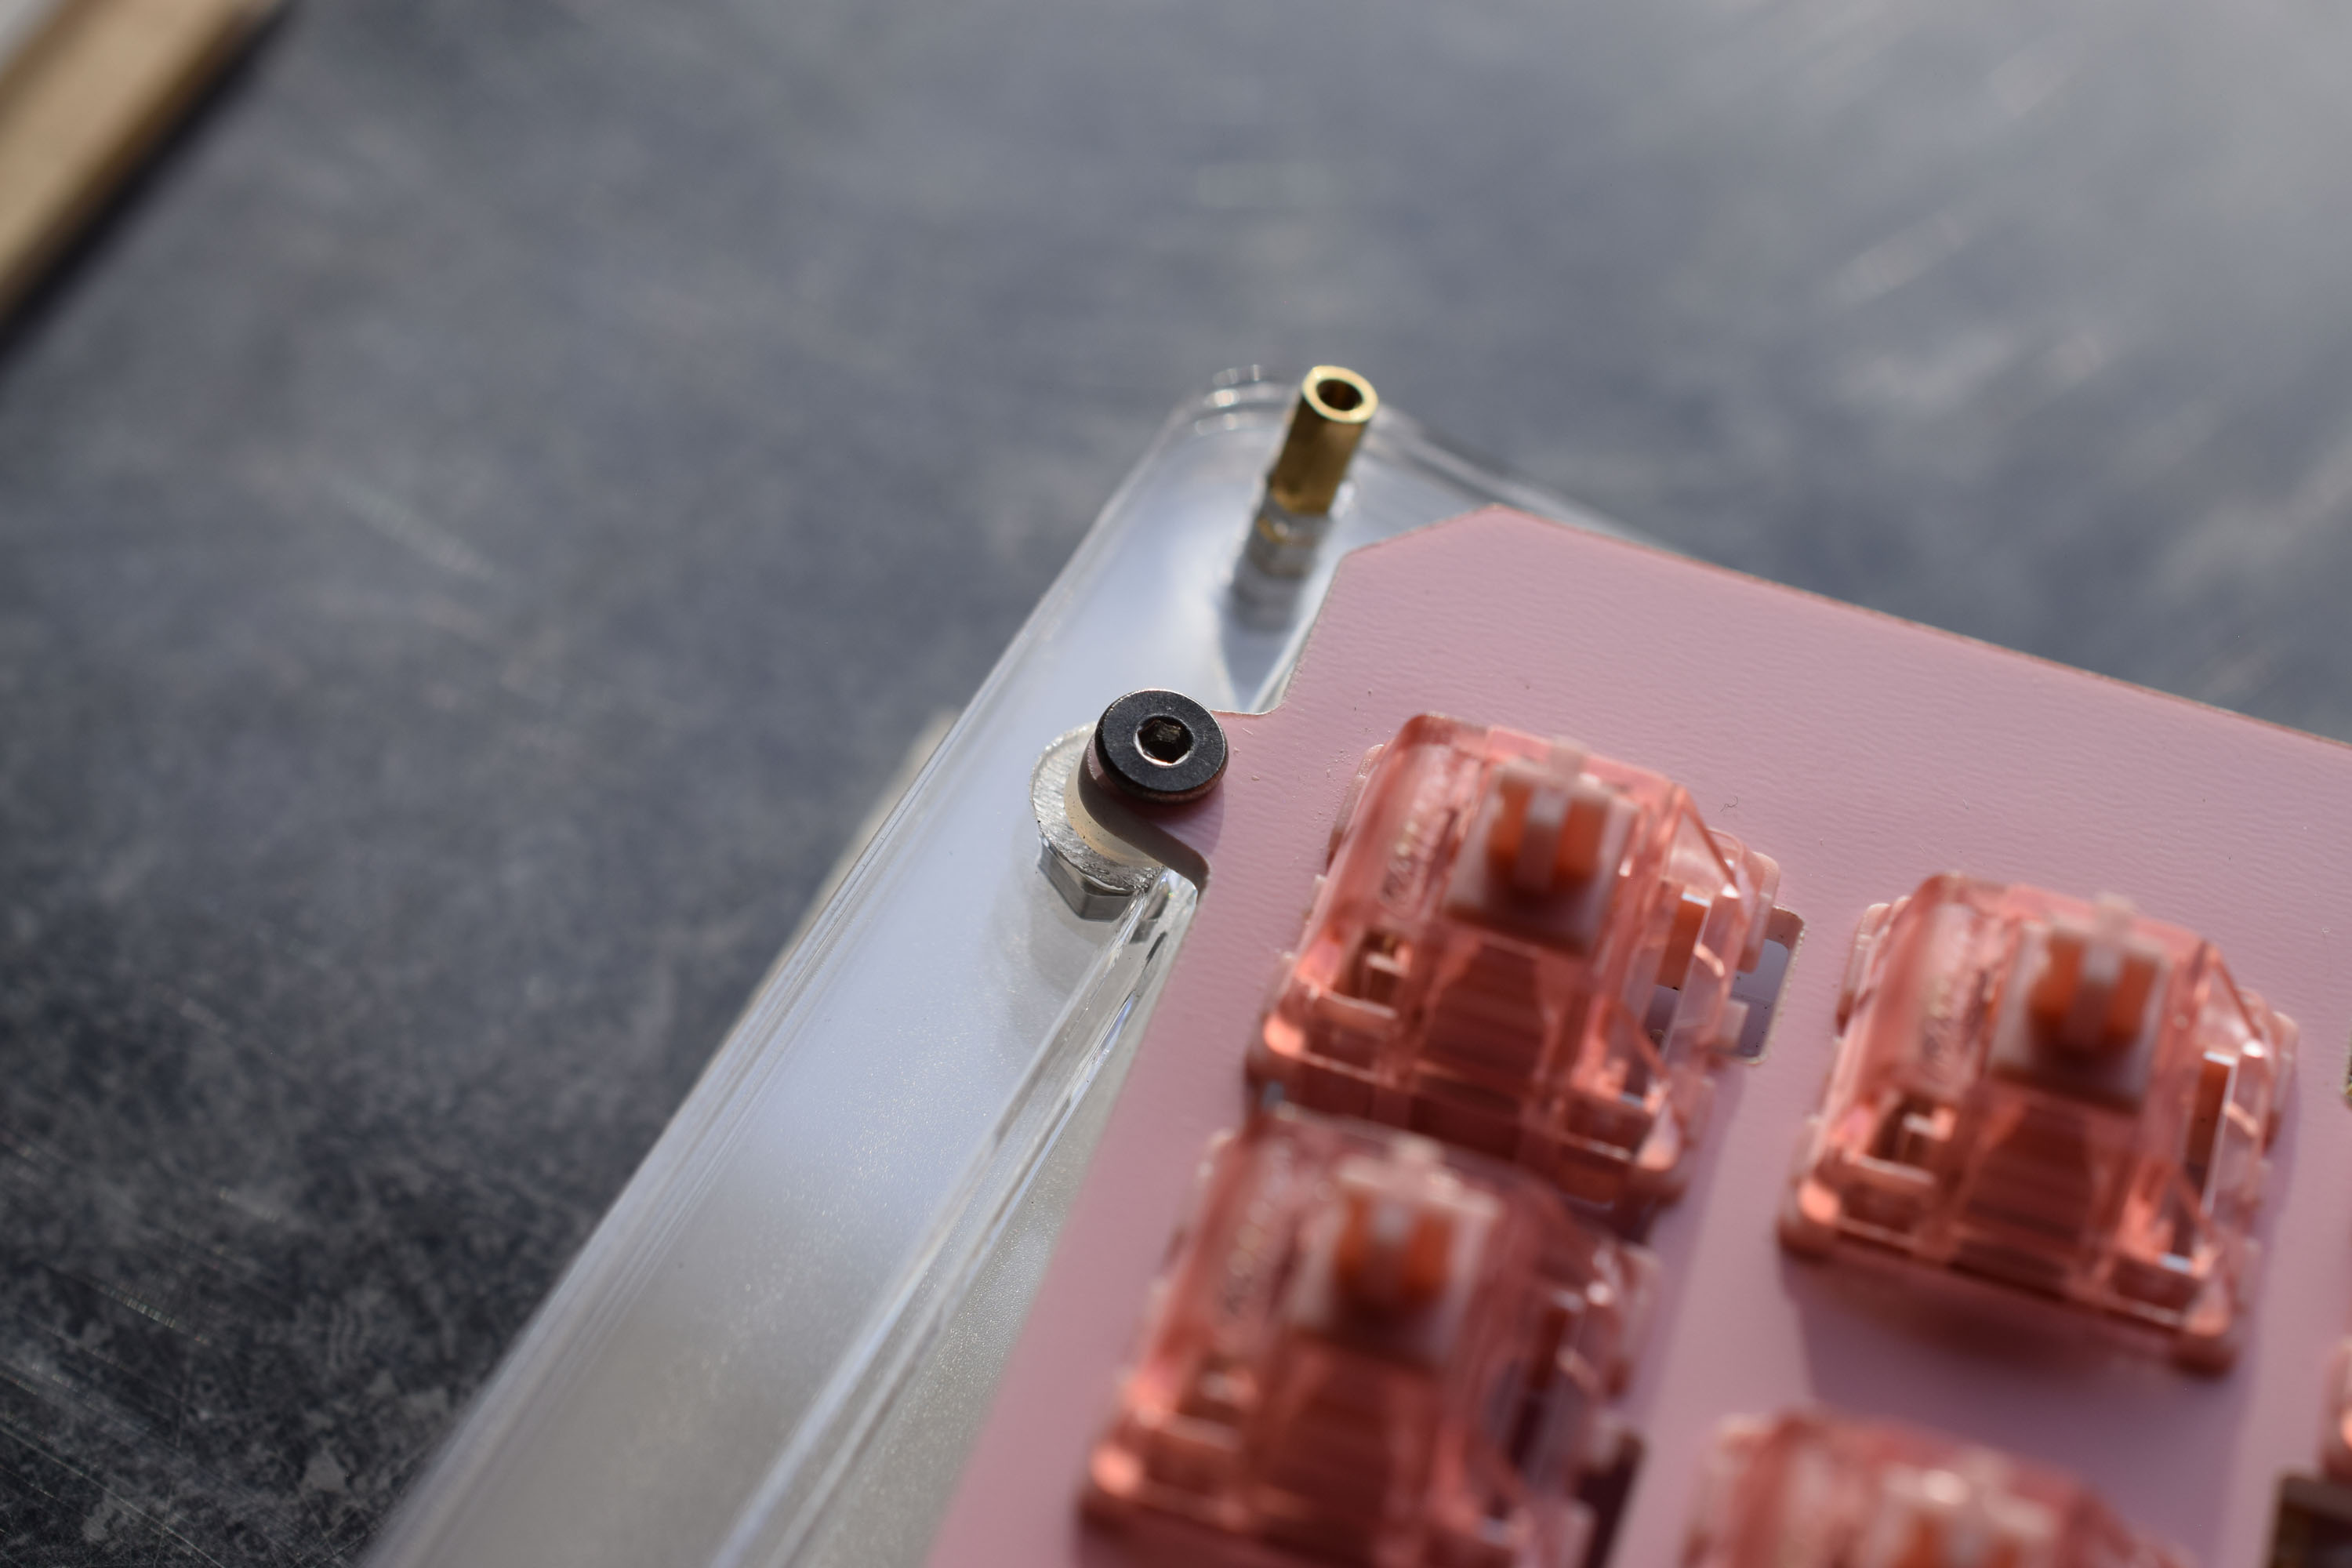
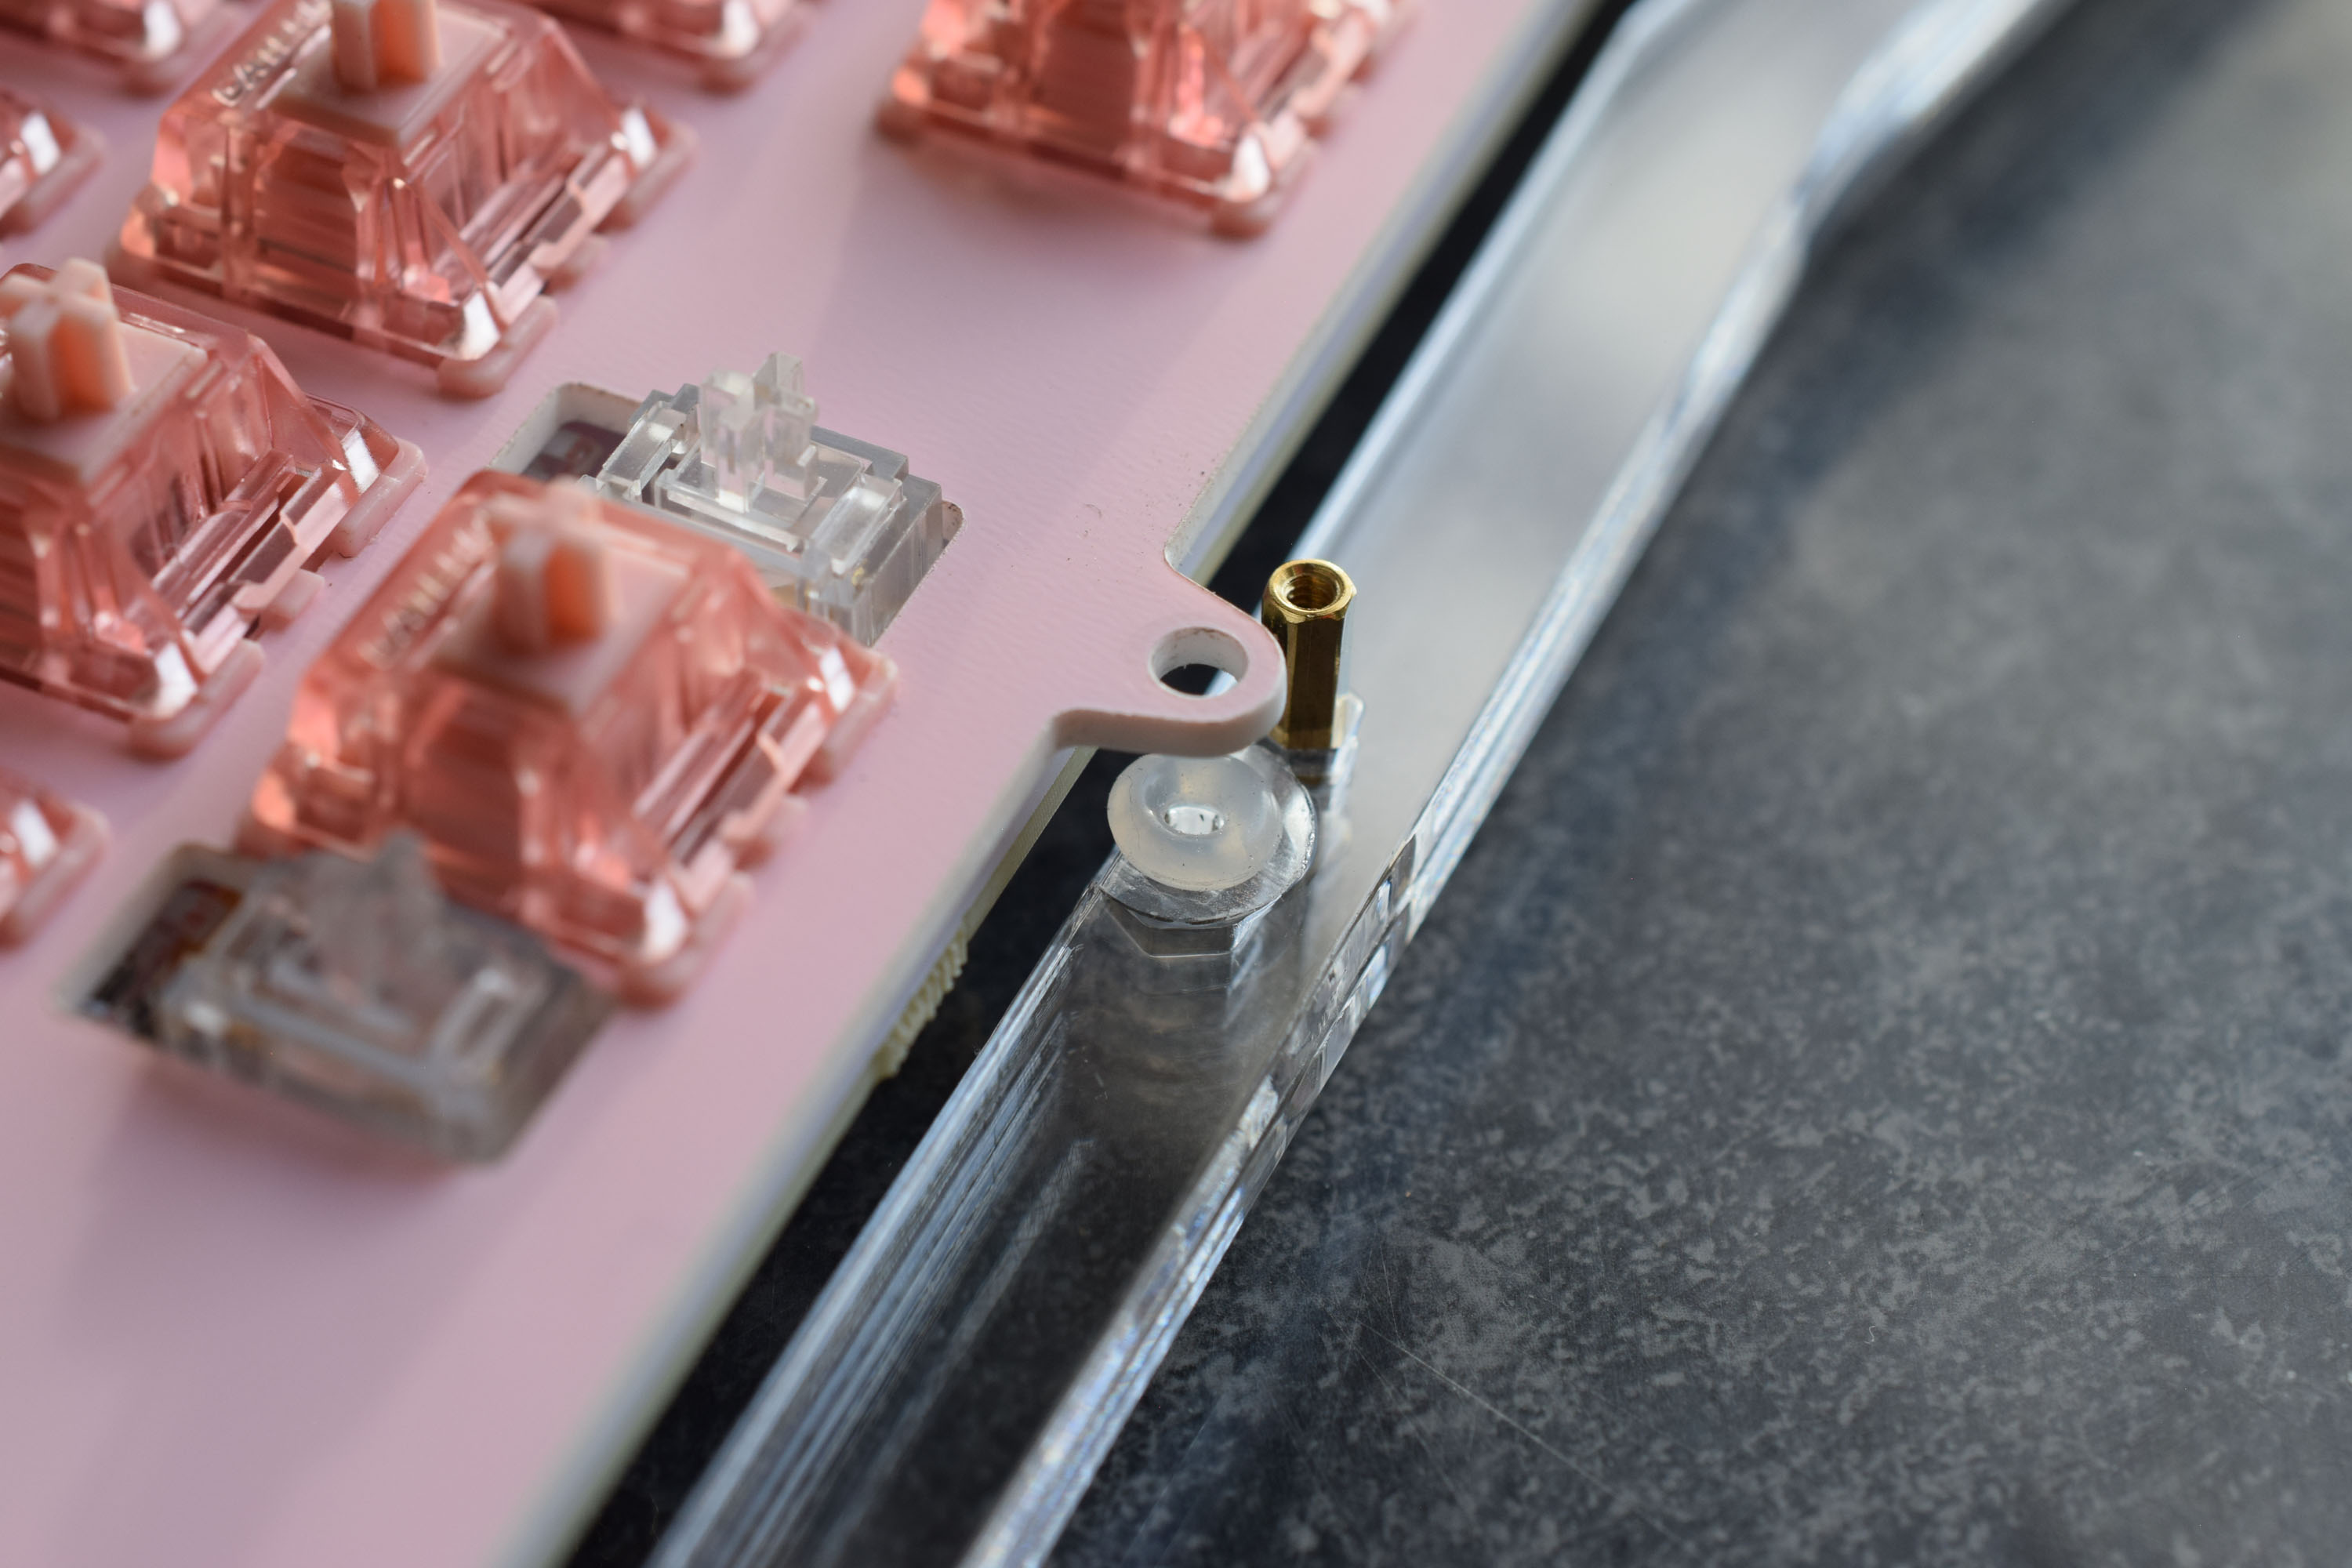
O-Ring Mount
Take off the O-ring and screws. Do not lose them.
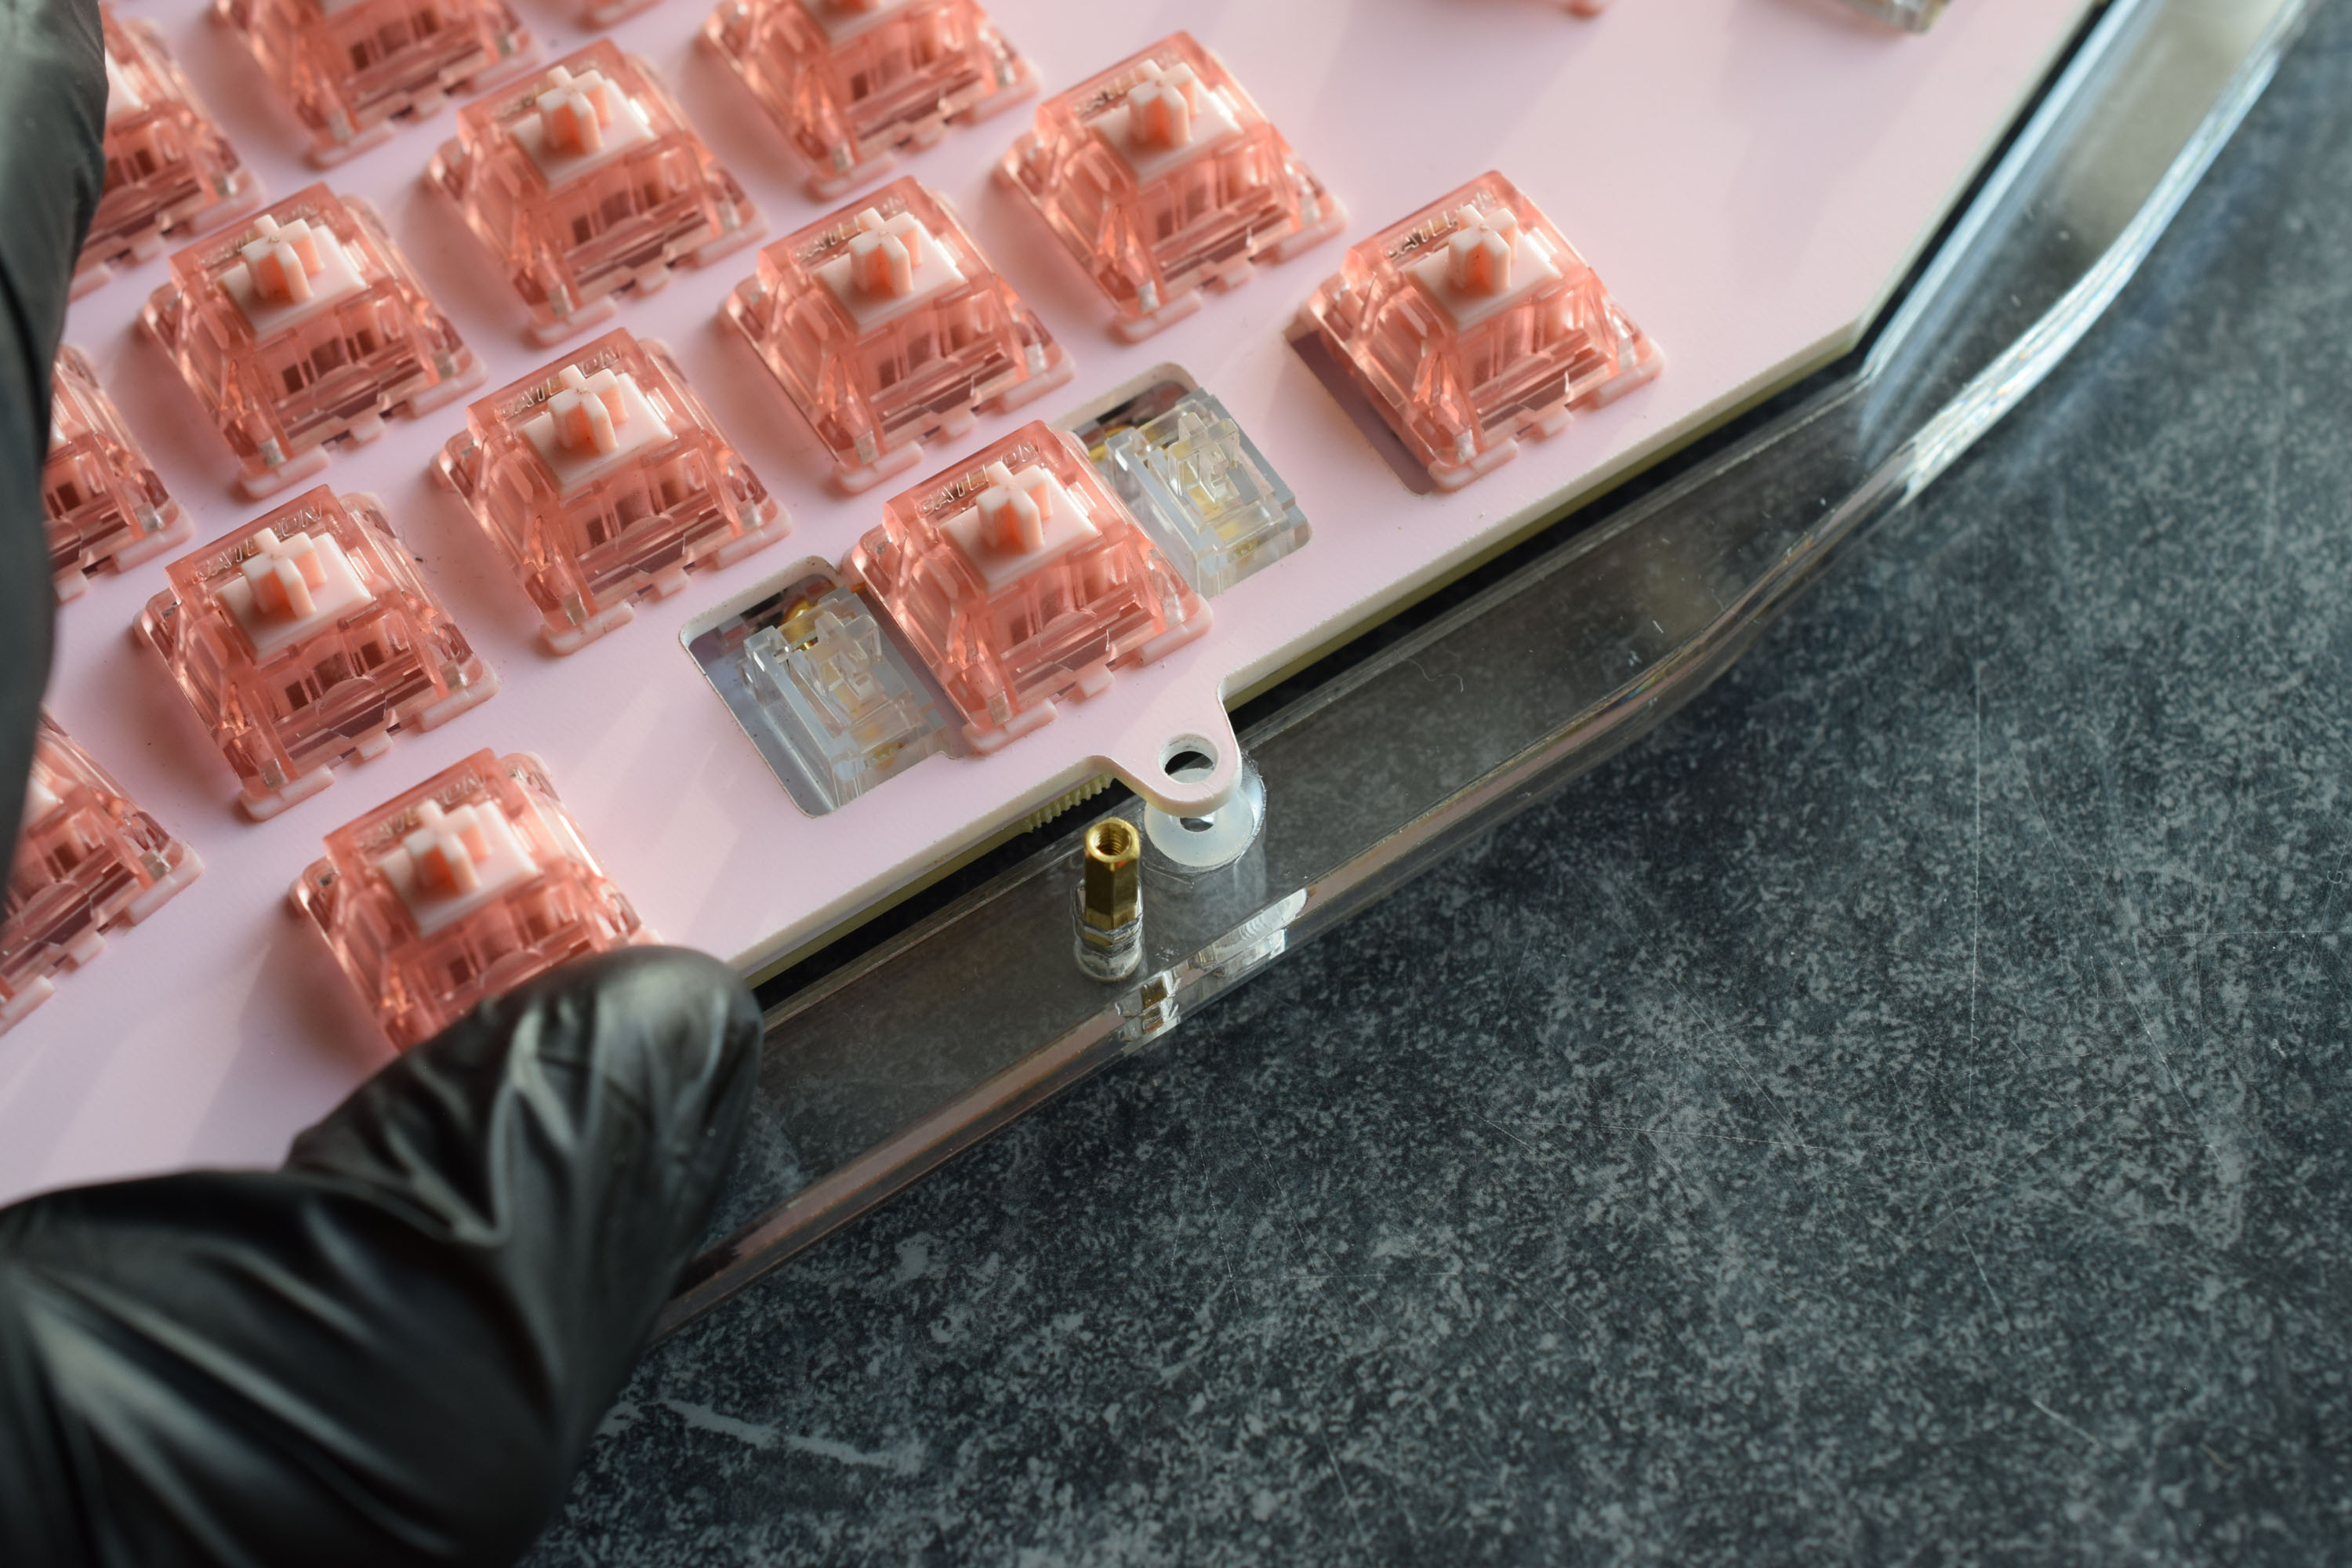
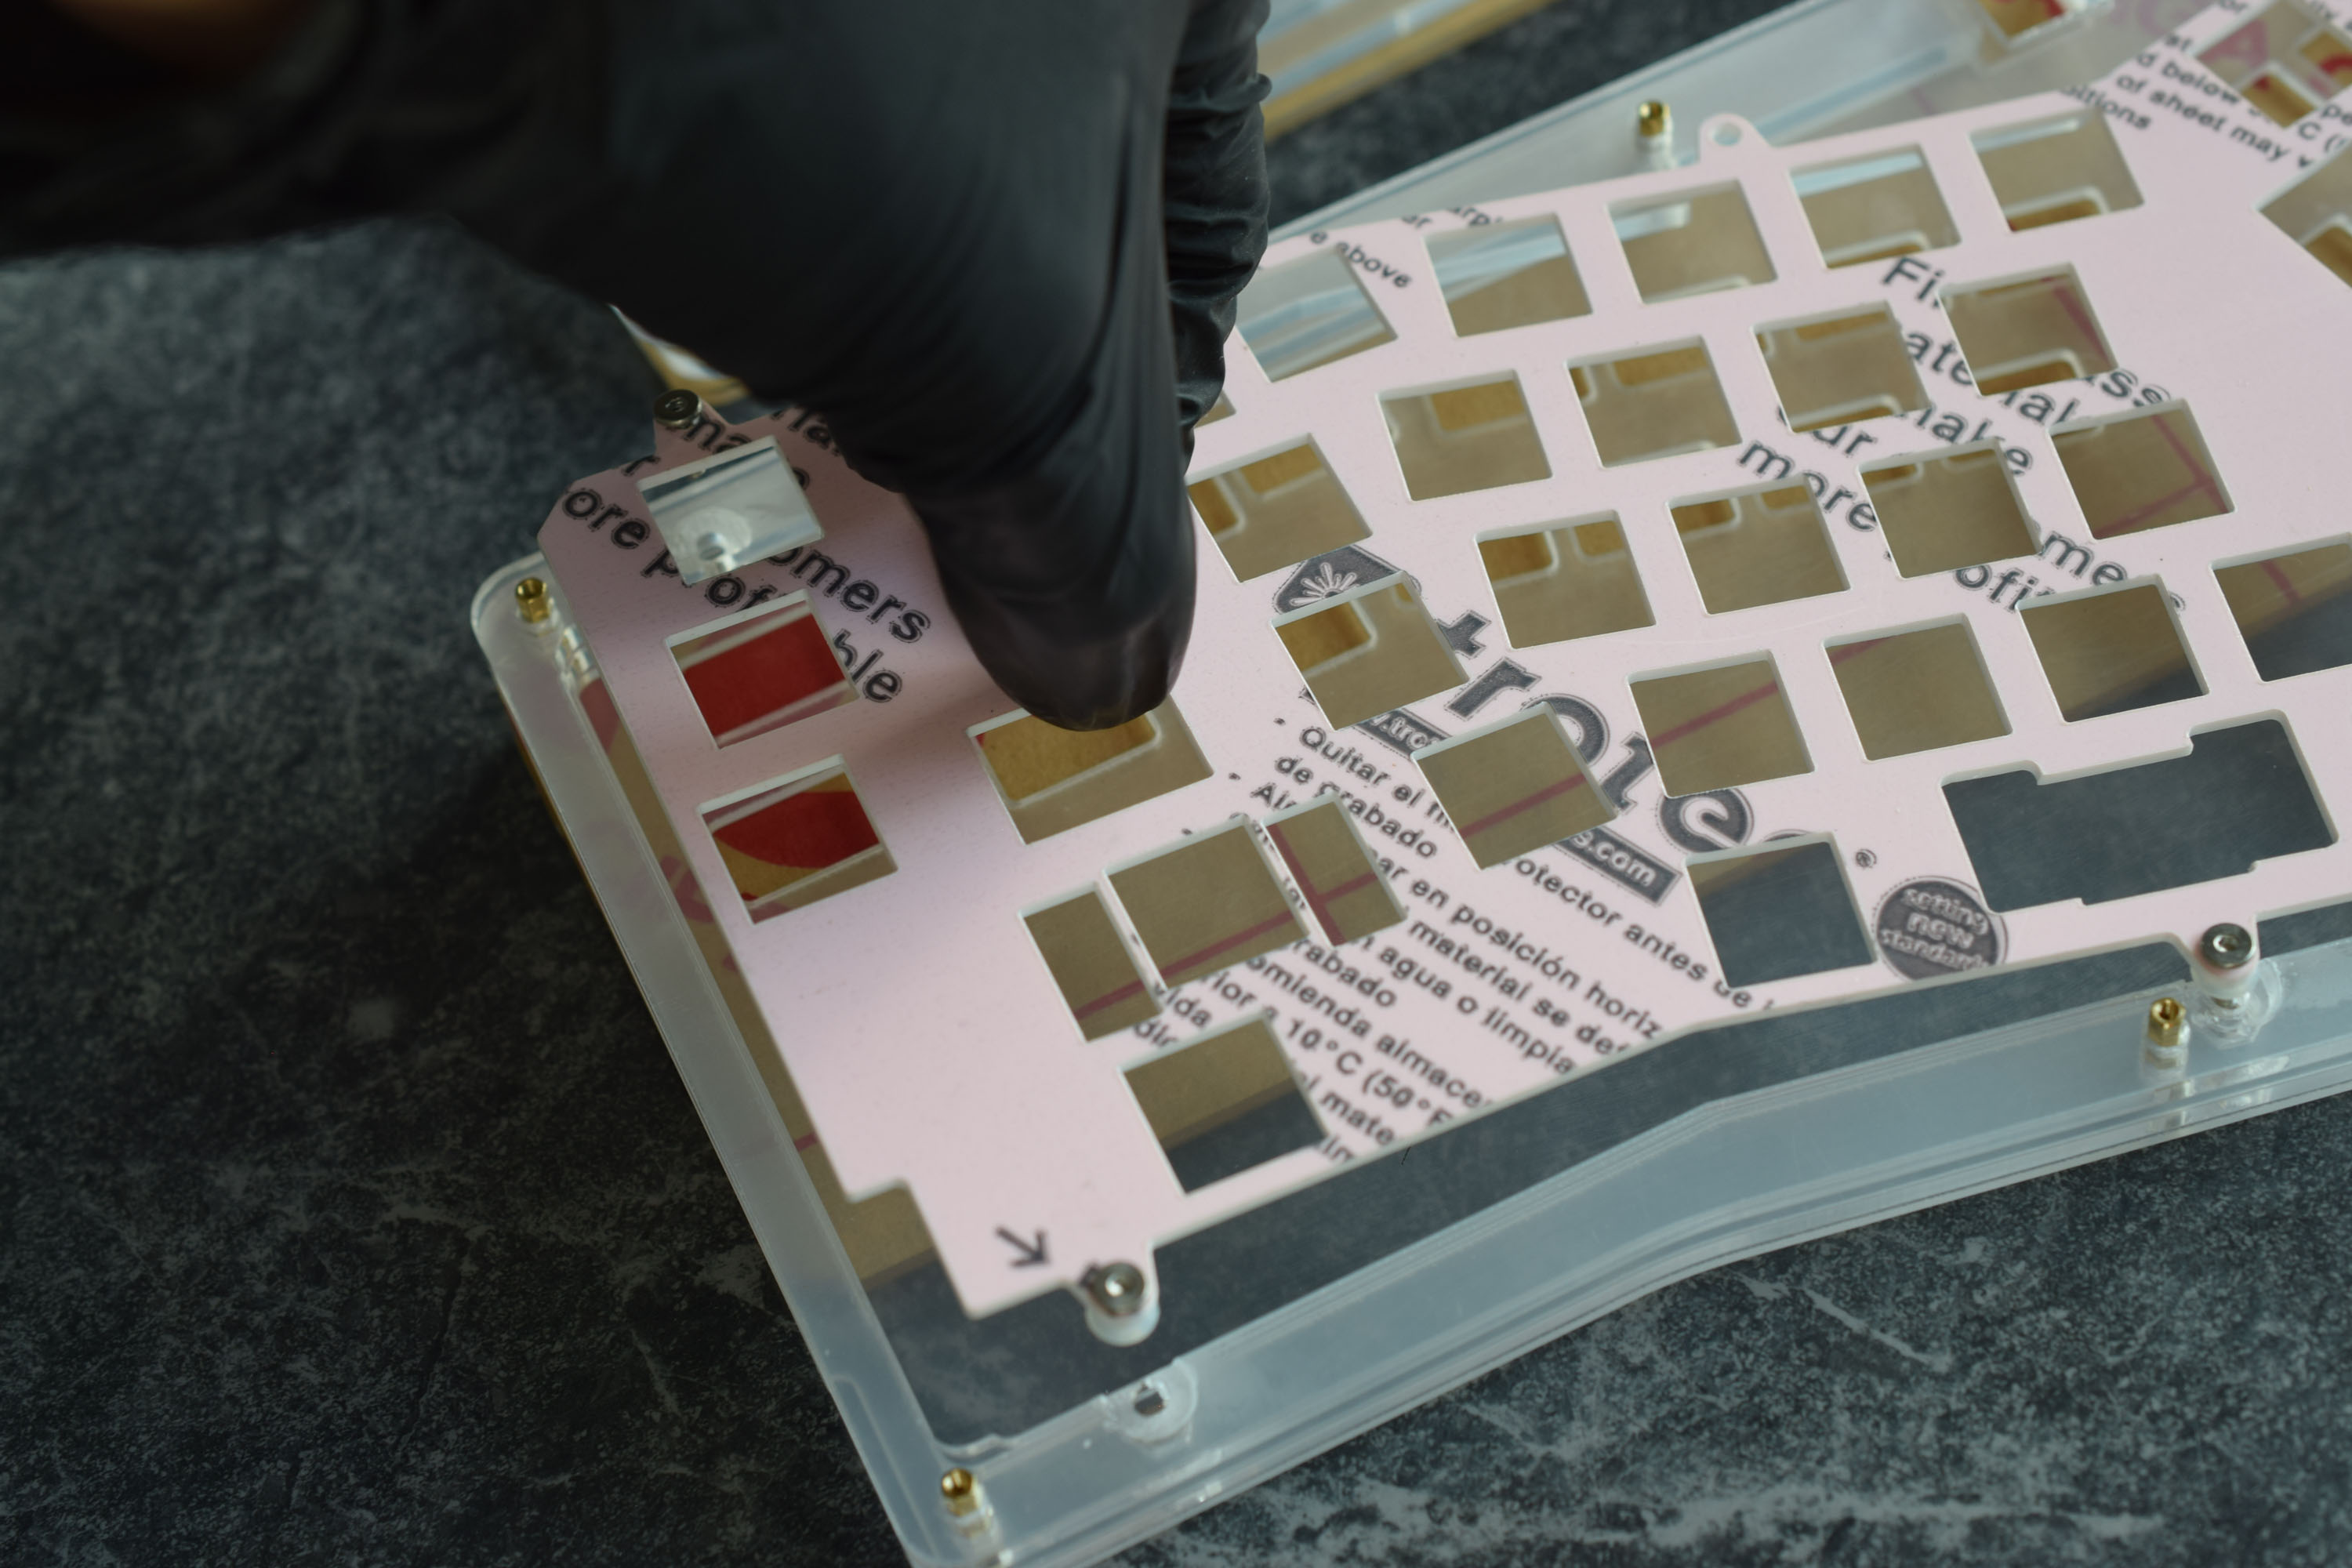
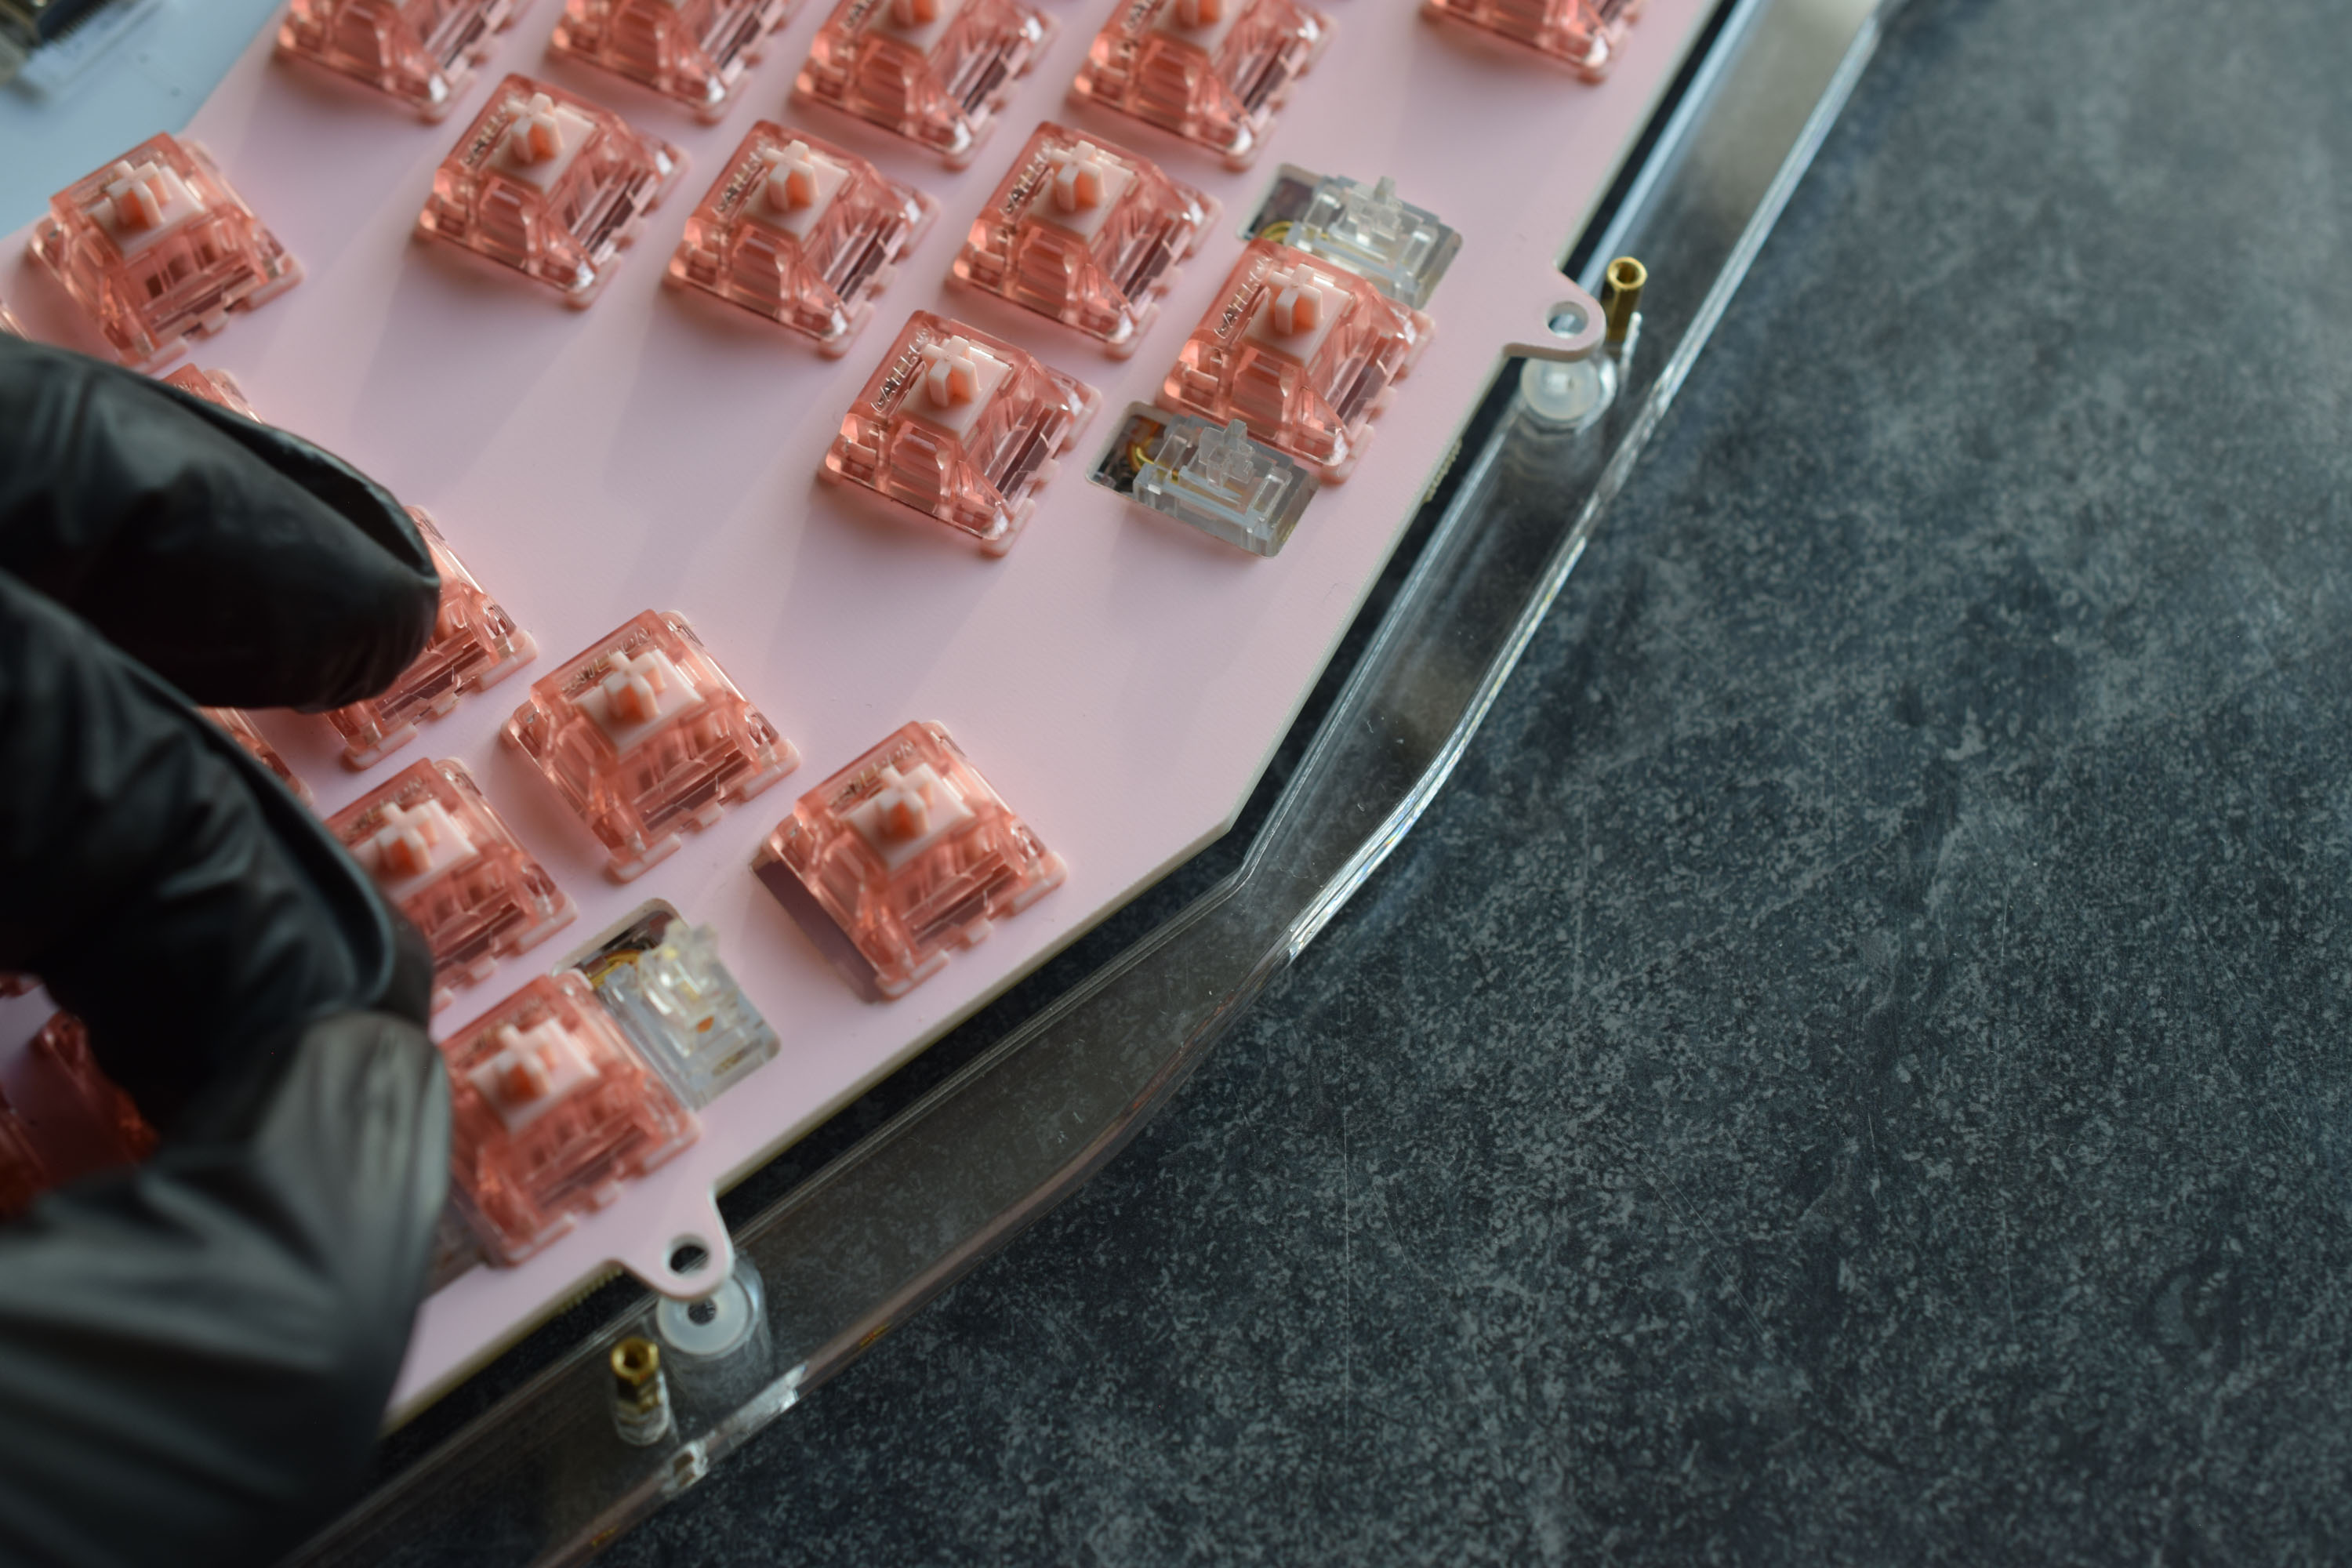
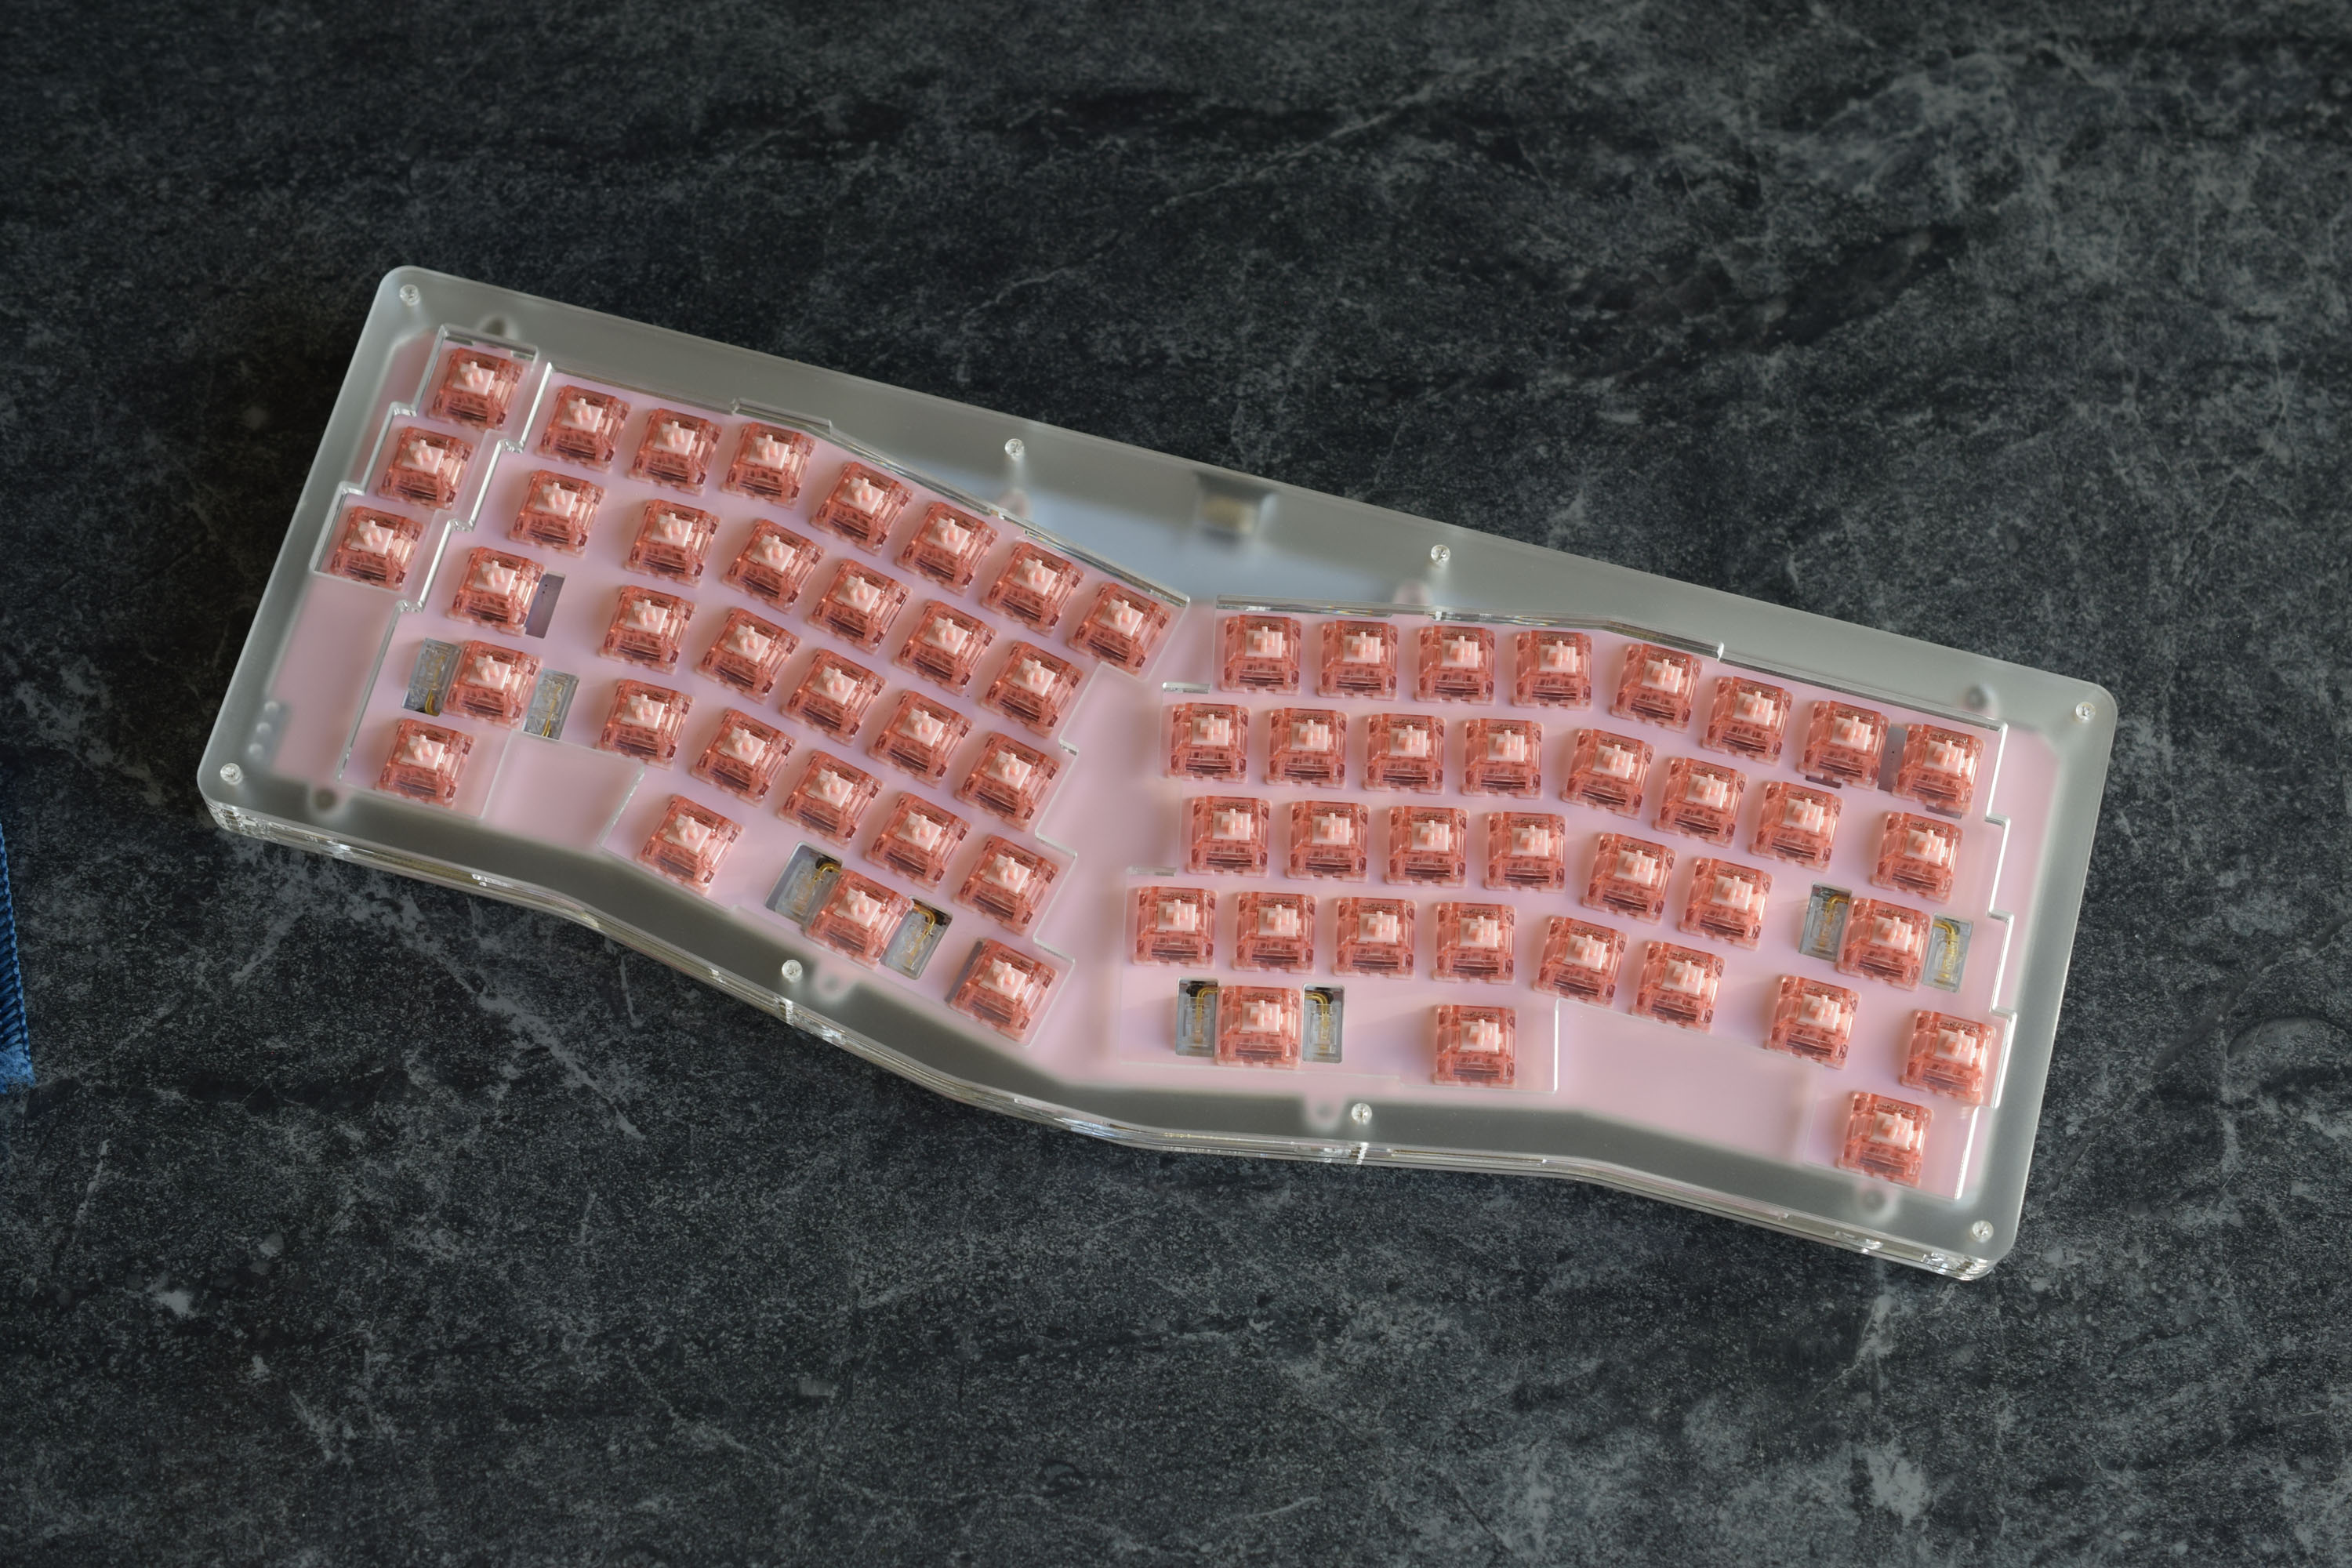
Install Switches into the Plate and PCB
Forget about the case for now and do regular keyboard things.
Stabilisers into the PCB, Switches into plate ect ect.
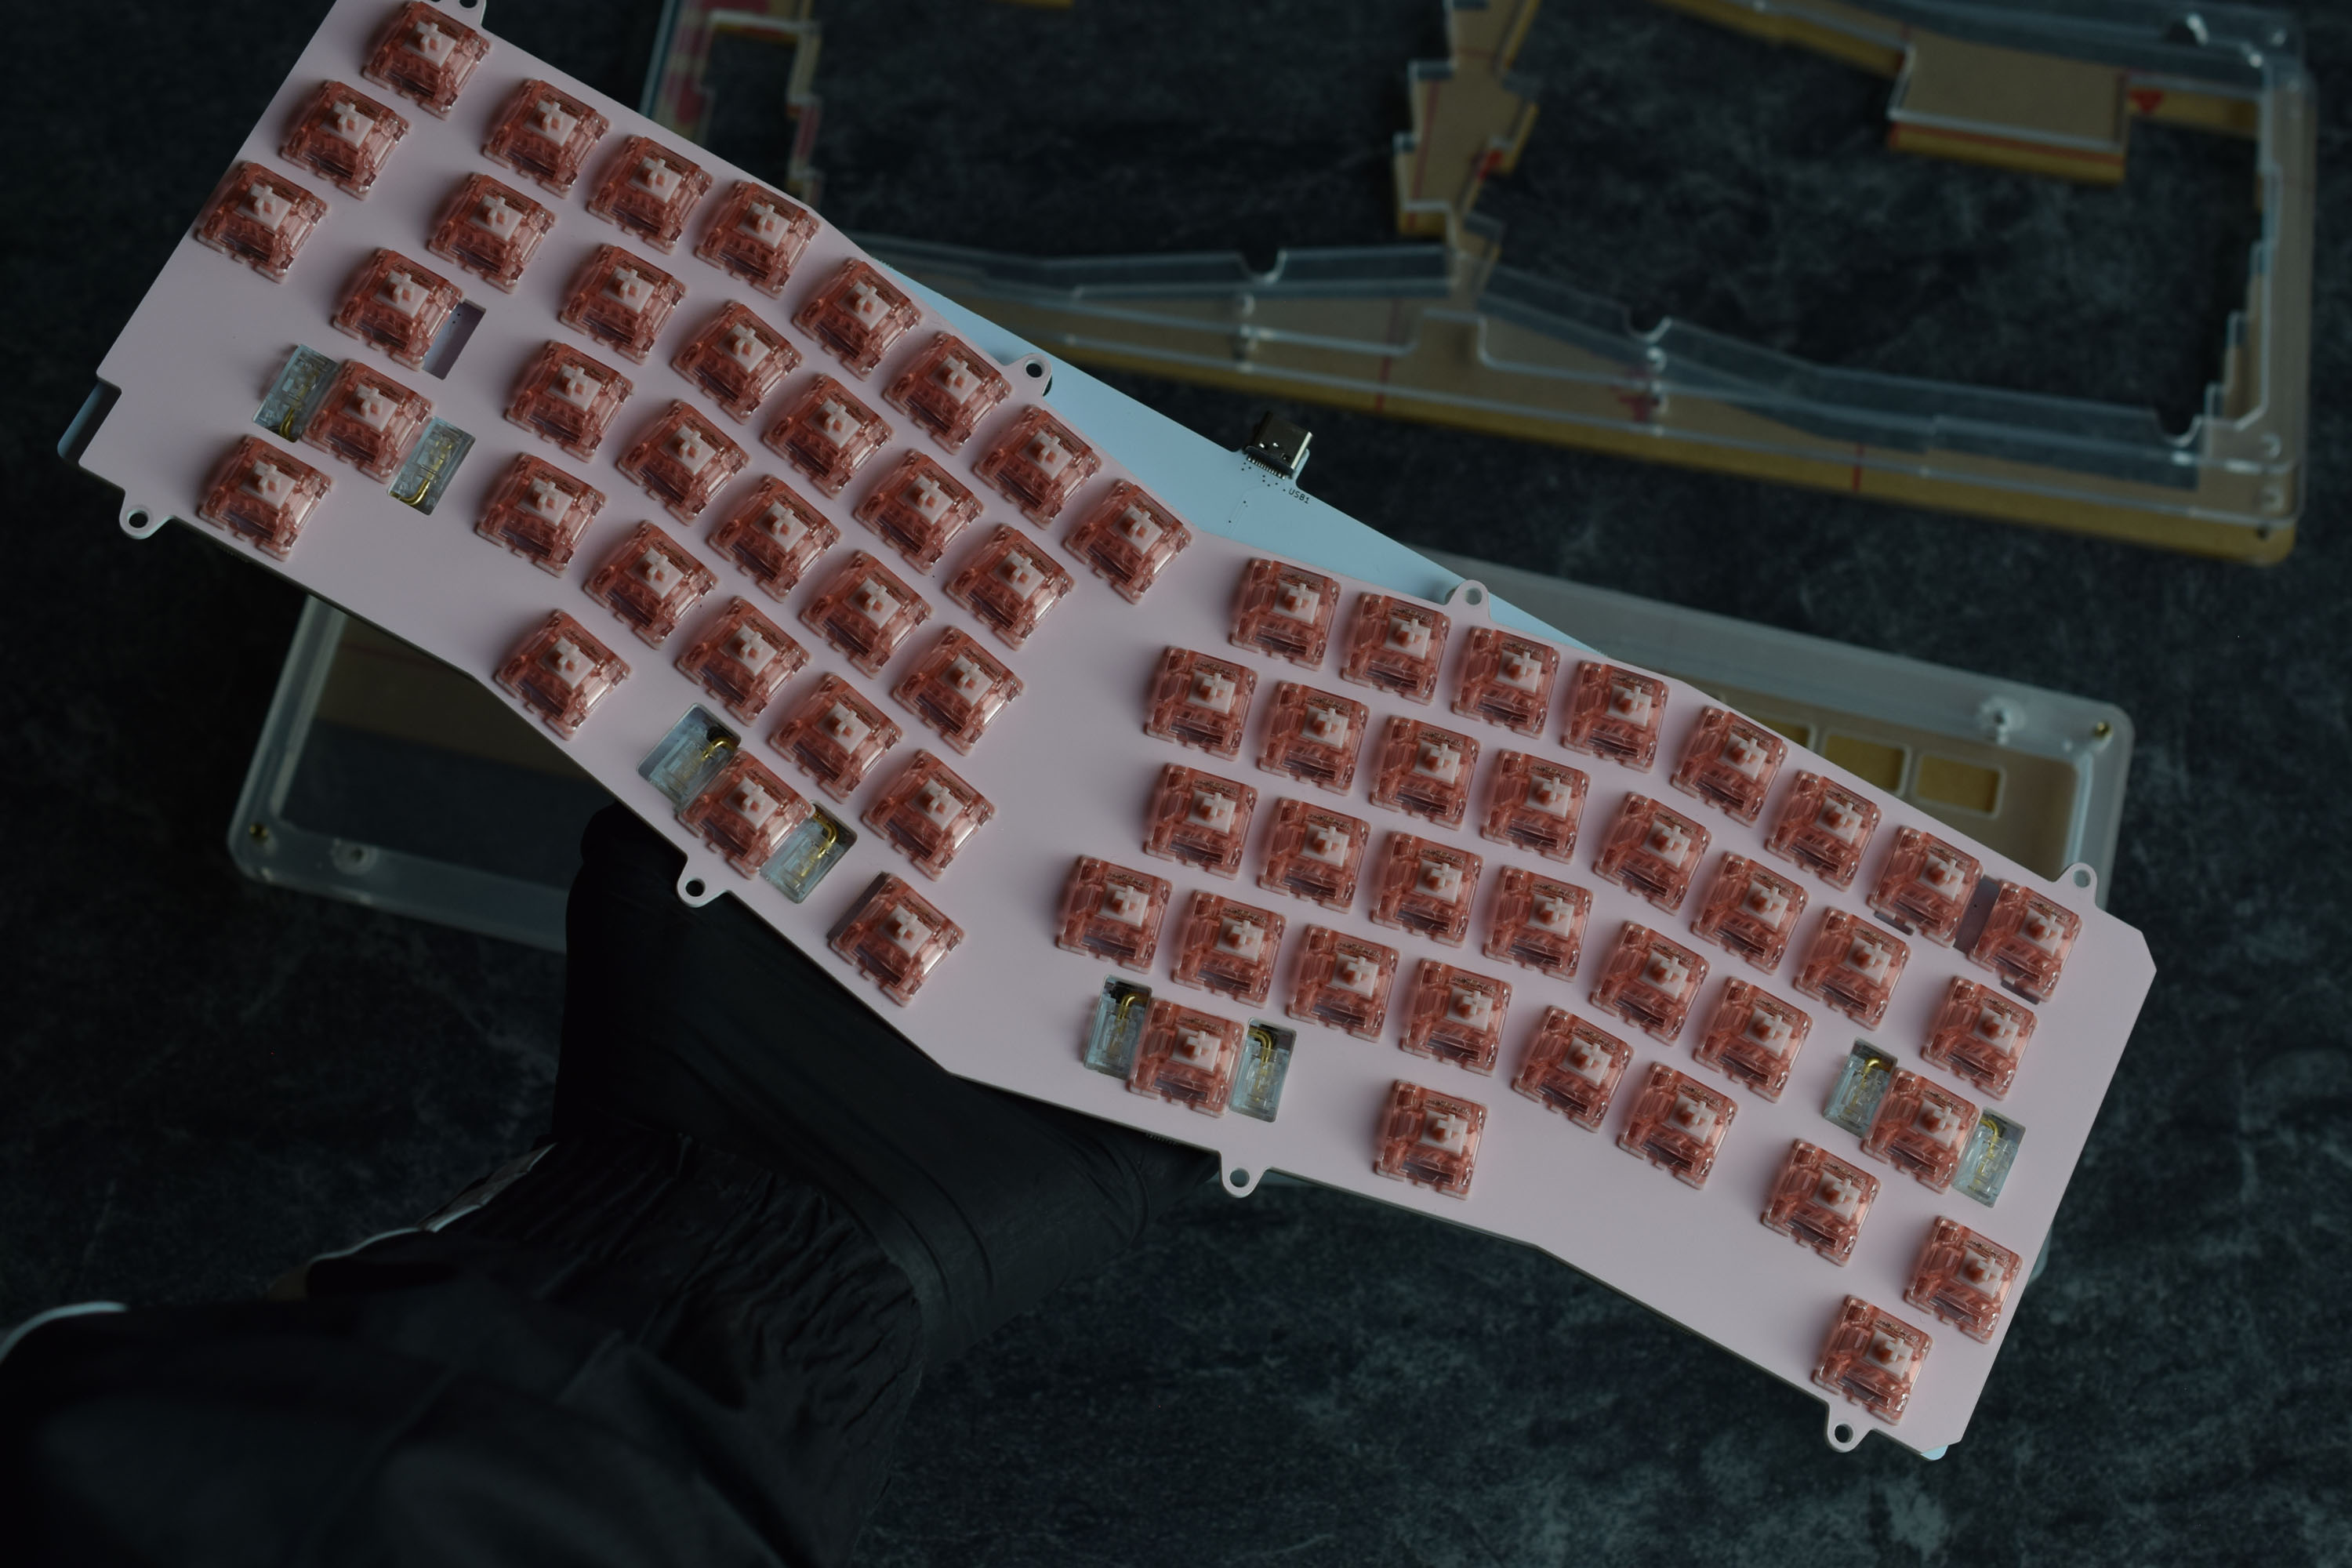
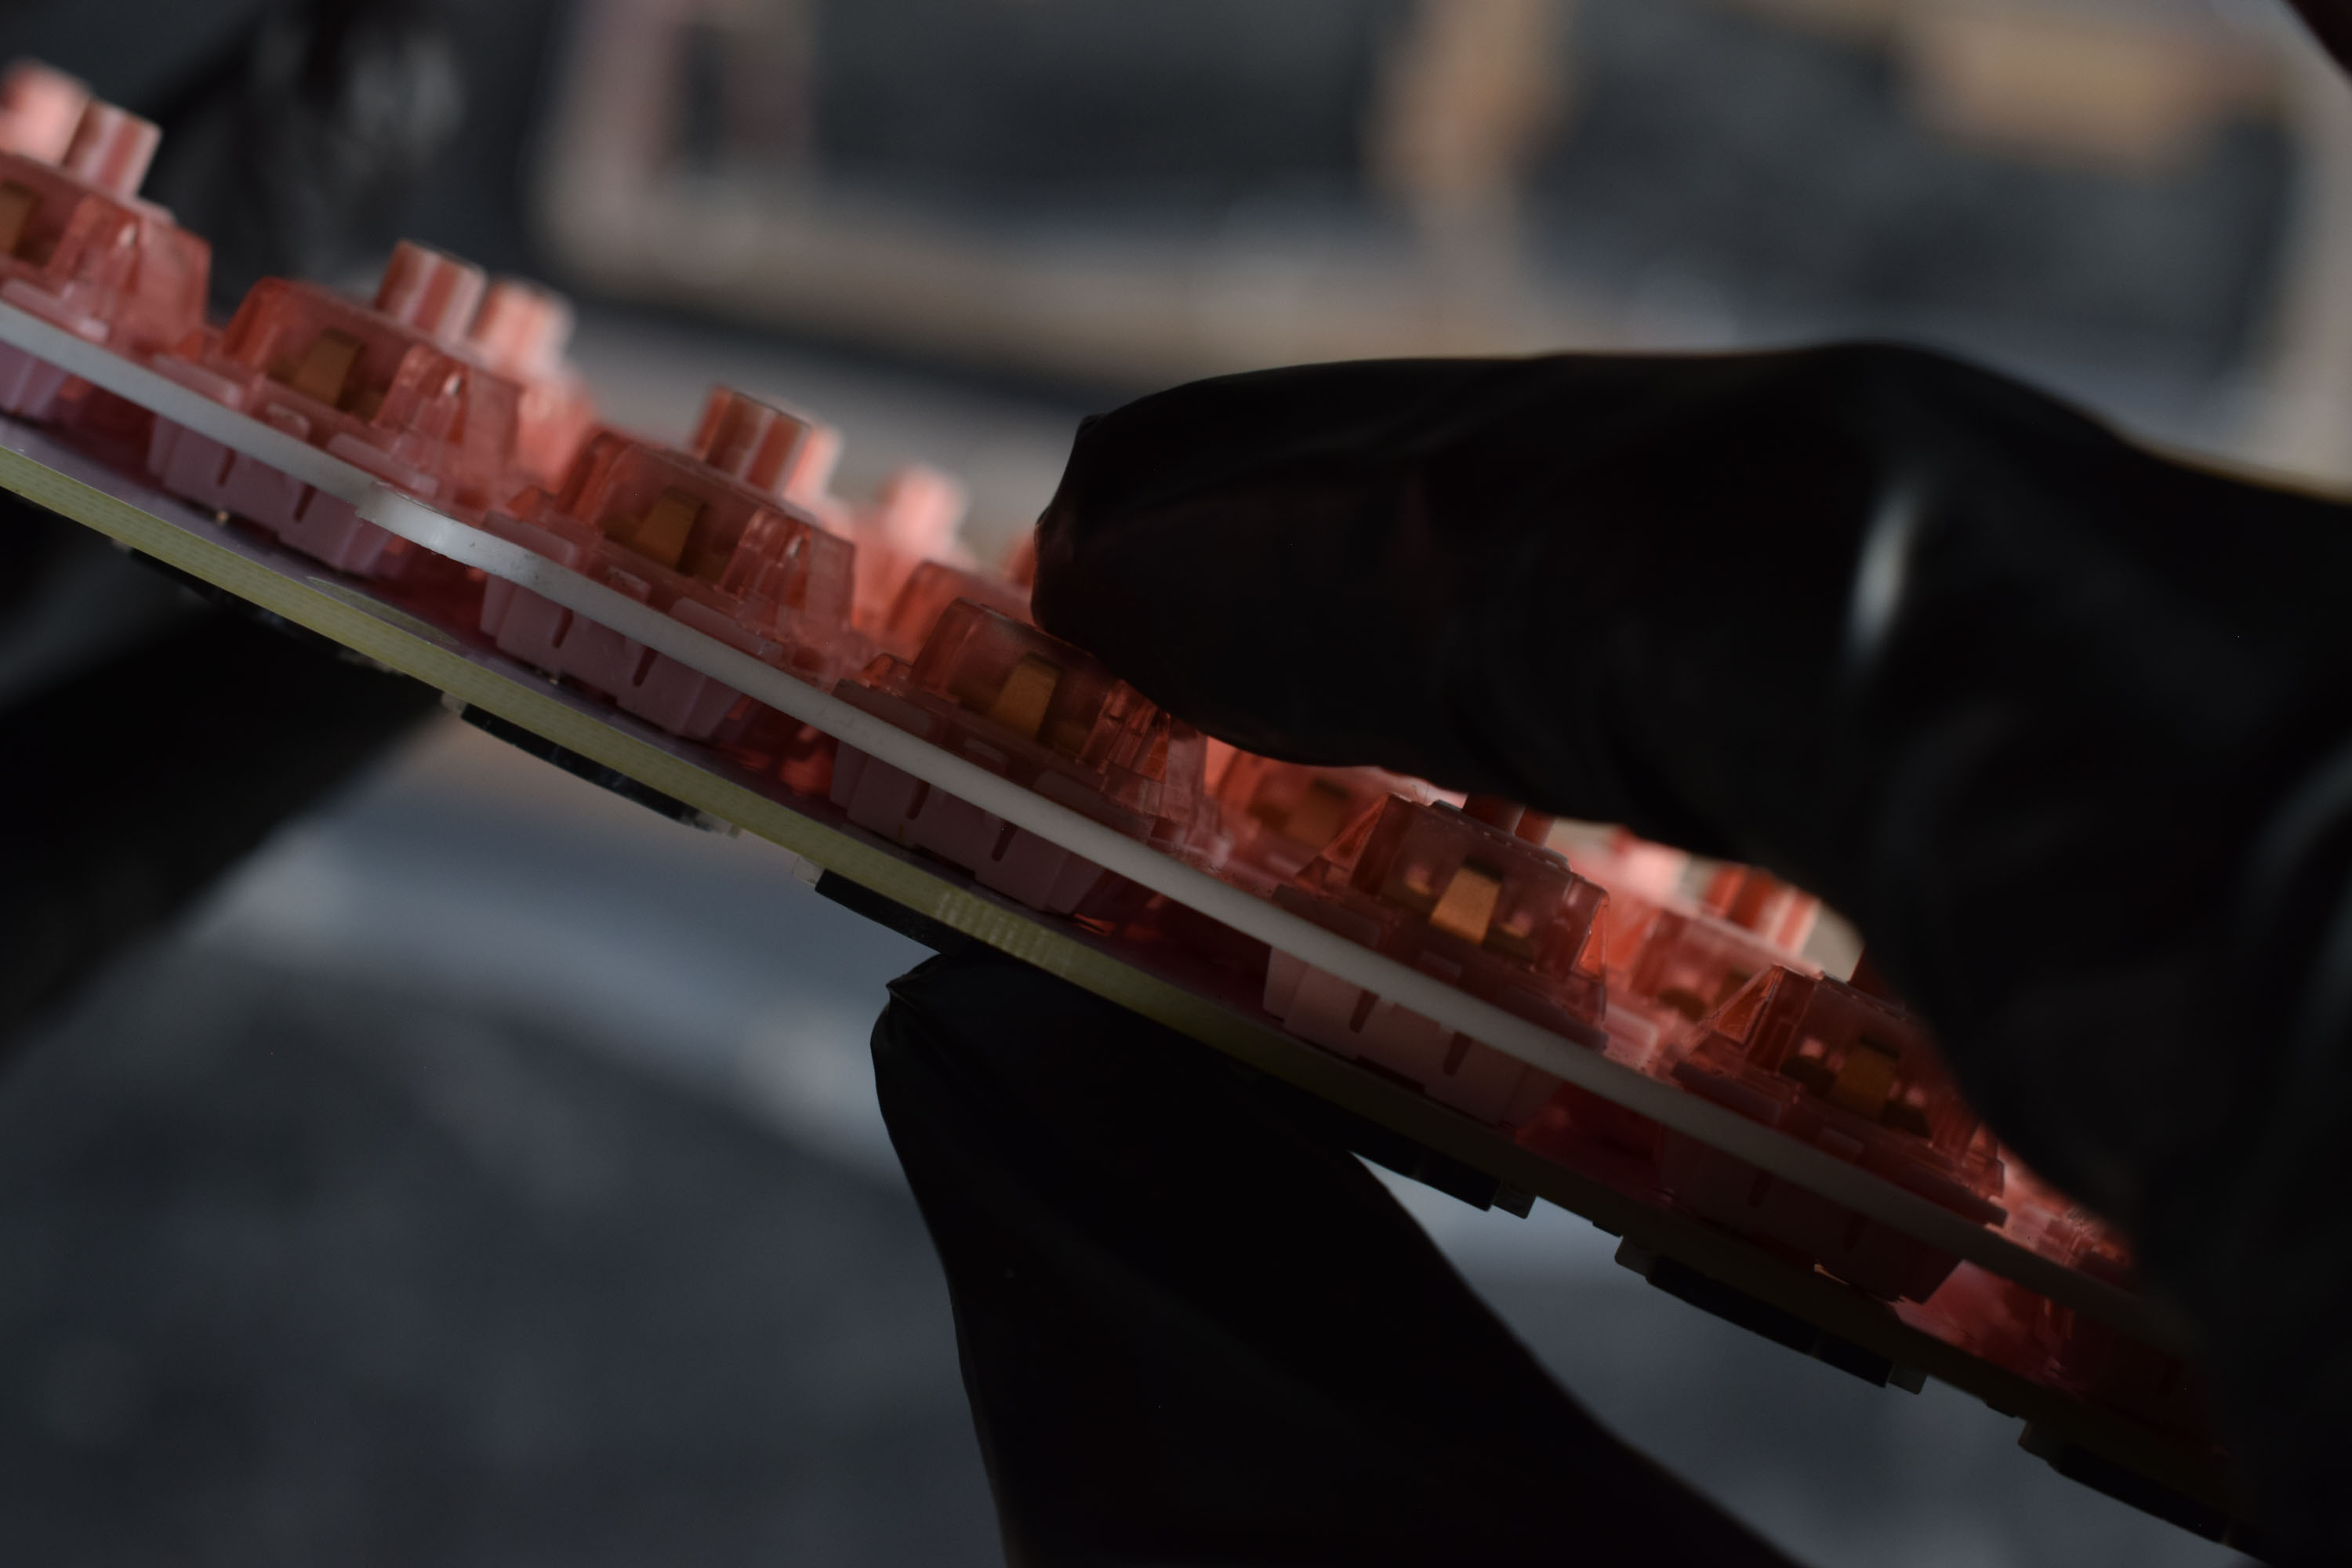
If you have a Hotswap PCB, “clamp” each switch and socket when installing. Make sure switches are sitting flat on the PCB.
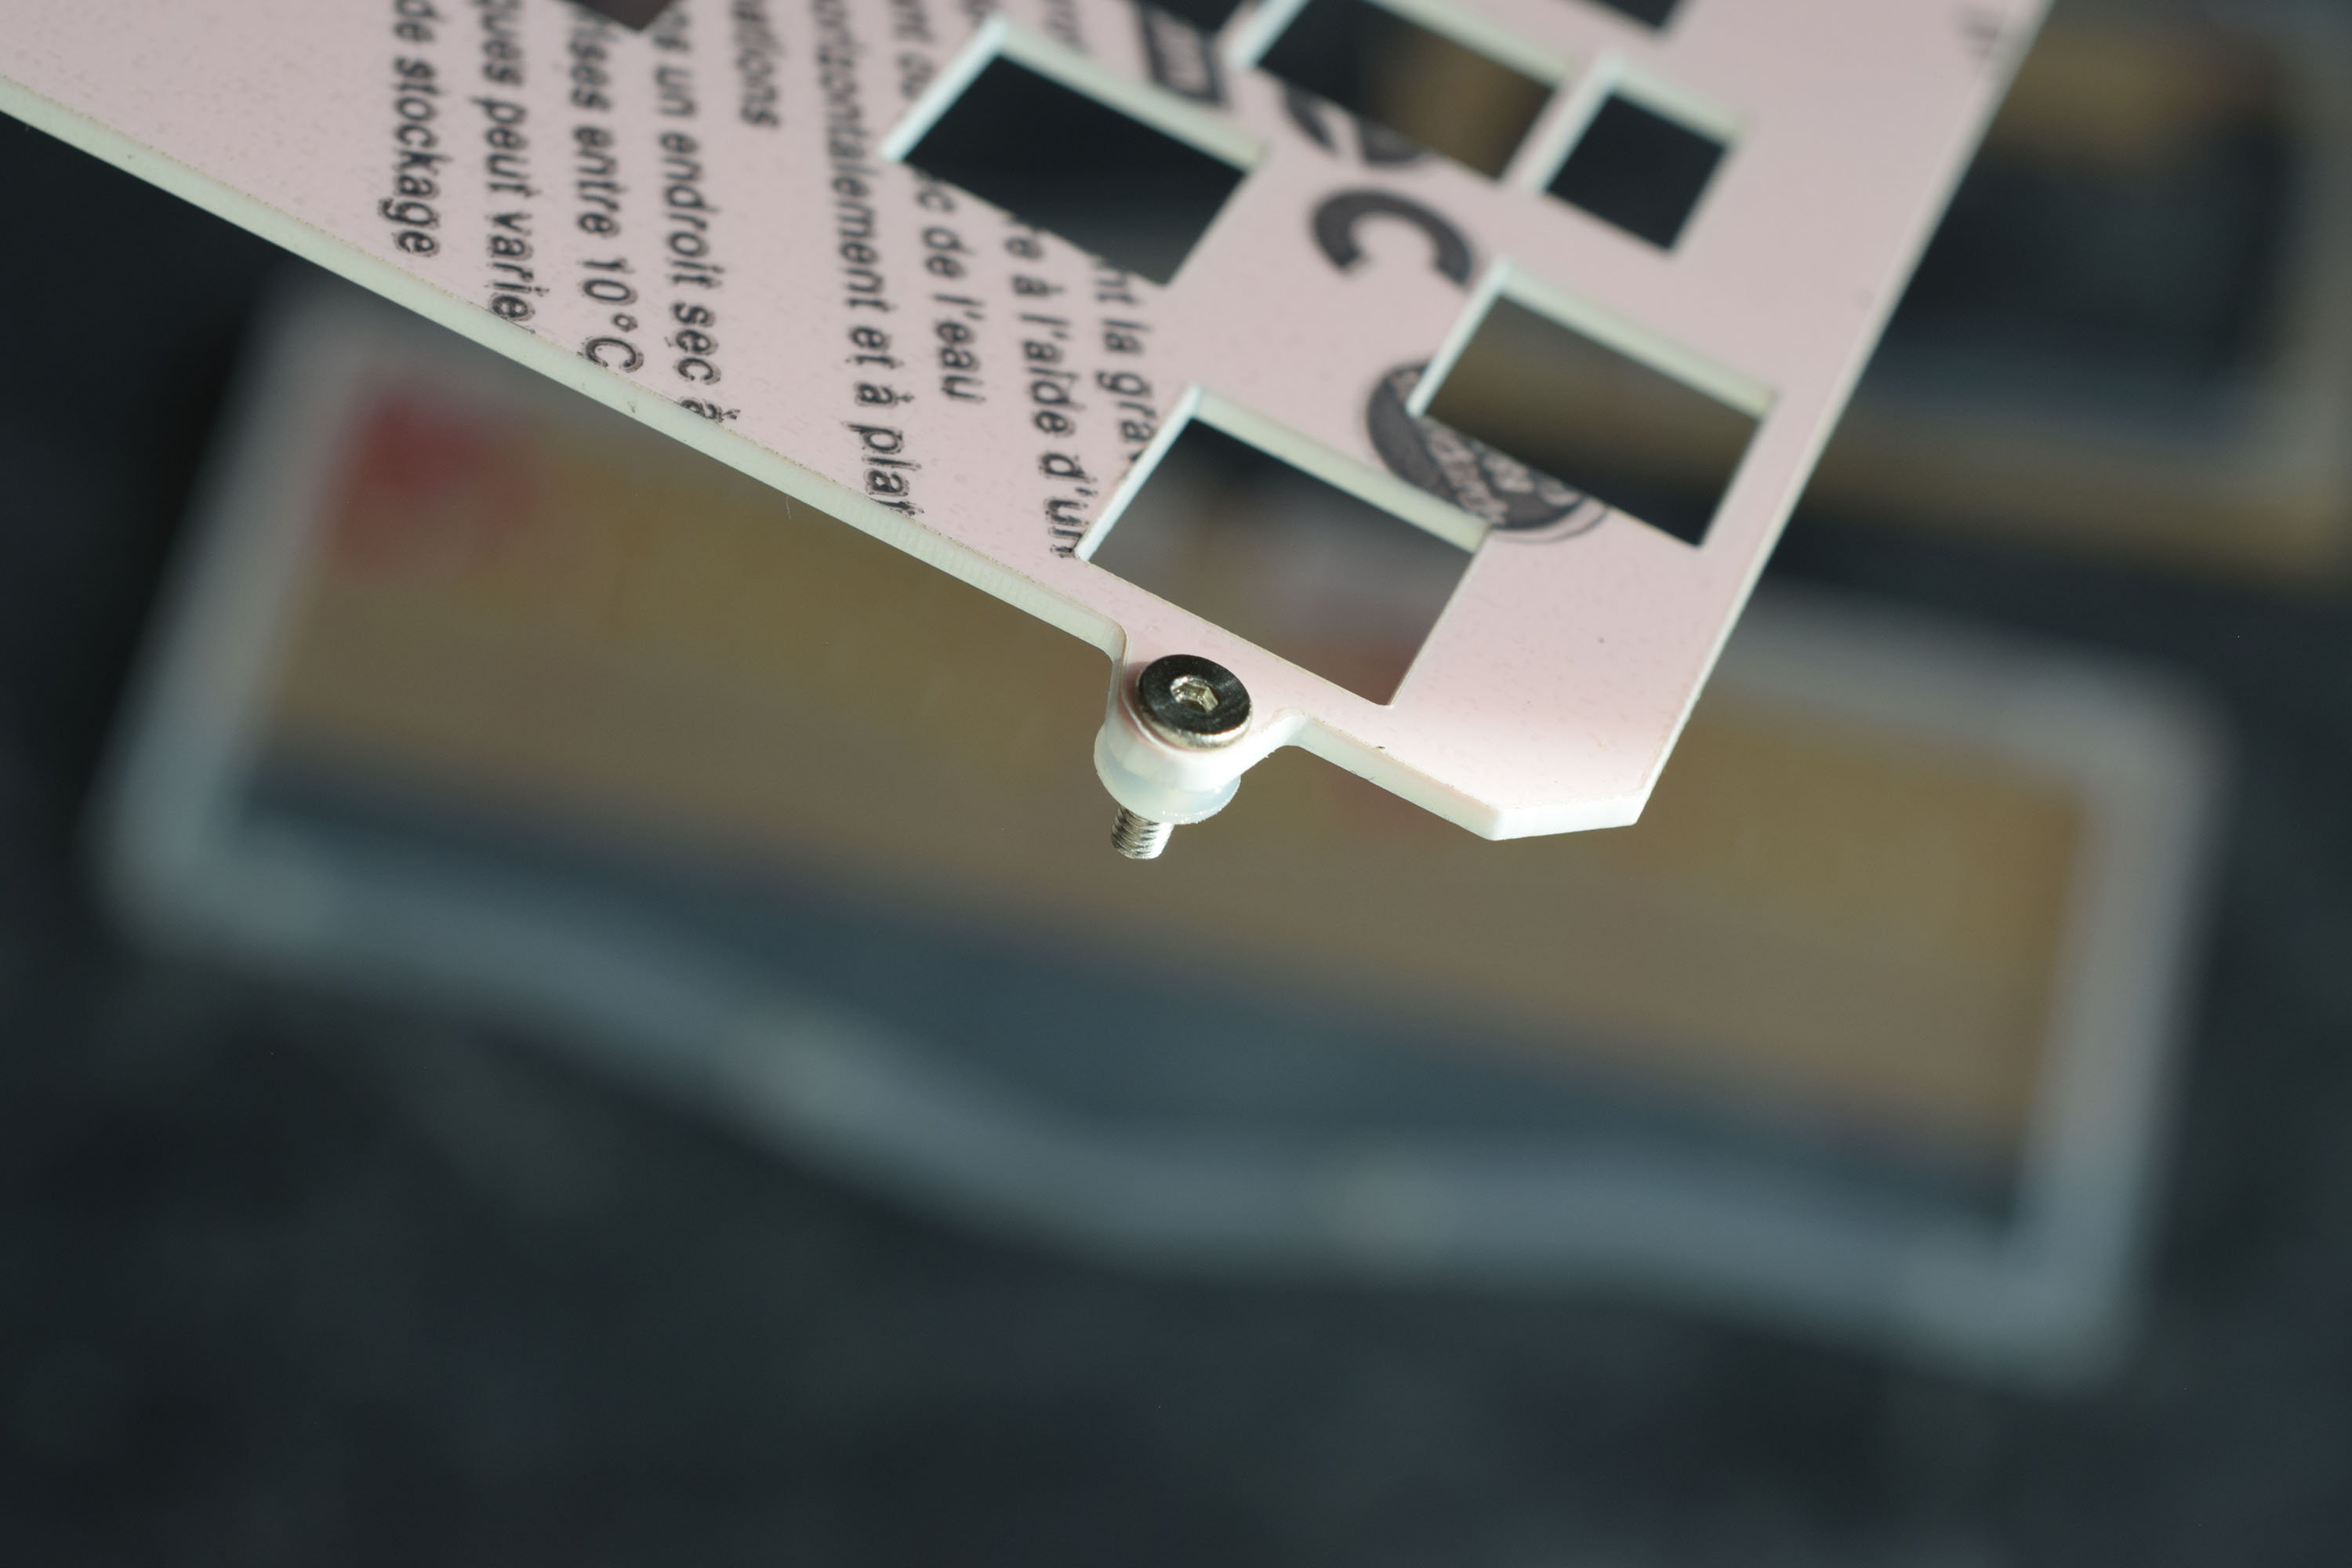
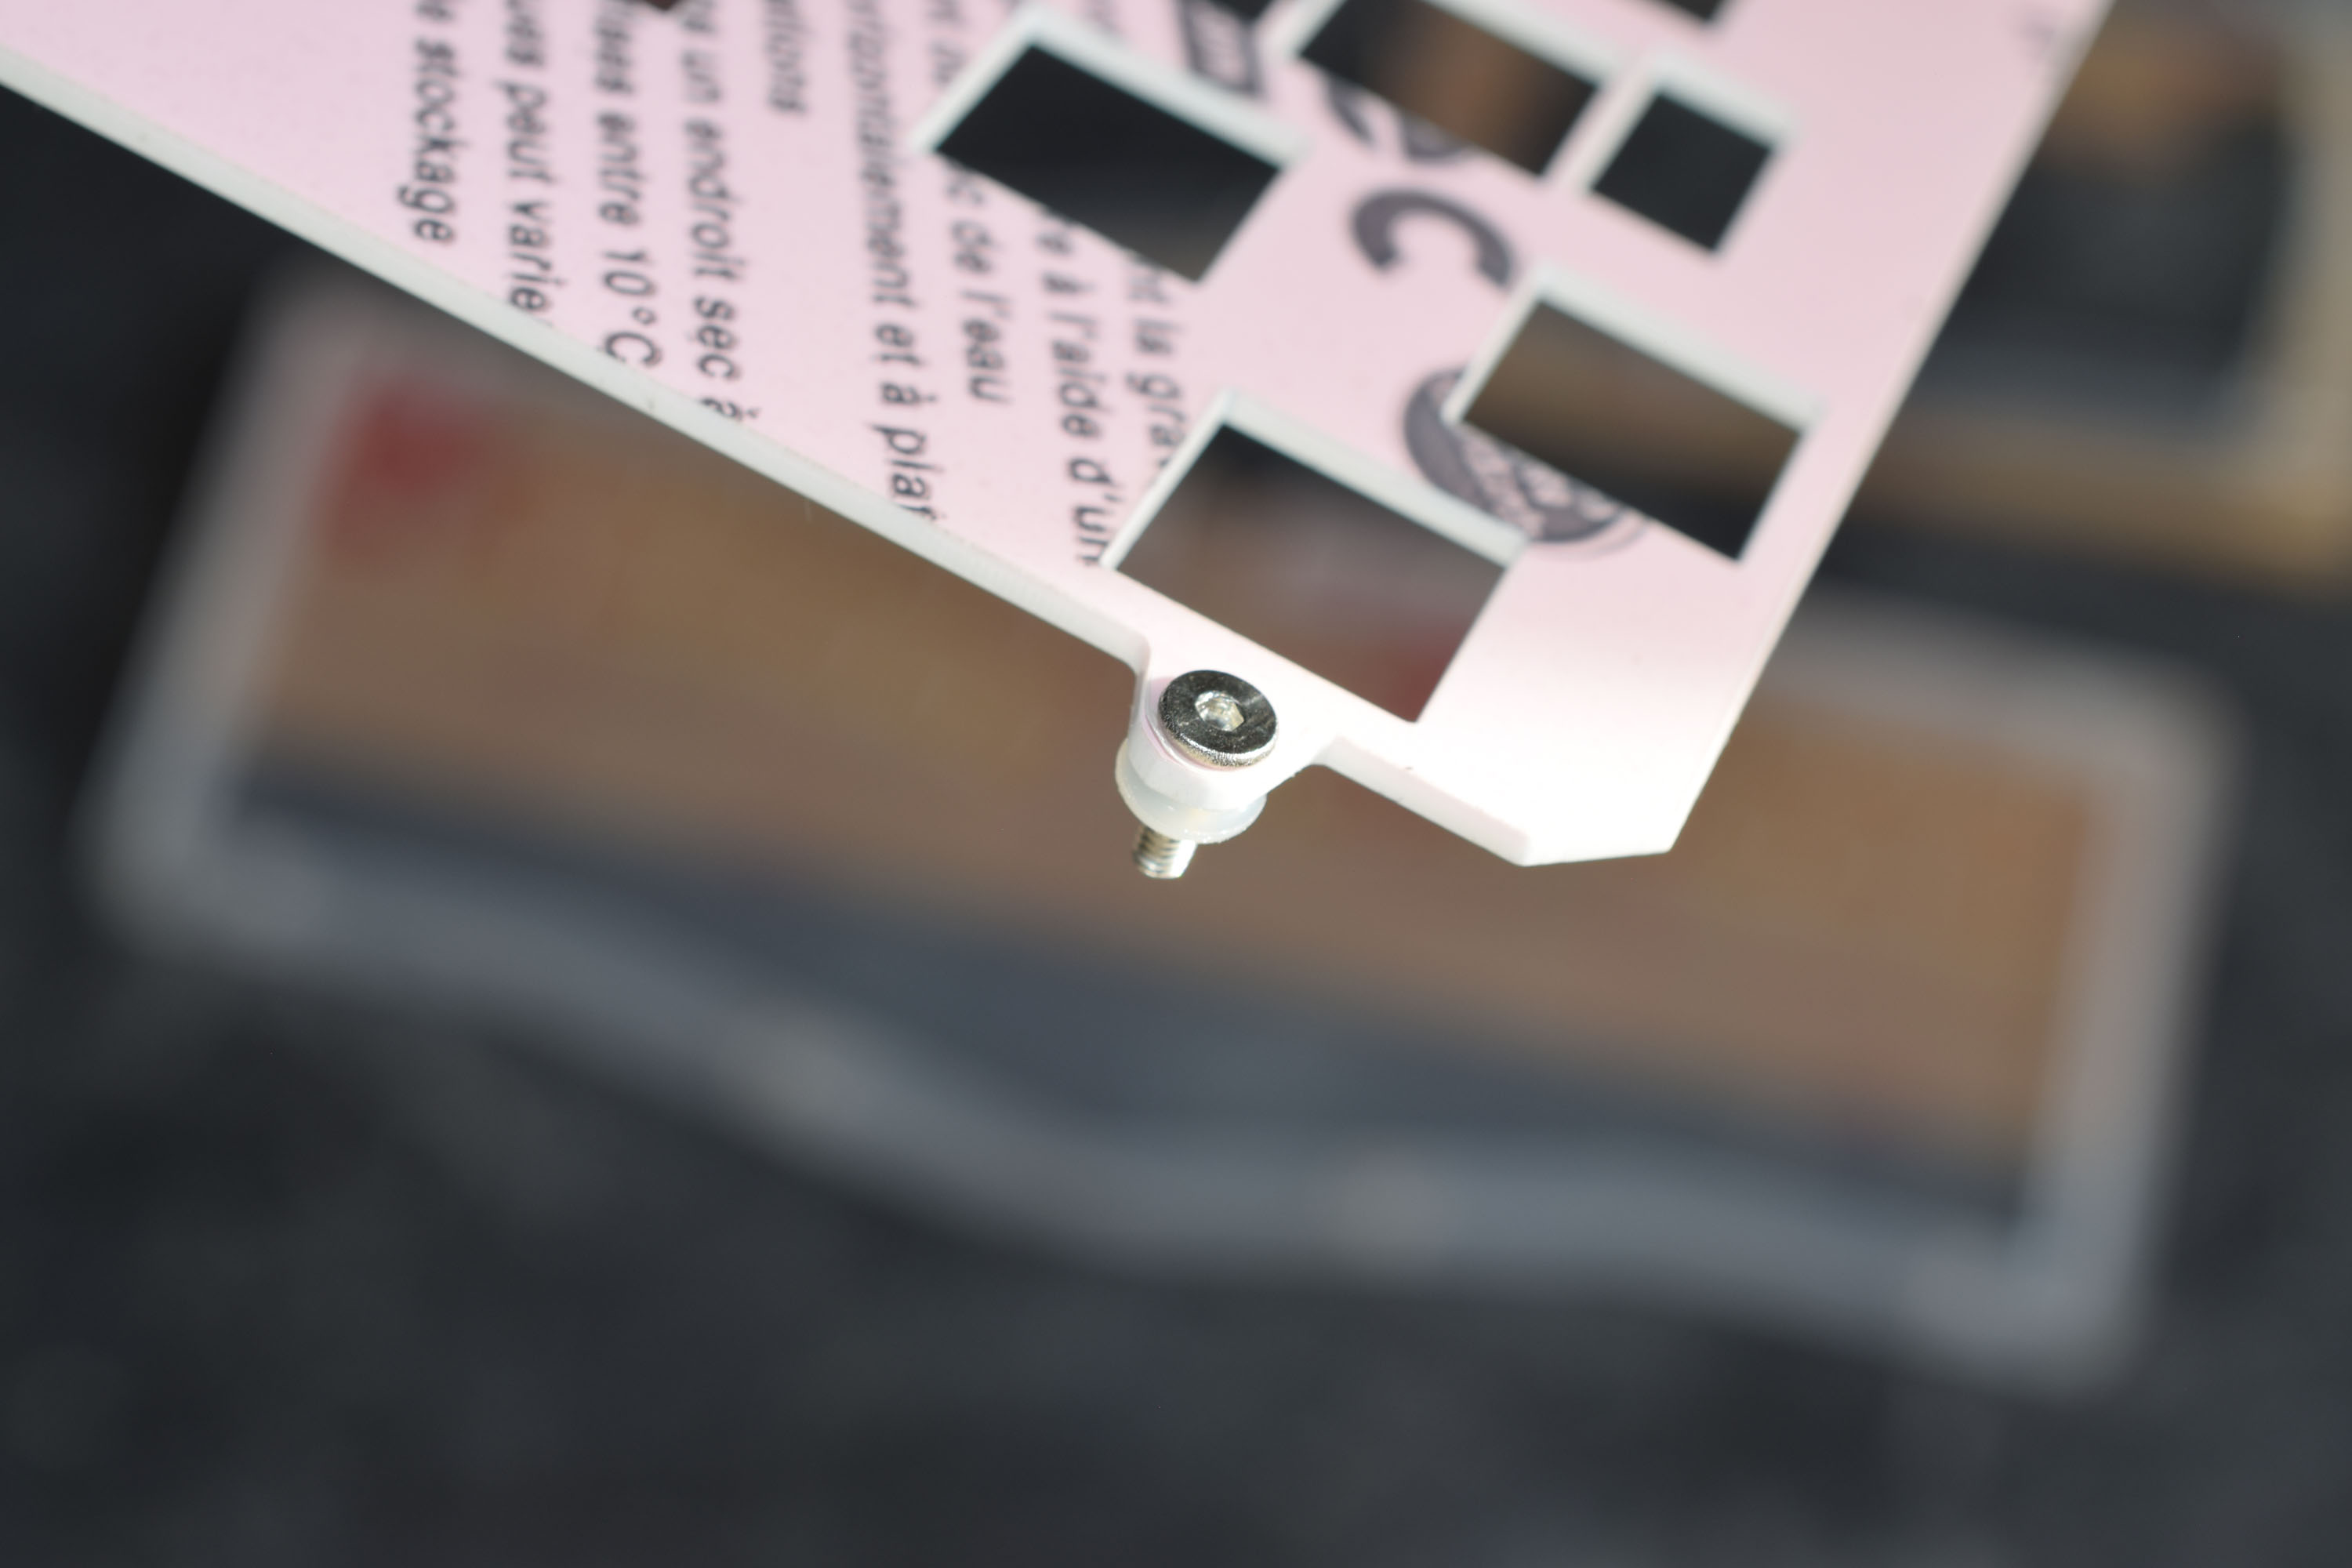
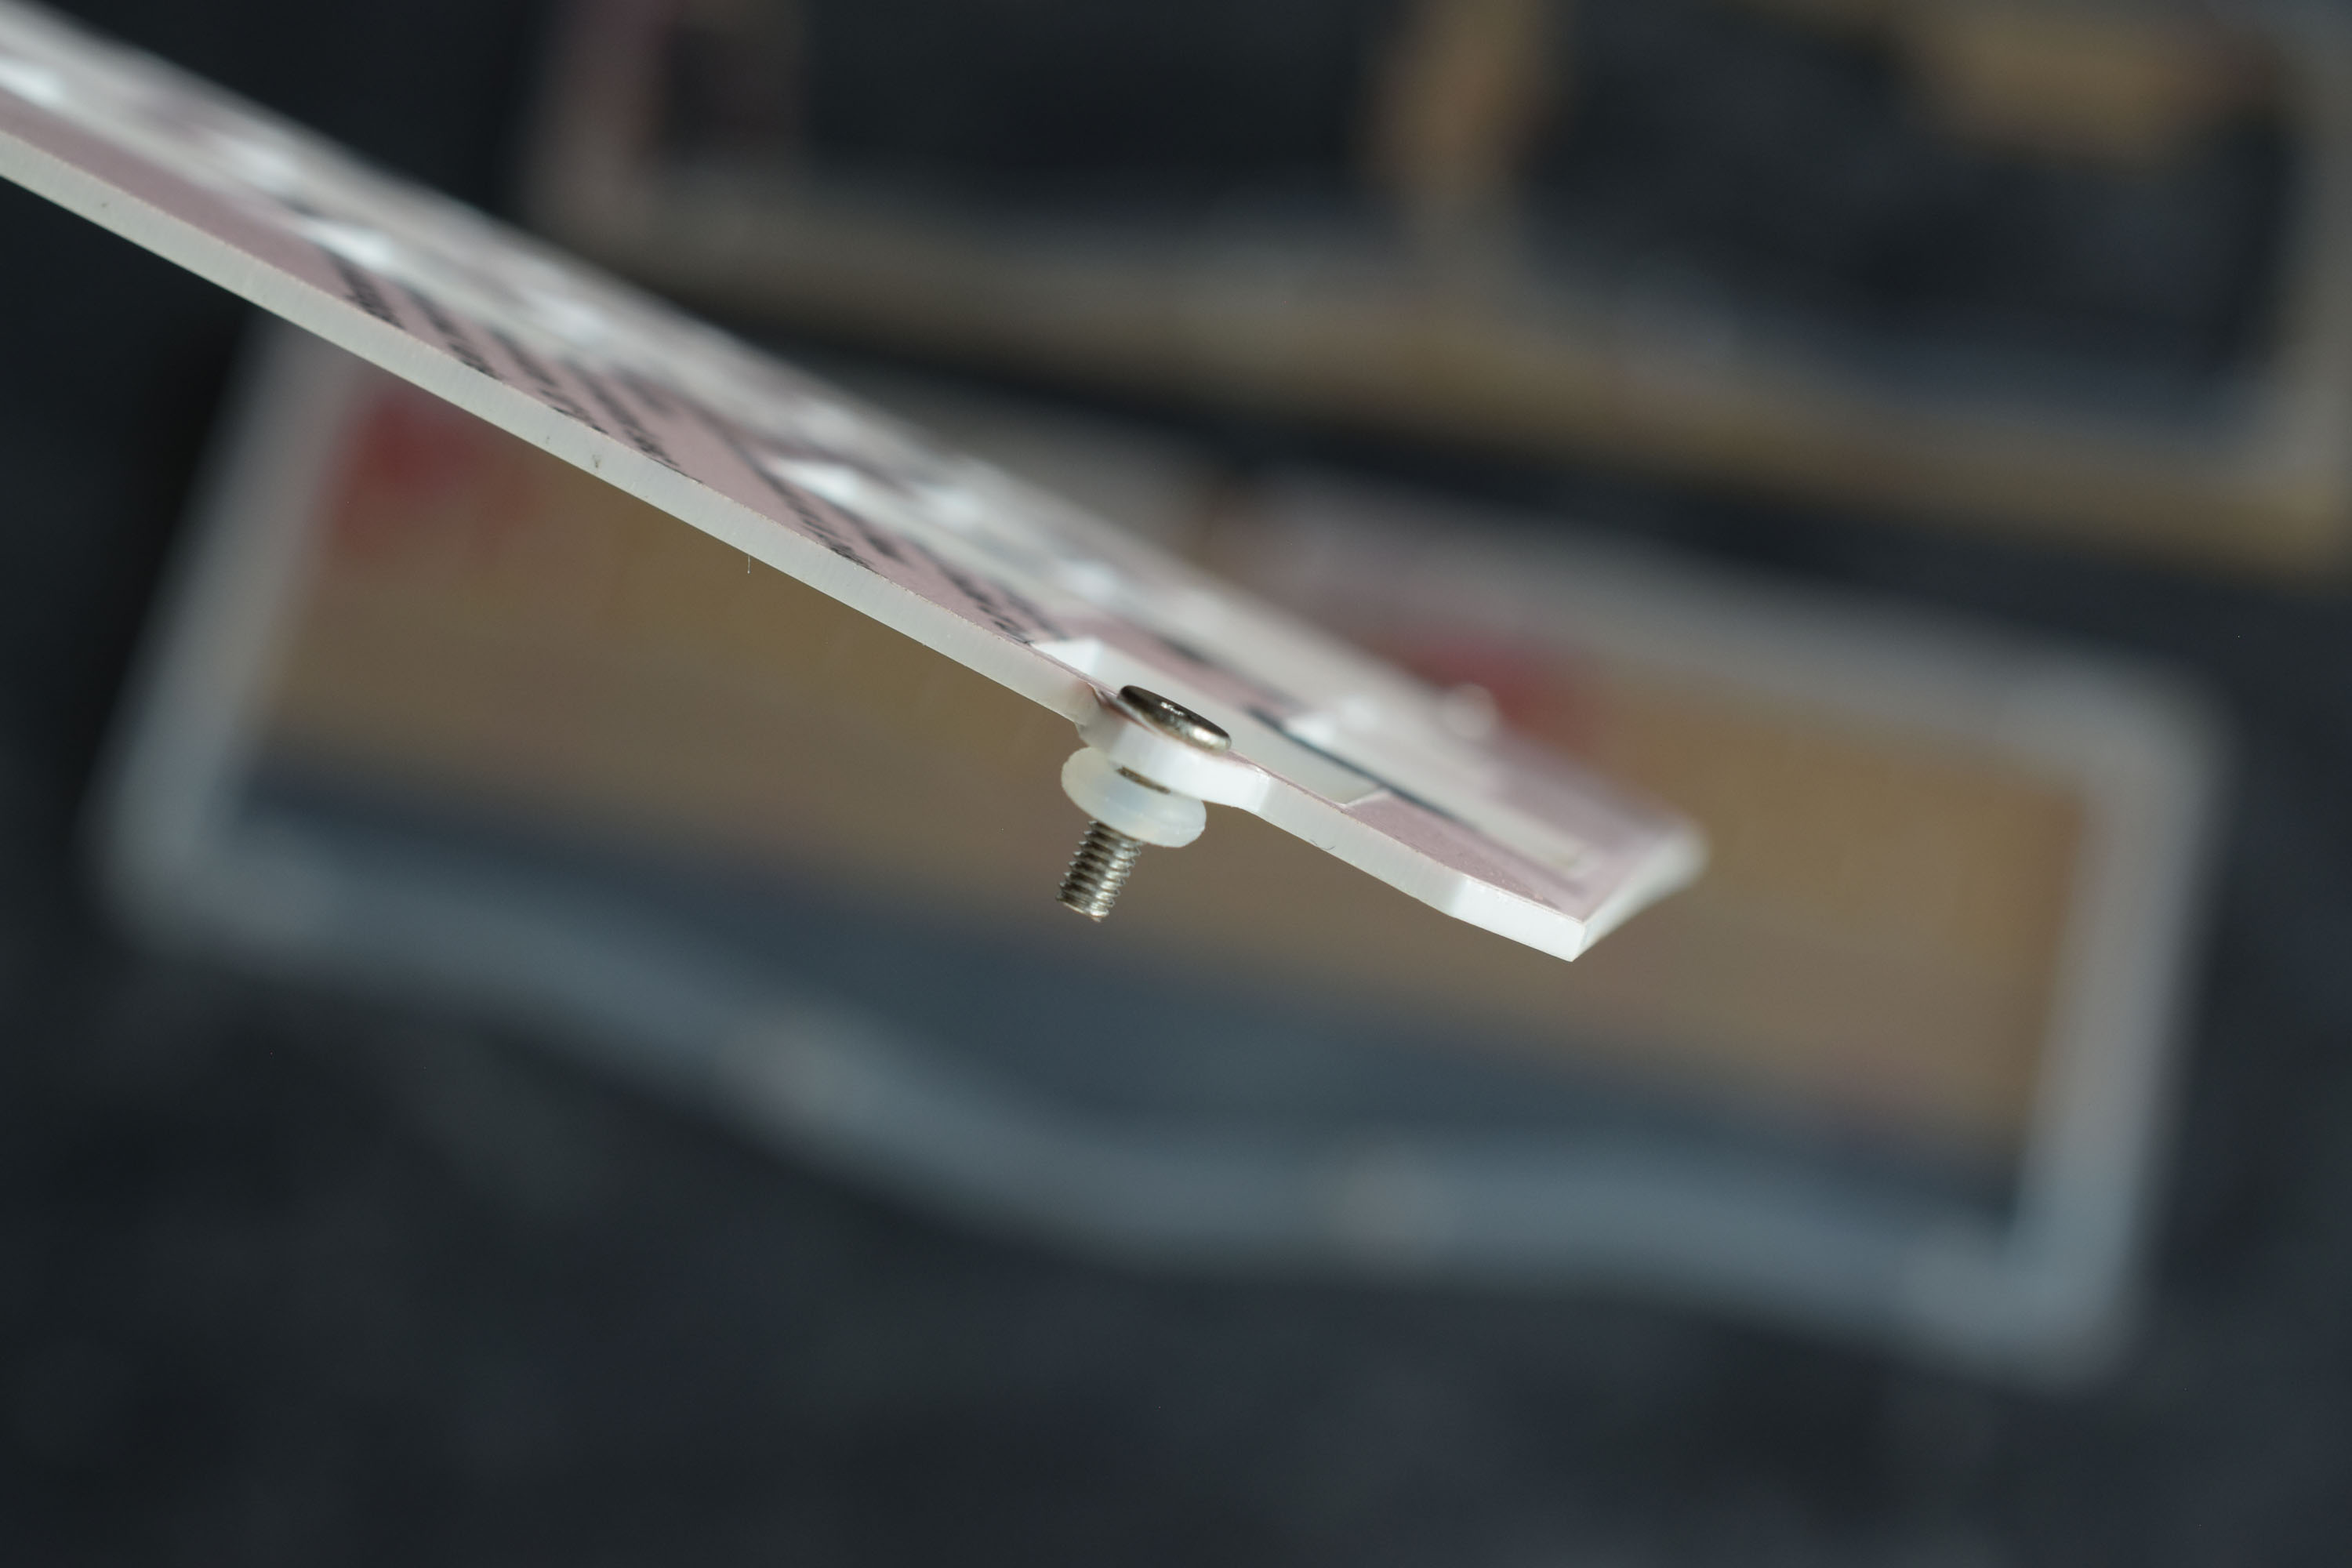
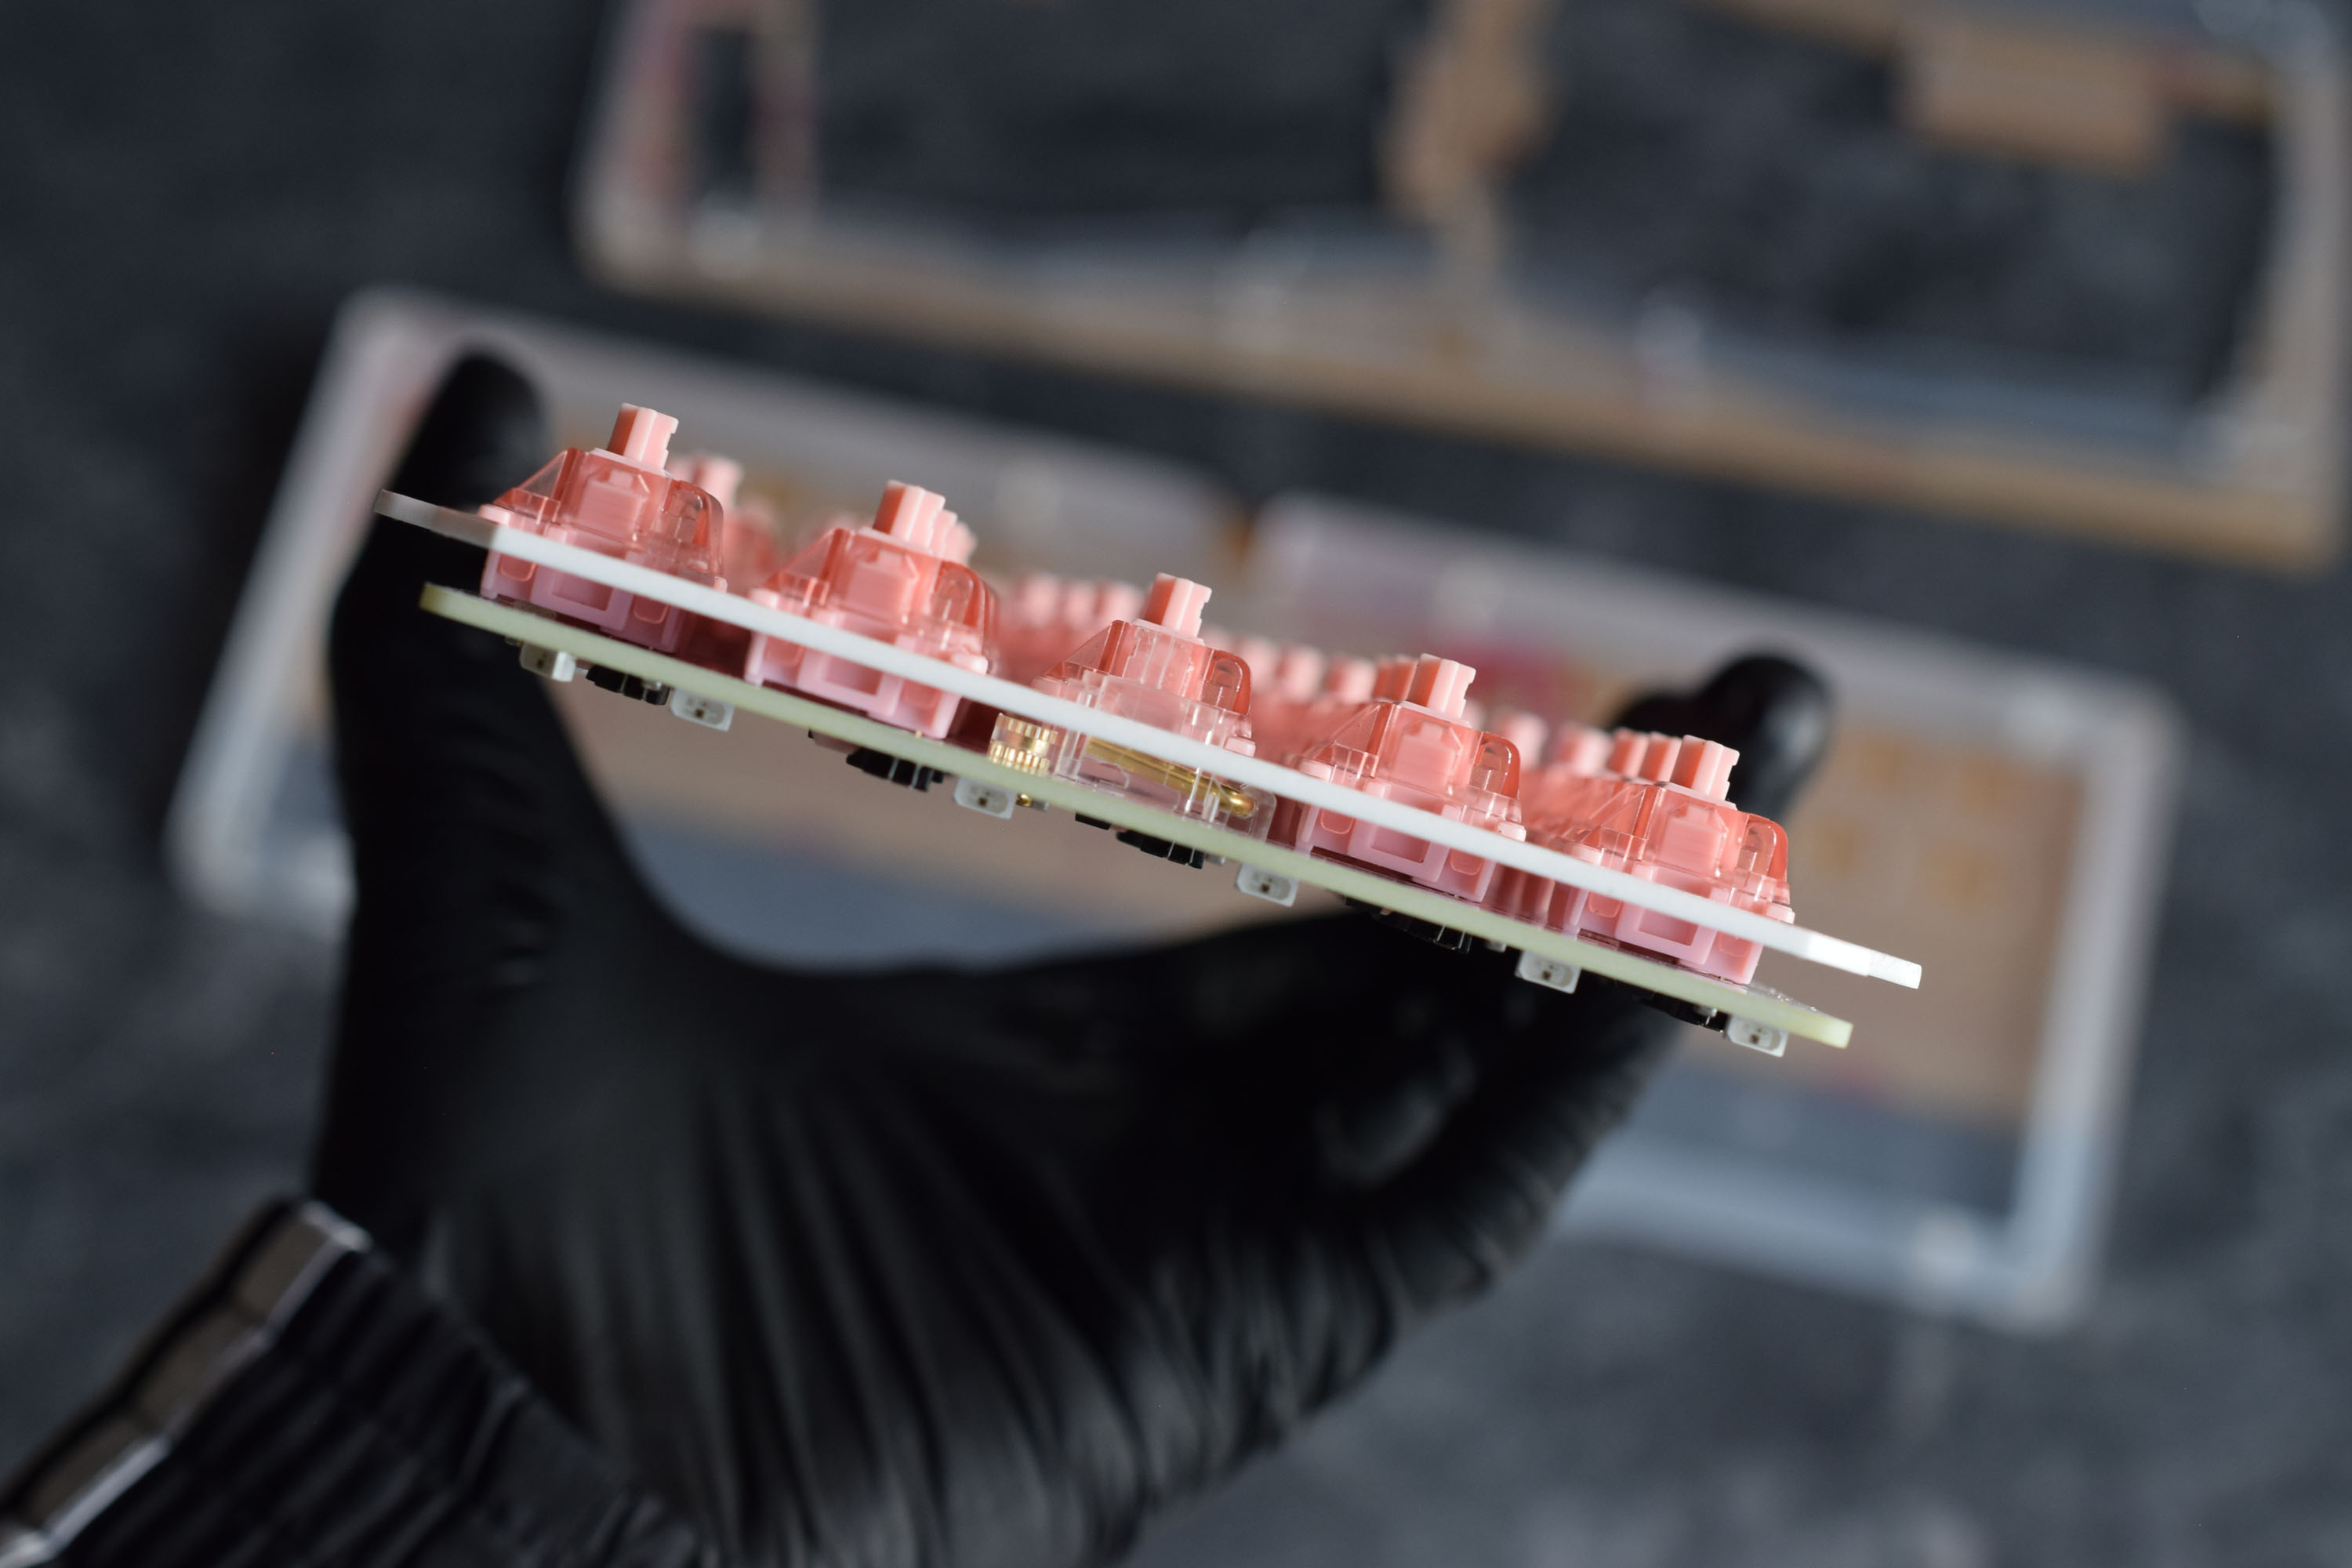
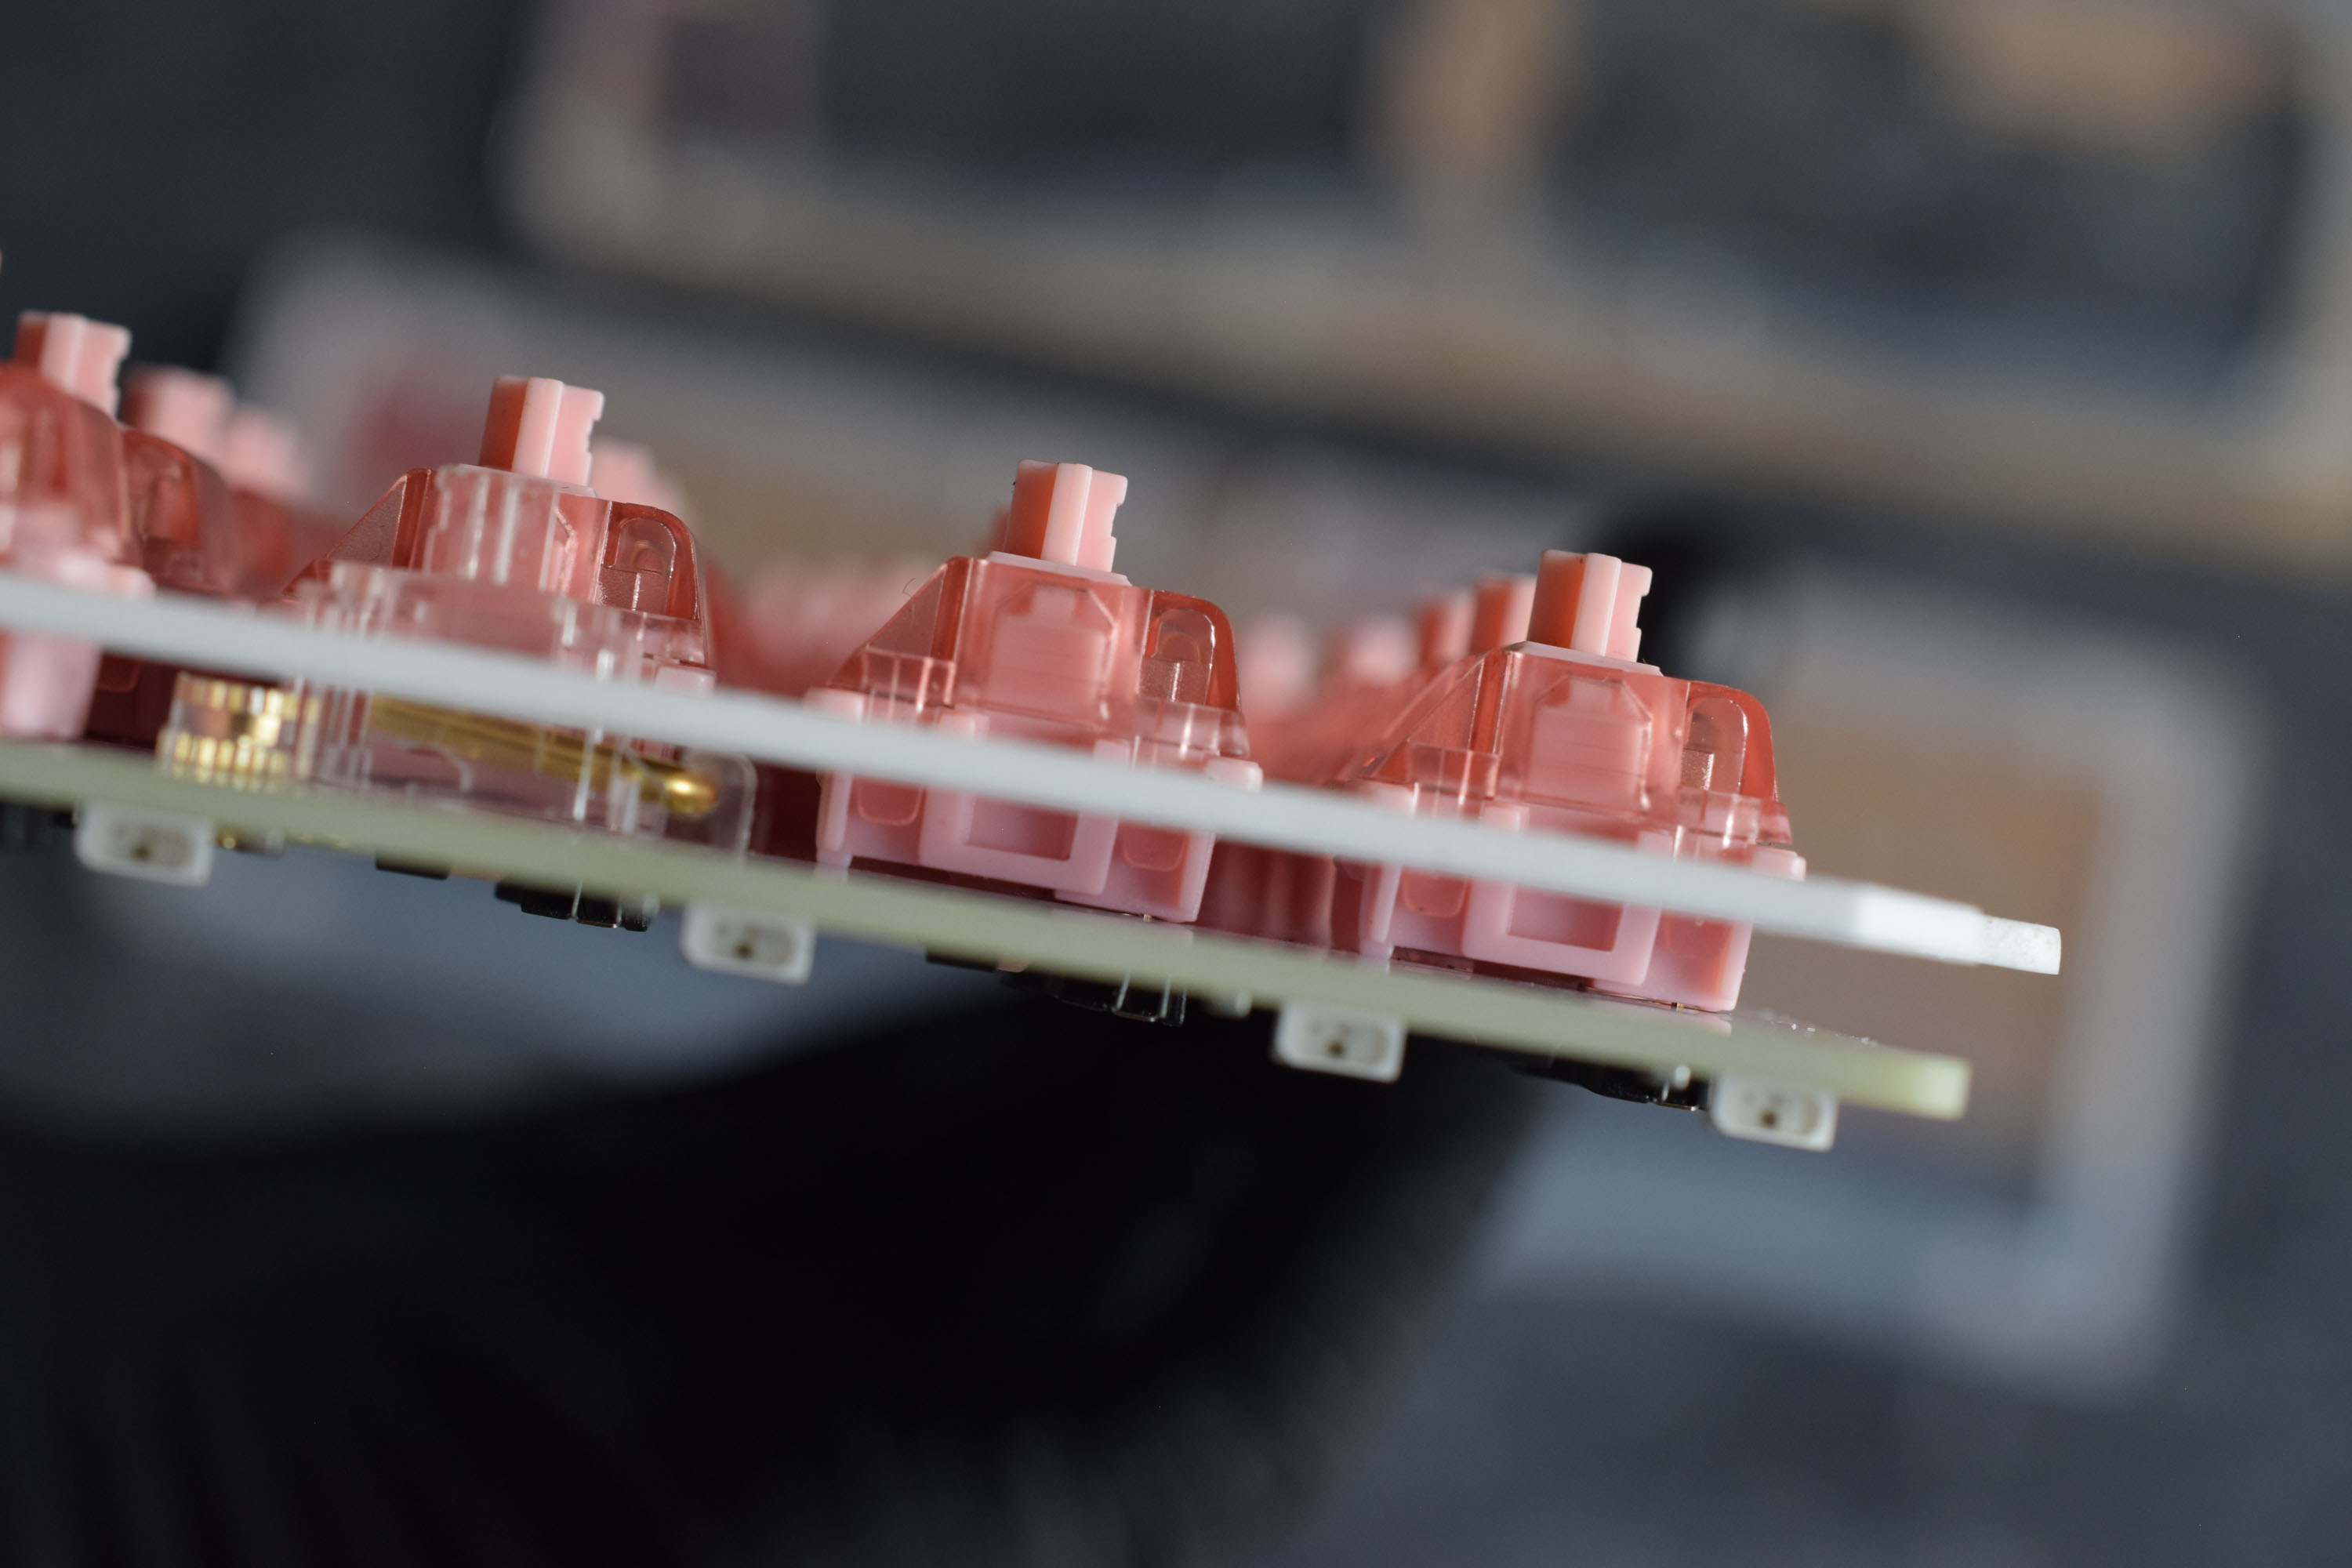
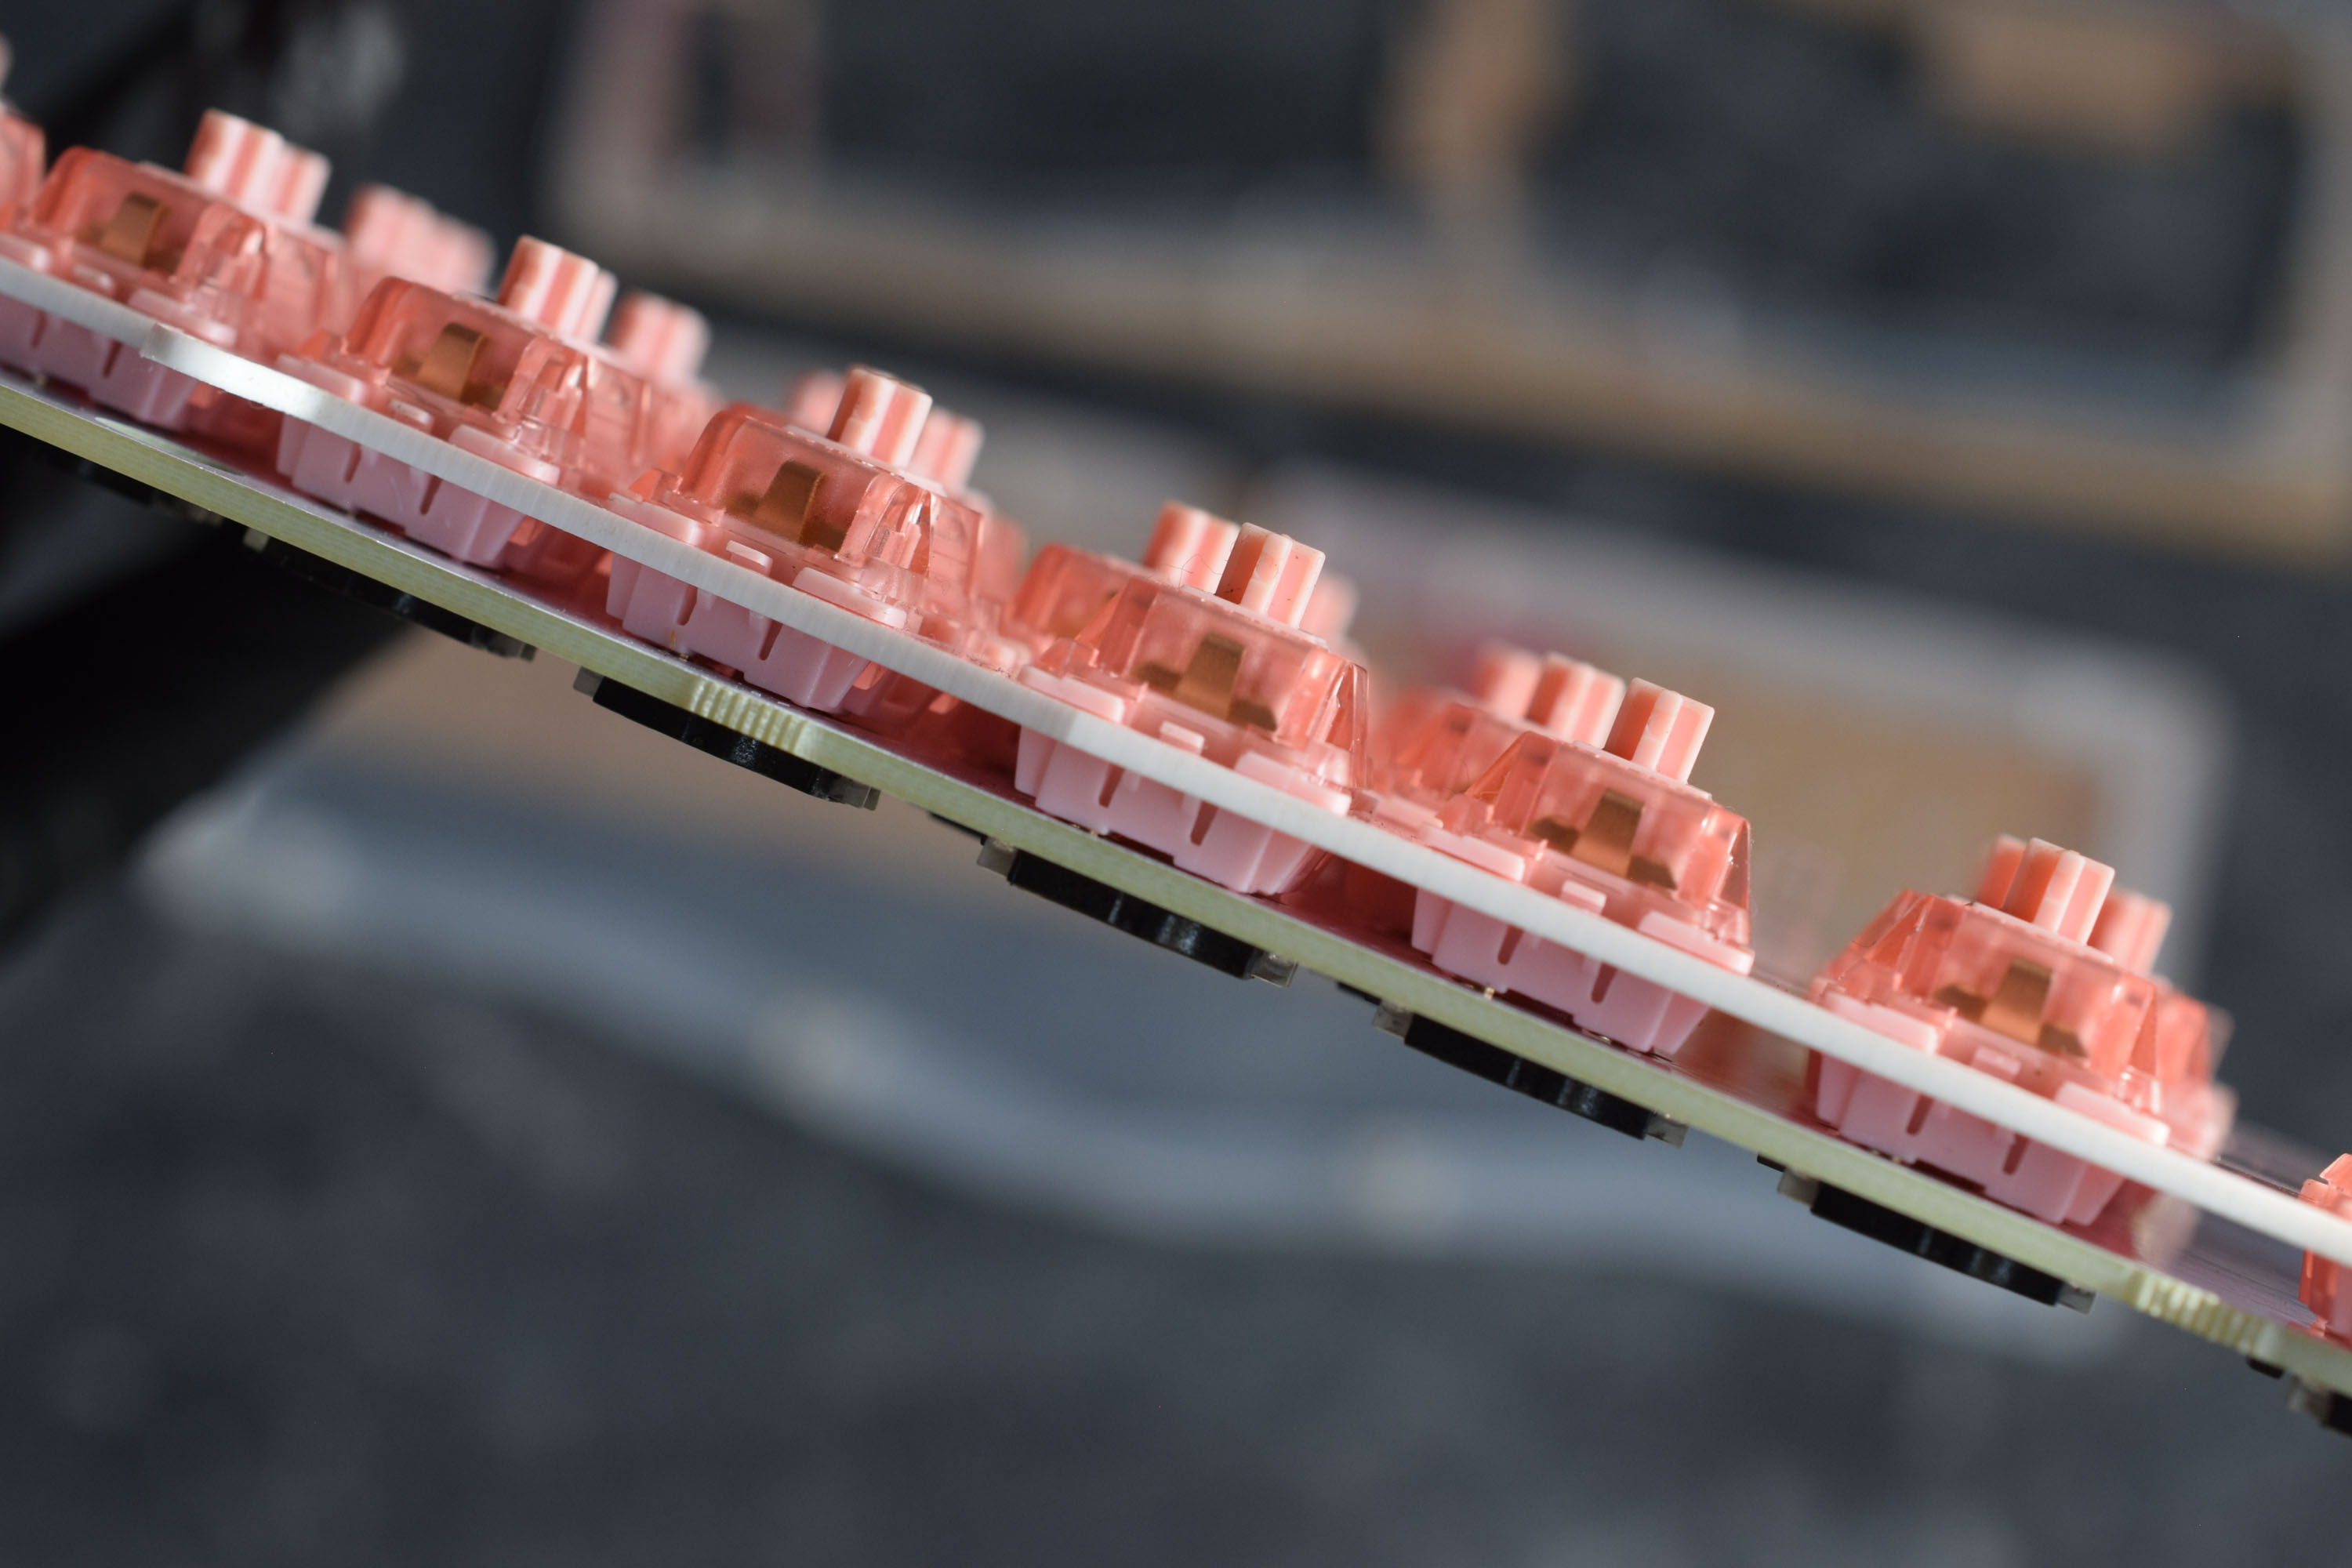
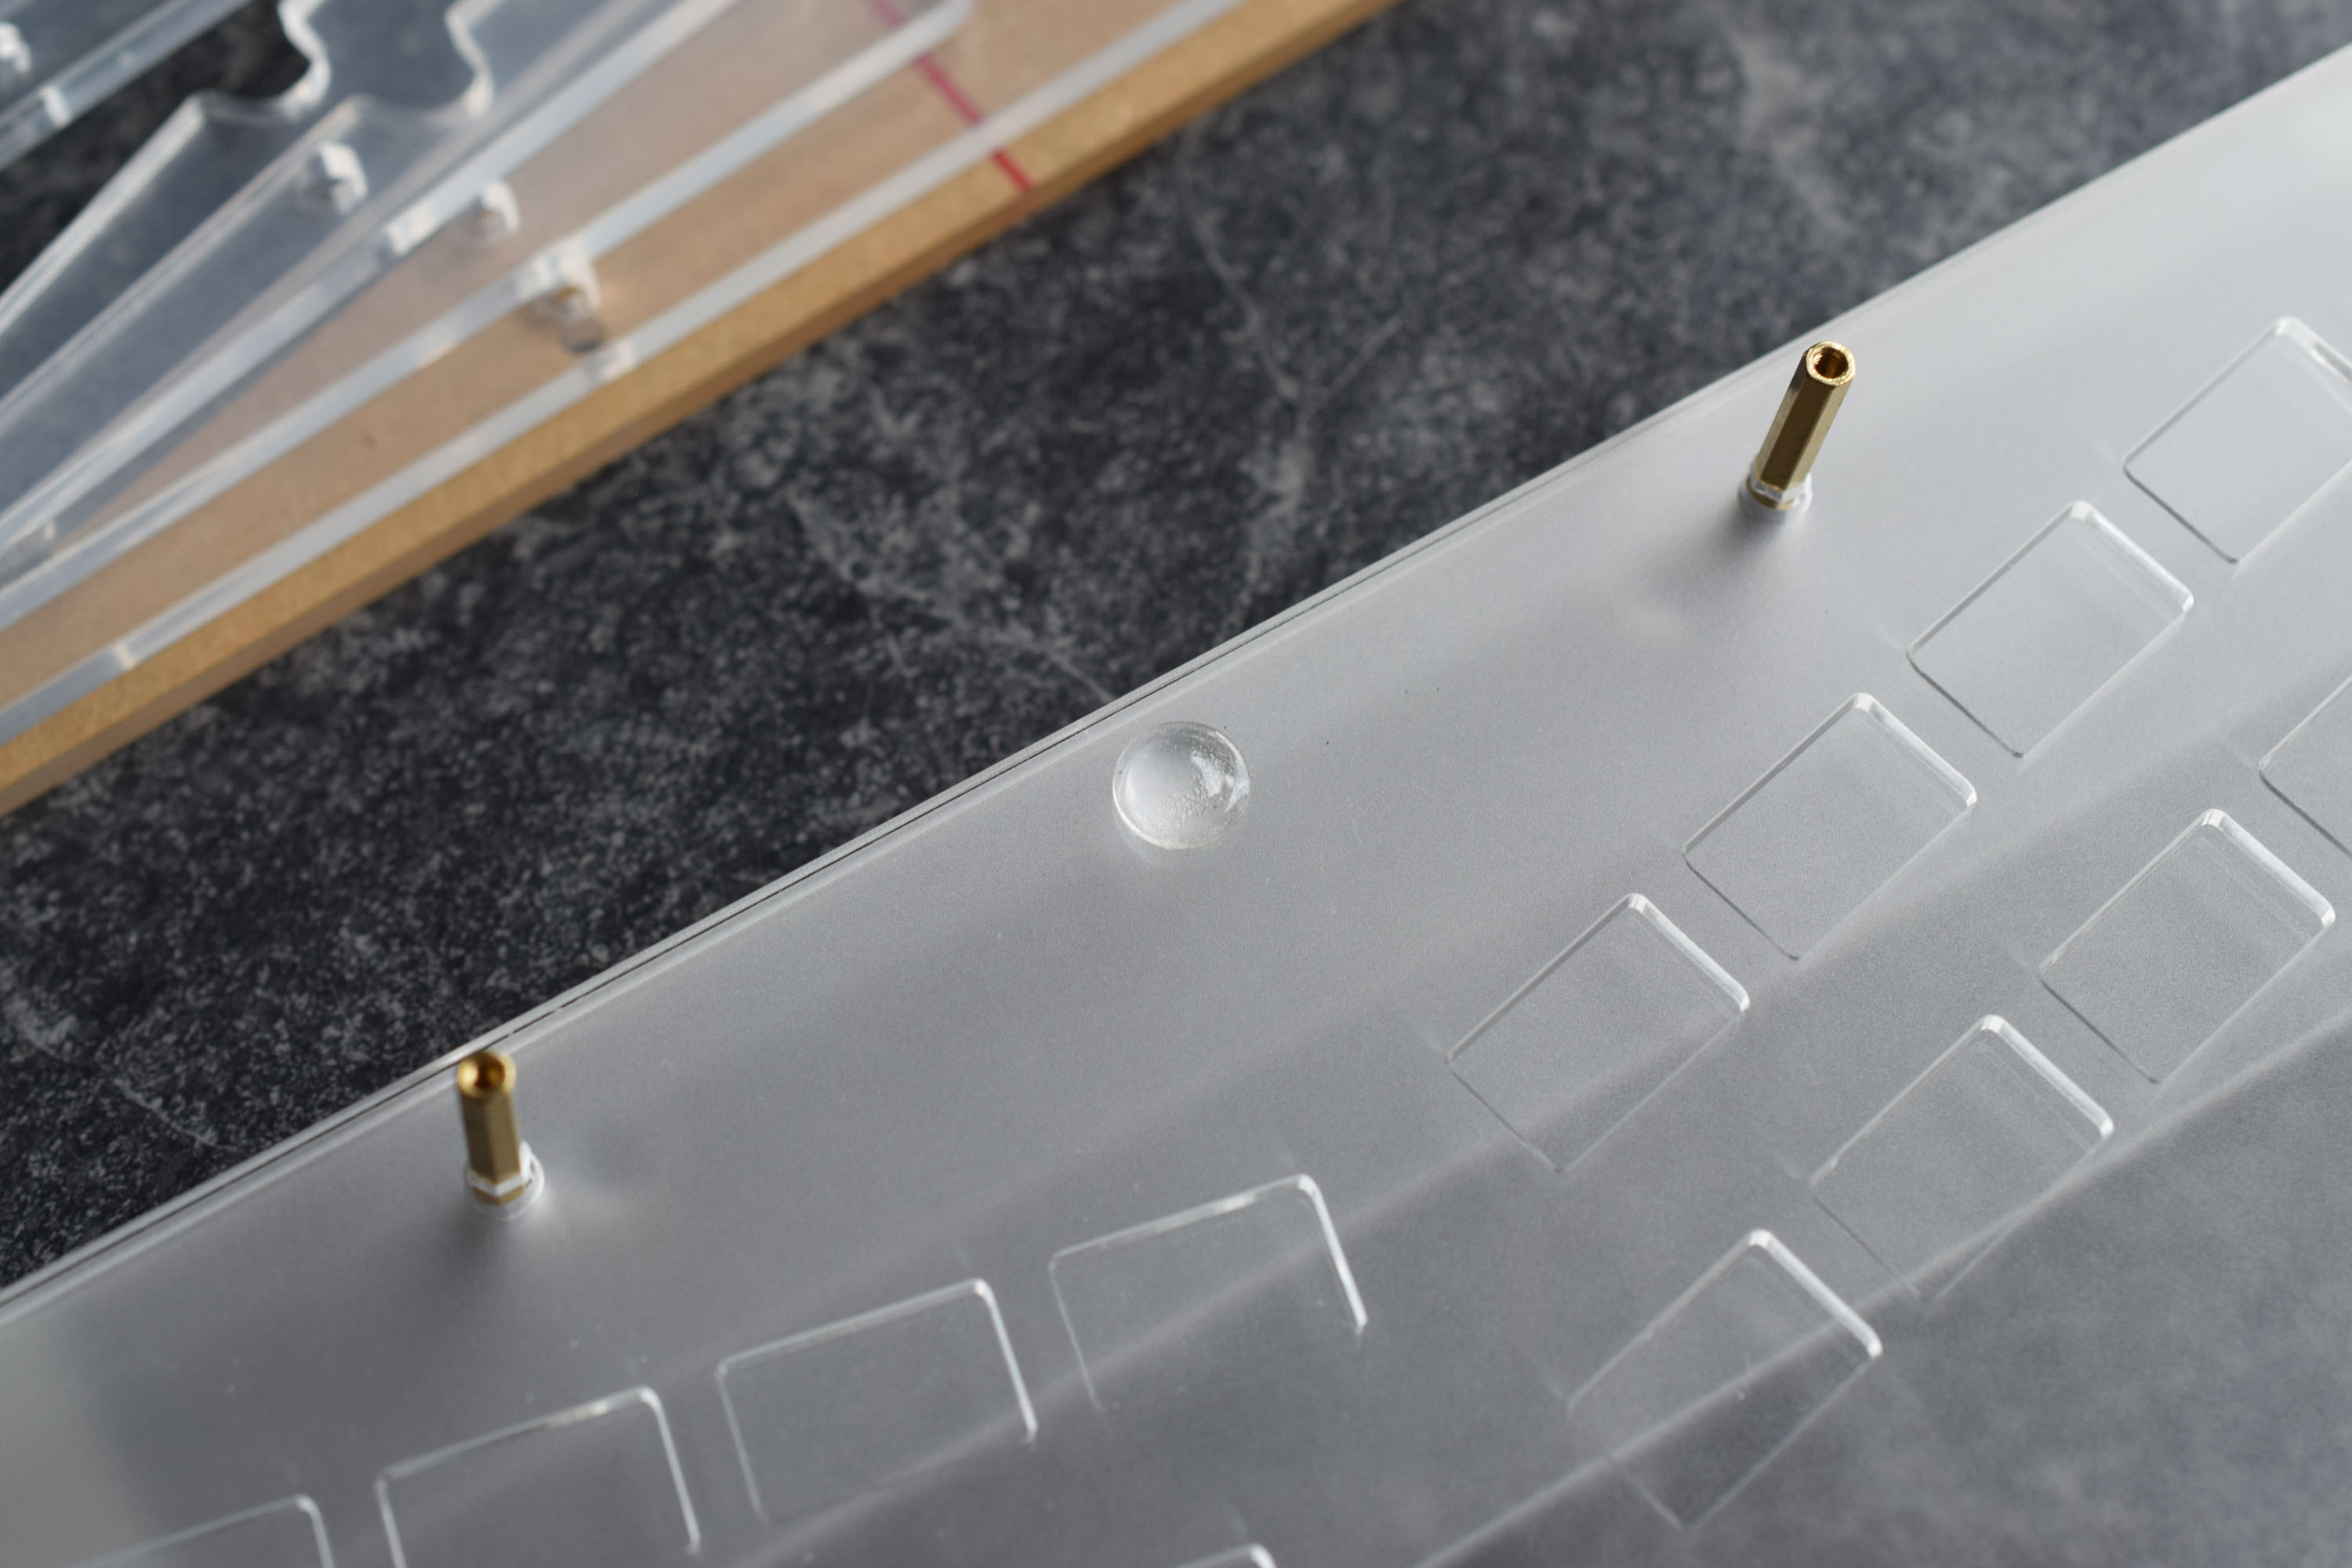
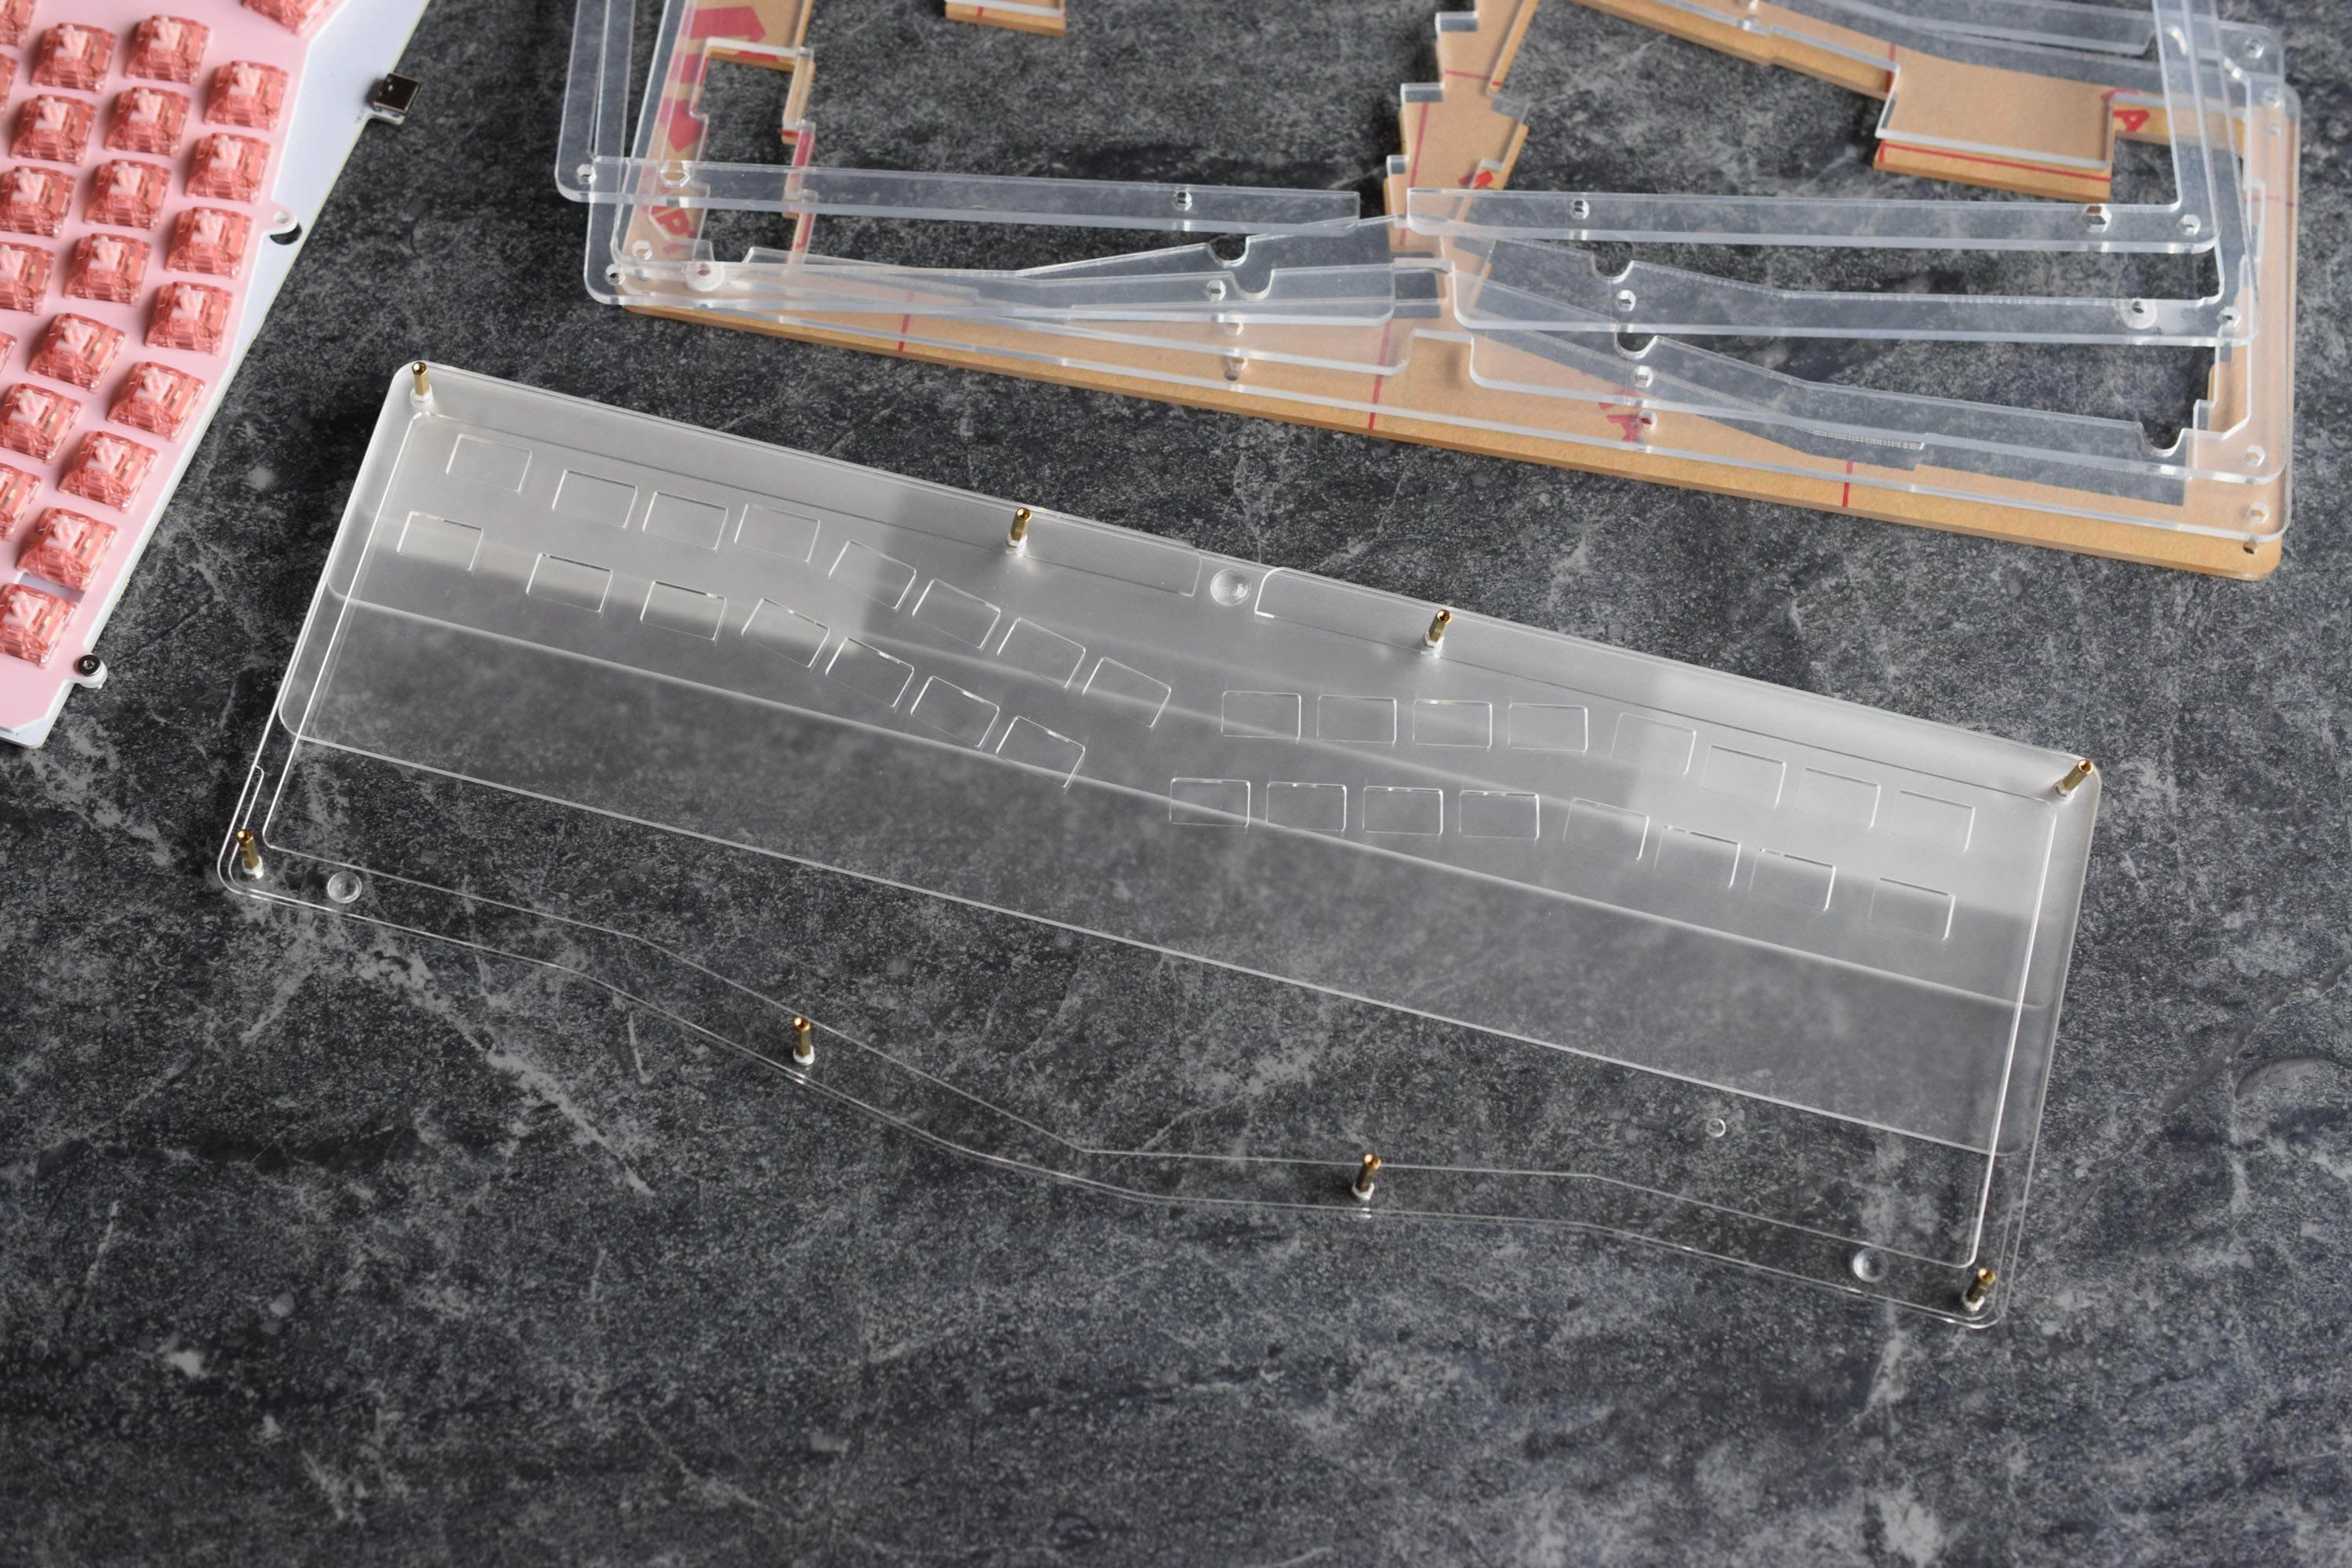
Install O-Rings and Flat Screw back into the PLate
Add the screws and fit the O-rings onto the screw thread.
For the Alice Keyboard I recommend the outer four screws only. The inner four do not need screws.
Once the Plate and PCB are assembled we can leave this aside for later. It is now time to complete the case.
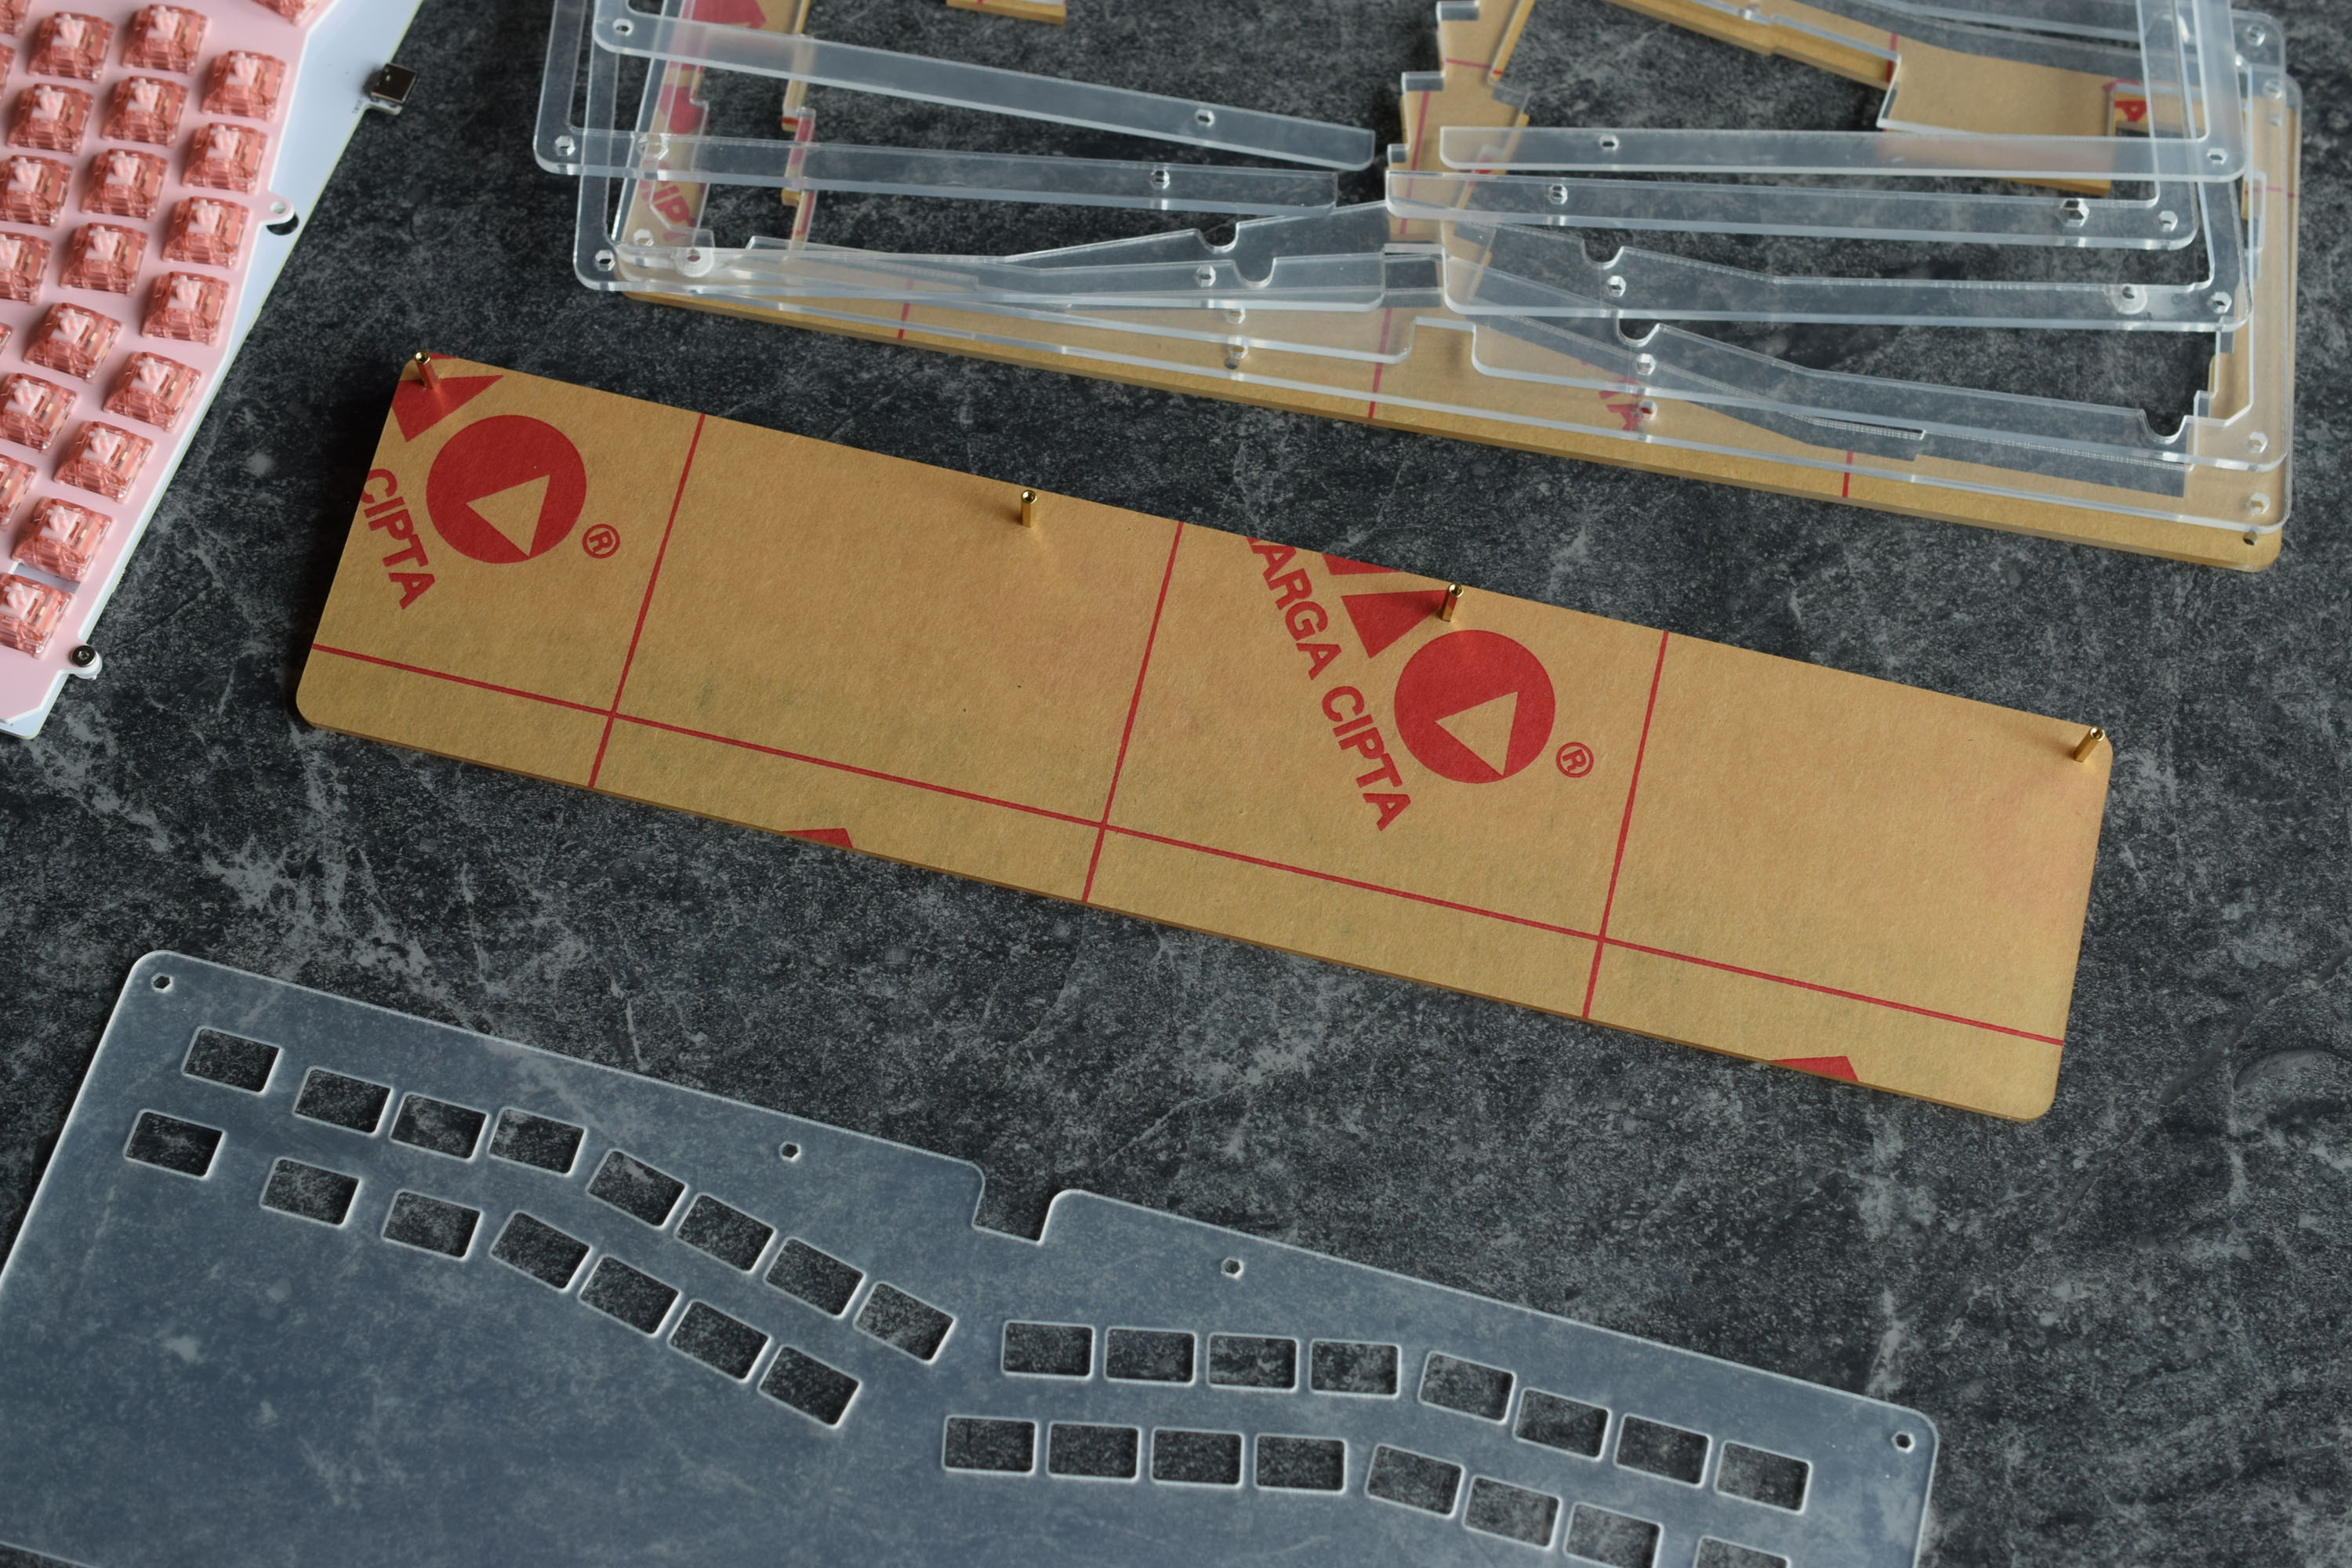
Continuing the Disassembly
Remember to flip the layers over and keep the pieces “upside-down”.

Continuing the Disassembly - Feet
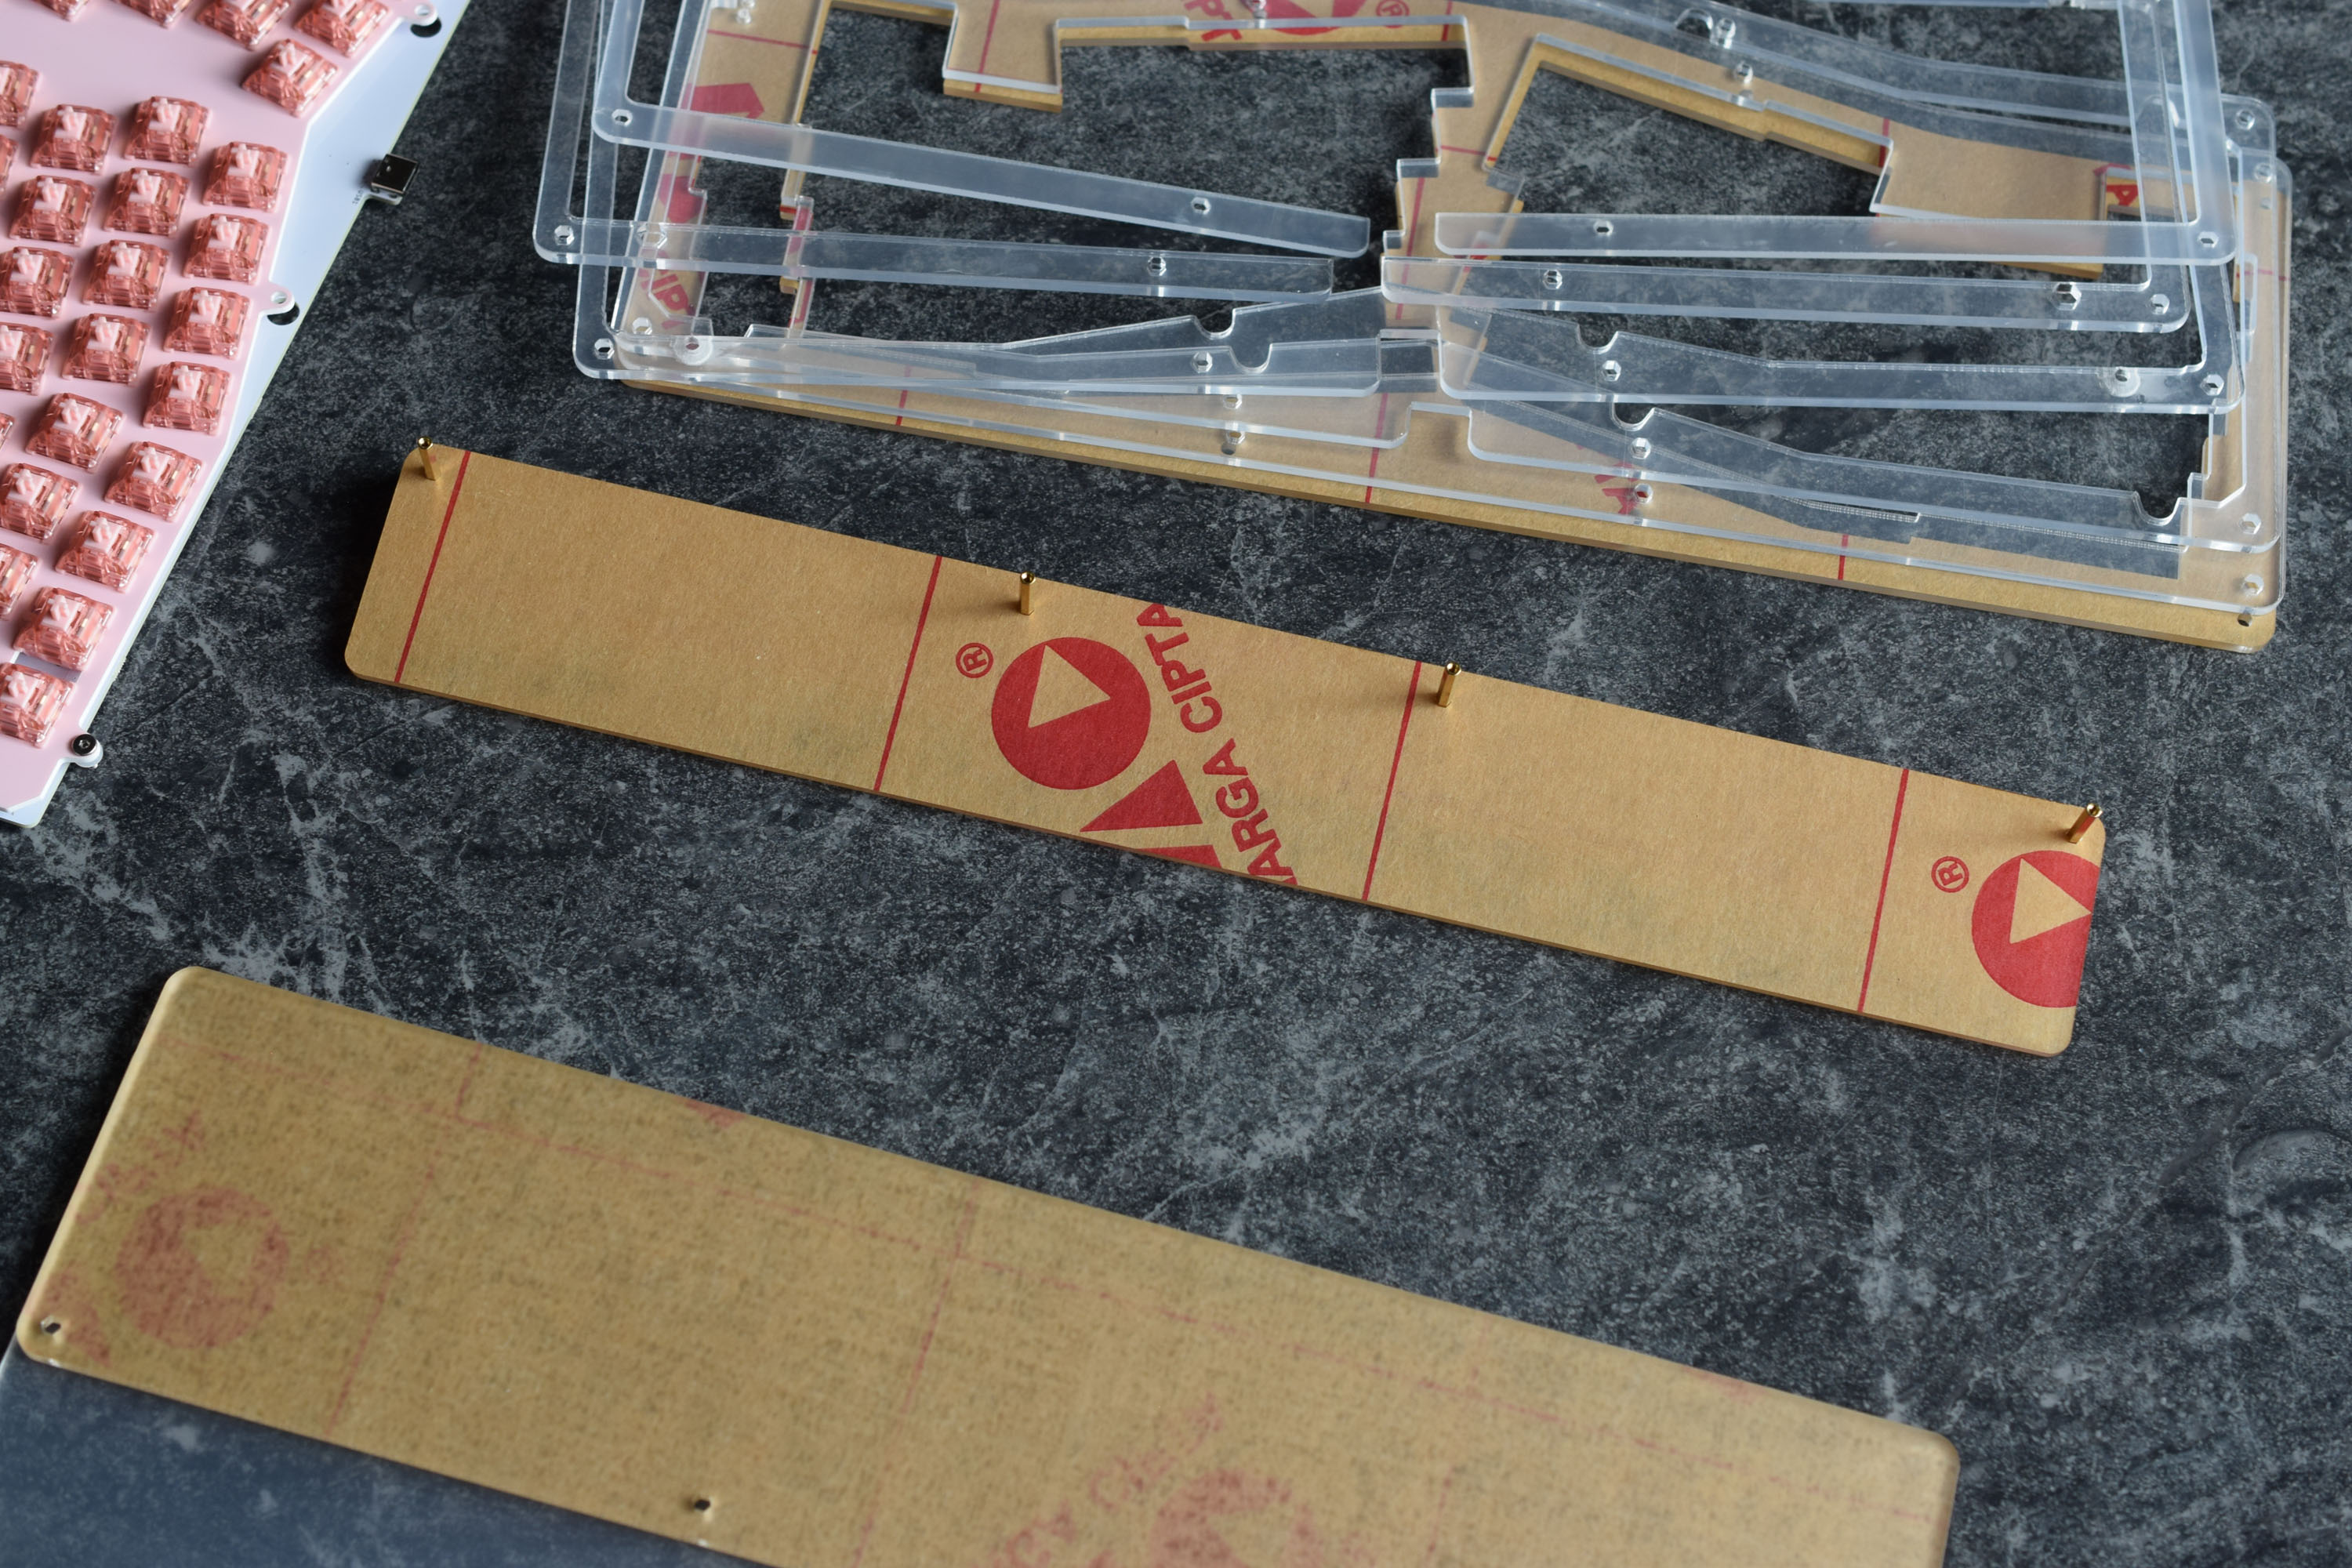
The last piece should be the smallest.
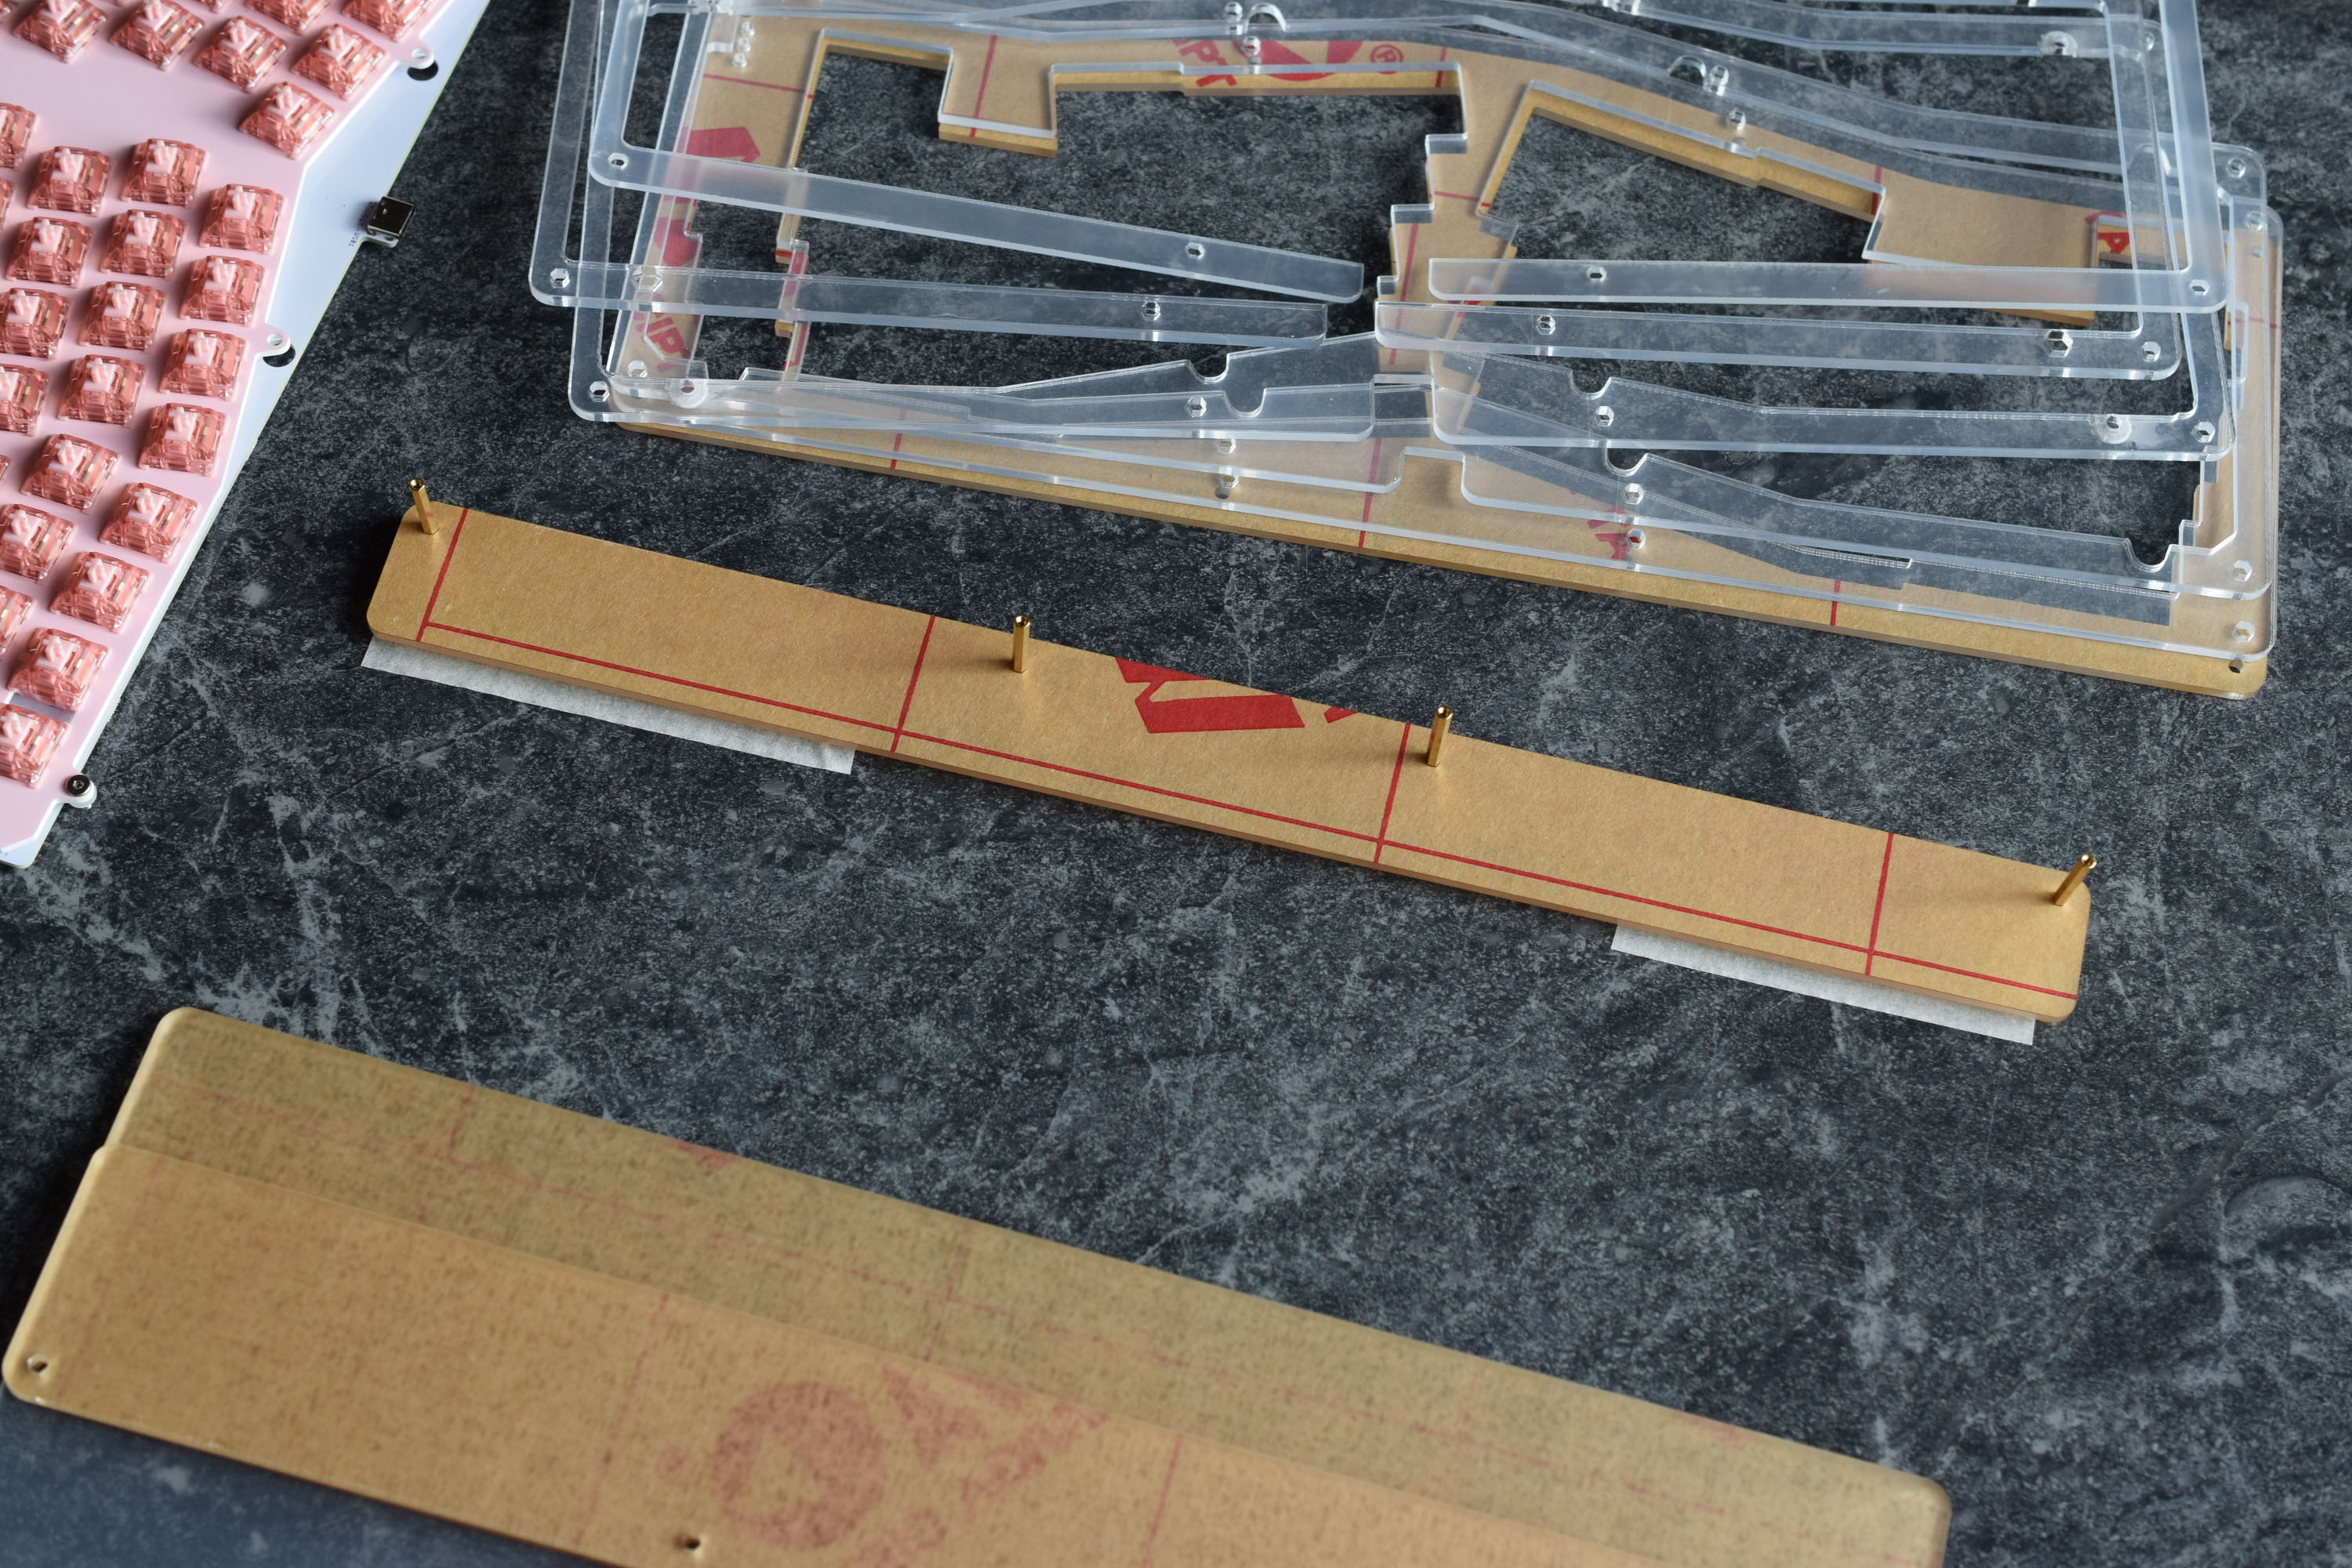
We can now begin removing the protective film, however, we will do this layer-by-layer.
Reassembly and Removing Film - Feet
Install four adhesive rubber bumpons onto the bottom side of the acrylic foot.
Continue to peel and build back upwards, layer-by-layer.
Reassembly and Removing Film - Main Case - Bumpons
Install two - four adhesive rubber bumpons onto the bottom side of the acrylic base. The bumpons belong towards the front of the case.
Install one bumpon on the top surface. The USB port rests on this piece.
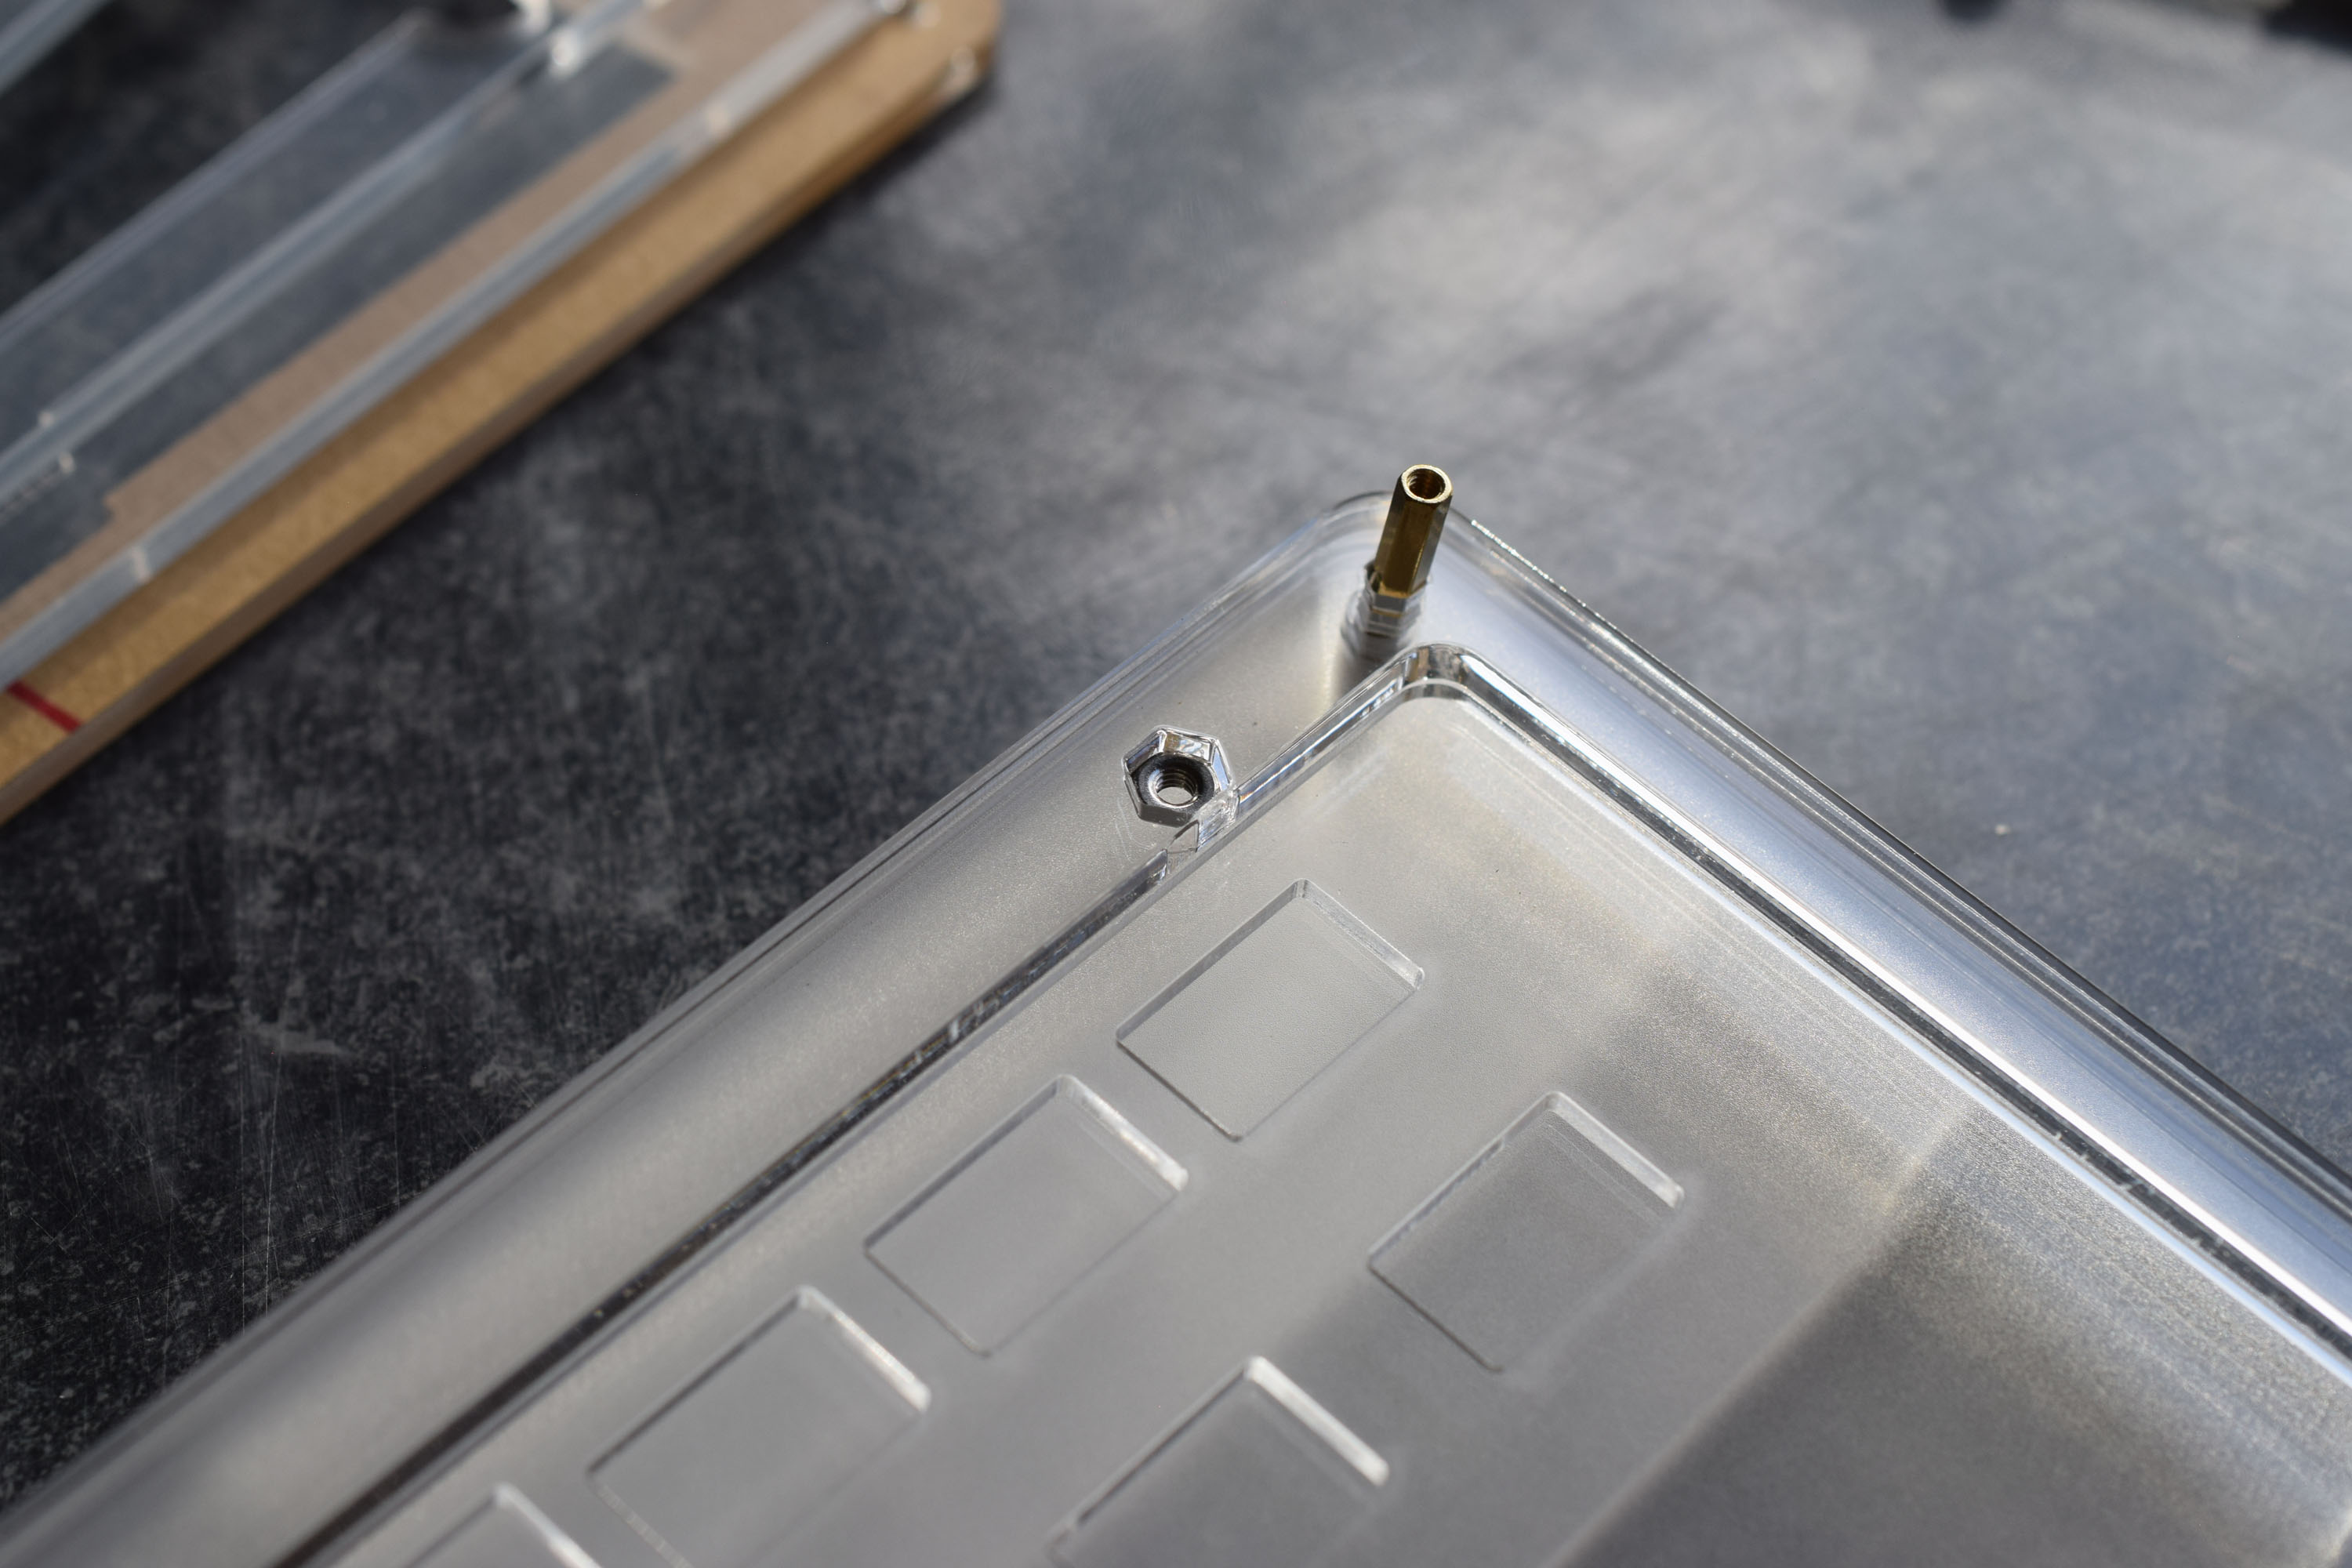
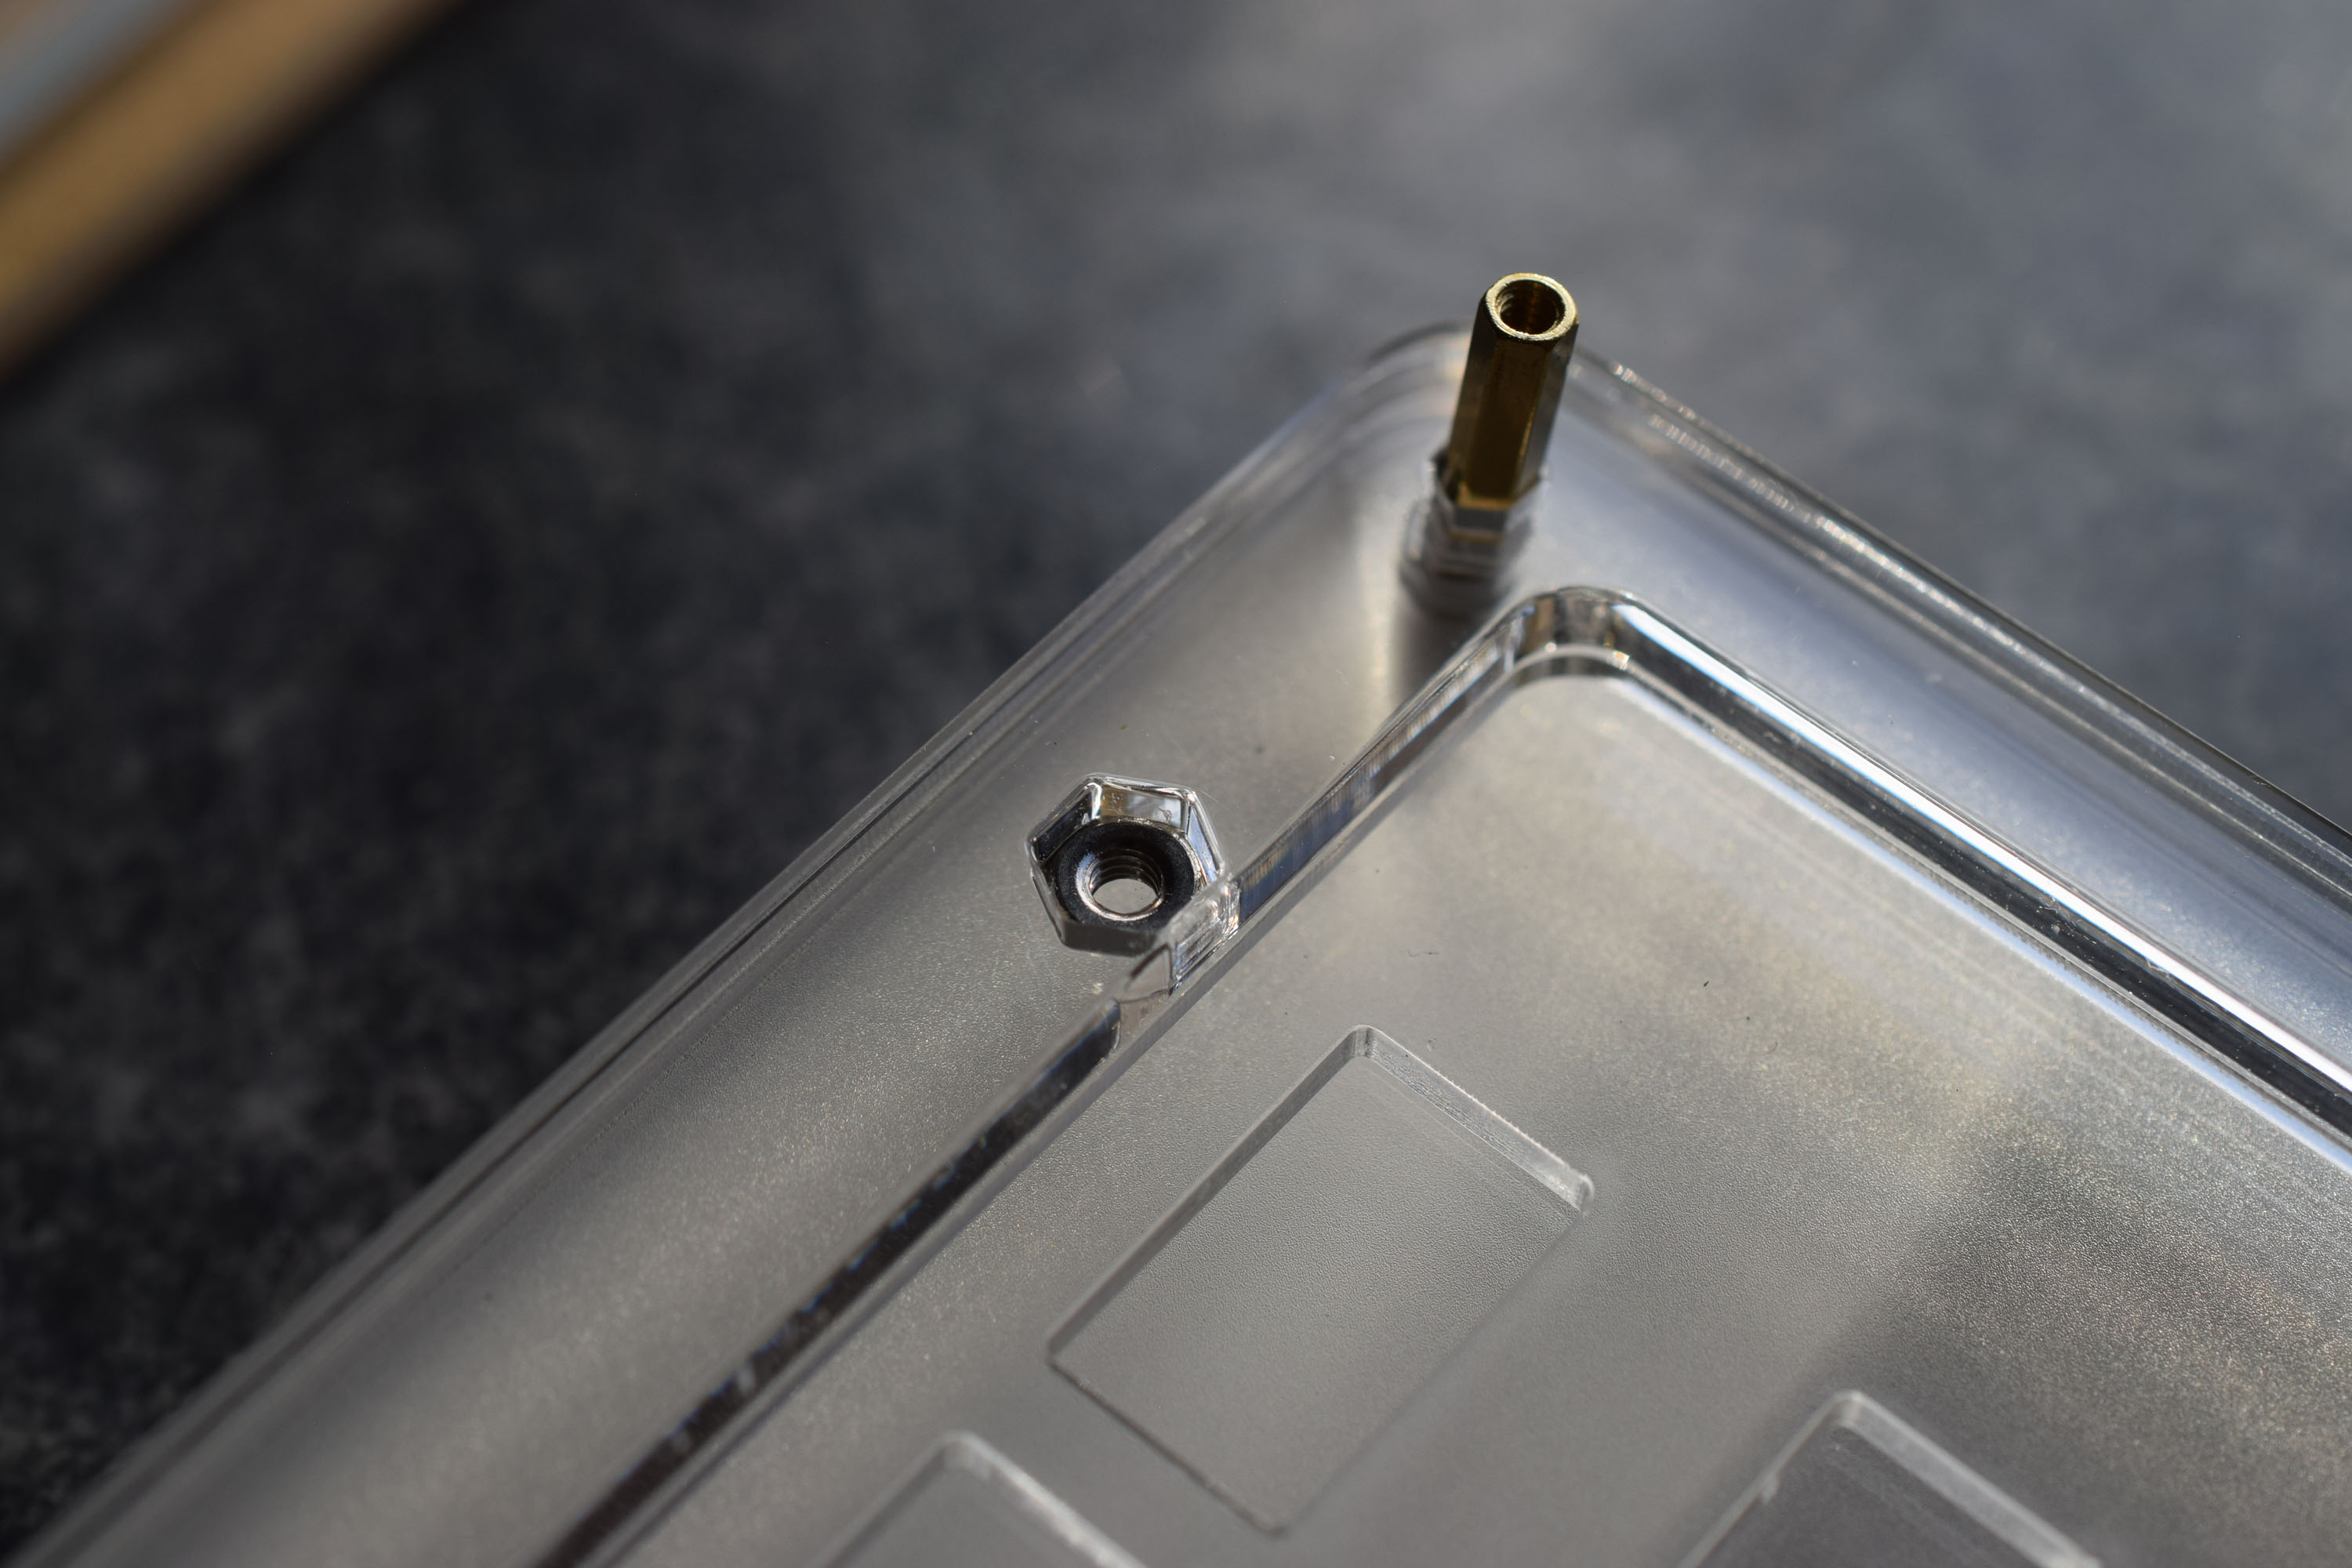
Reassembly and Removing Film - Main Case - M2.5 Hex Nuts
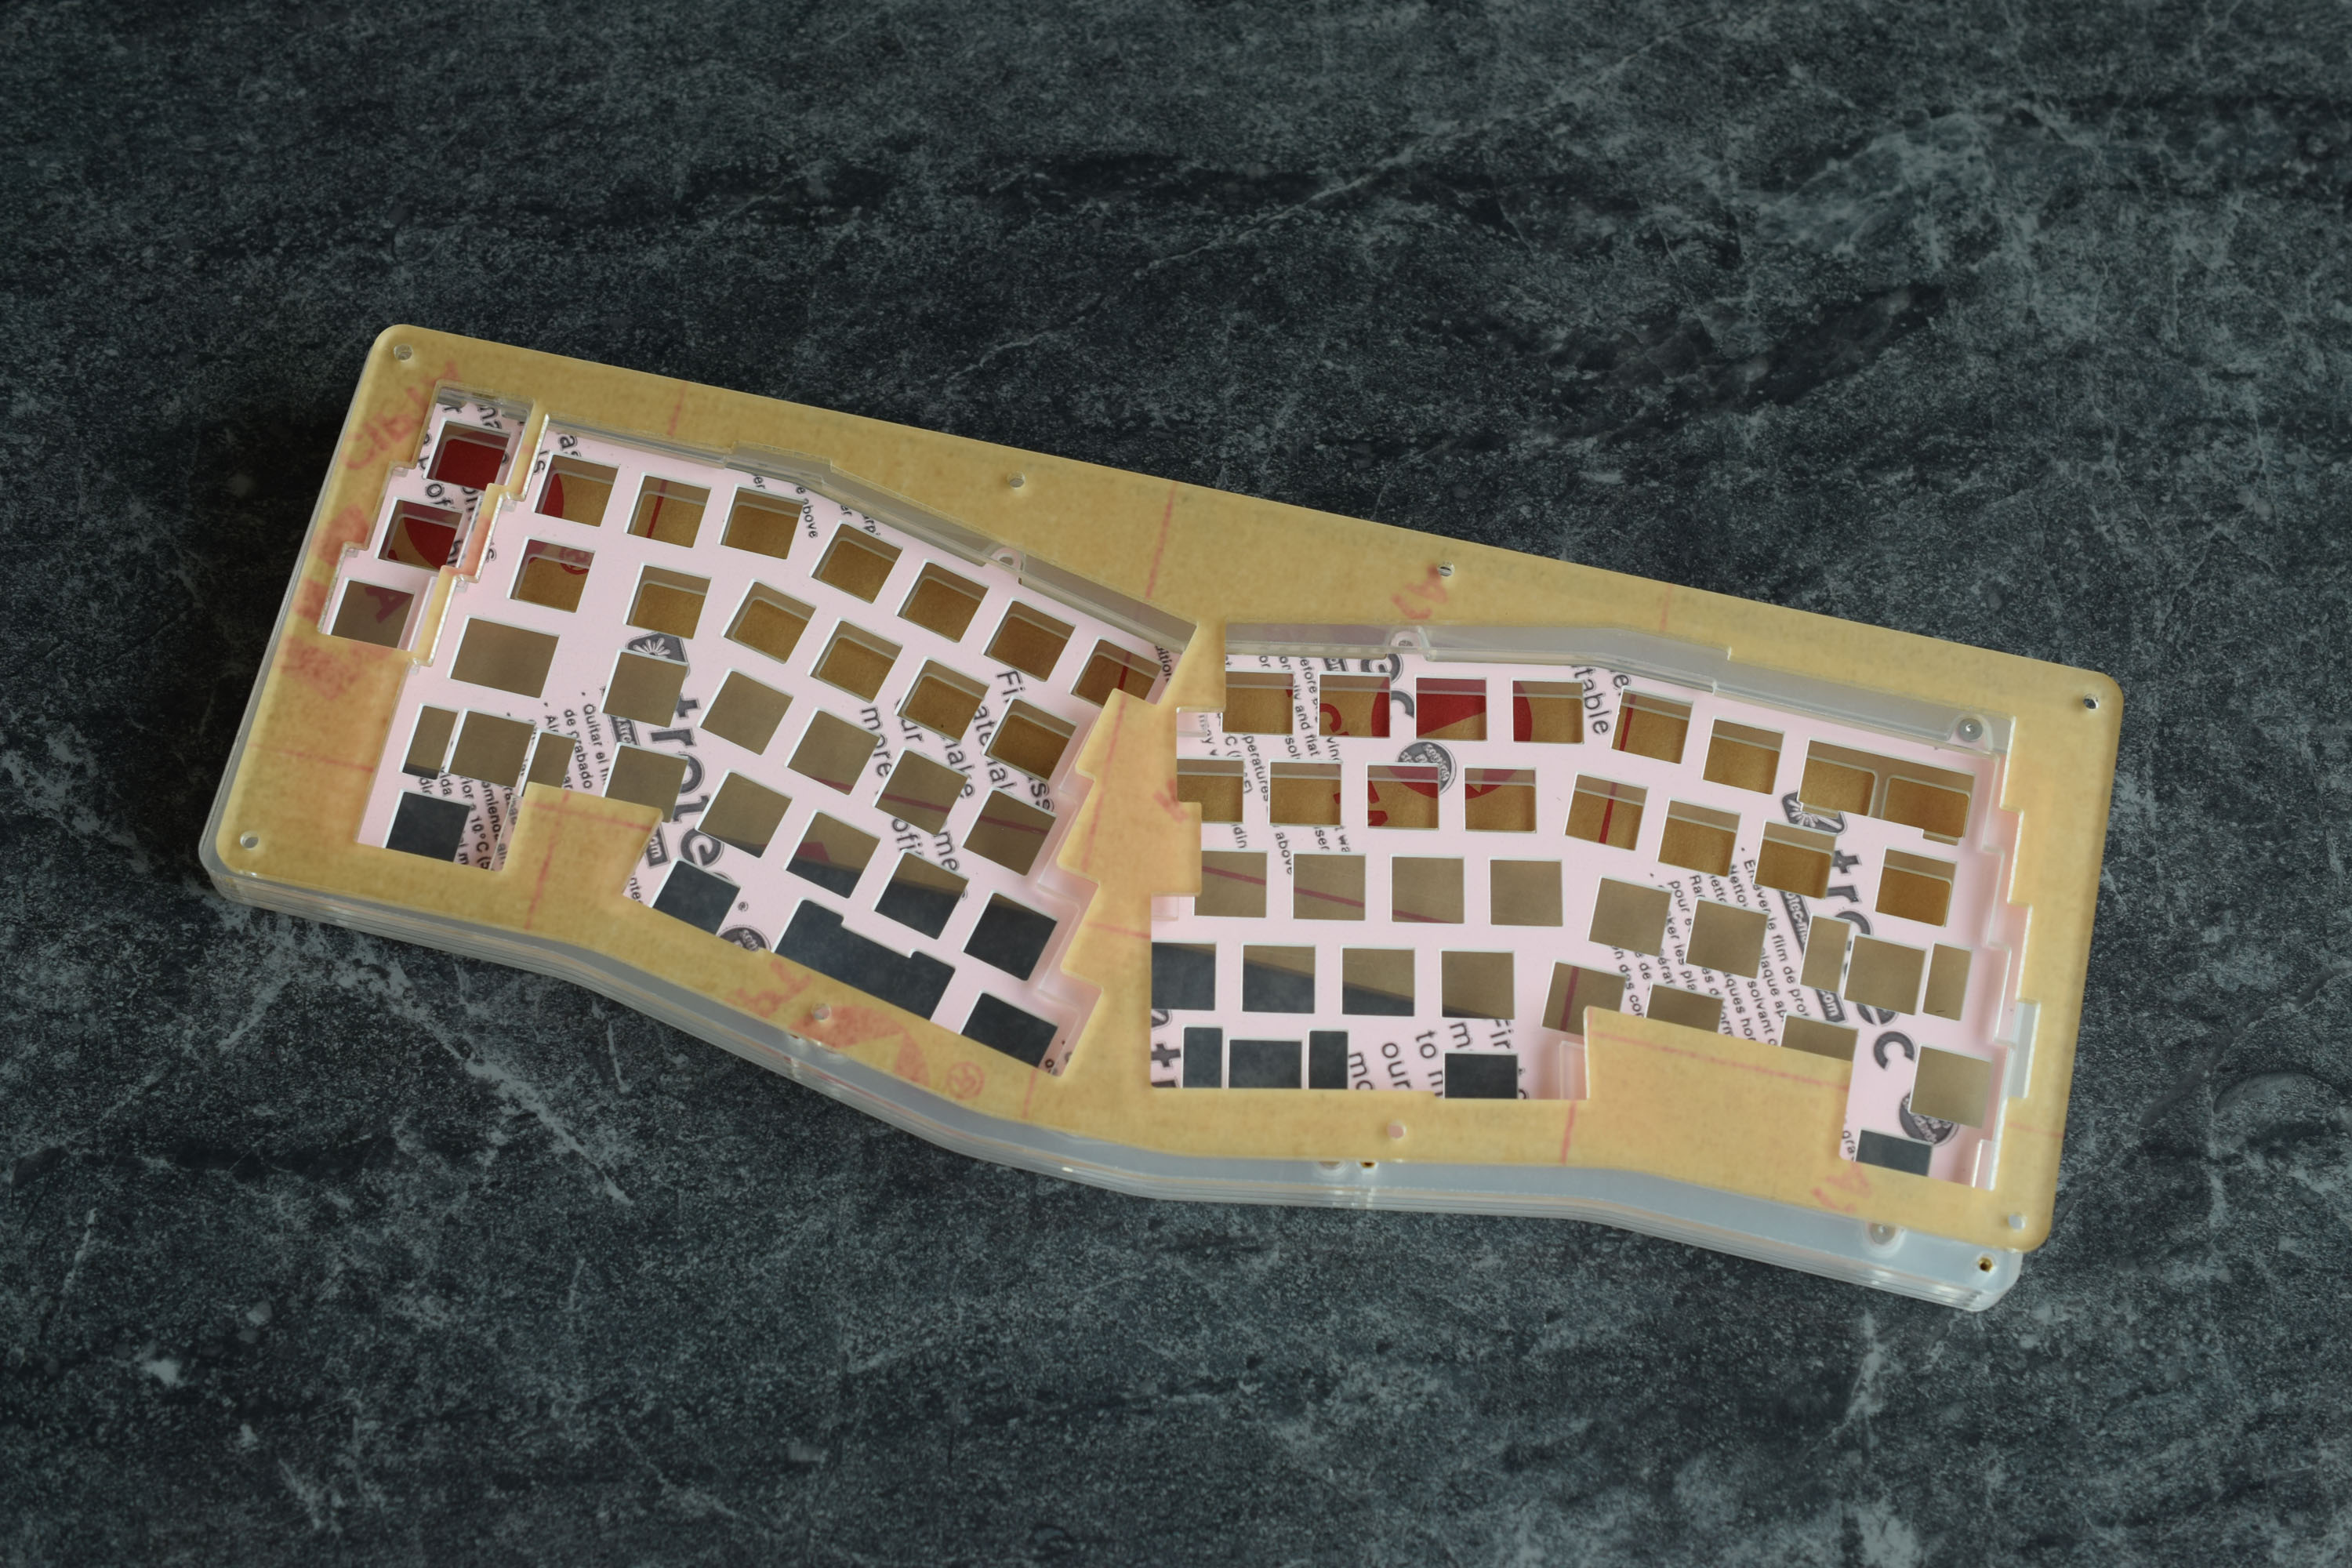
Once you reach the layer with Hexagonal cutouts, add the M2.5 Hex Nuts respective of the screws in the plate.
Alice Builds: If your plate only has four outer screws attatched, only add four nuts in the outer cutout locations.
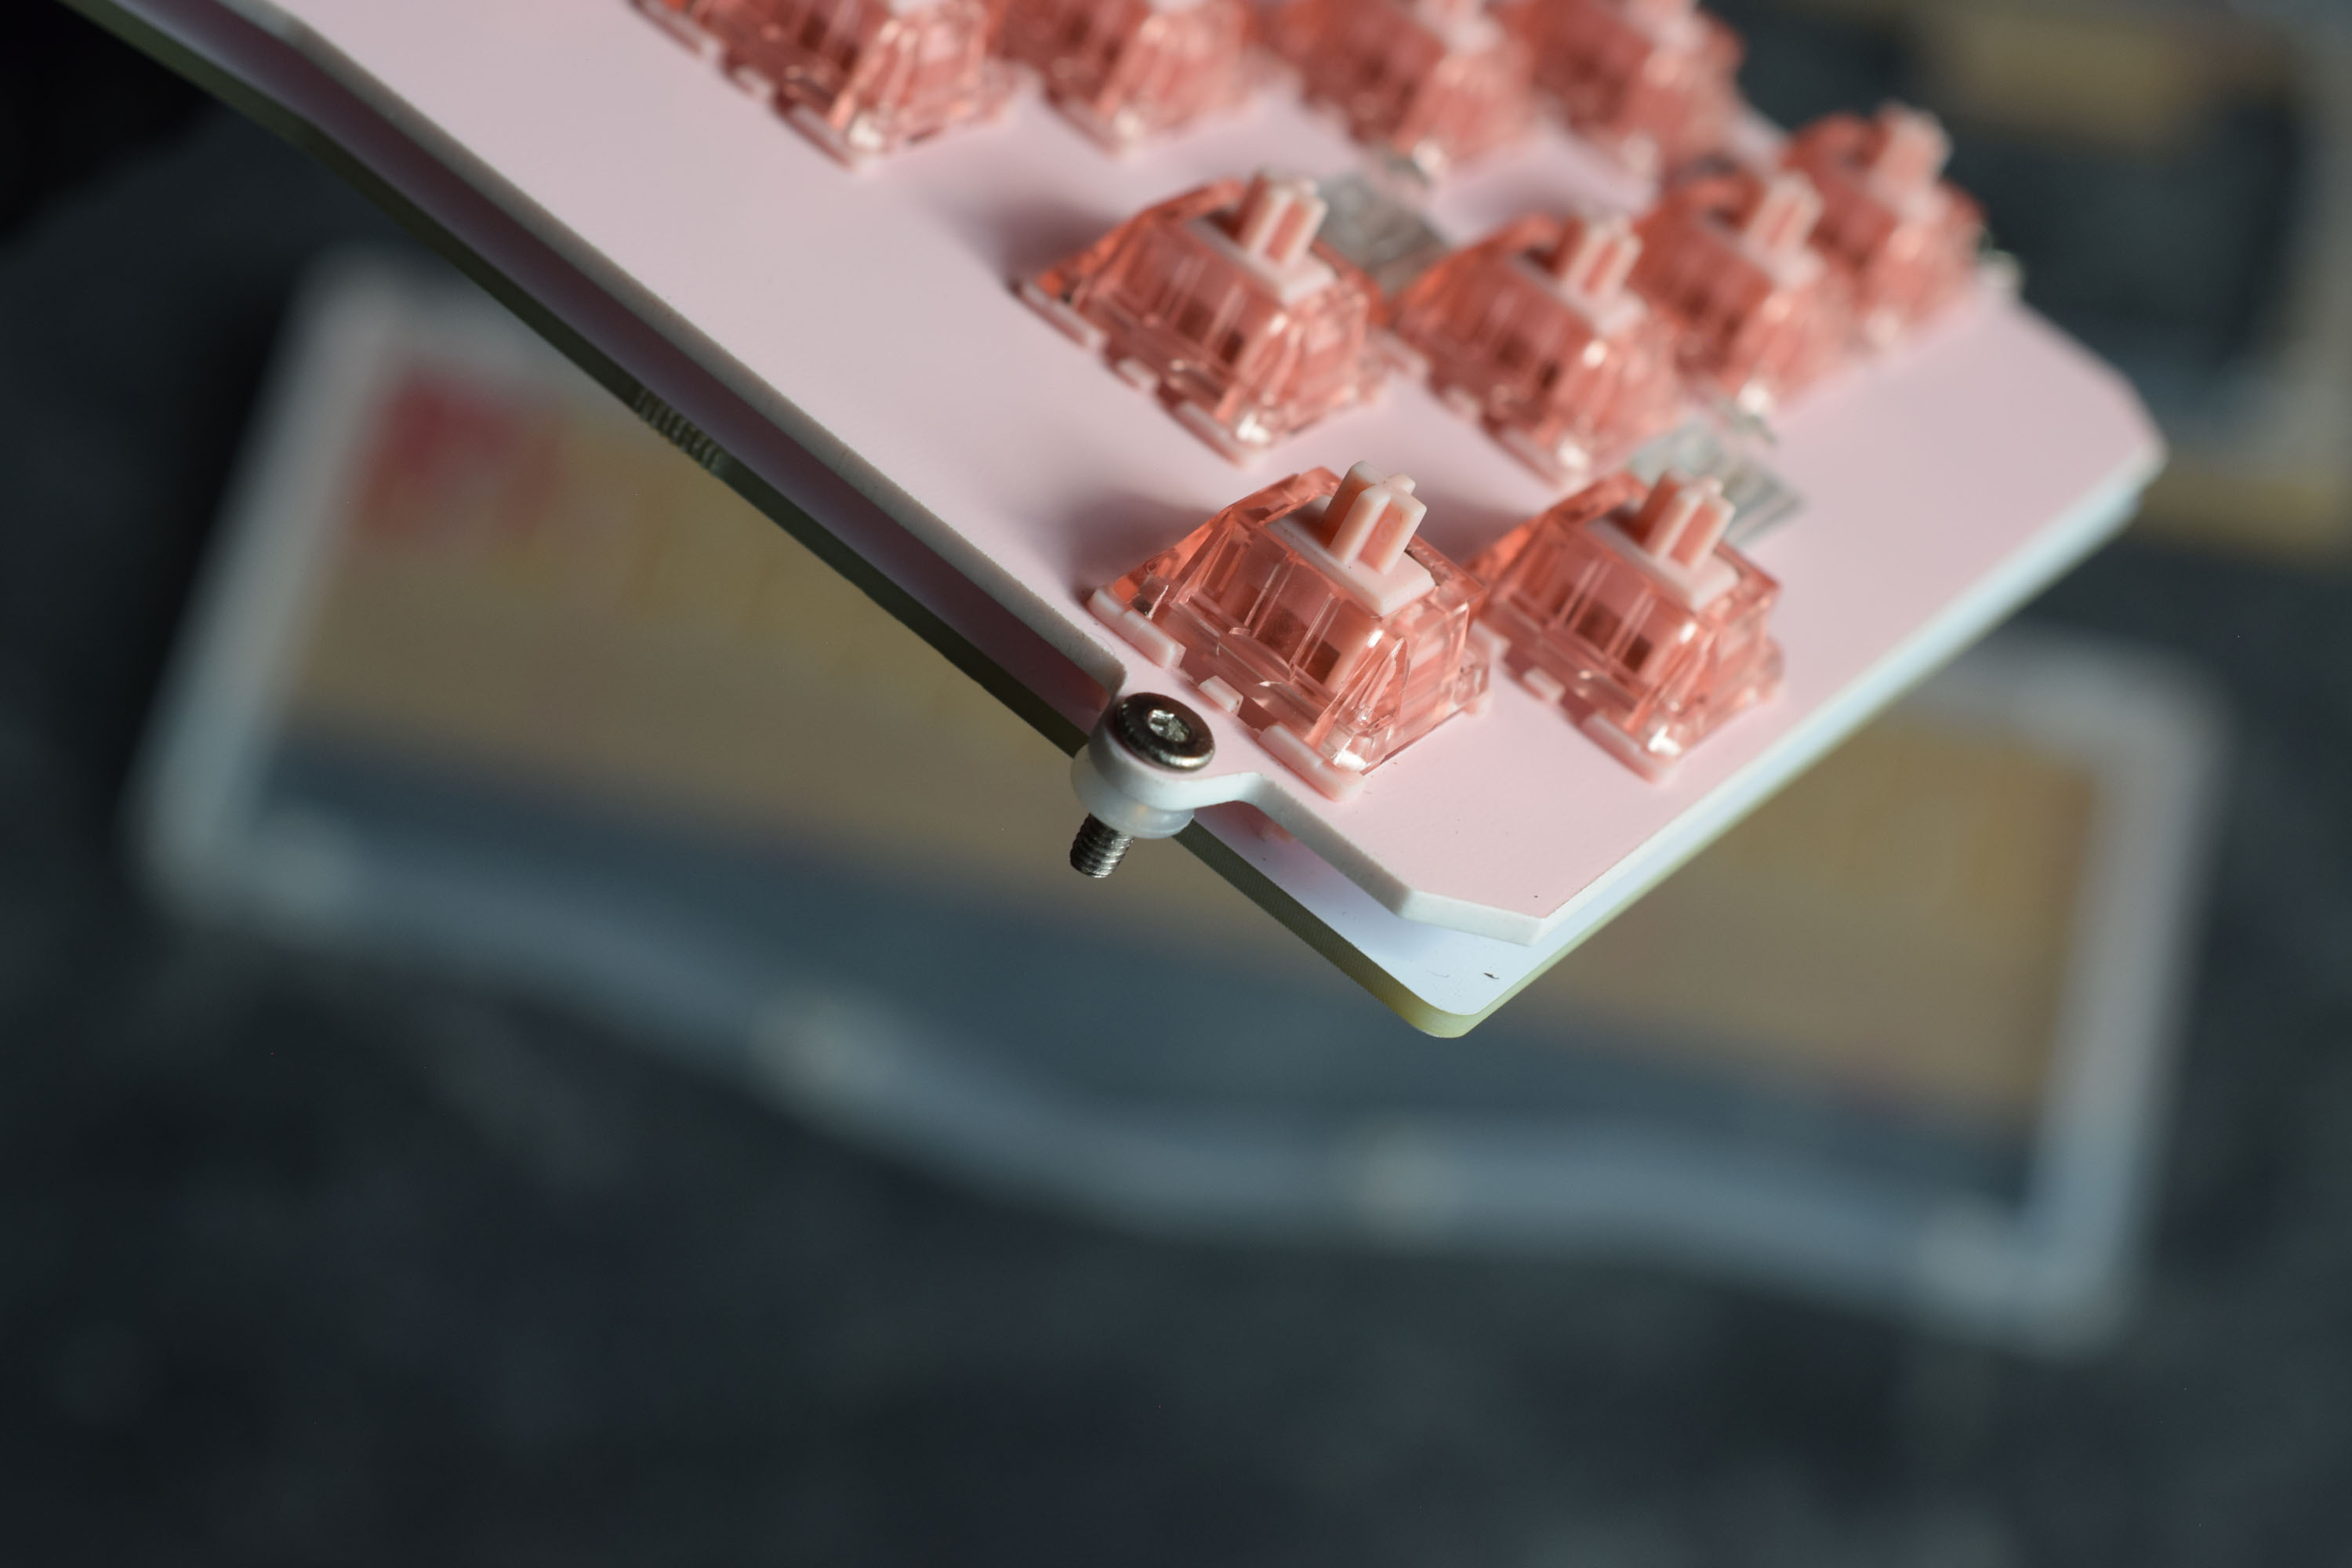
Reassembly and Removing Film - Main Case - Plate, O-Rings and Screws
Once we reach the layer with “etched circles”, it is time to install the plate.
Alice Builds:
The USB Port goes underneath the Acrylic, while the plate and screws go on-top.
Add two O-Rings at the front of the case. These do not need screws.

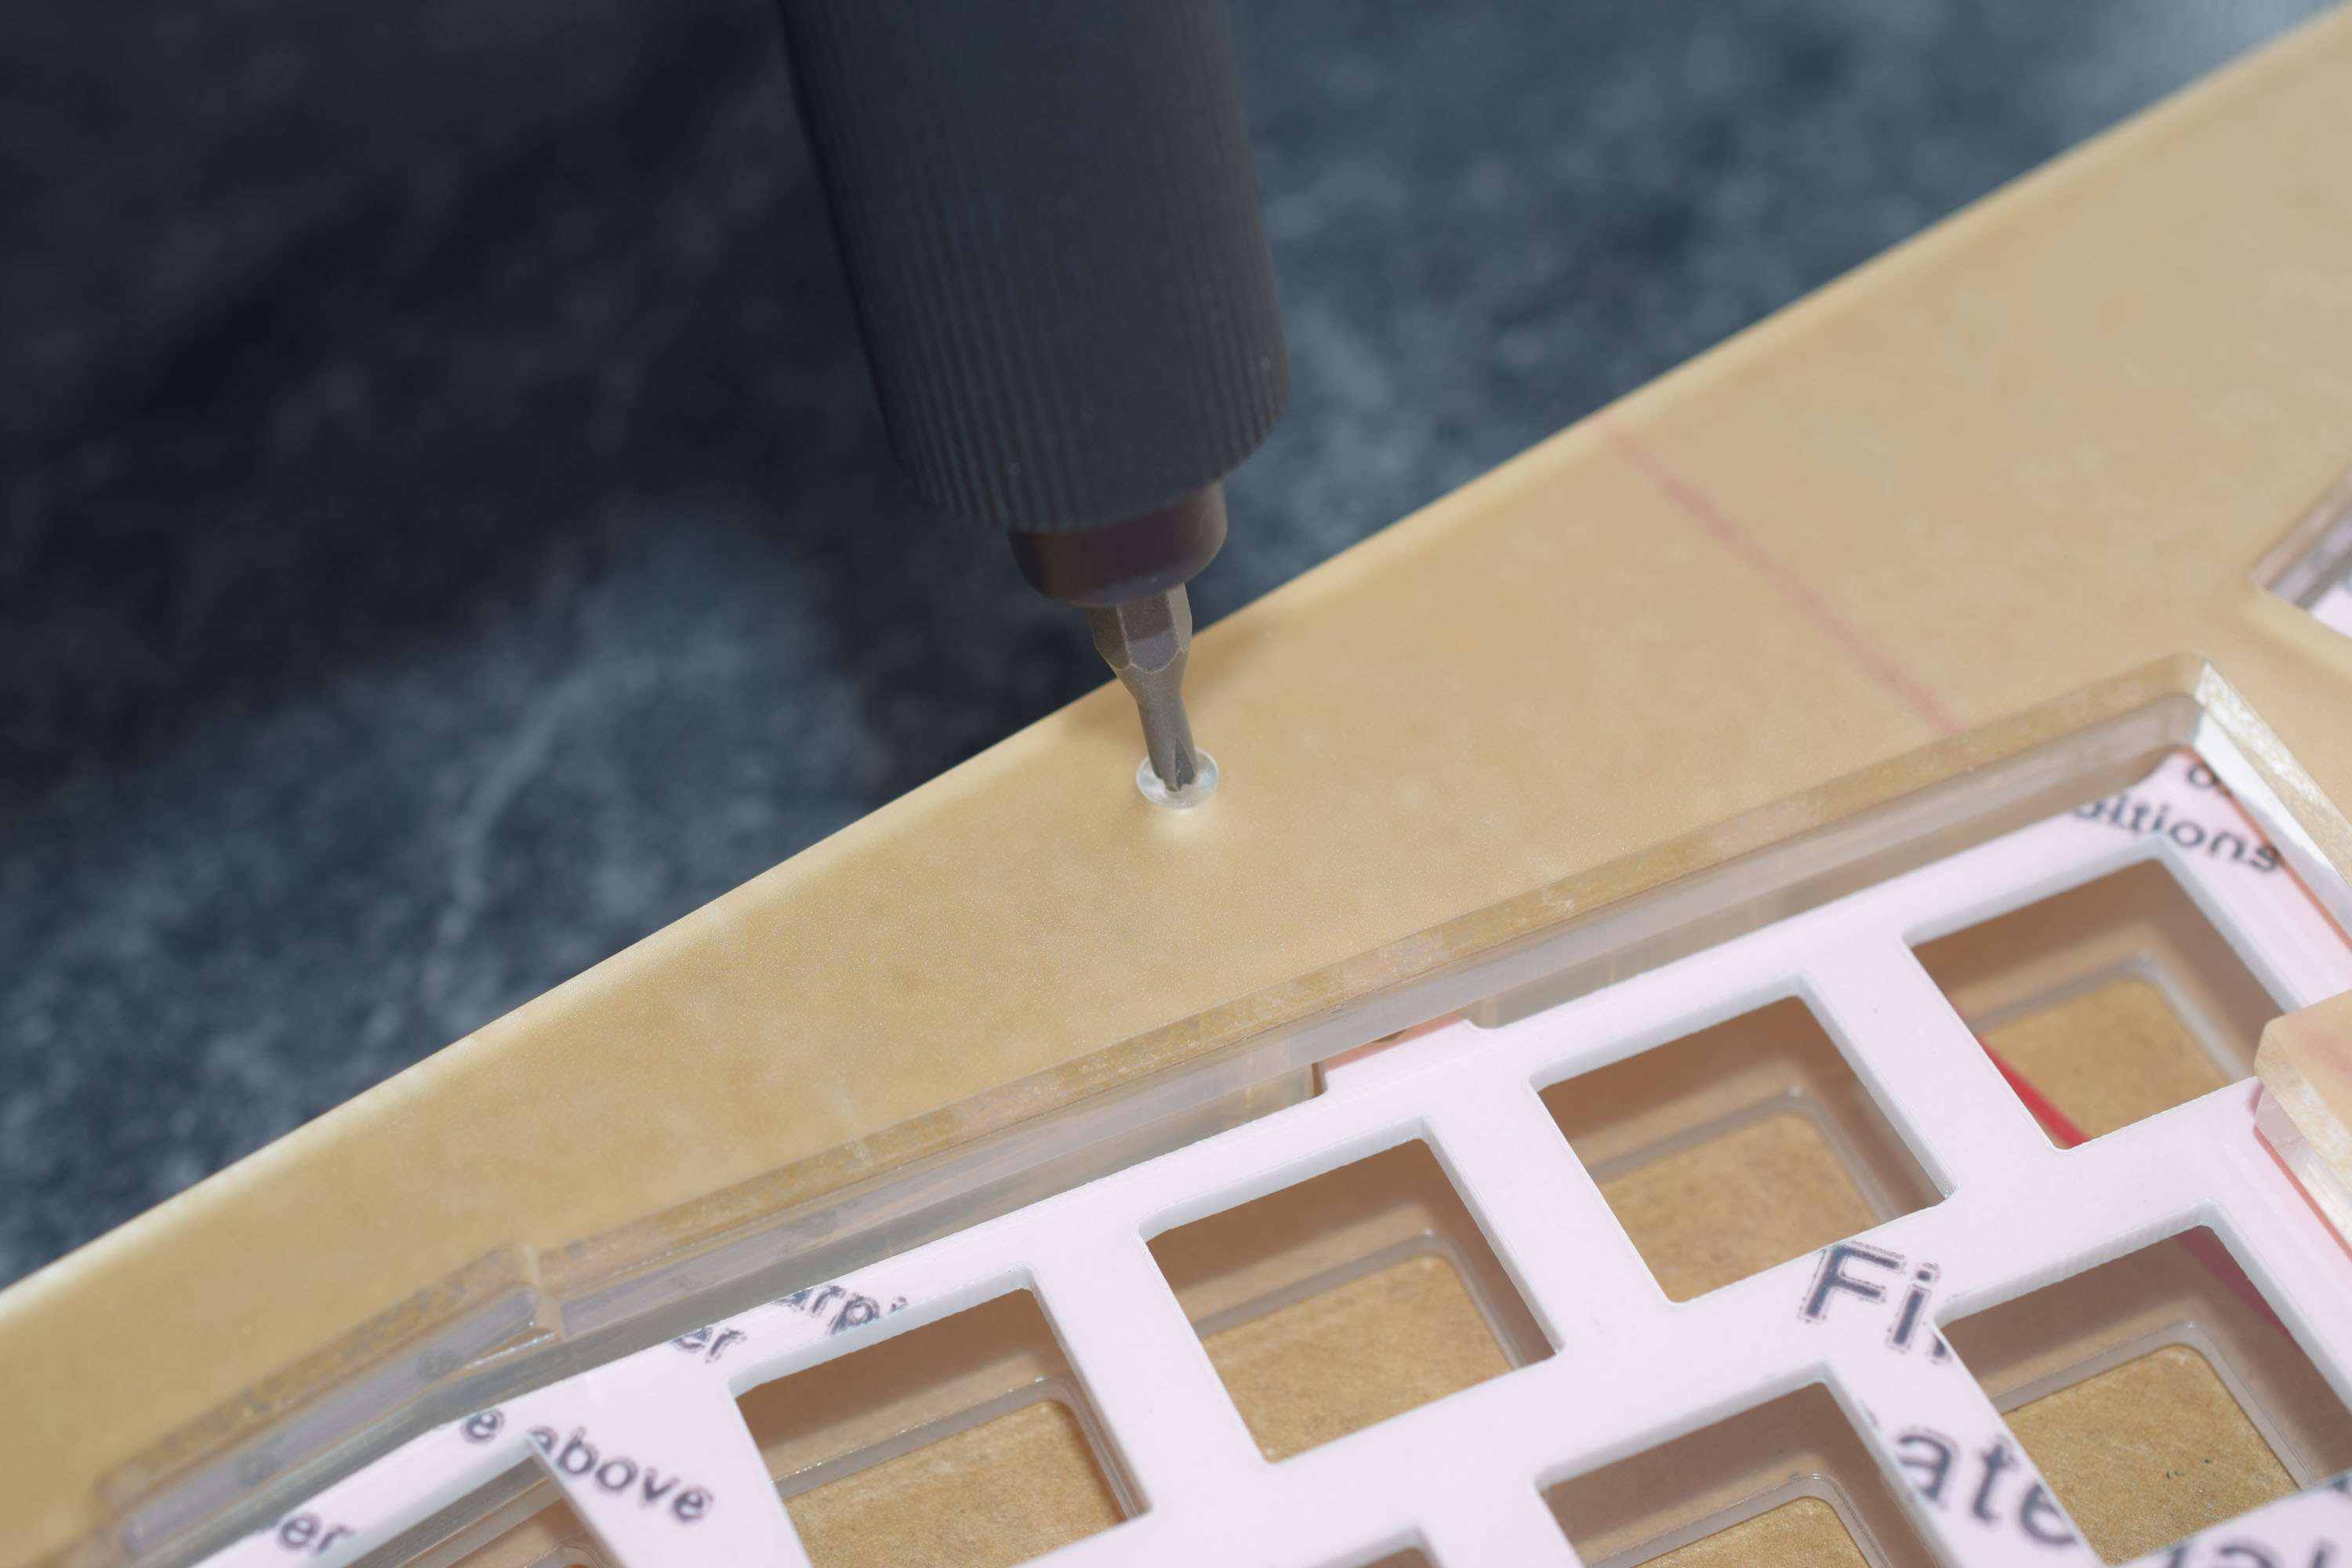
Gently tighten all the flat screws so they just reach the nuts. Do not overtighten.
Reassembly and Removing Film - Main Case
Add the remaining acrylic layers into the stack.
Carefuly straighten the acrylic layers before screwing in the PC screws.
Your case is now built!
Thank you for the support, if you have any questions or need more advice please send me an email.
Email: idyllic@acrylicperipherals.com