Idyllic Keycarp - Build Guide
20 June 2022
Checklist and Notes
PCB
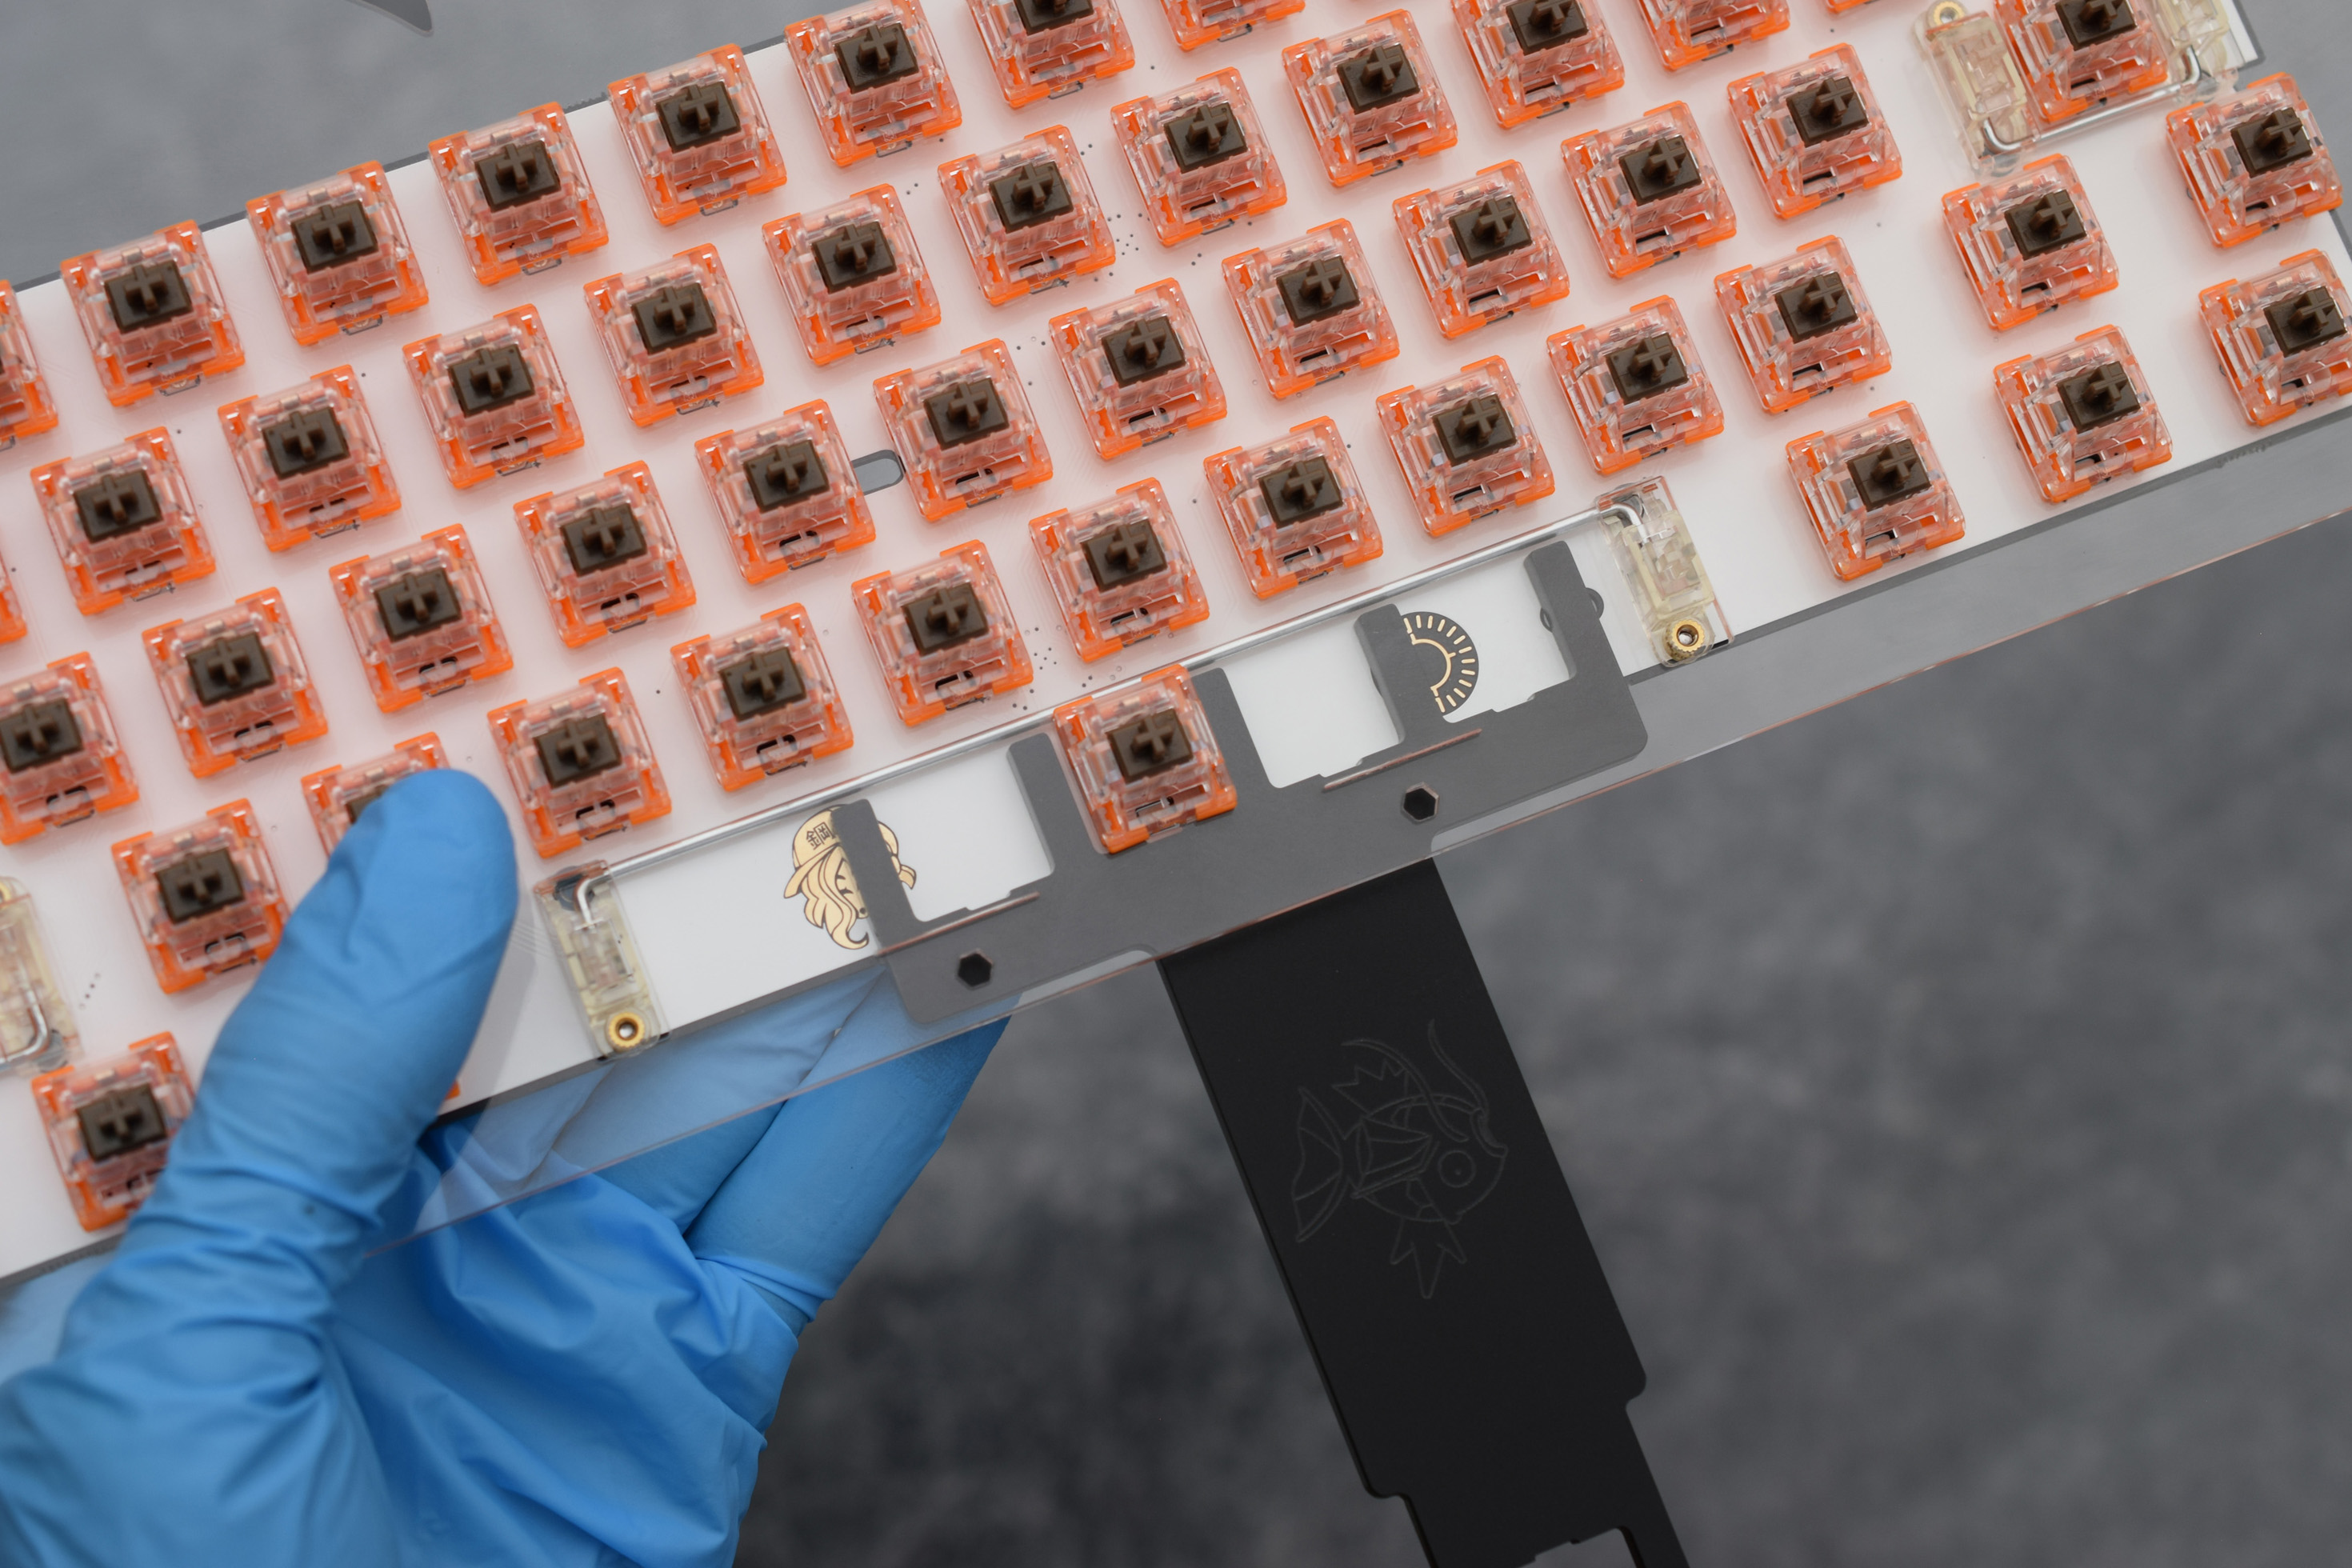
- Check Stabilizers are installed and are functioning.
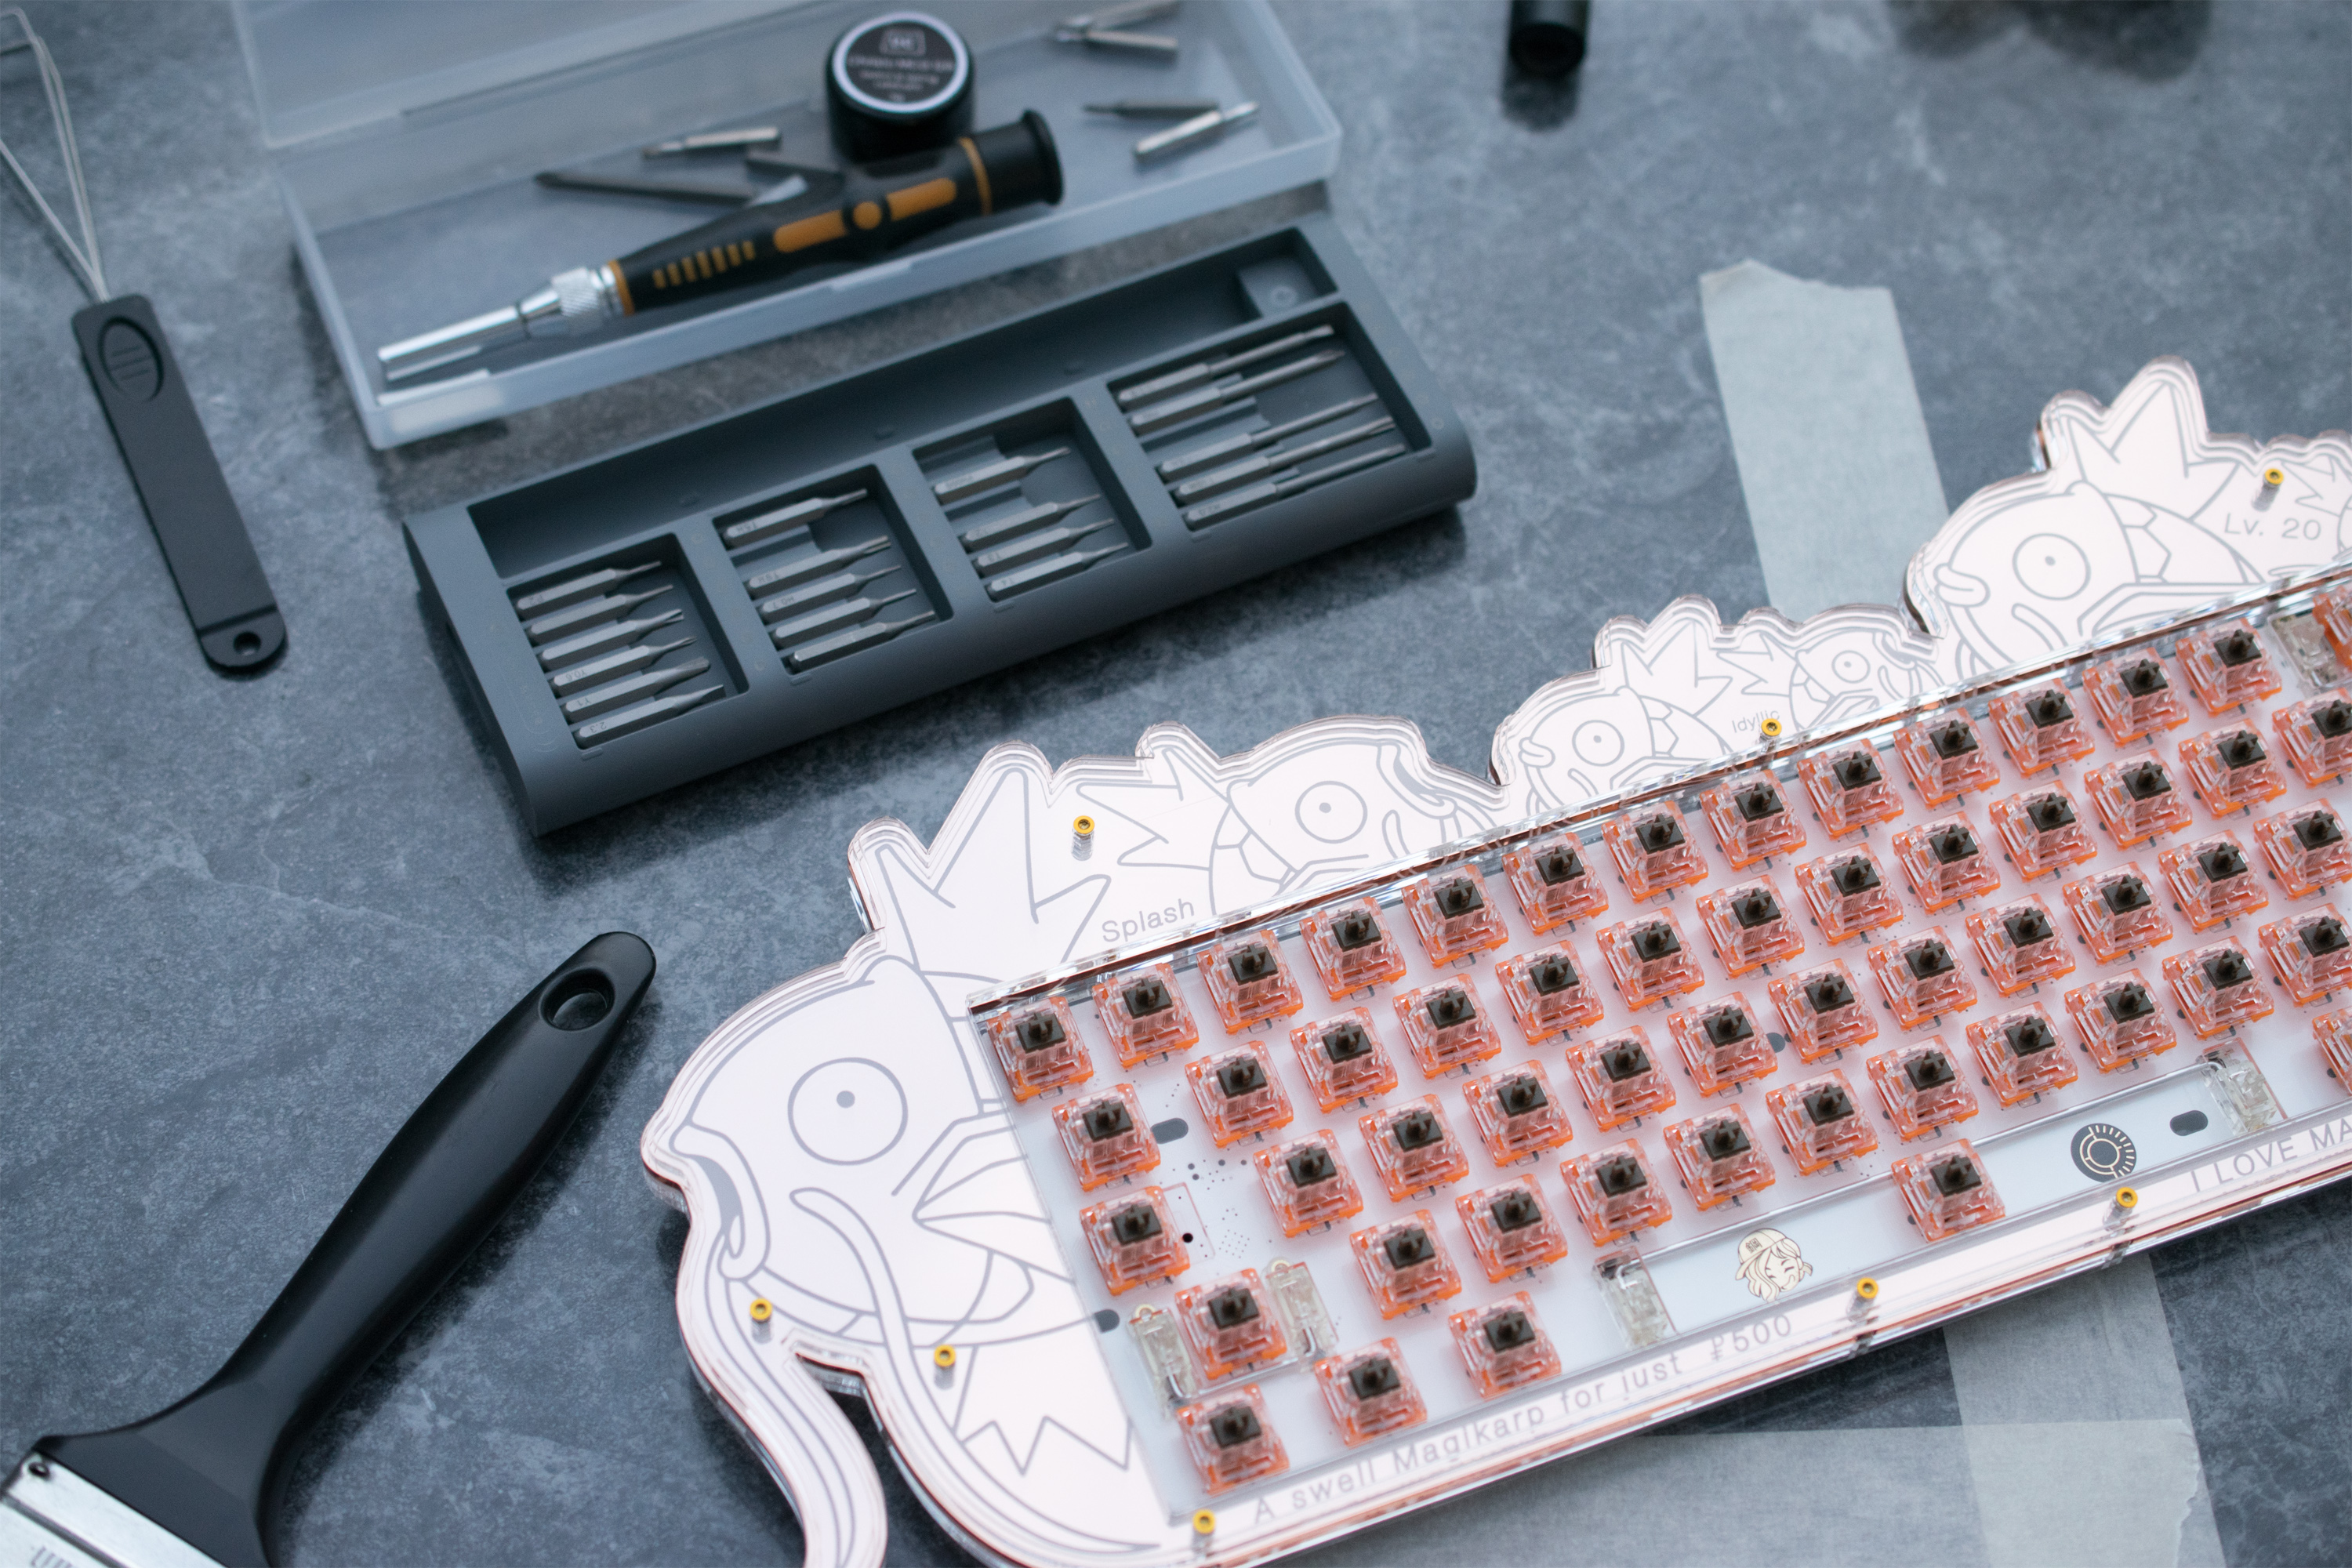
- Clip your switches into the plate and solder the switches into the PCB.
Acrylic Layers
- Have an adequate amount of working space. The more table space the better.
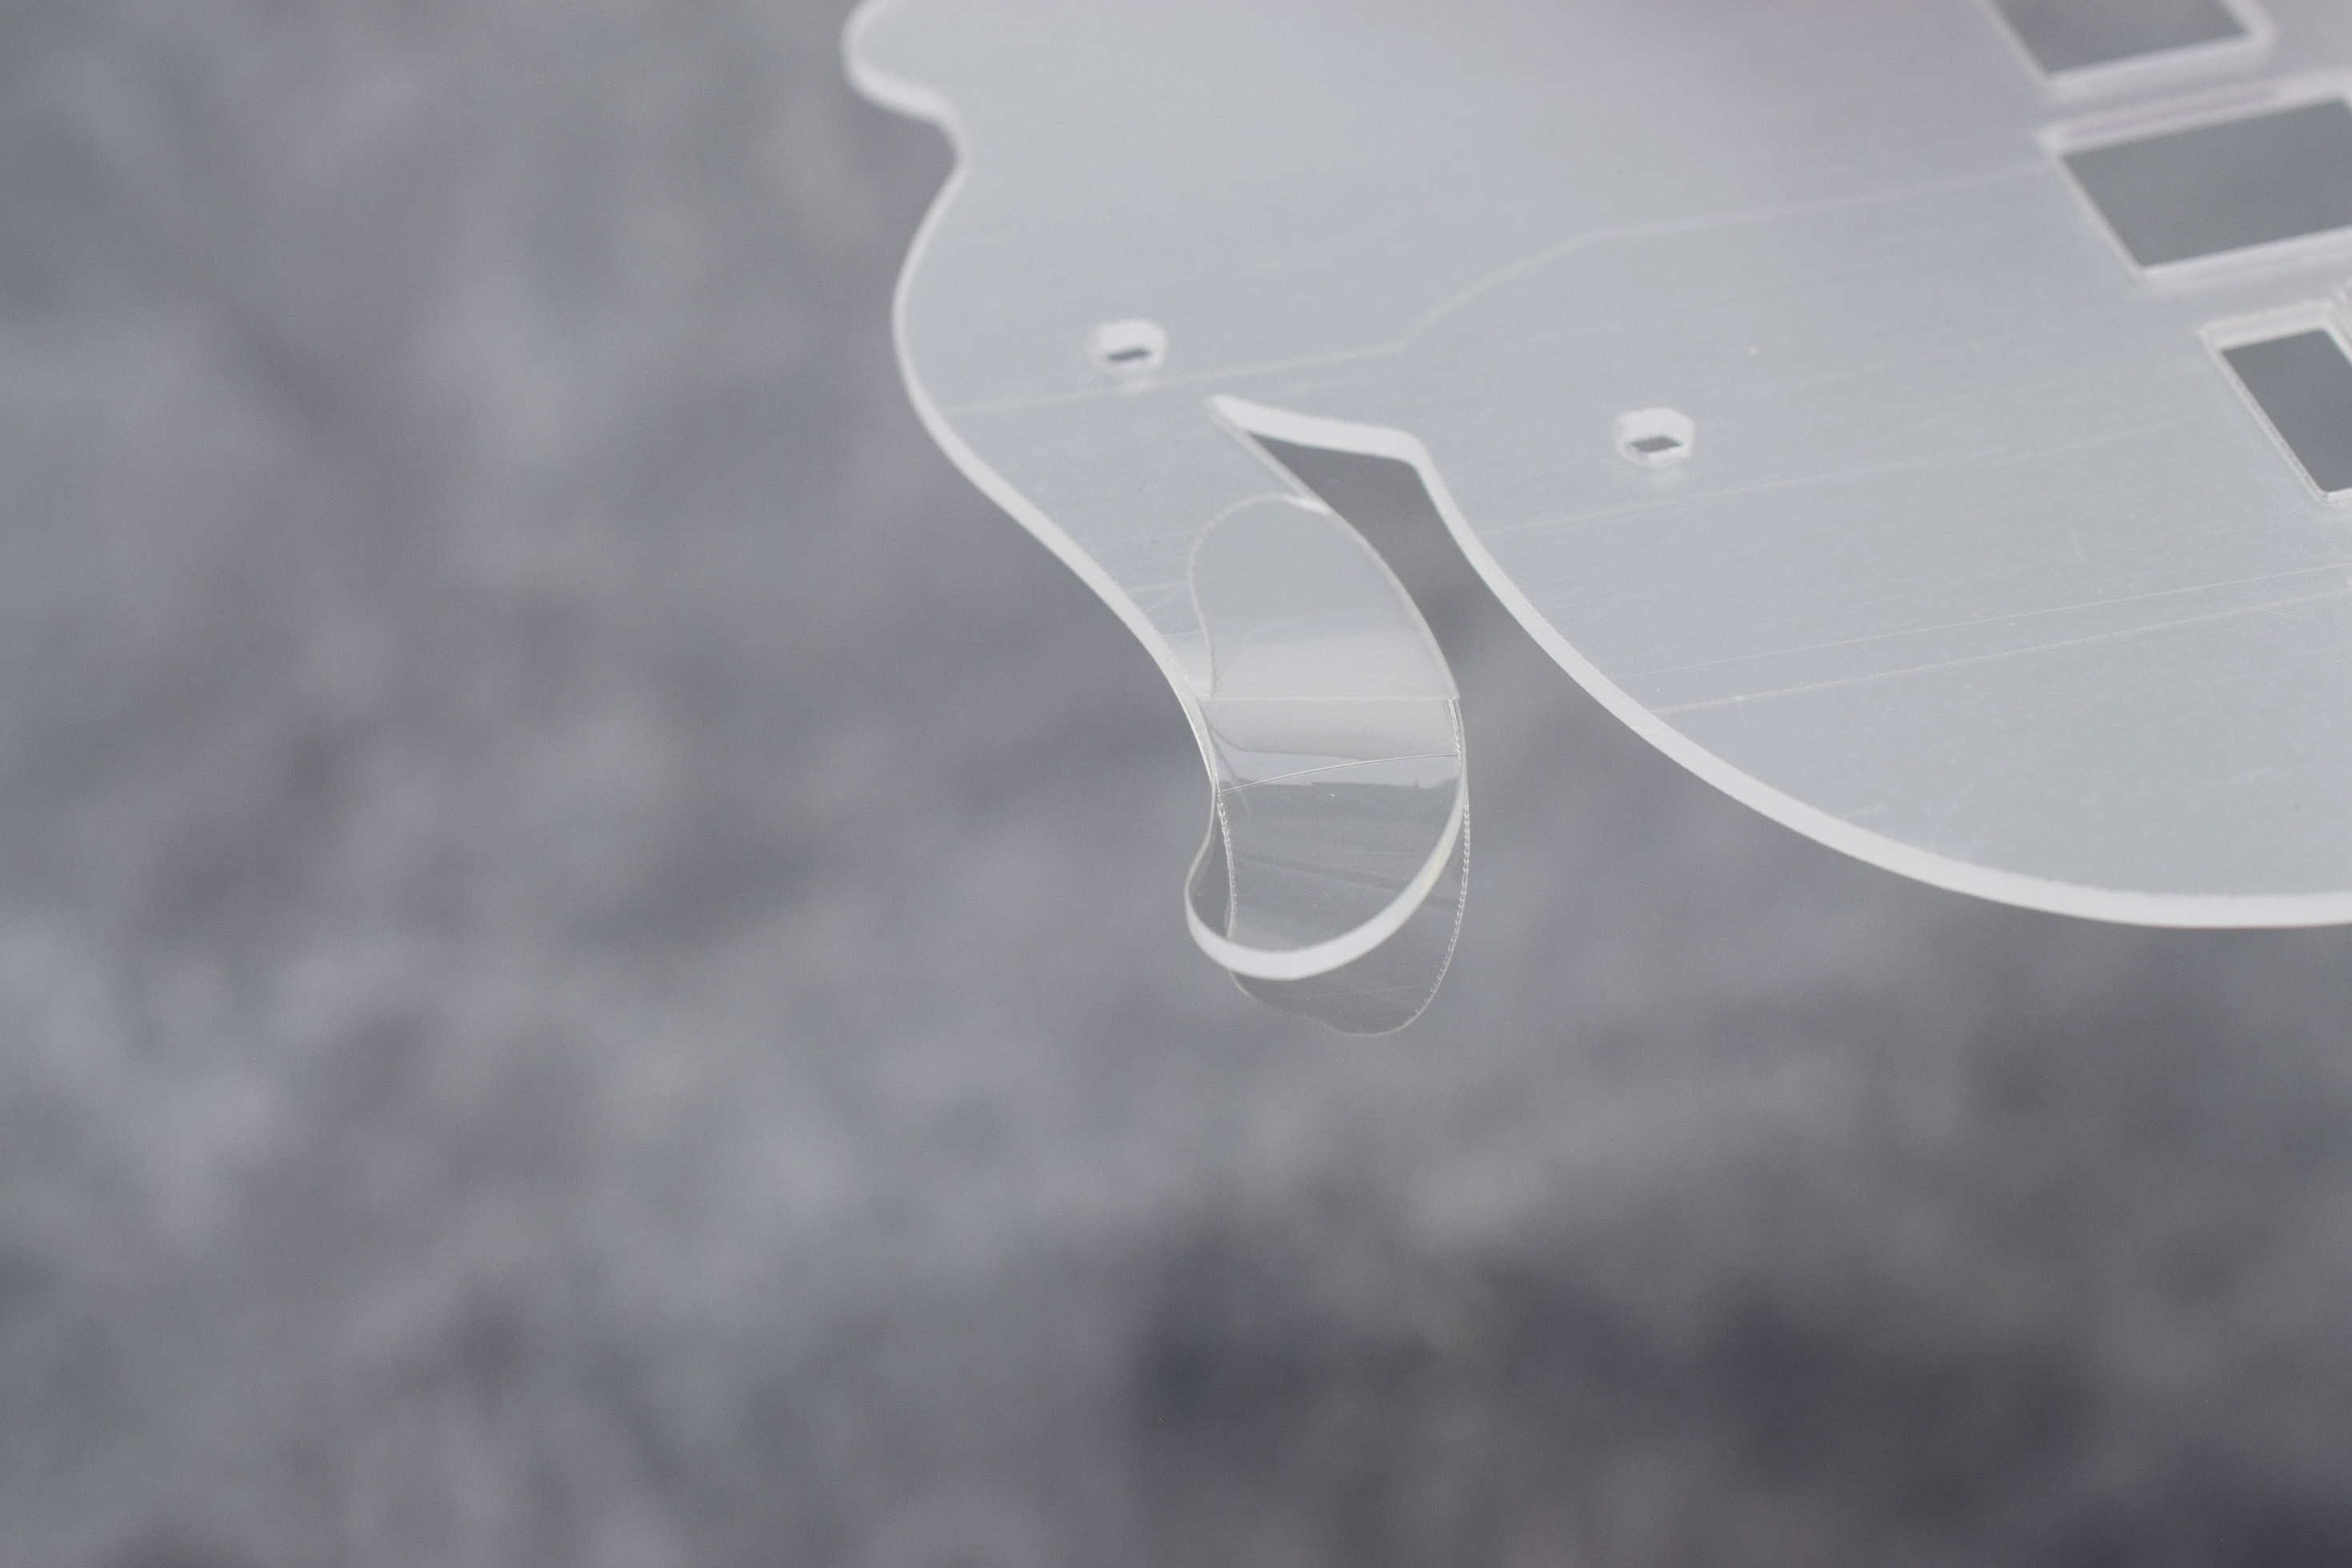
- Acrylic Layers can snap easily. Handle with care, and take your time peeling the protective film.
- Build from the bottom-upwards (refer to below “Build Guide with Pictures”).
- Don’t start peeling and building the case till the PCB and Plate are soldered together. This minimizes the time for exposed acrylic to accumulate dust.
- Do not wipe with isopropyl alcohol. This damages the acrylic and causes it to fracture.
- Wiping down each layer of acrylic with a damp cloth is recommended to minimize dust and the risk of ElectroStatic Discharge (EST).
- Some surfaces have protective film on both sides. Acrylic with brown-film only has protection on 1 side.
- To make the peeling process easier, tweezers or a hobby blade are convenient to use. Sometimes sticky-tape can also be used to help pull film off.
Build Guide with Pictures - Step by Step
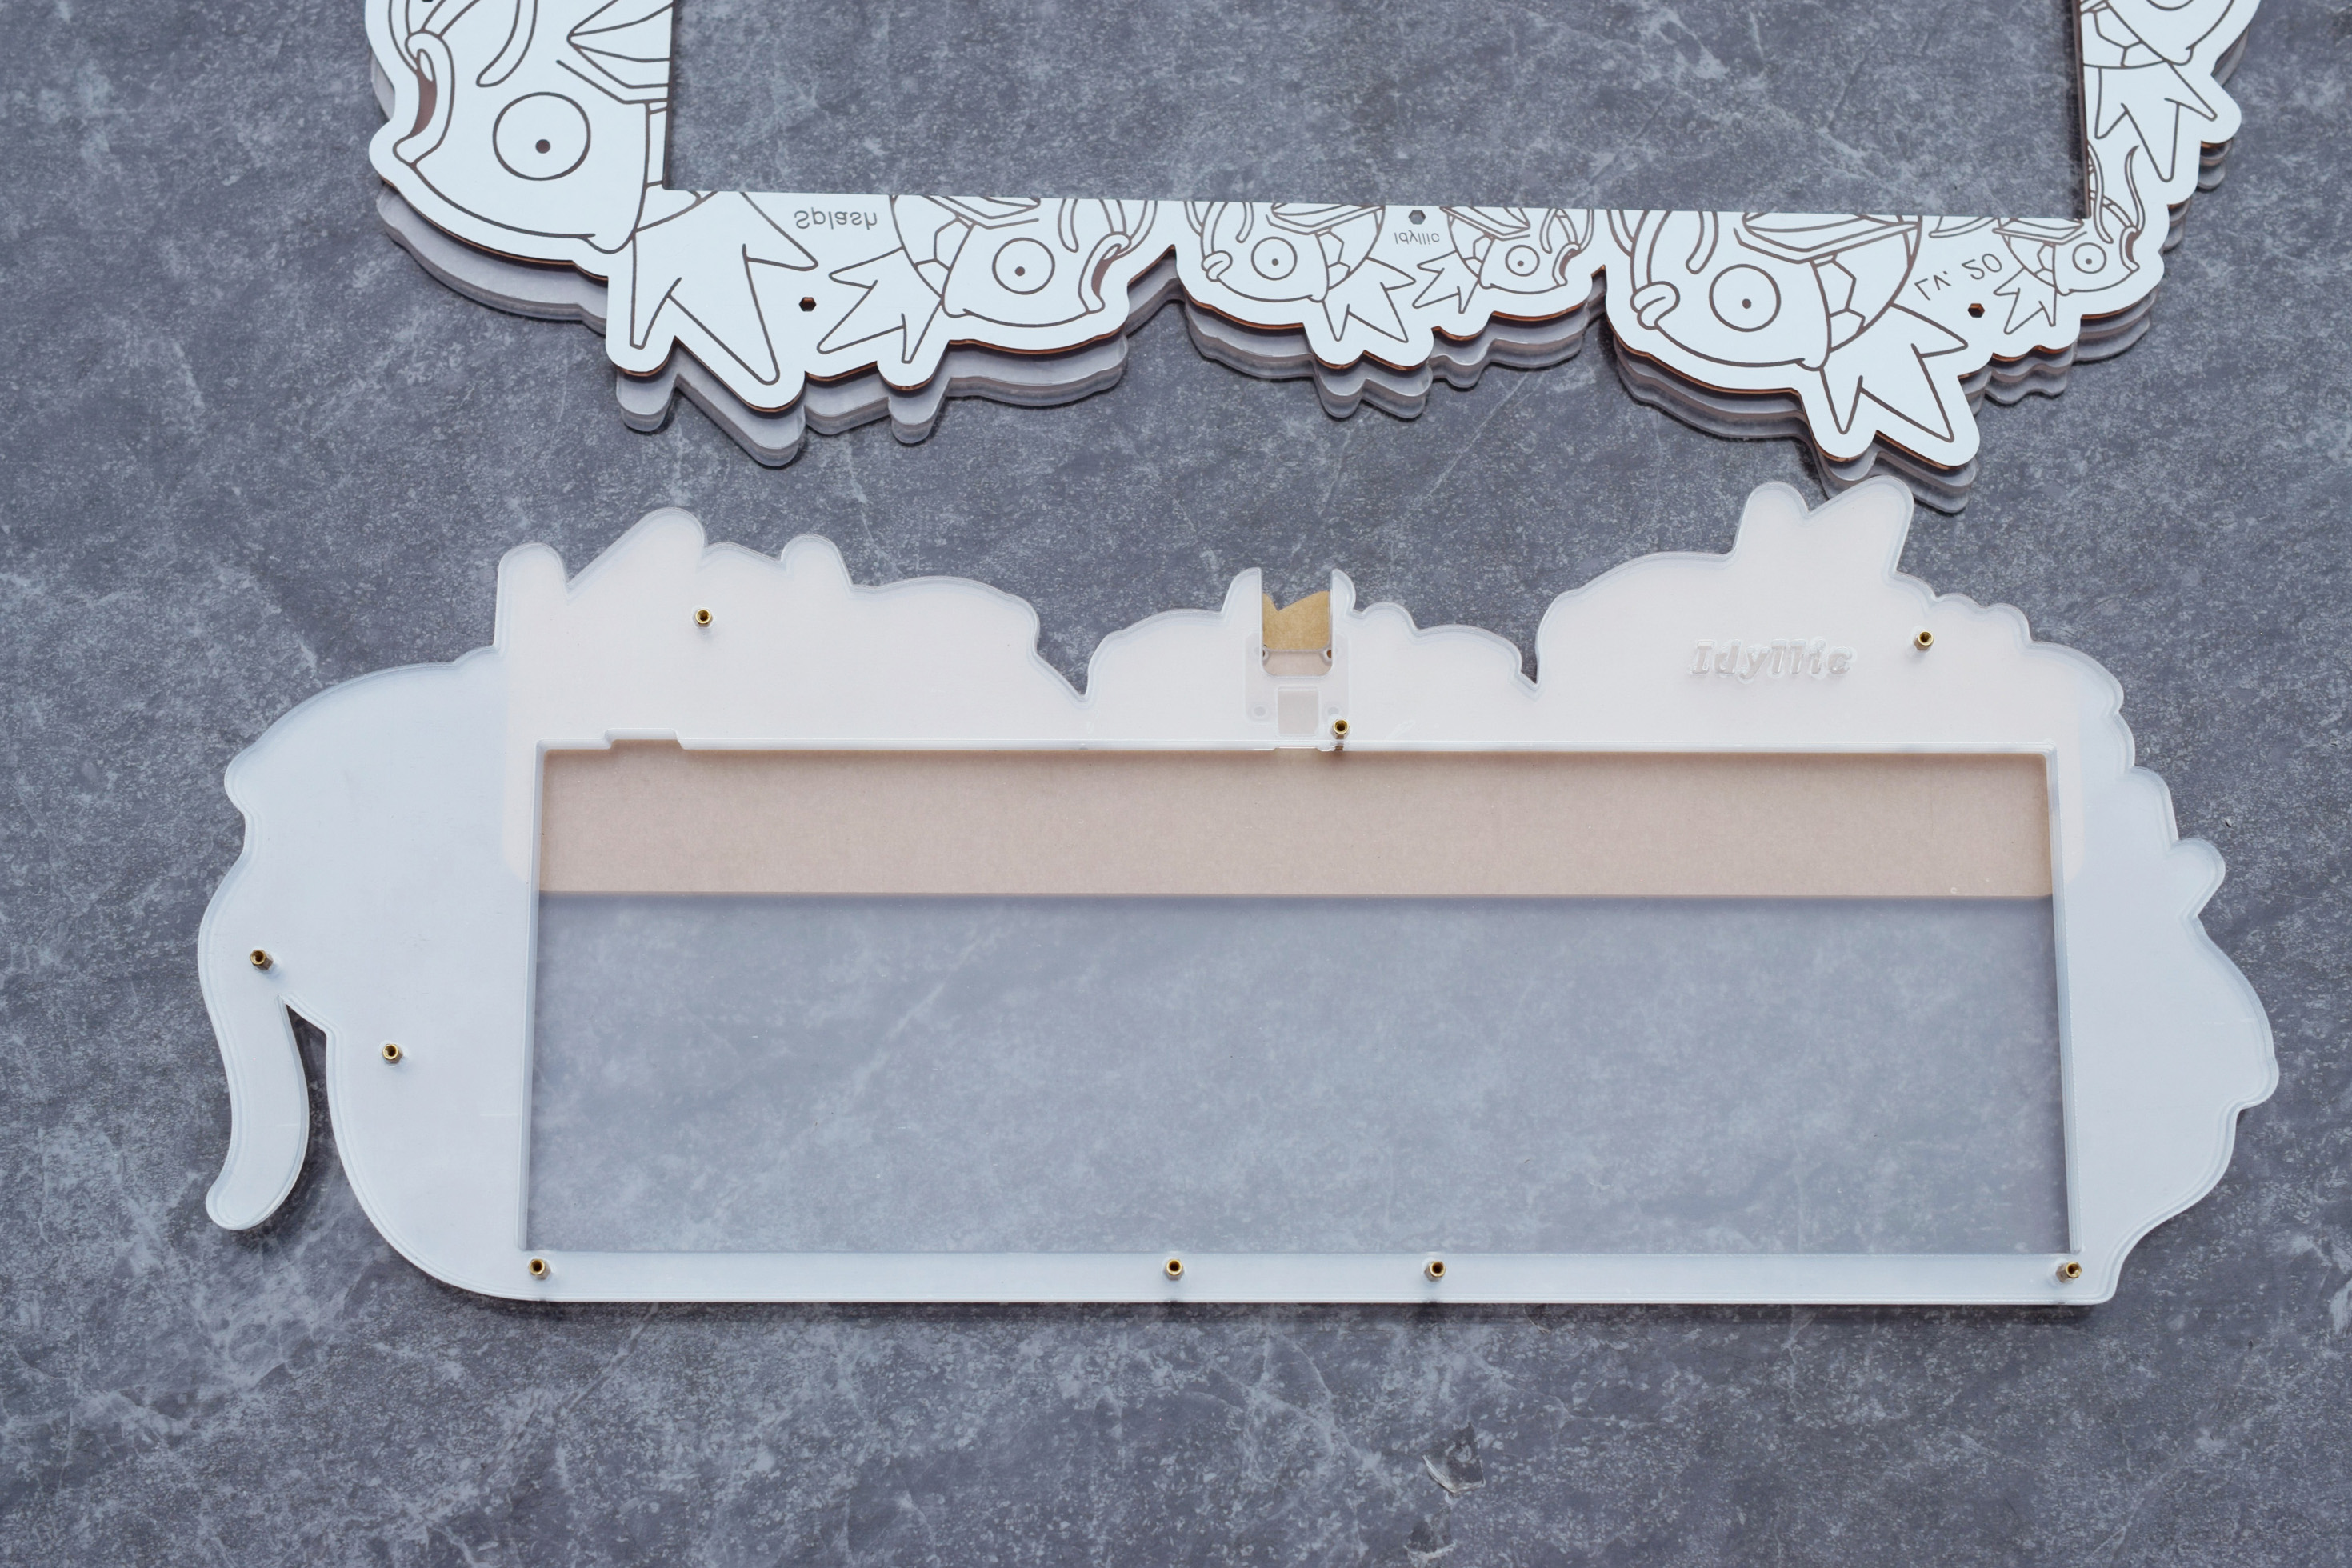
Build Guide with Pictures - Acrylic Risers and Bumpons
Unbuilt, the board is wobbly and unstable. However, this will quickly be fixed once we start building.

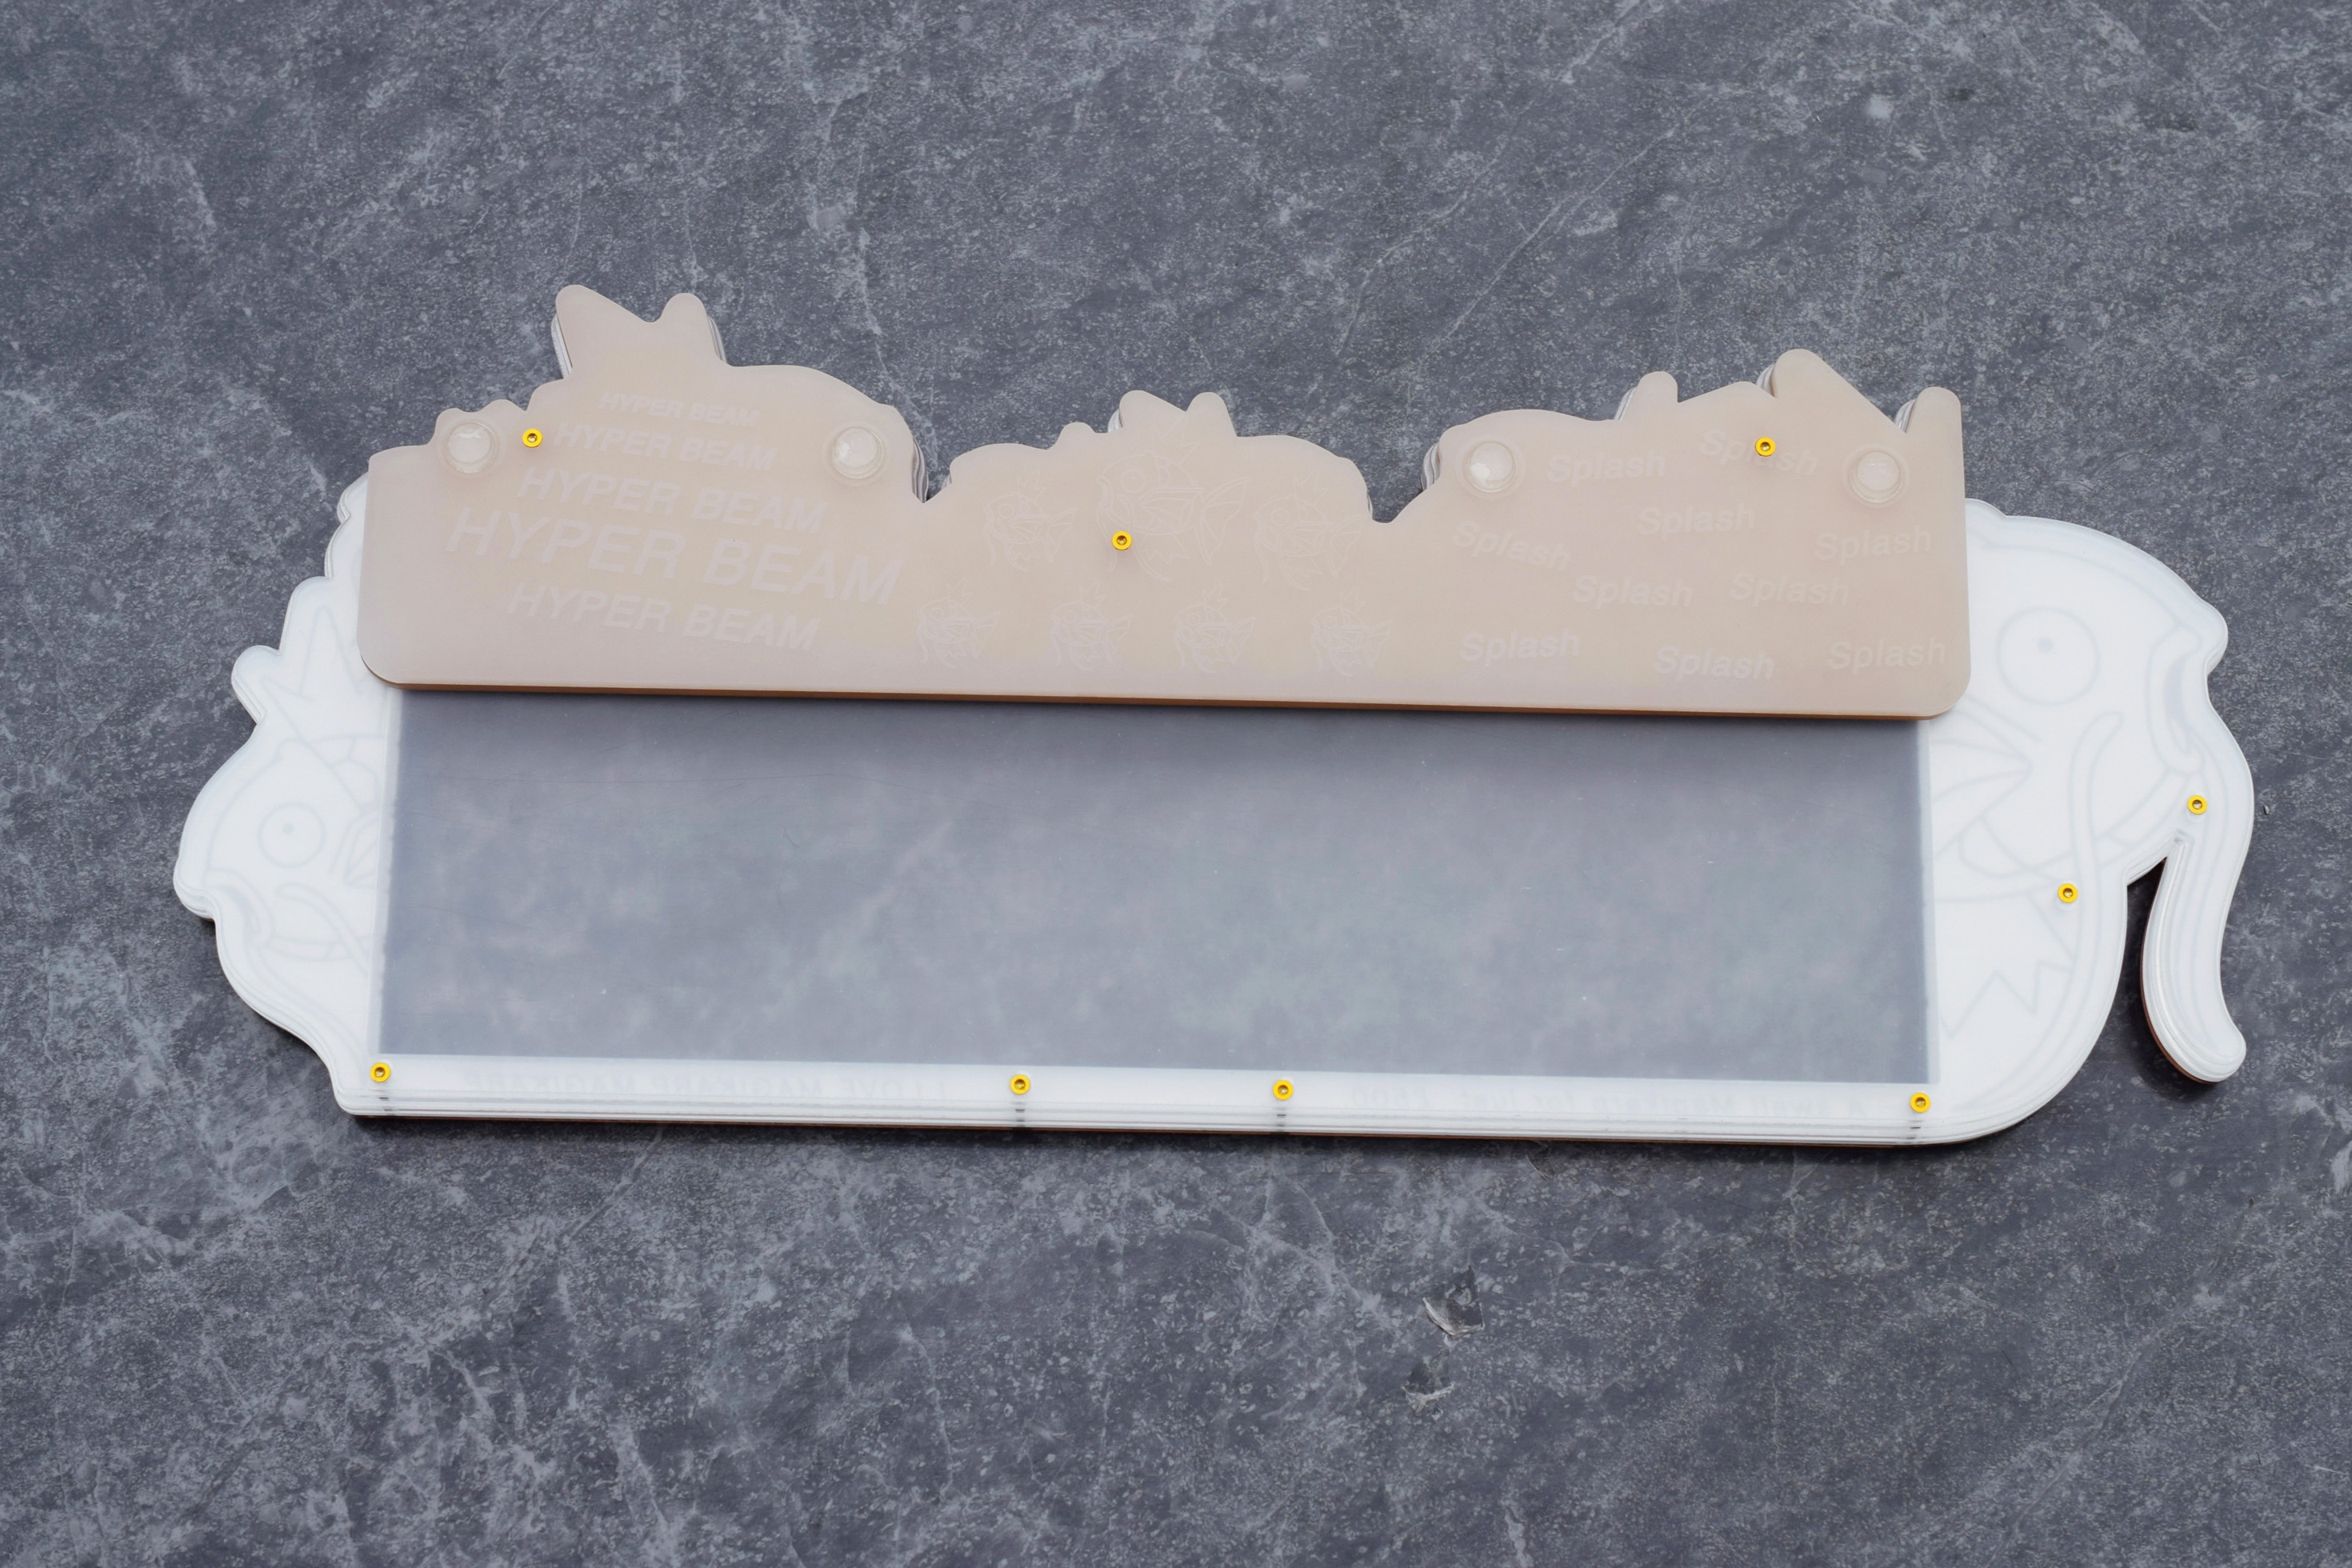
Apply the 4x larger bumpons onto the frosted acrylic. There are circles to help you locate where to apply them.
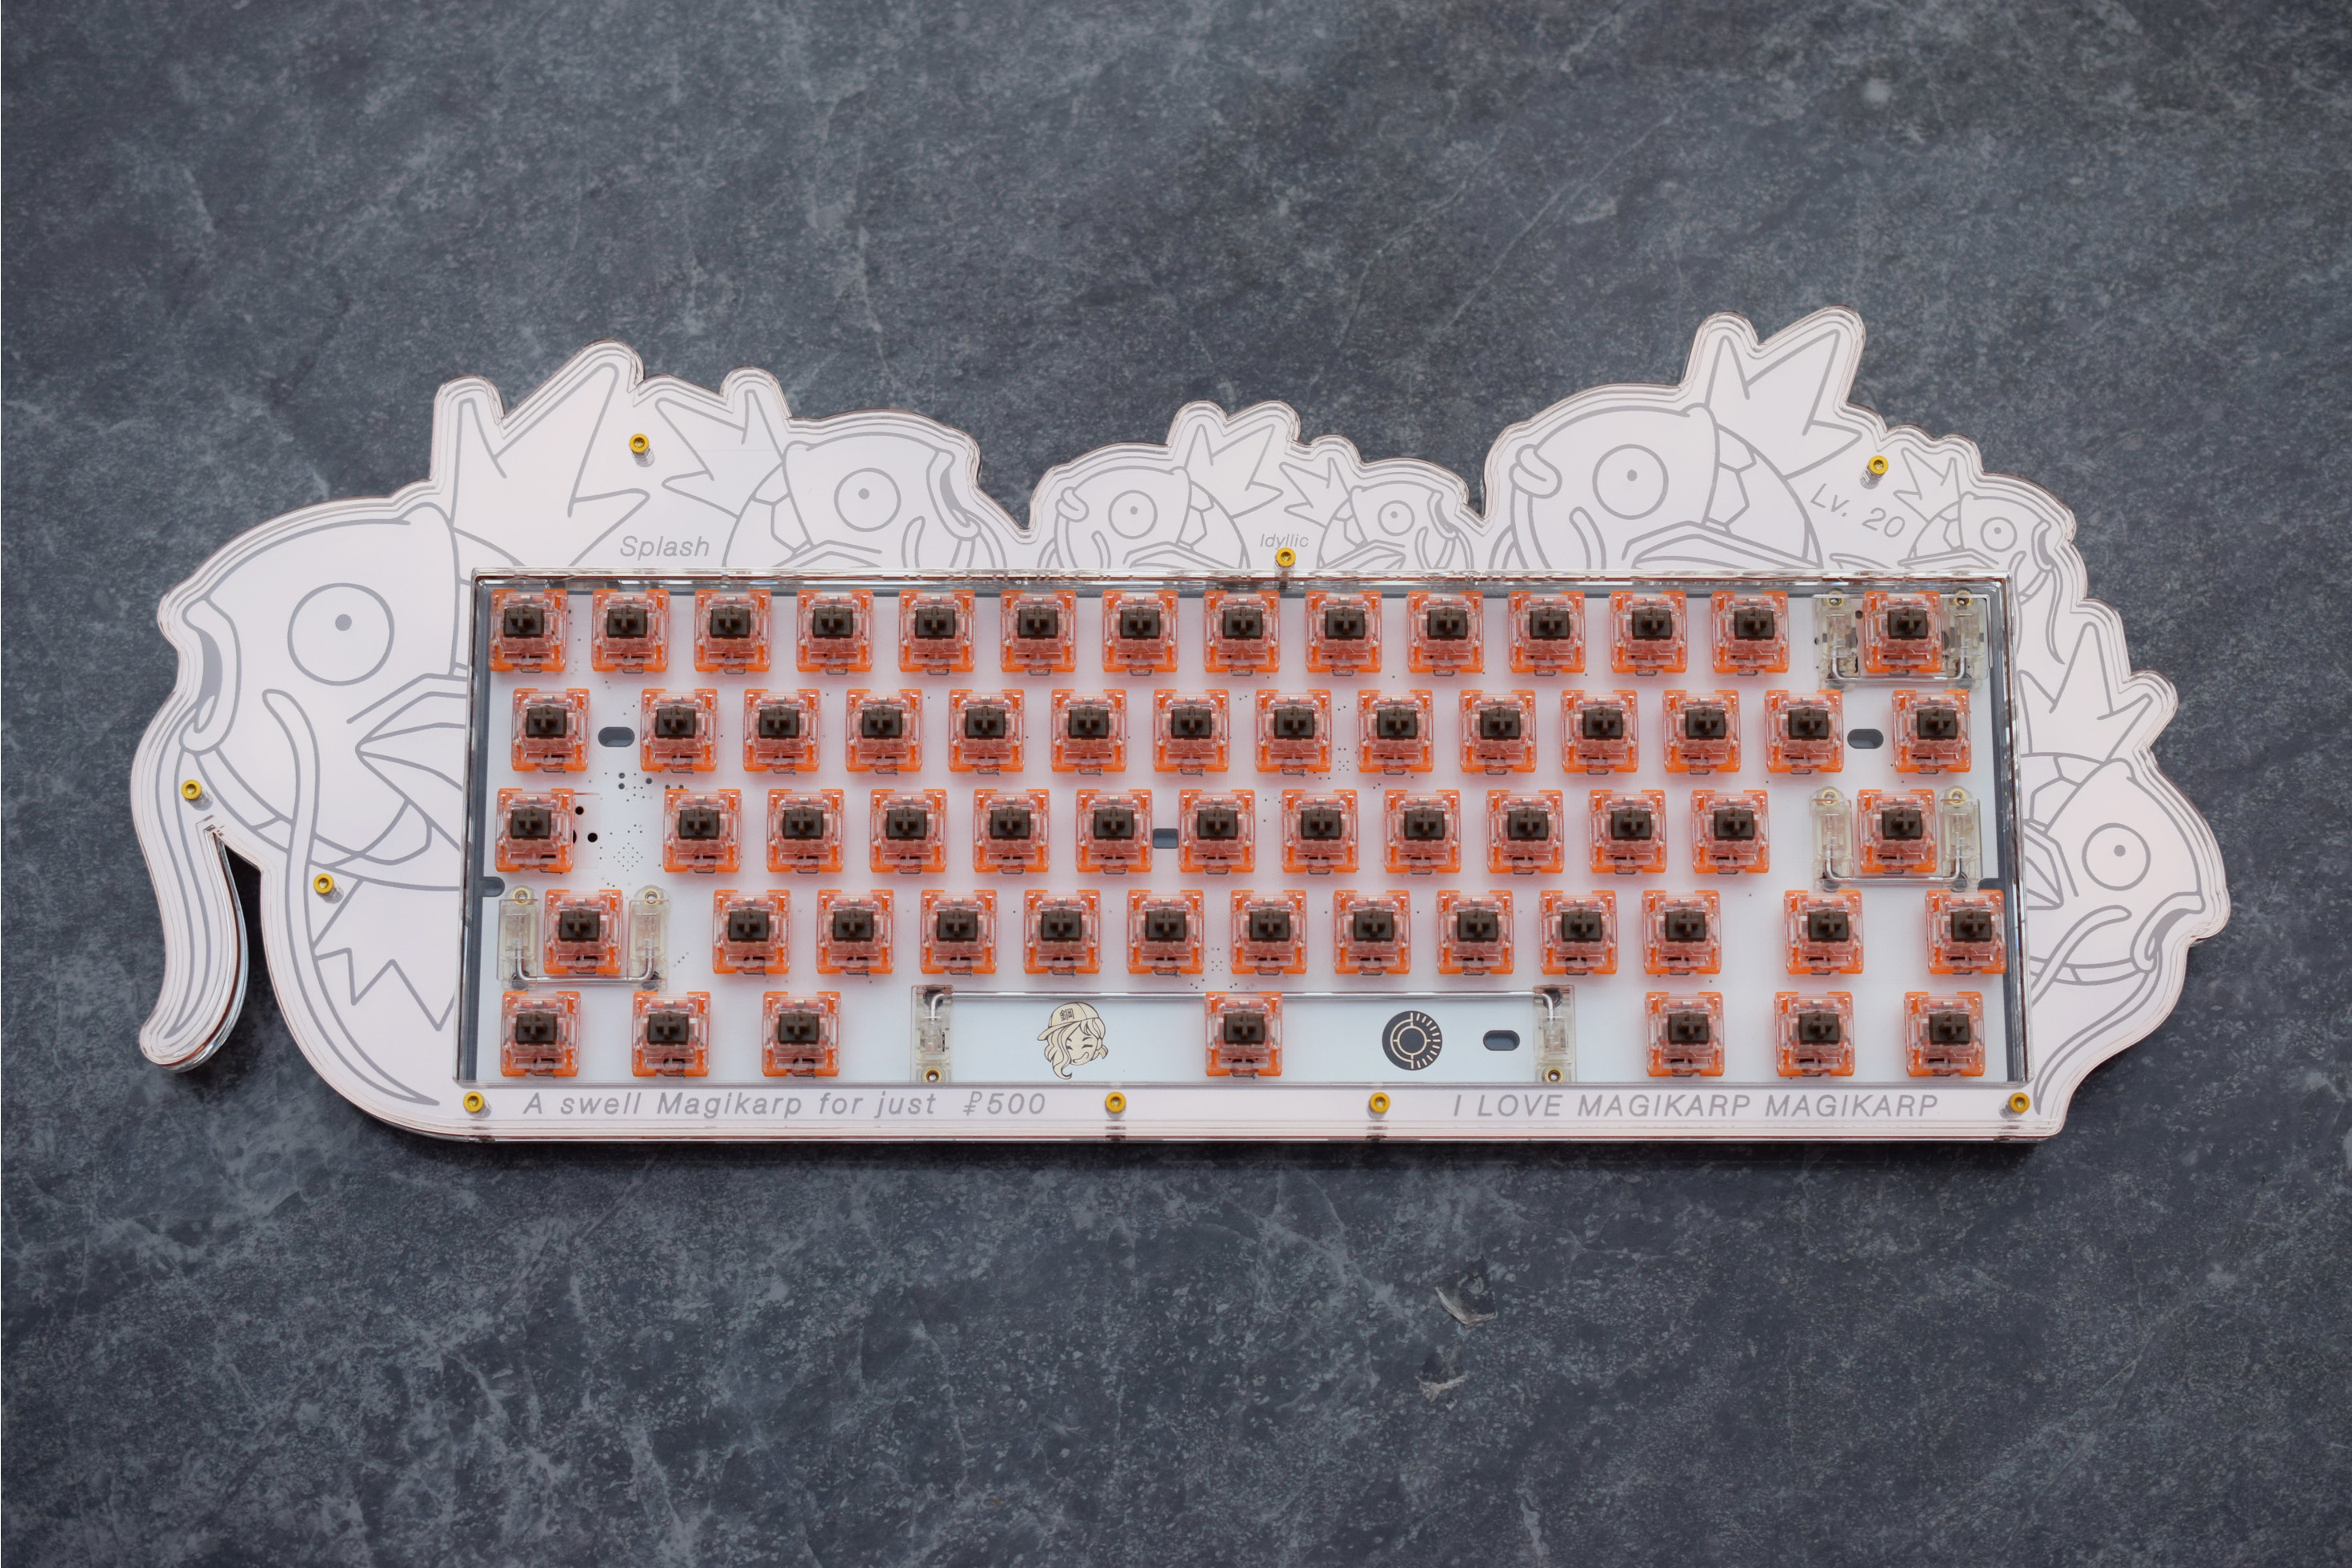
Build Guide with Pictures - Plate and the PCB
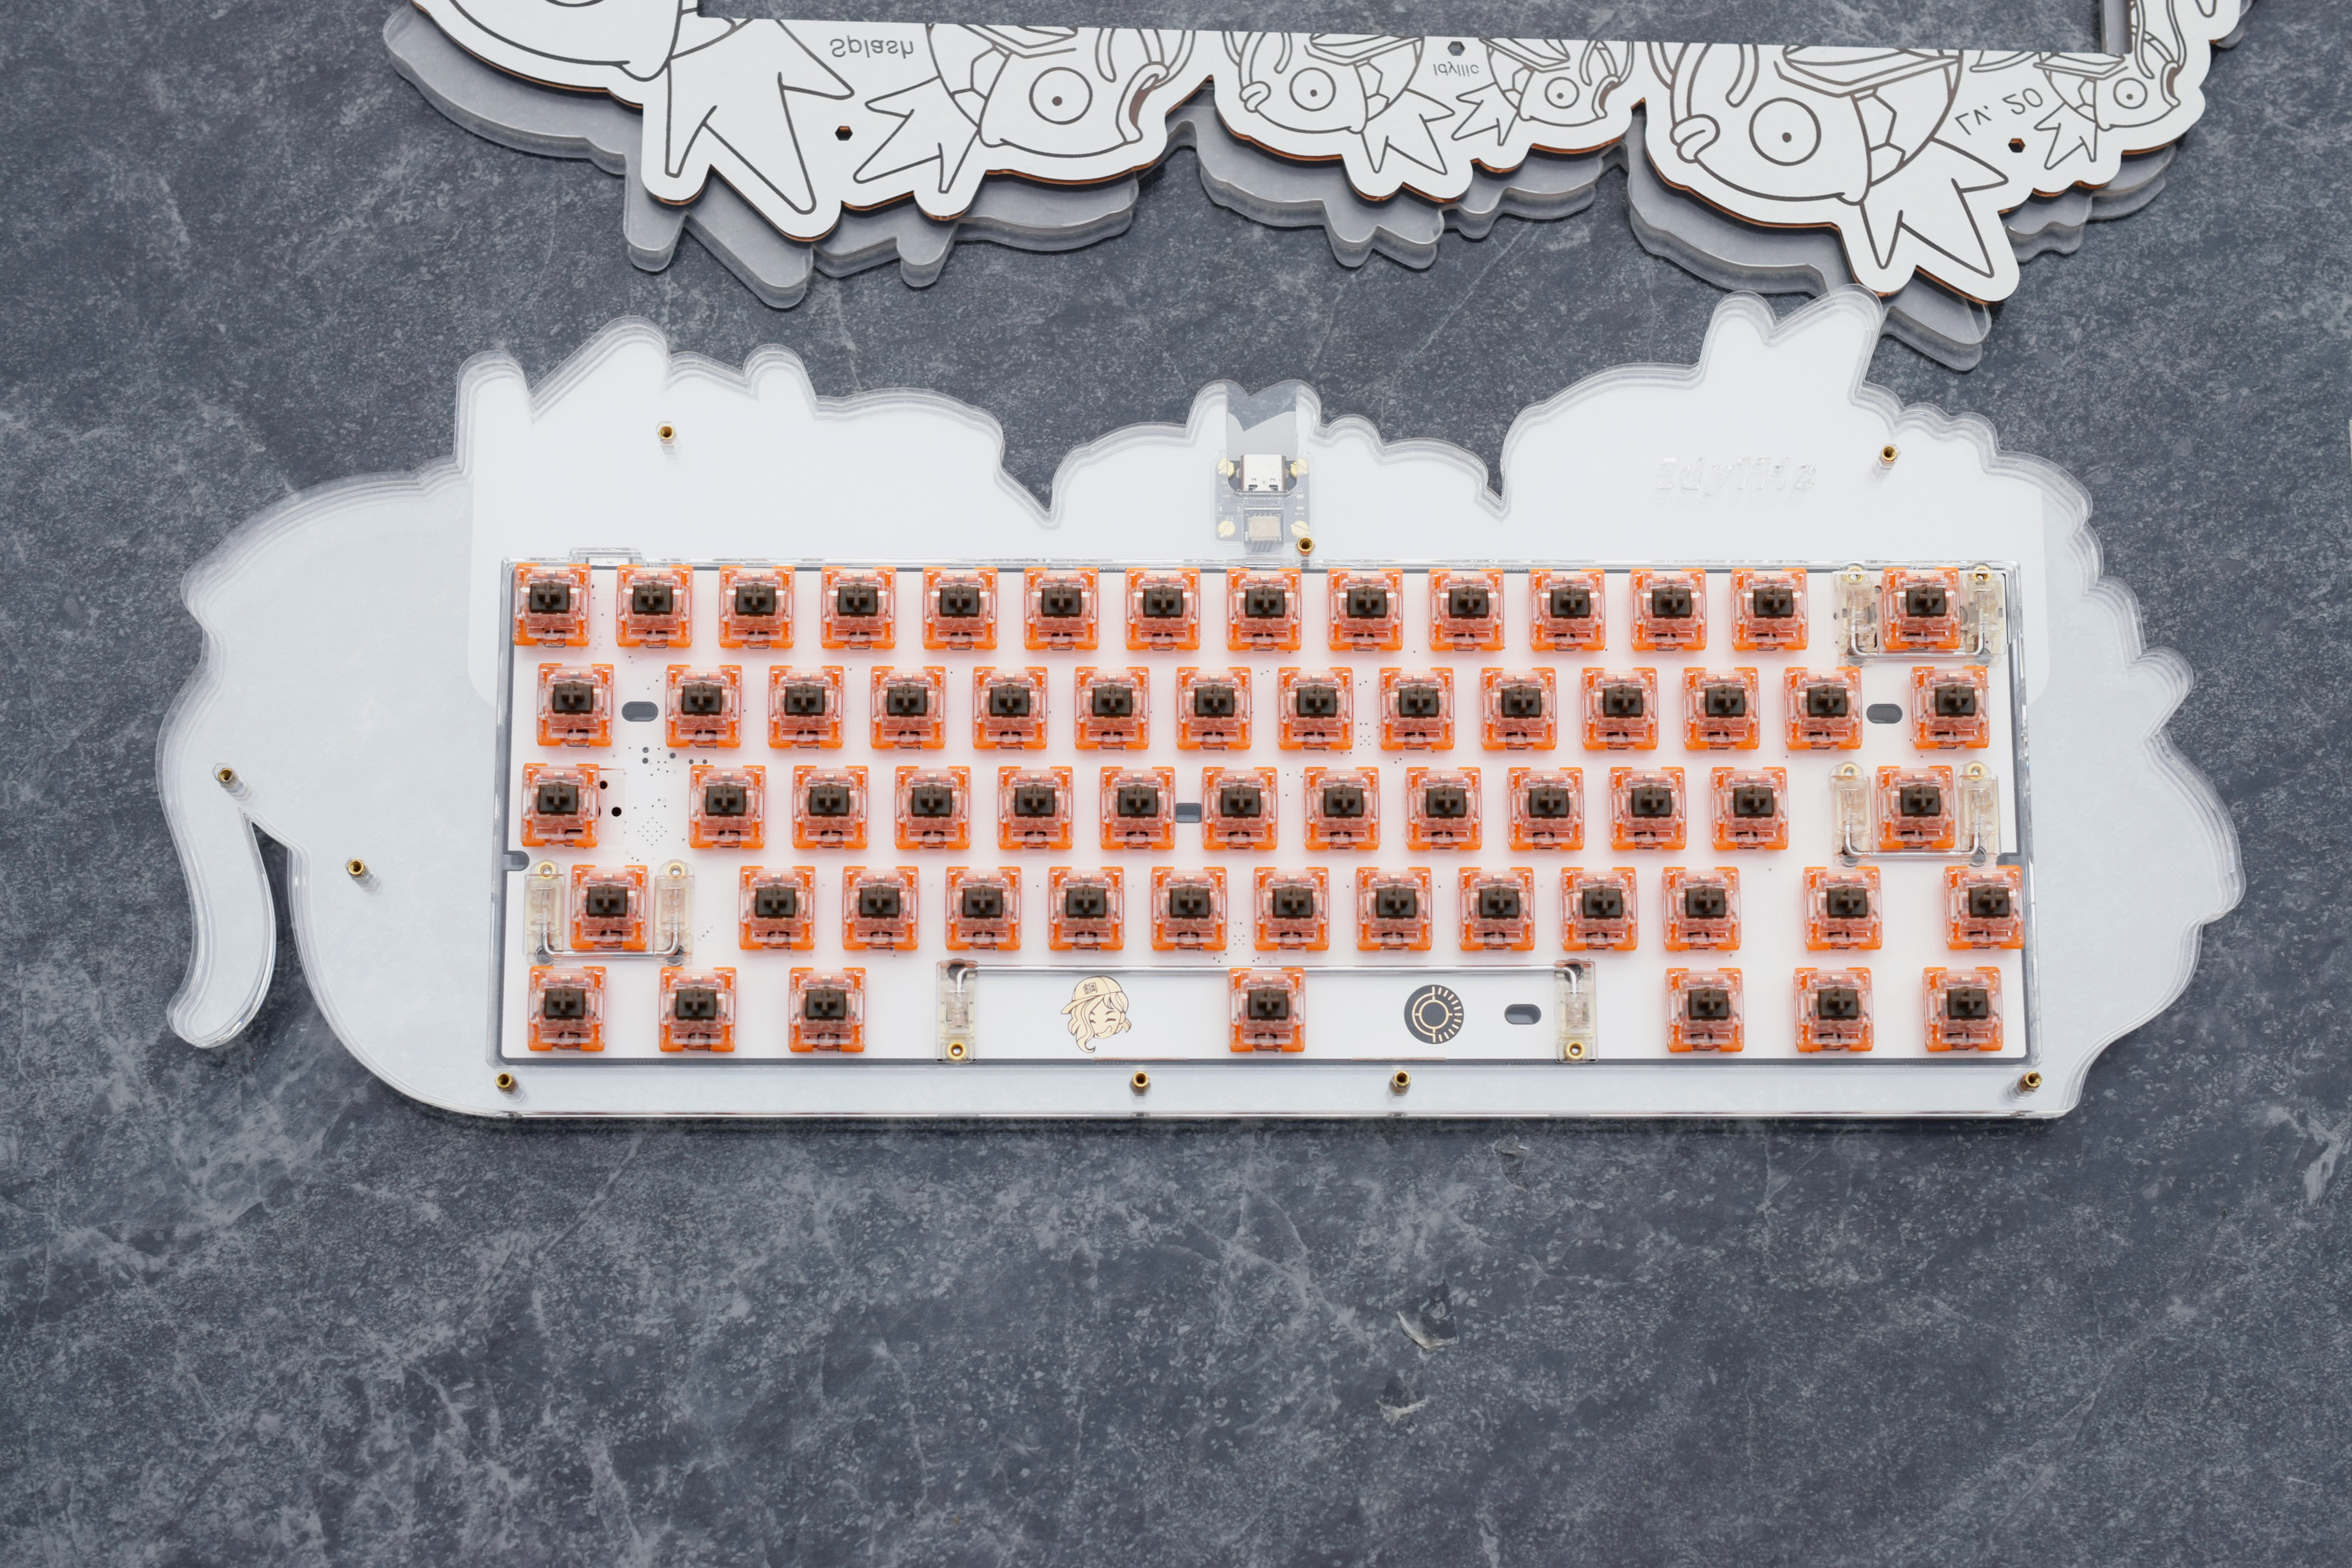
Before we get to the case, I recommend starting with the basic keyboard stuff. i.e. soldering, lubing stabs, testing the PCB, ect.
Only the Acrylic needs to be peeled; the Polypropylene plate does not need peeling.
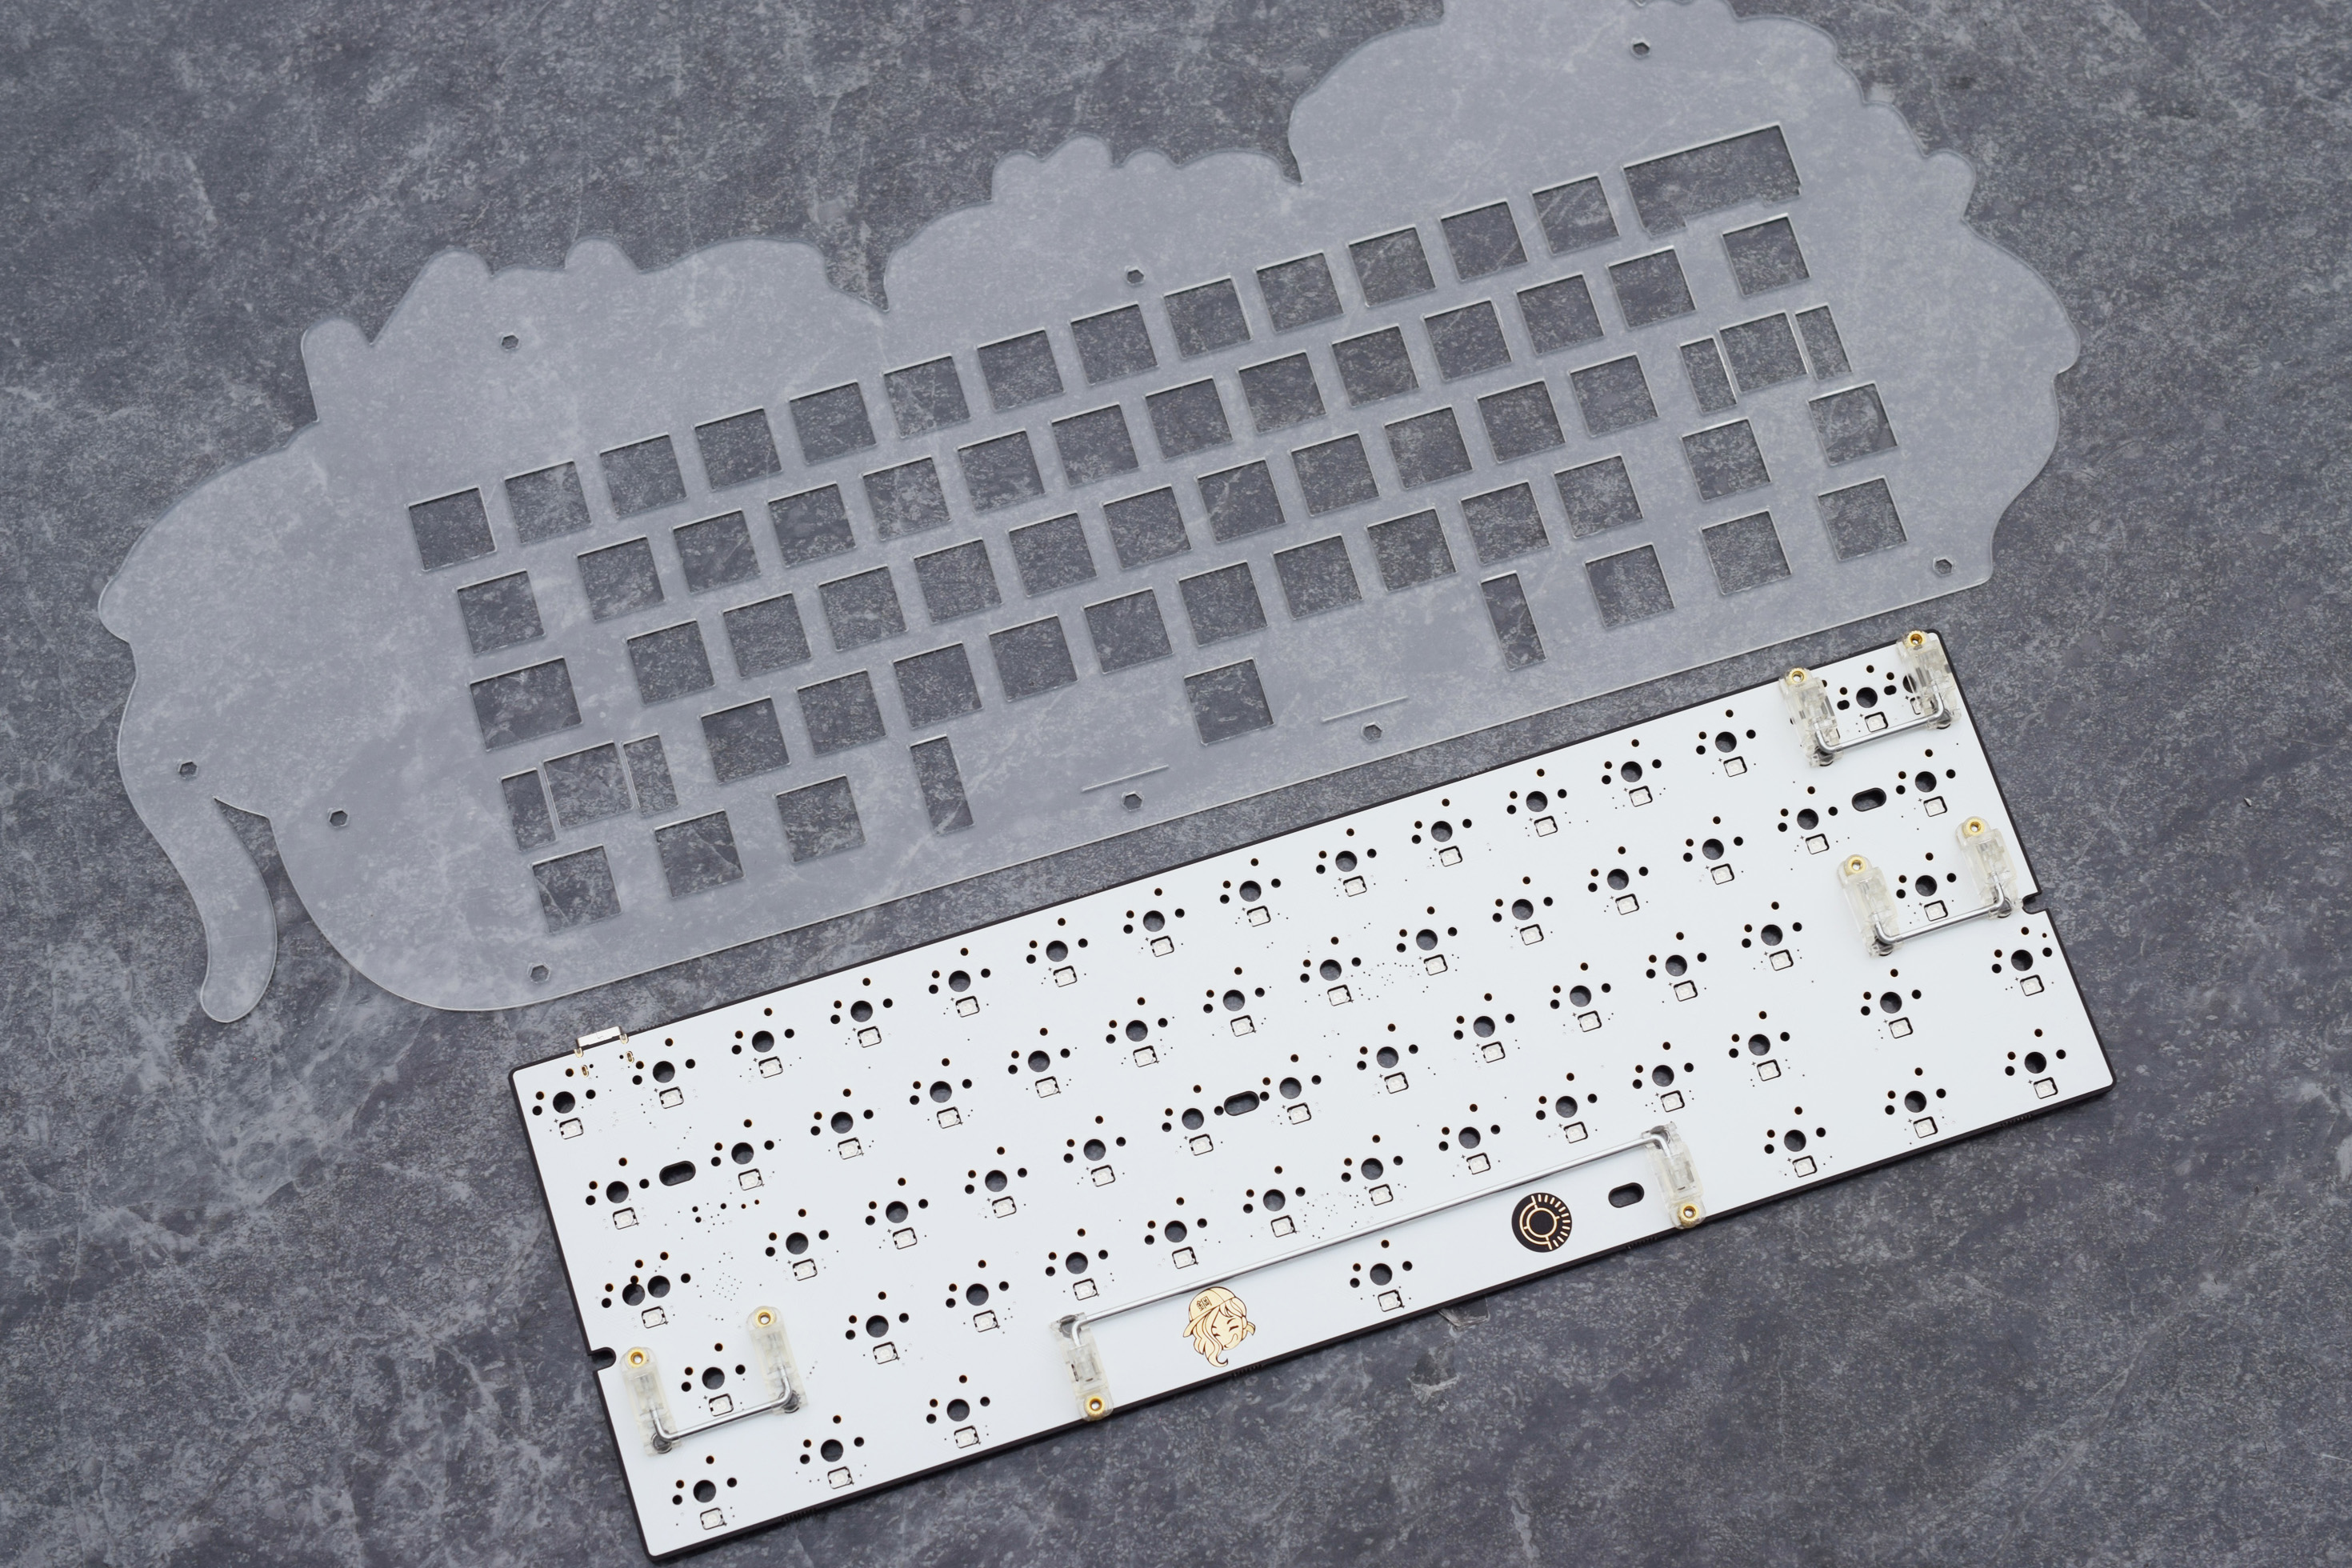
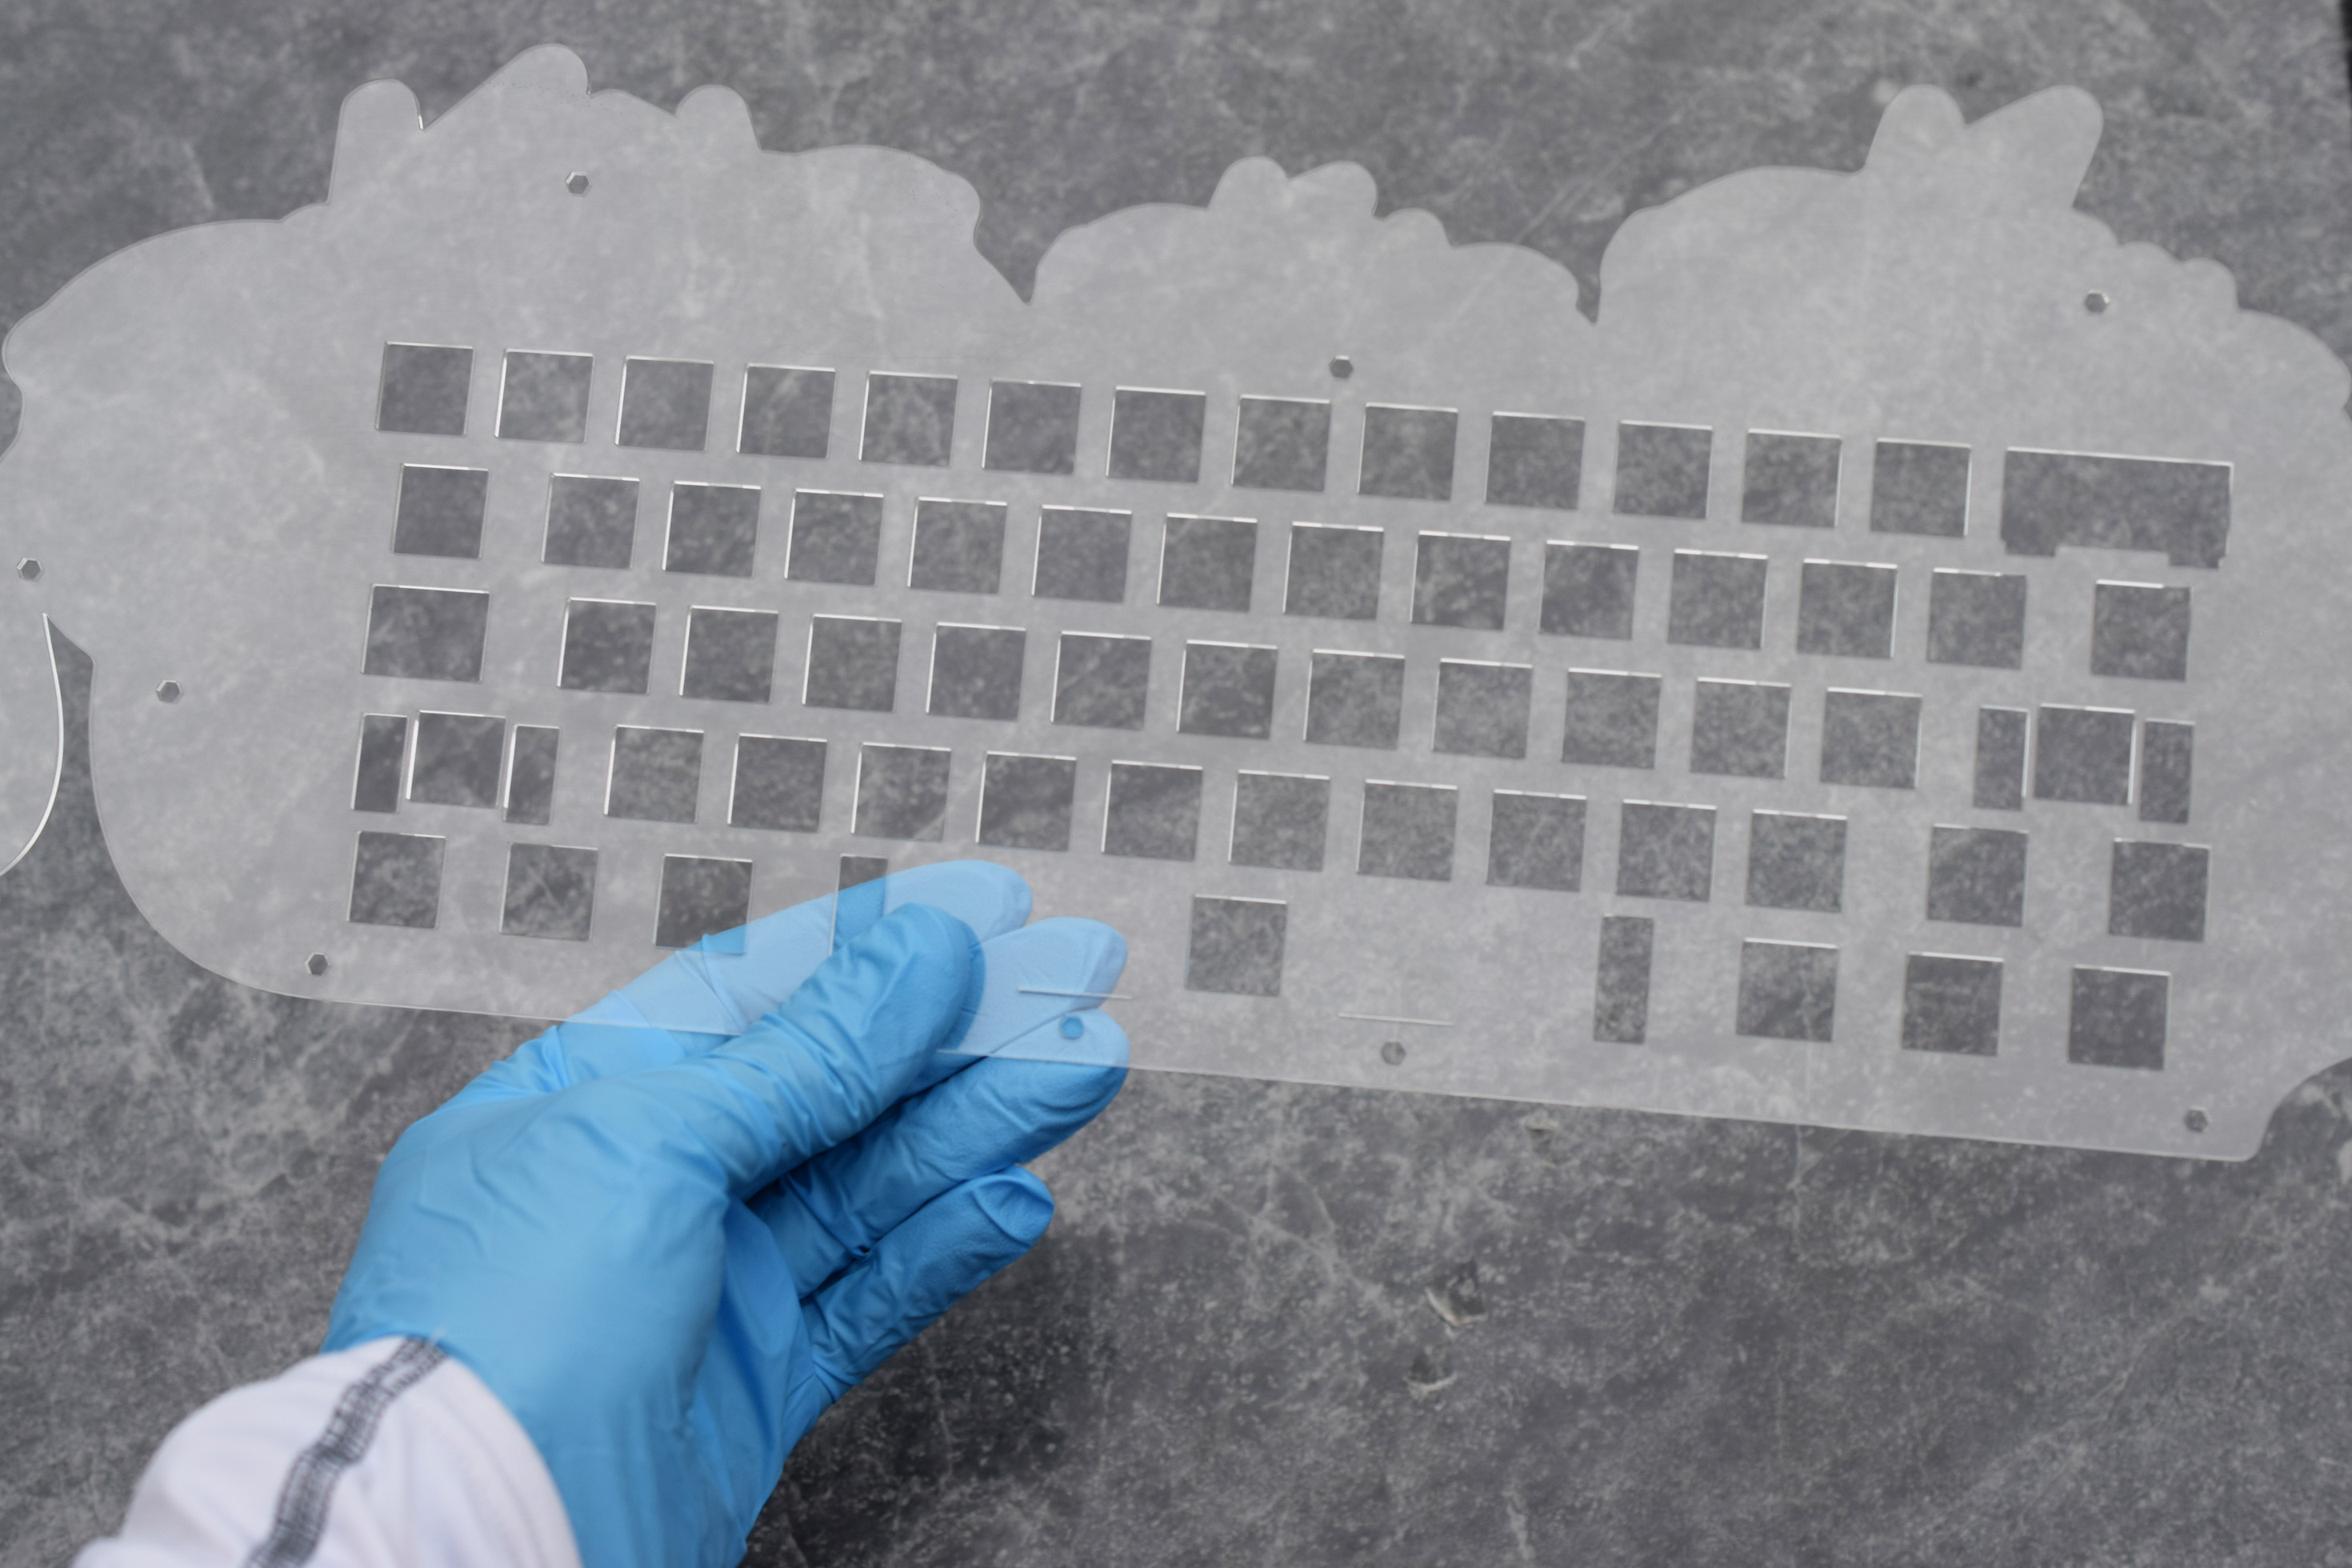
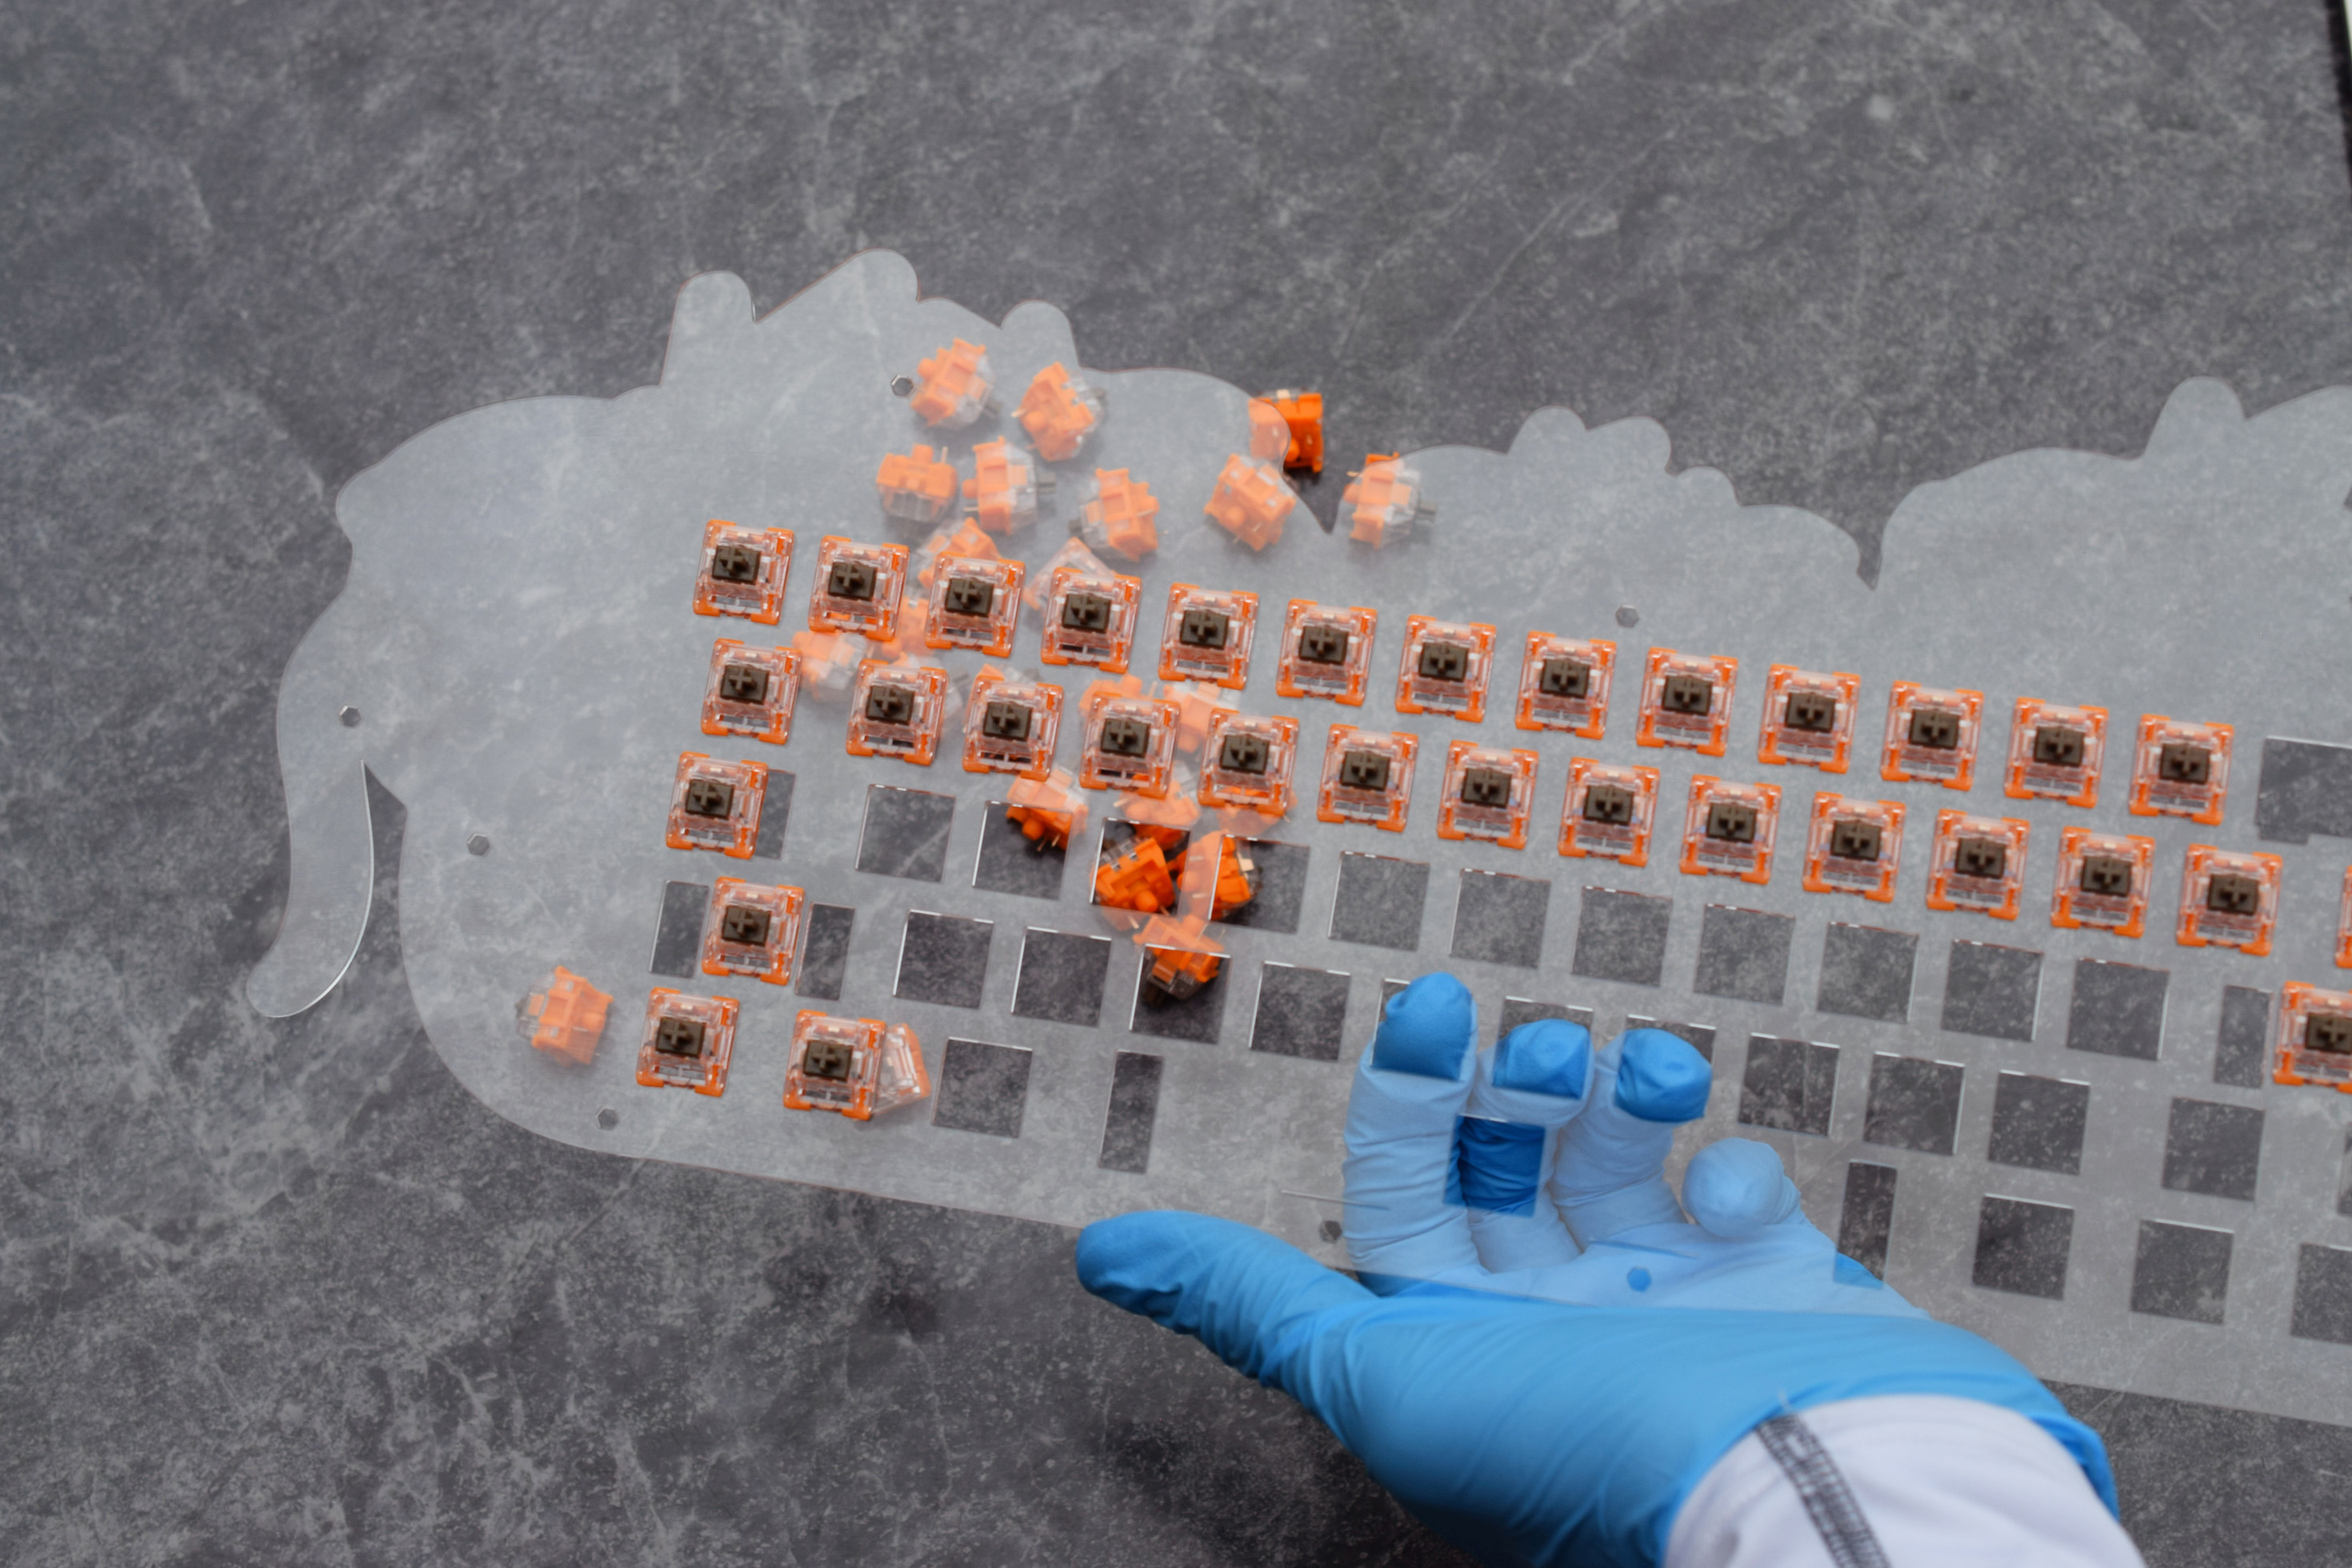
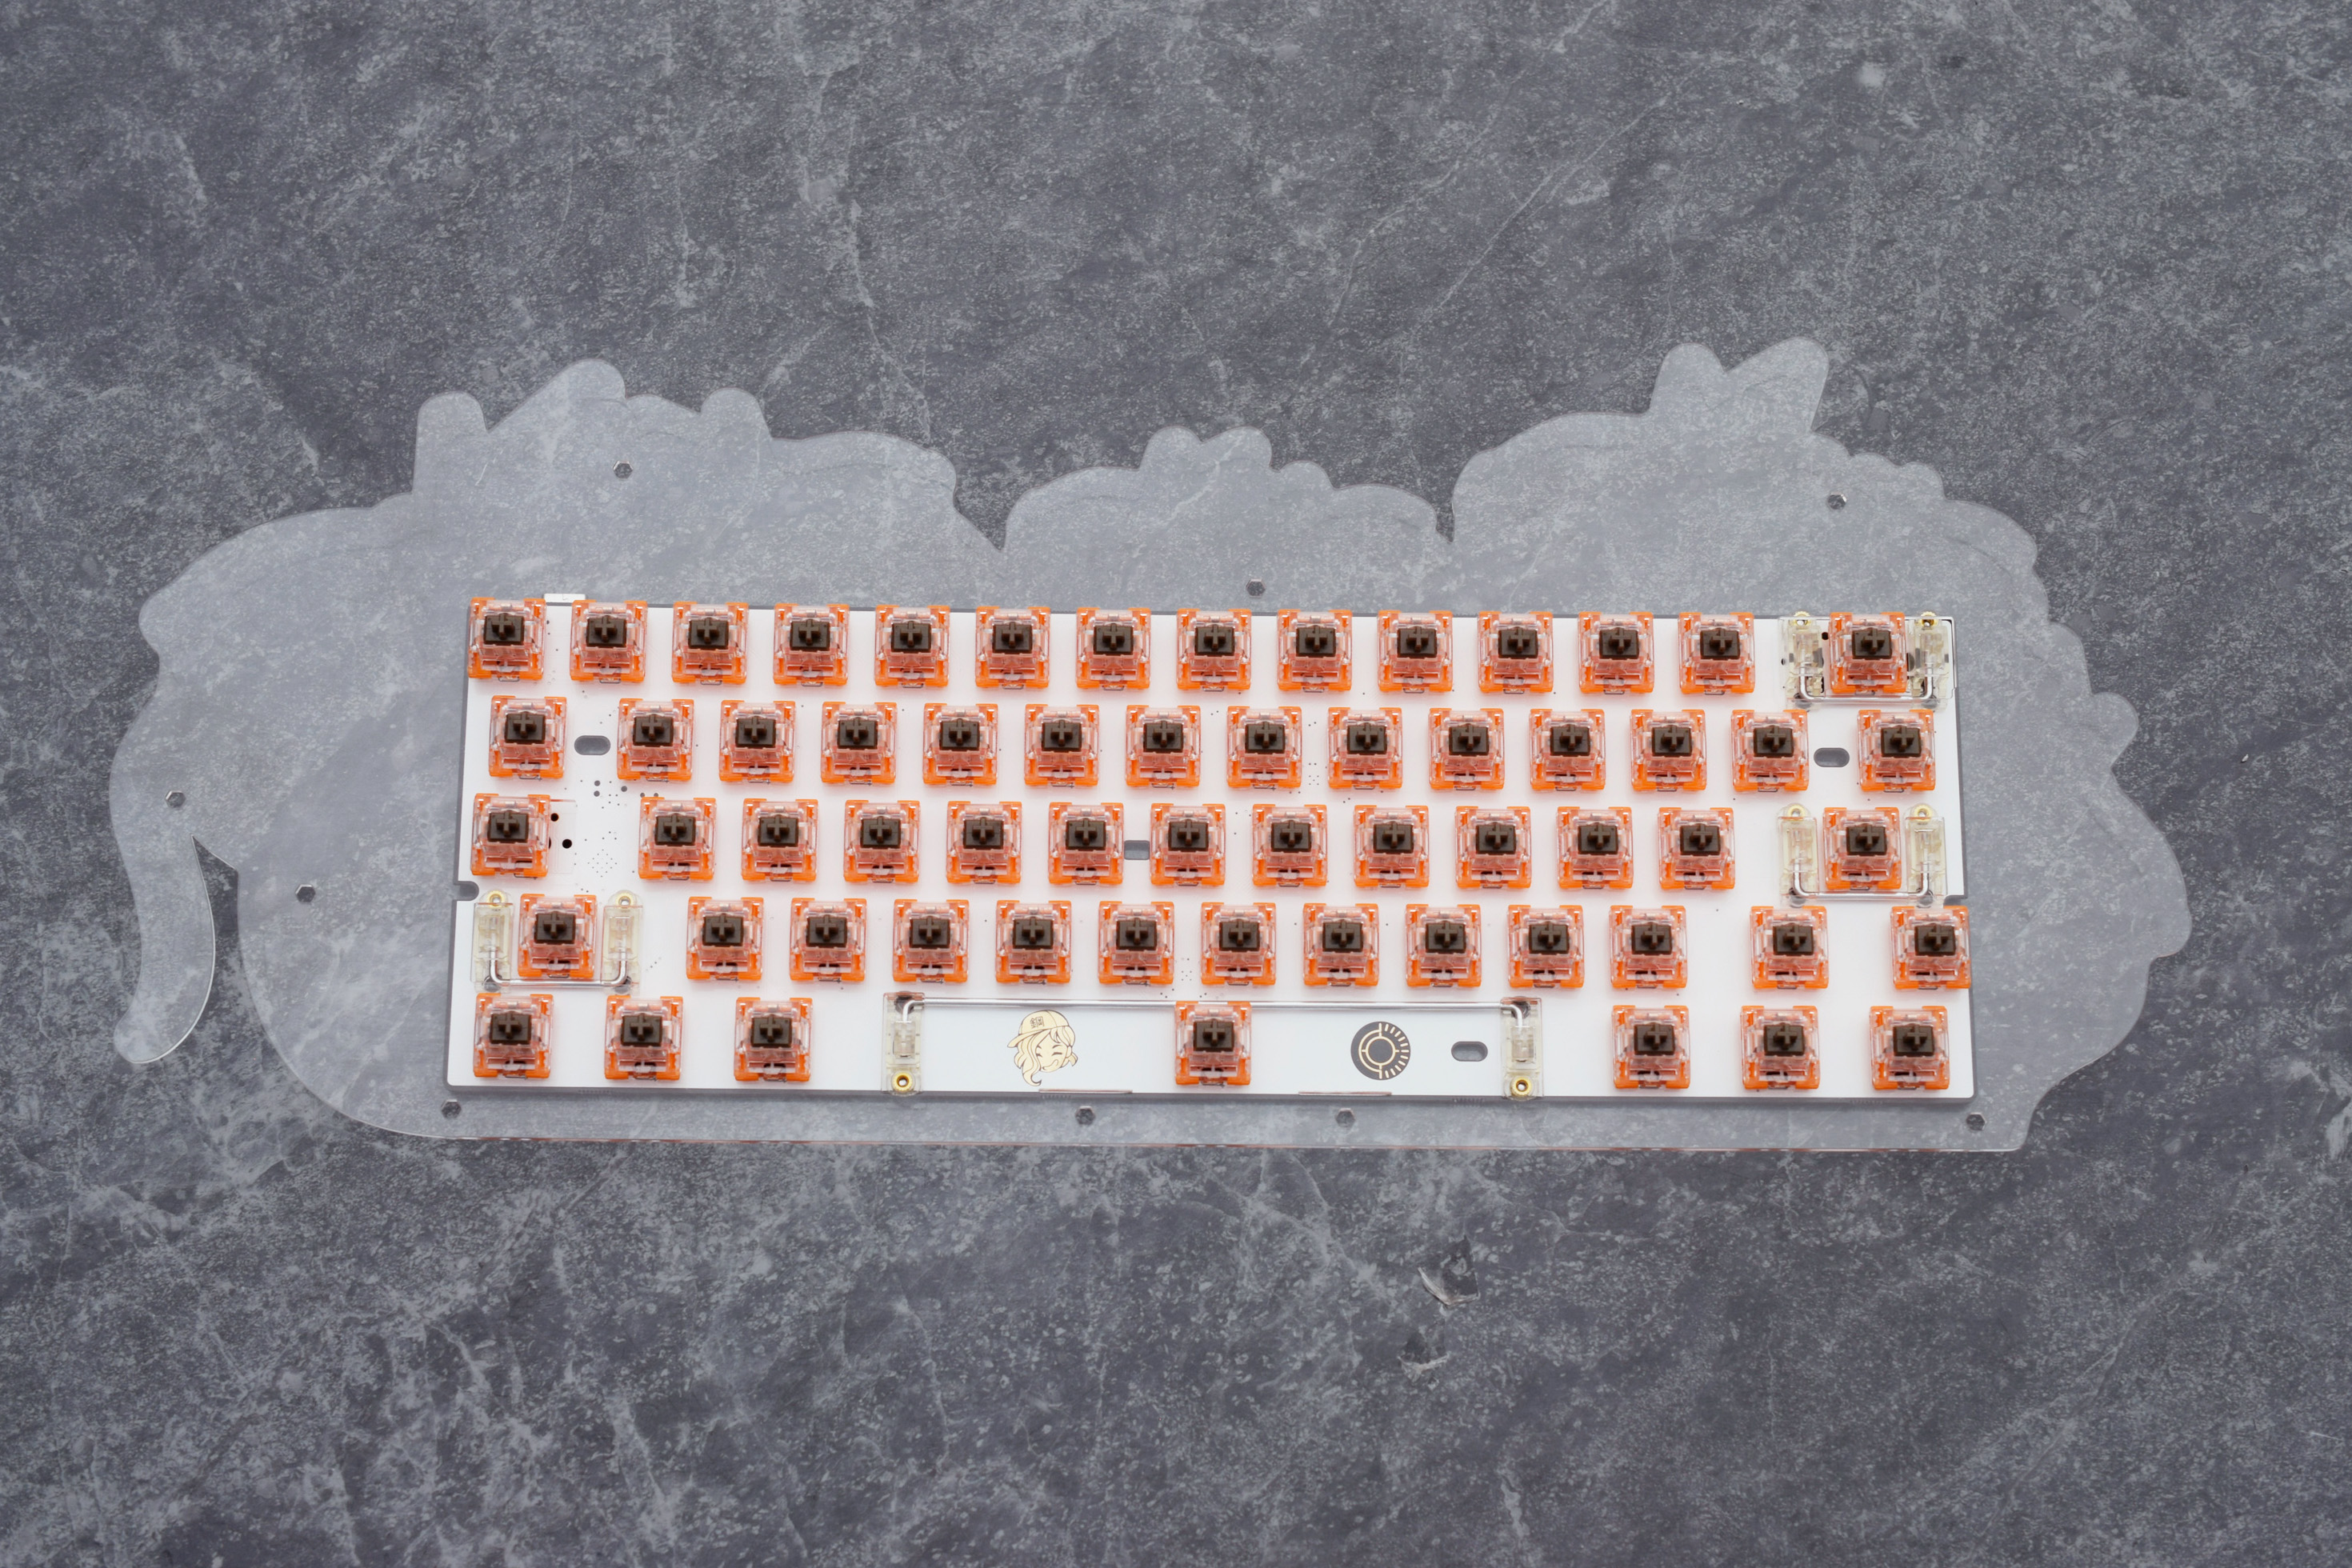
I prefer putting the switches into the plate first, before lowering it into the PCB.
If you are having difficulties with the plate, use the included support fork.
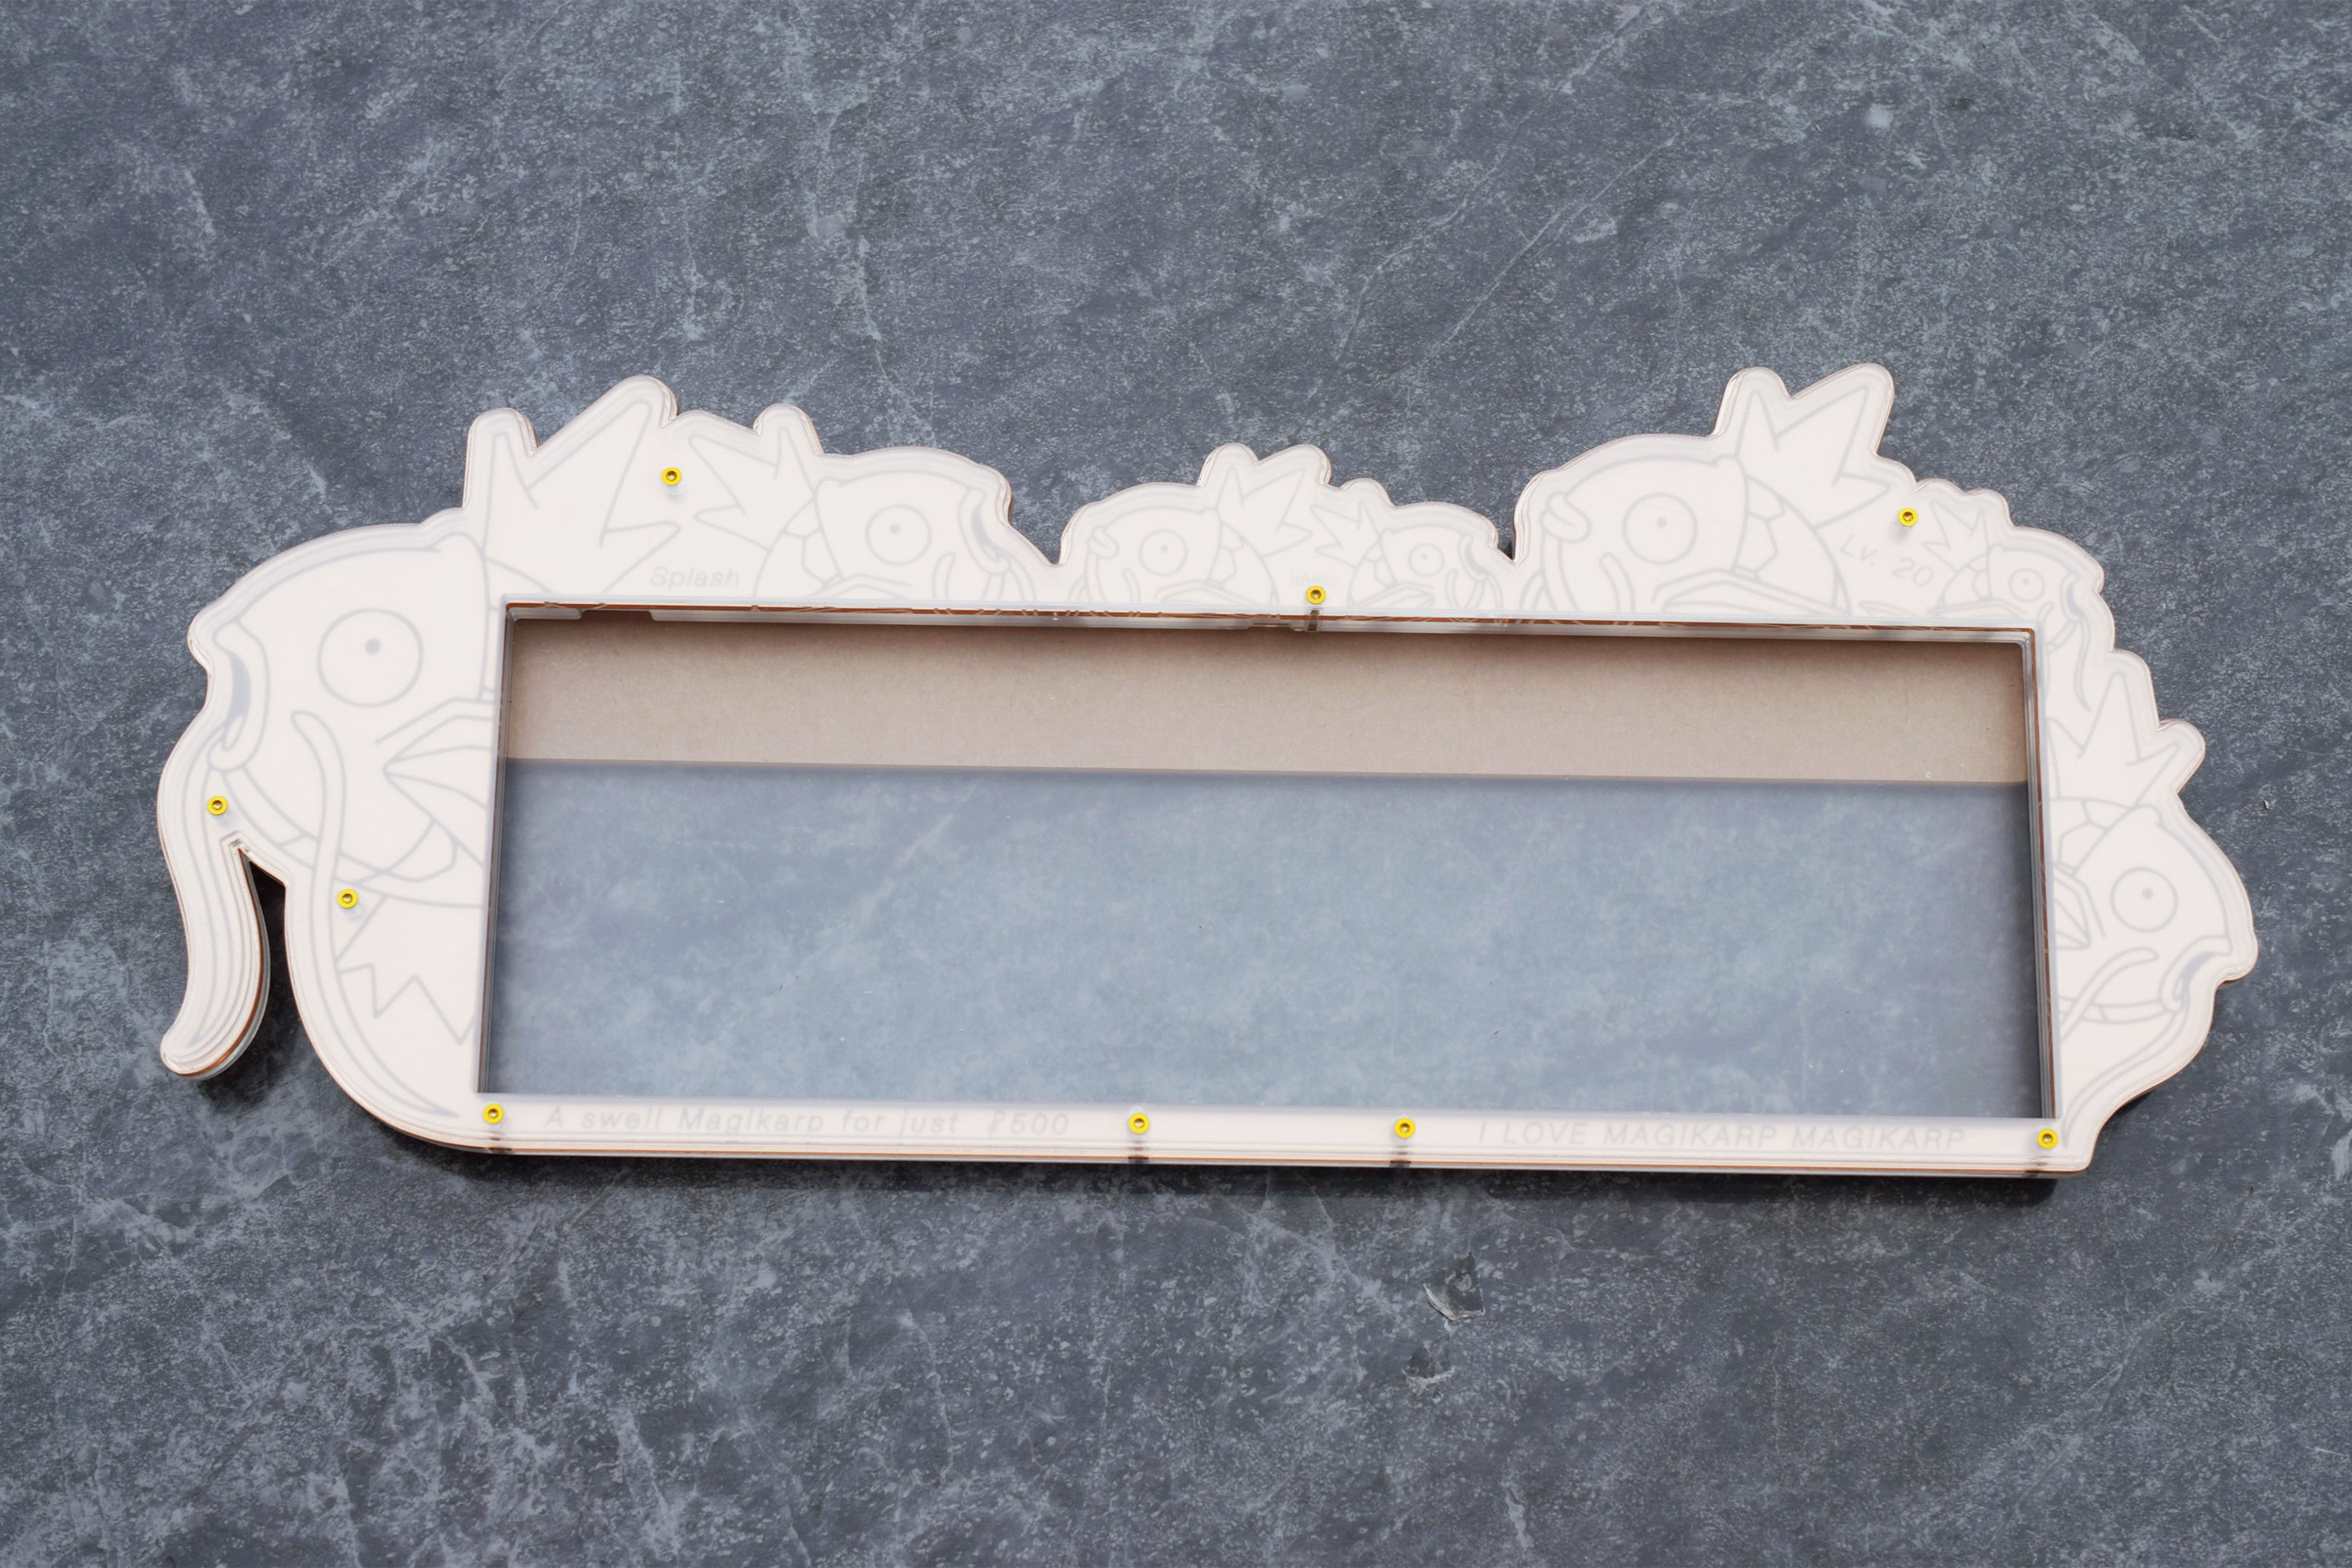
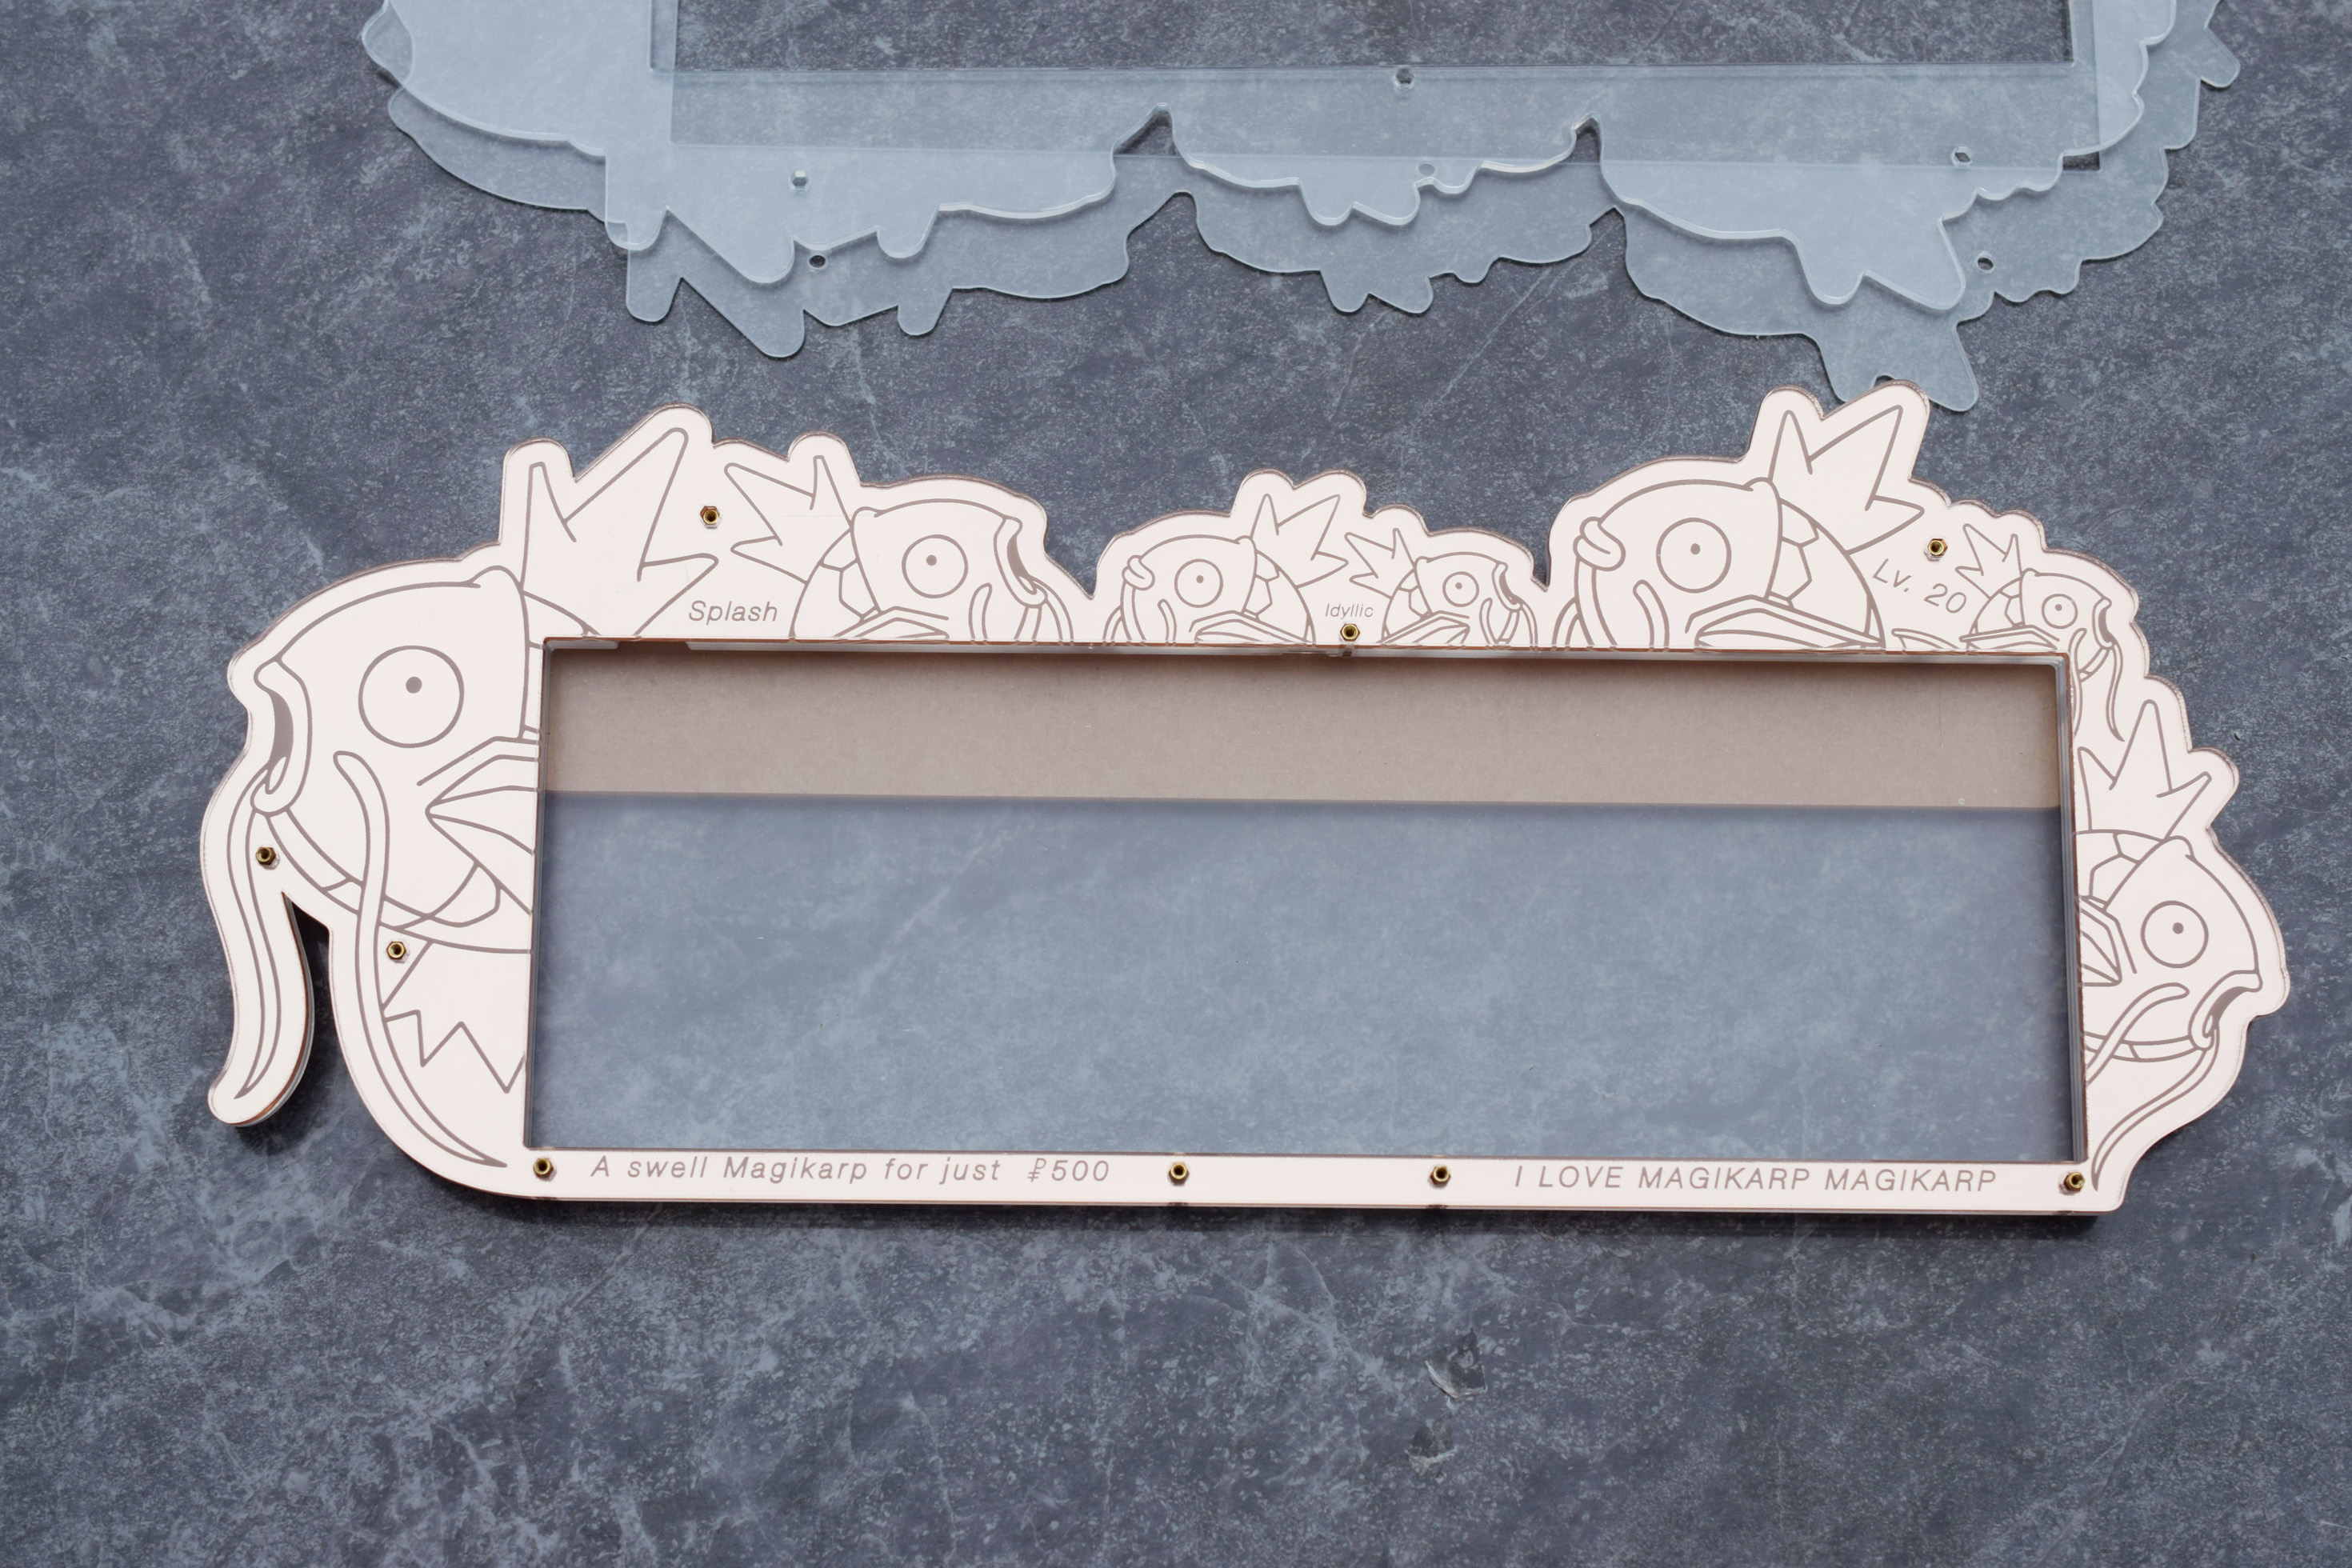
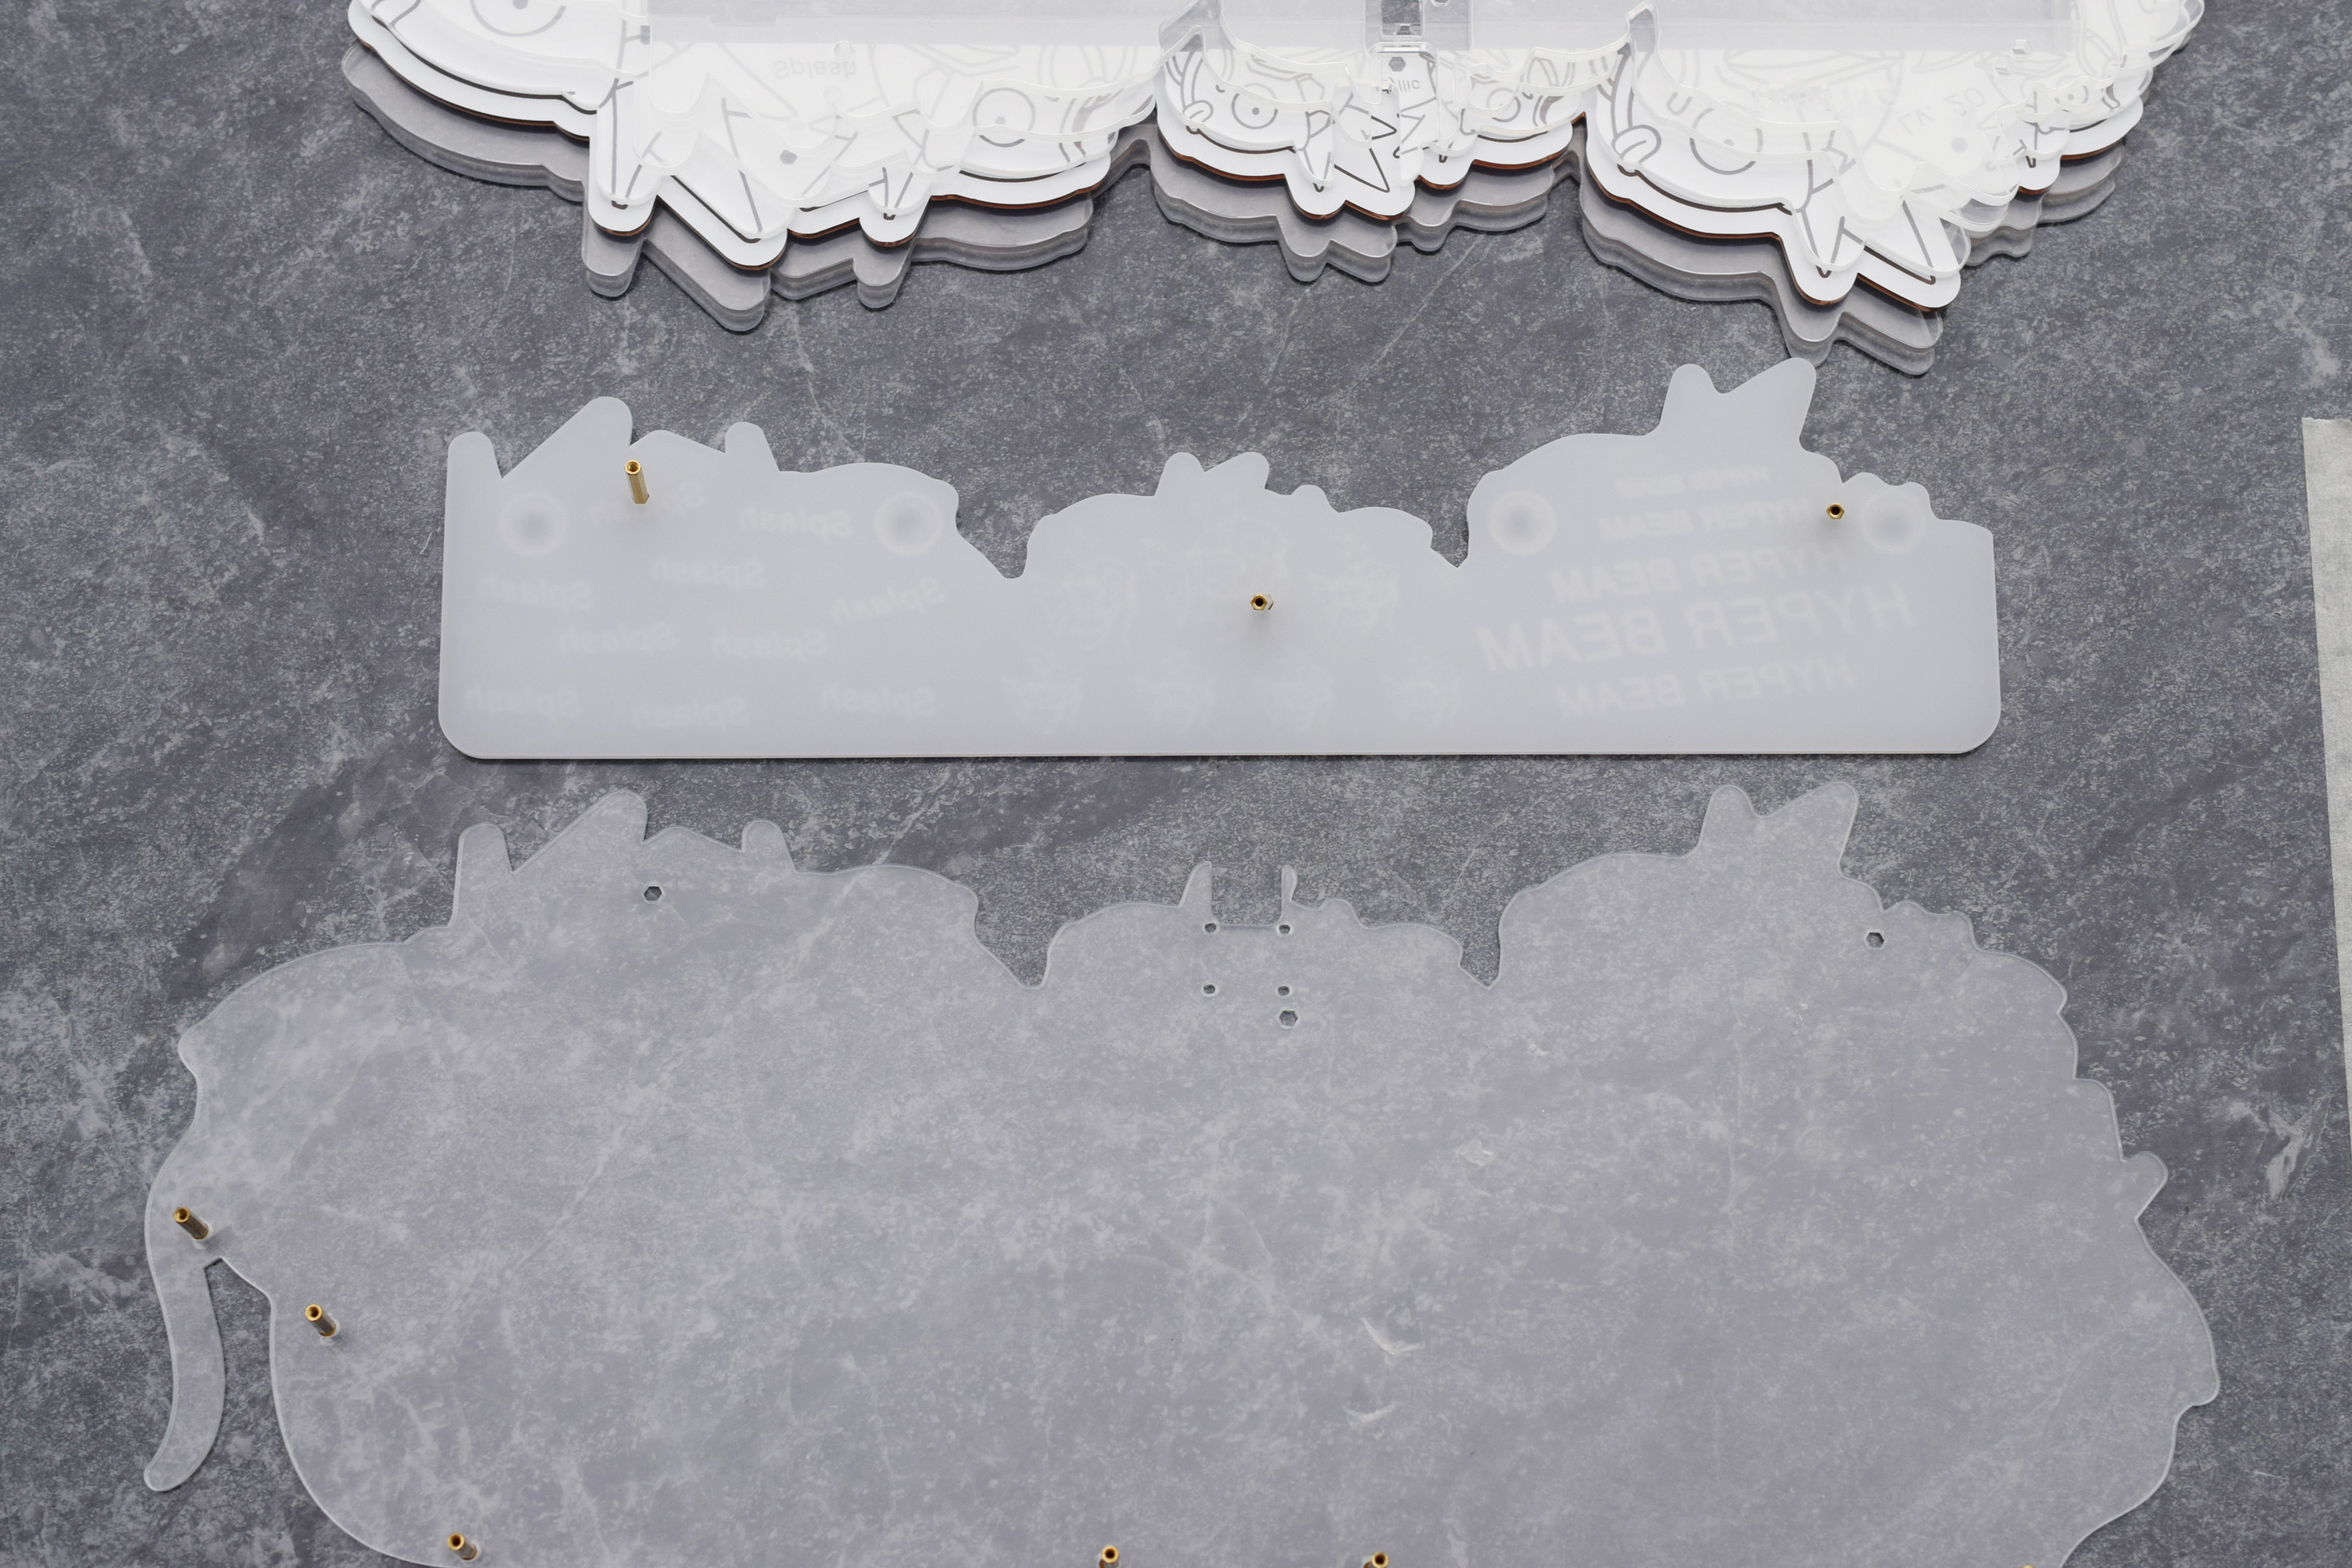
Build Guide with Pictures - Main Case Teardown
Unscrew the case and begin to remove al the layers while keeping note of where each piece belongs in the stack.
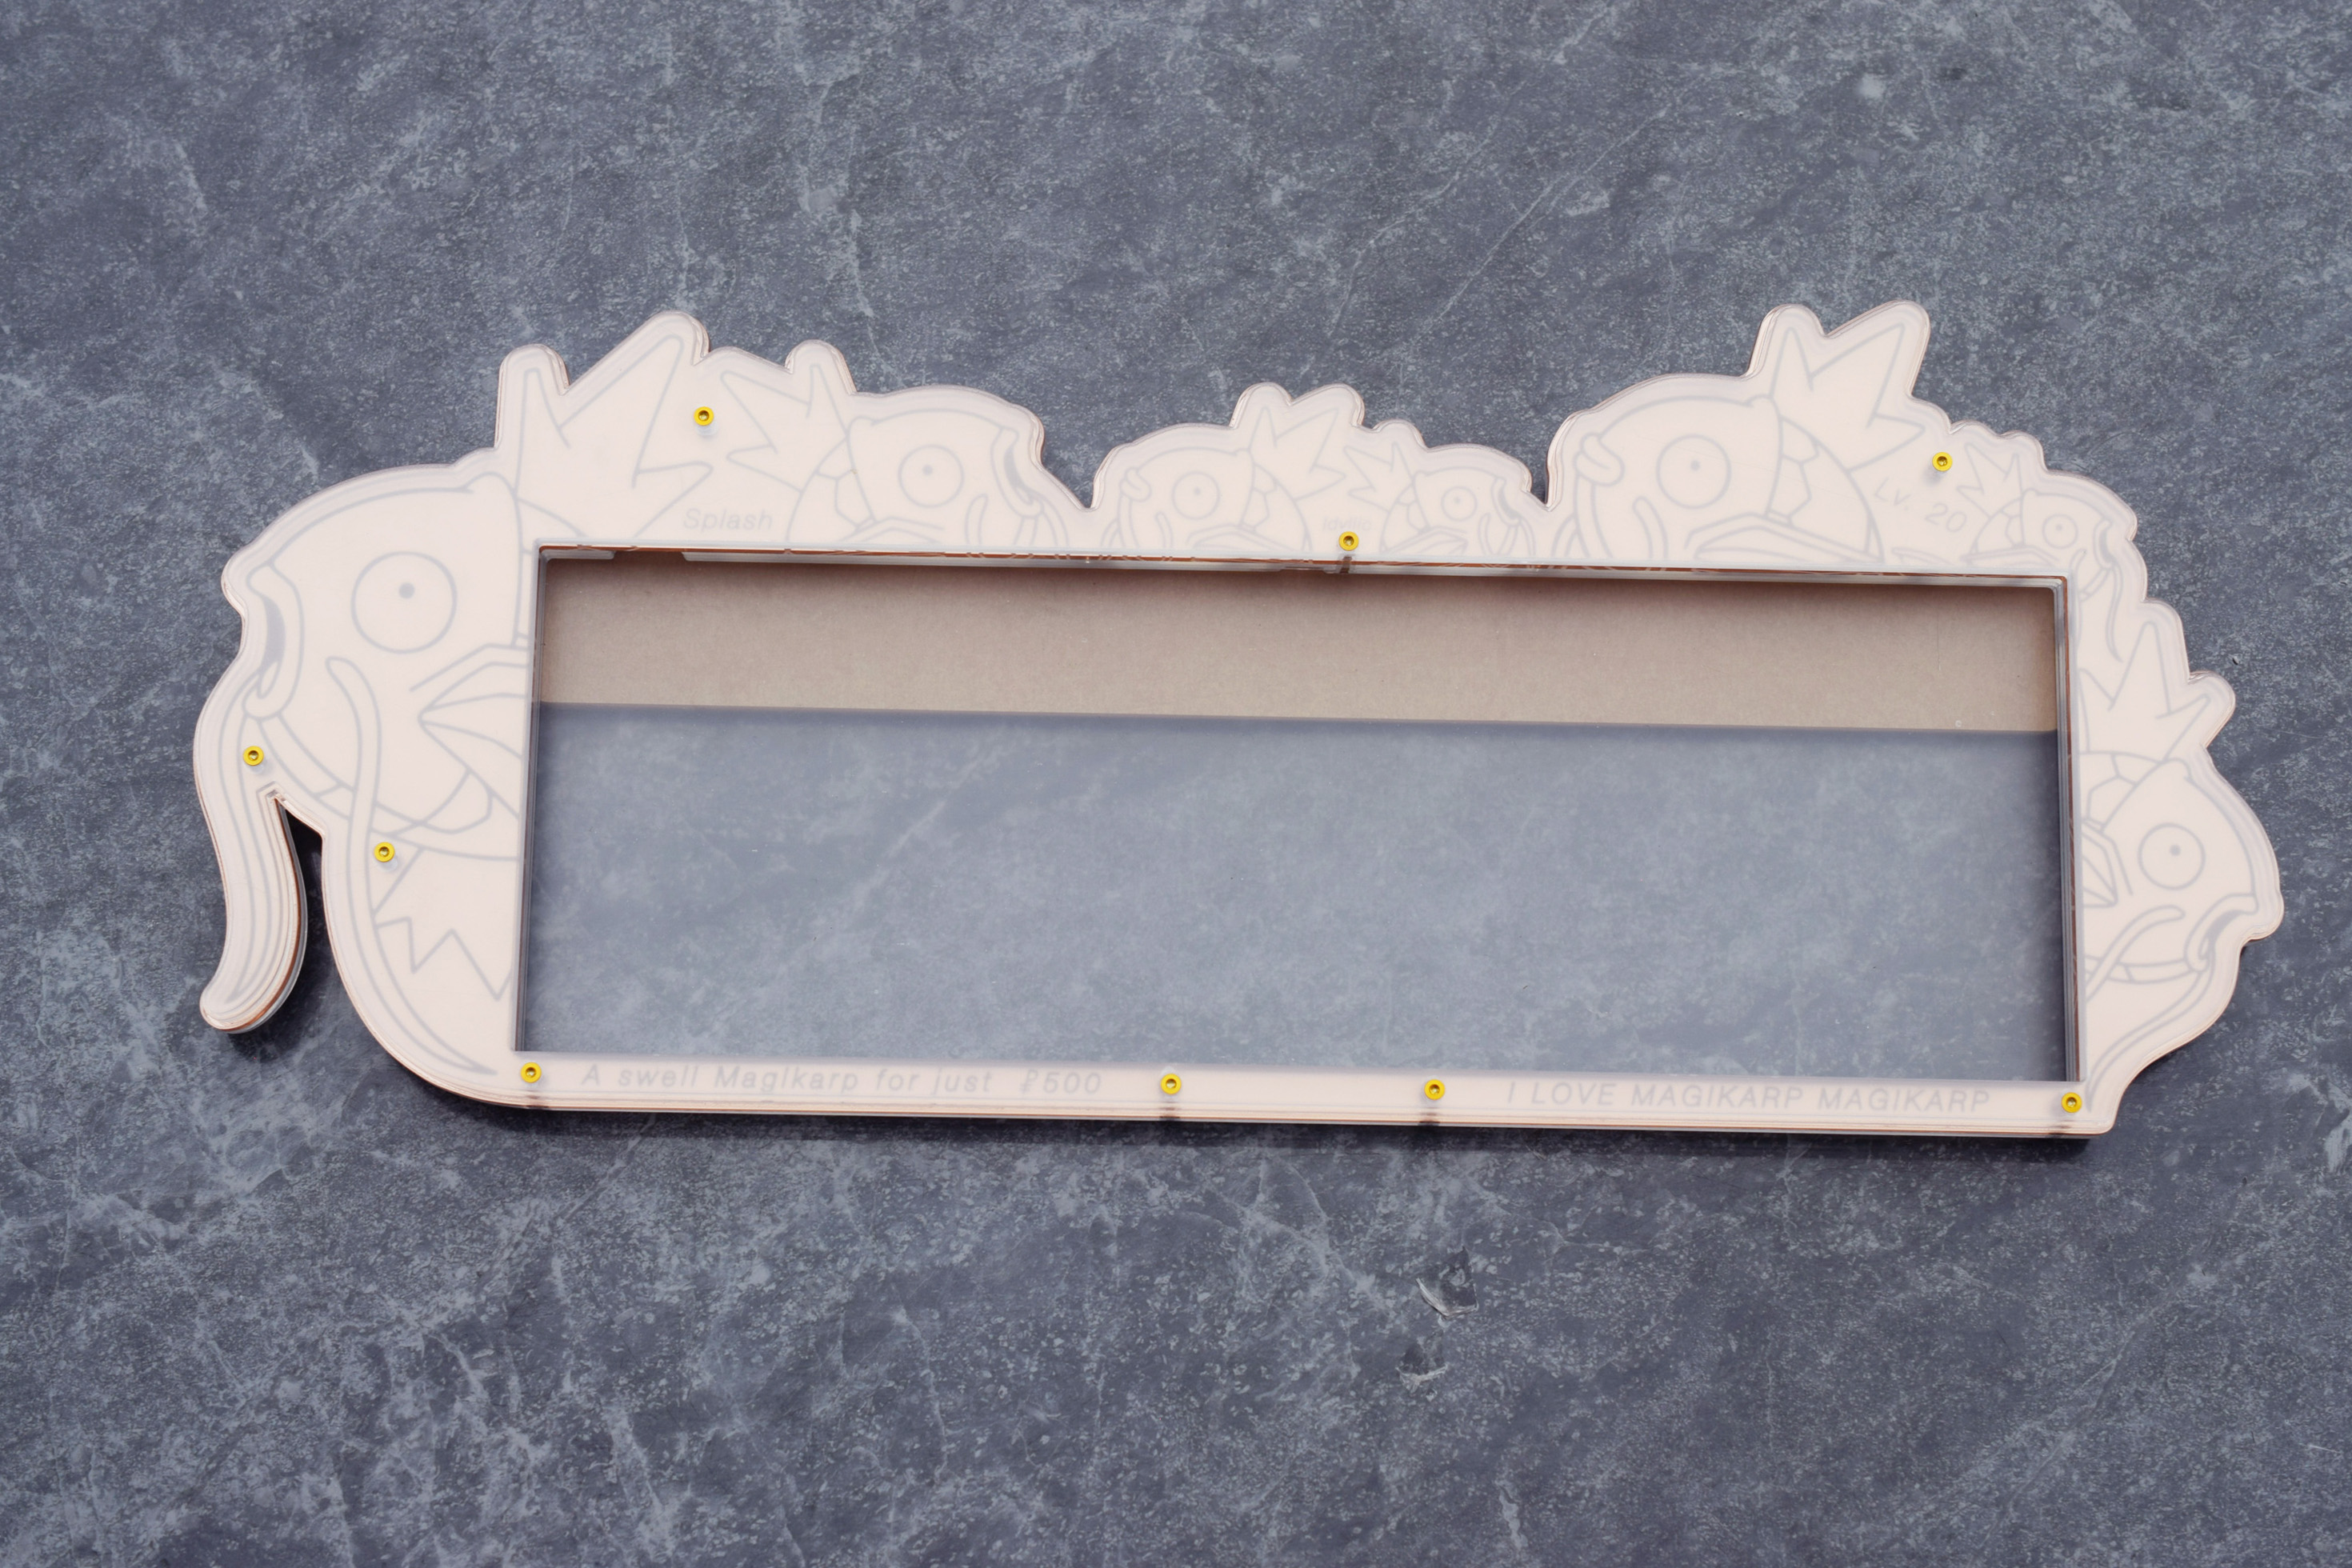
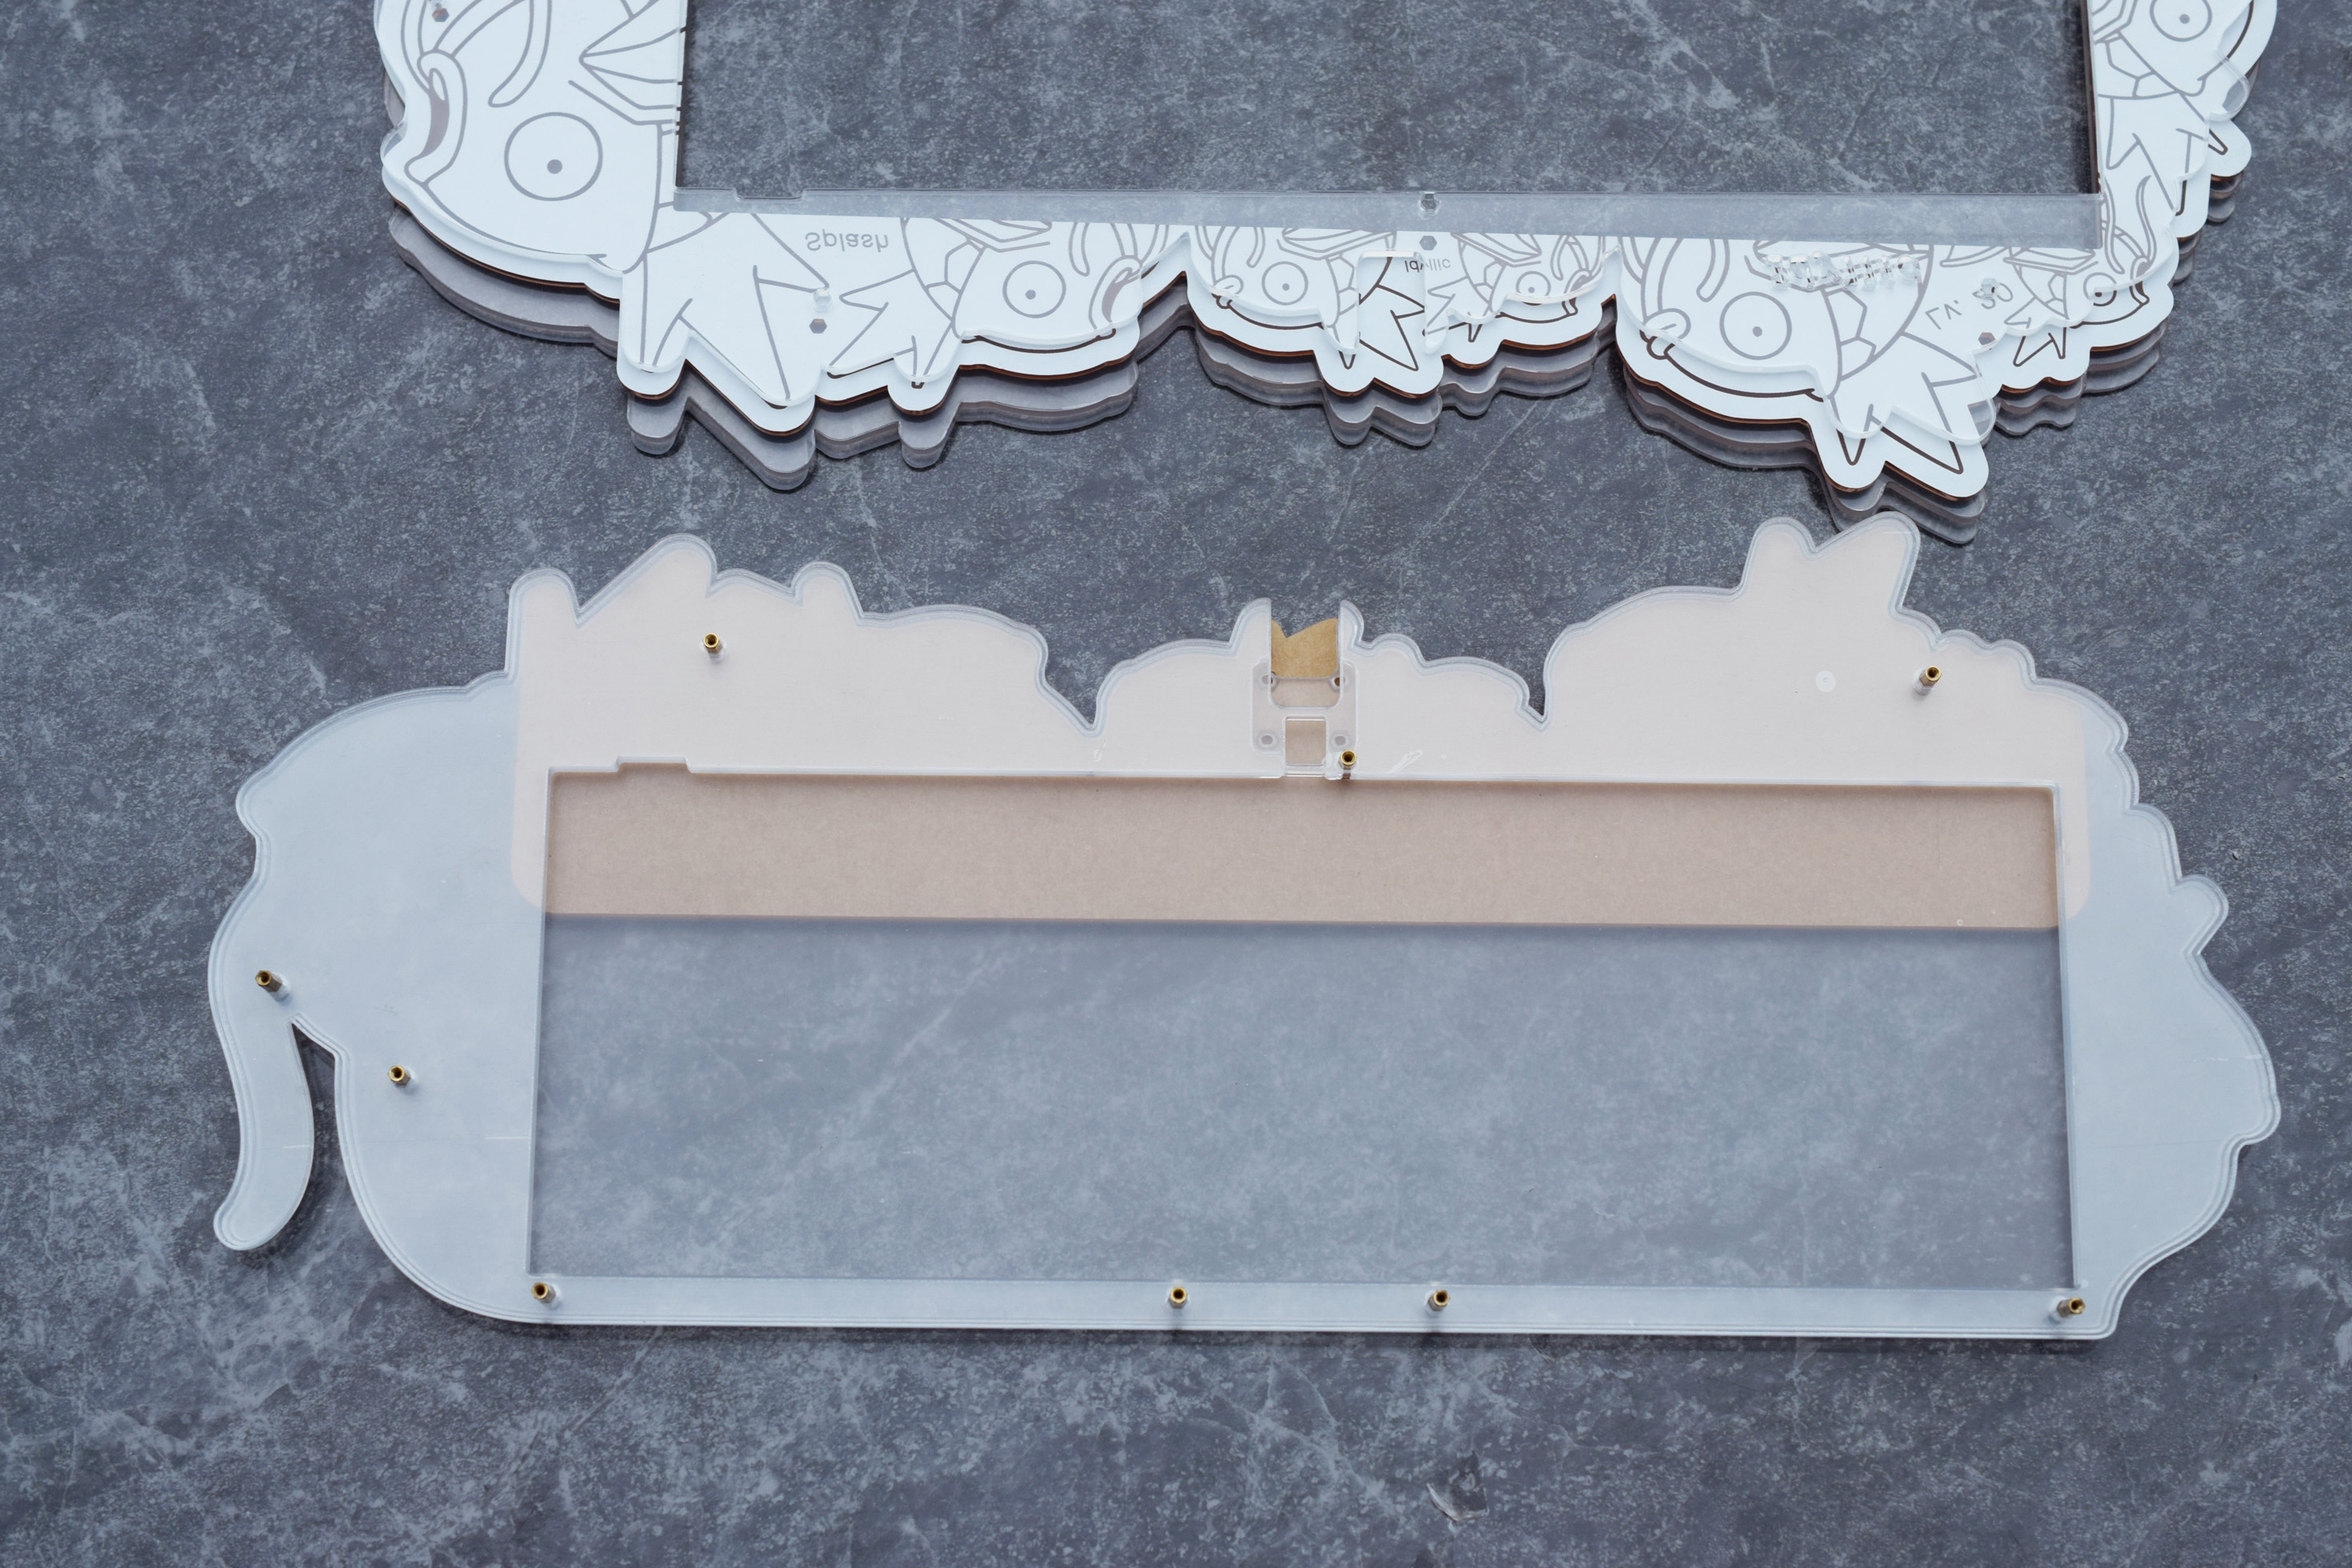
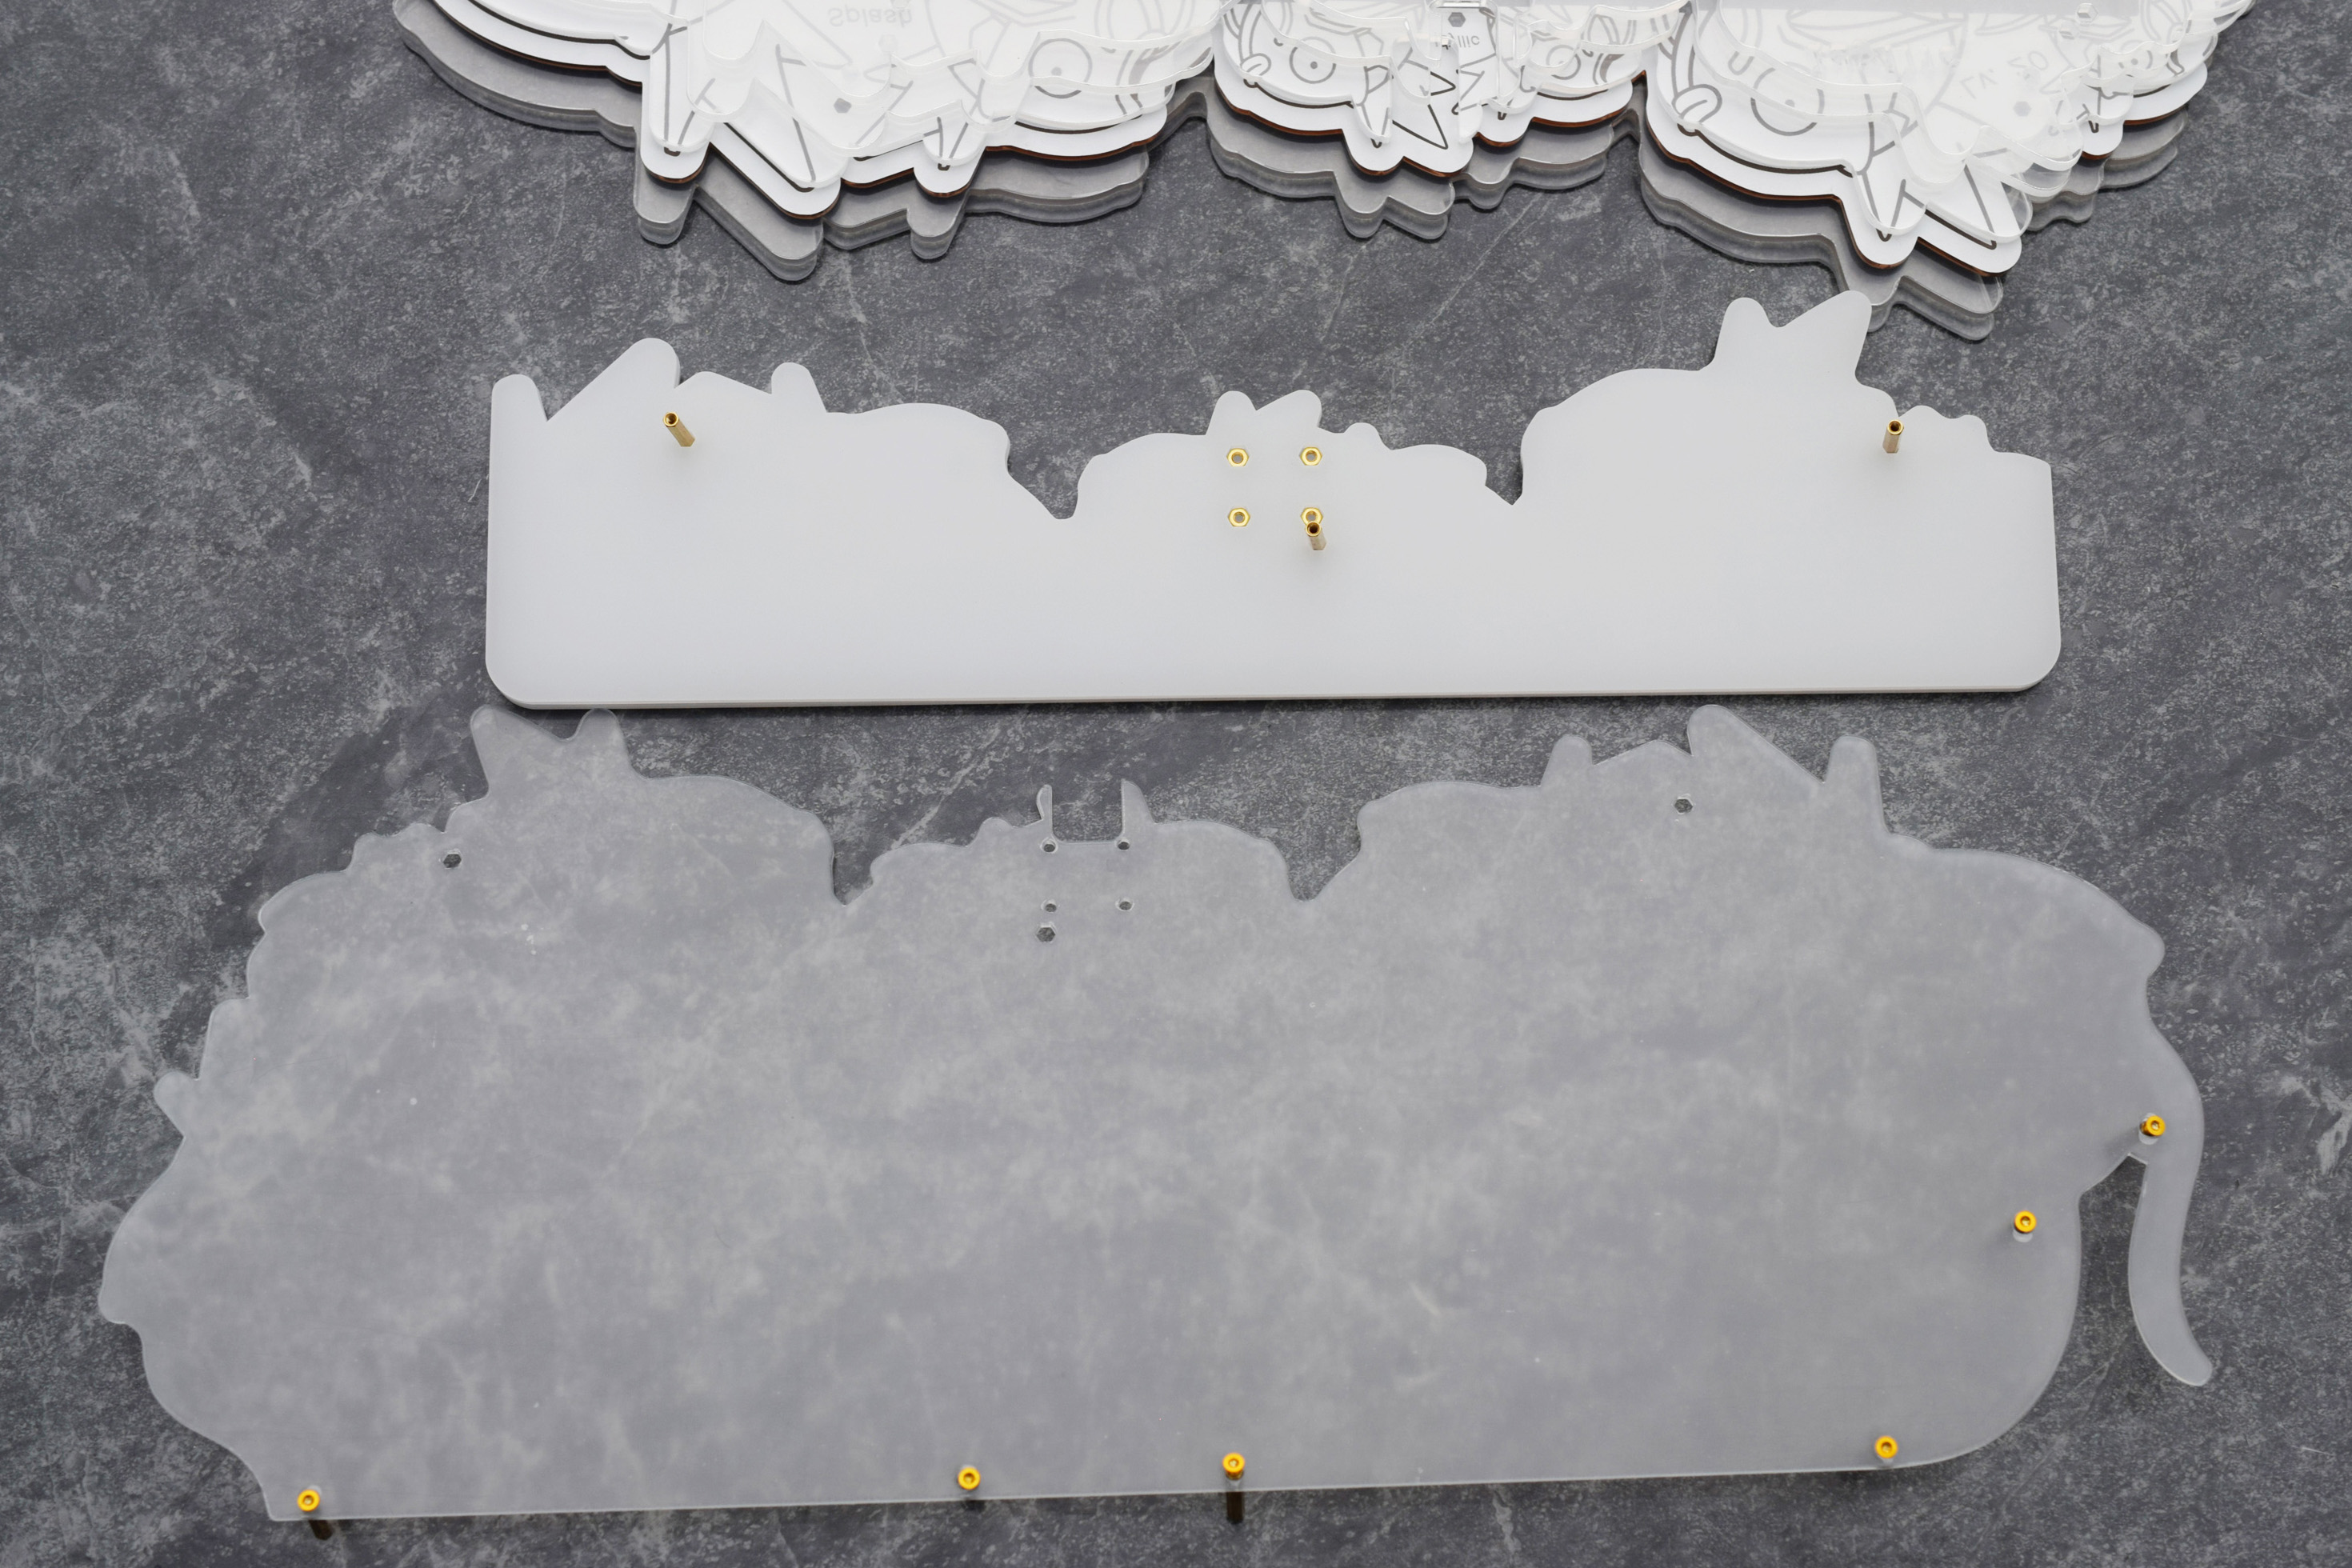
Build Guide with Pictures - Main Case Assembly
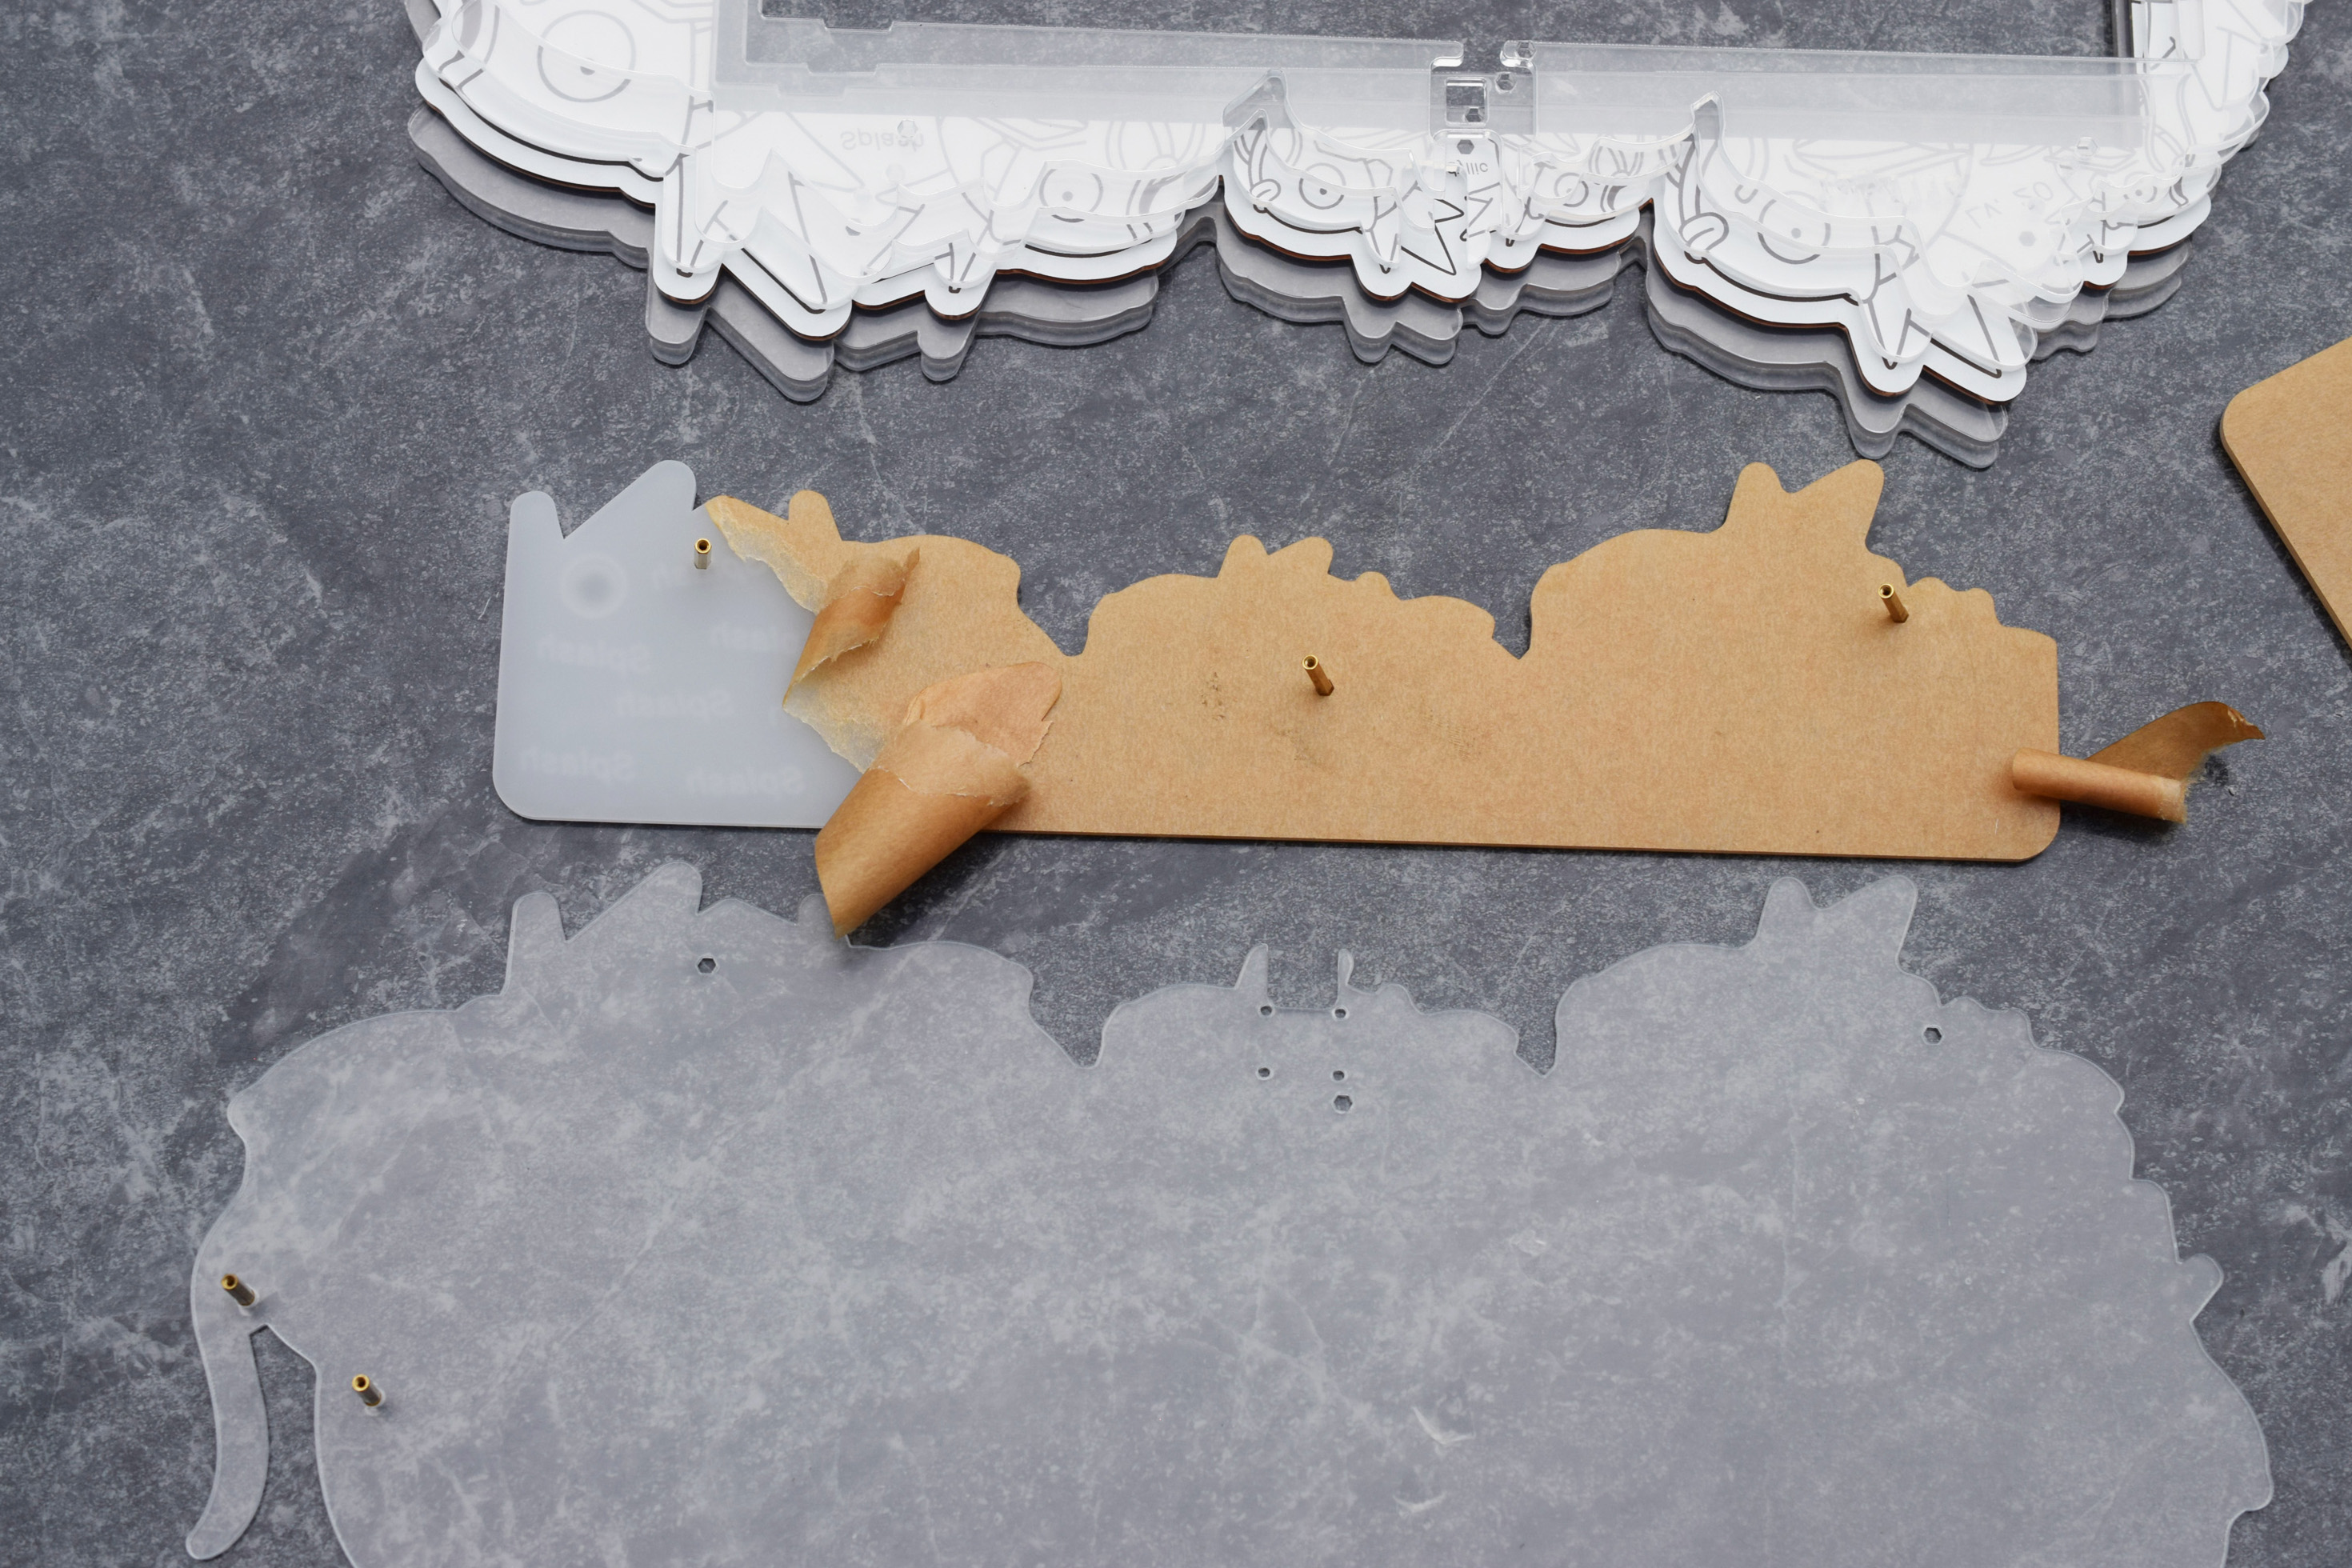
We can begin to peel off the protective film once we reach the final layer.
Take your time peeling each layer; be considerate of dust and how you are handling the acrylic. If you are not careful the acrylic can snap and/or you could injure yourself on a sharp edge.
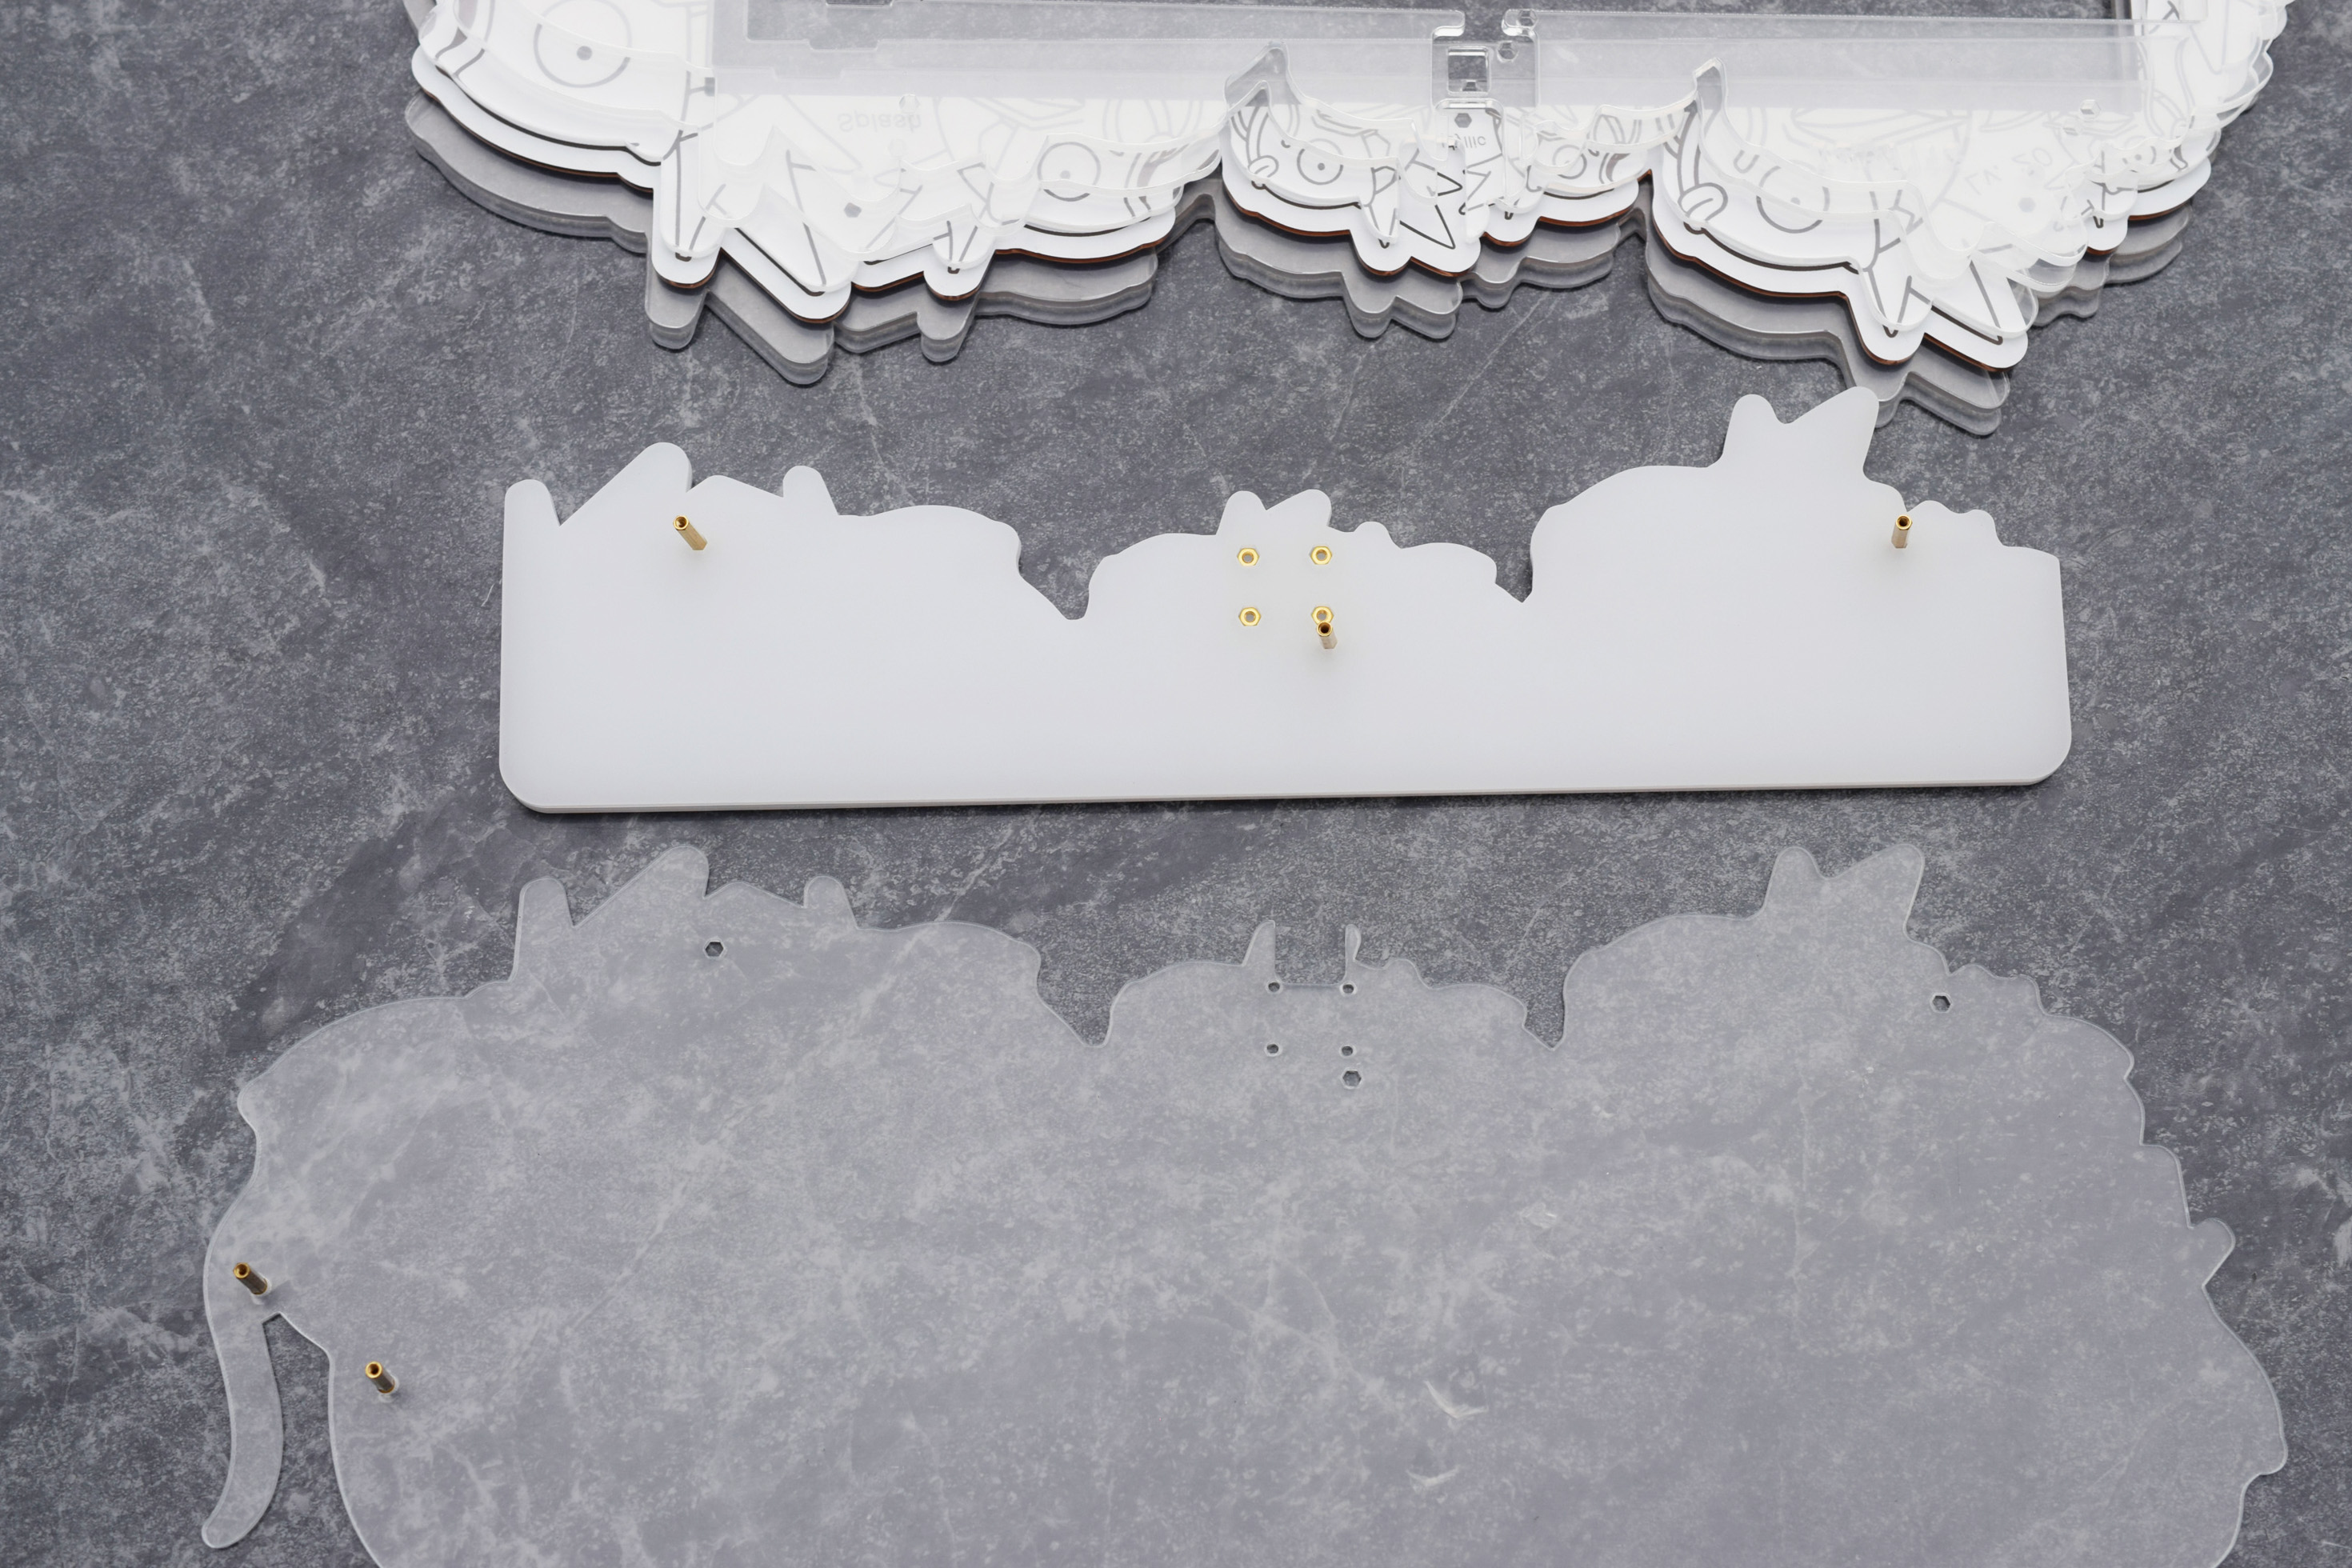
Add the M2 nuts into the hexagonal cutouts.
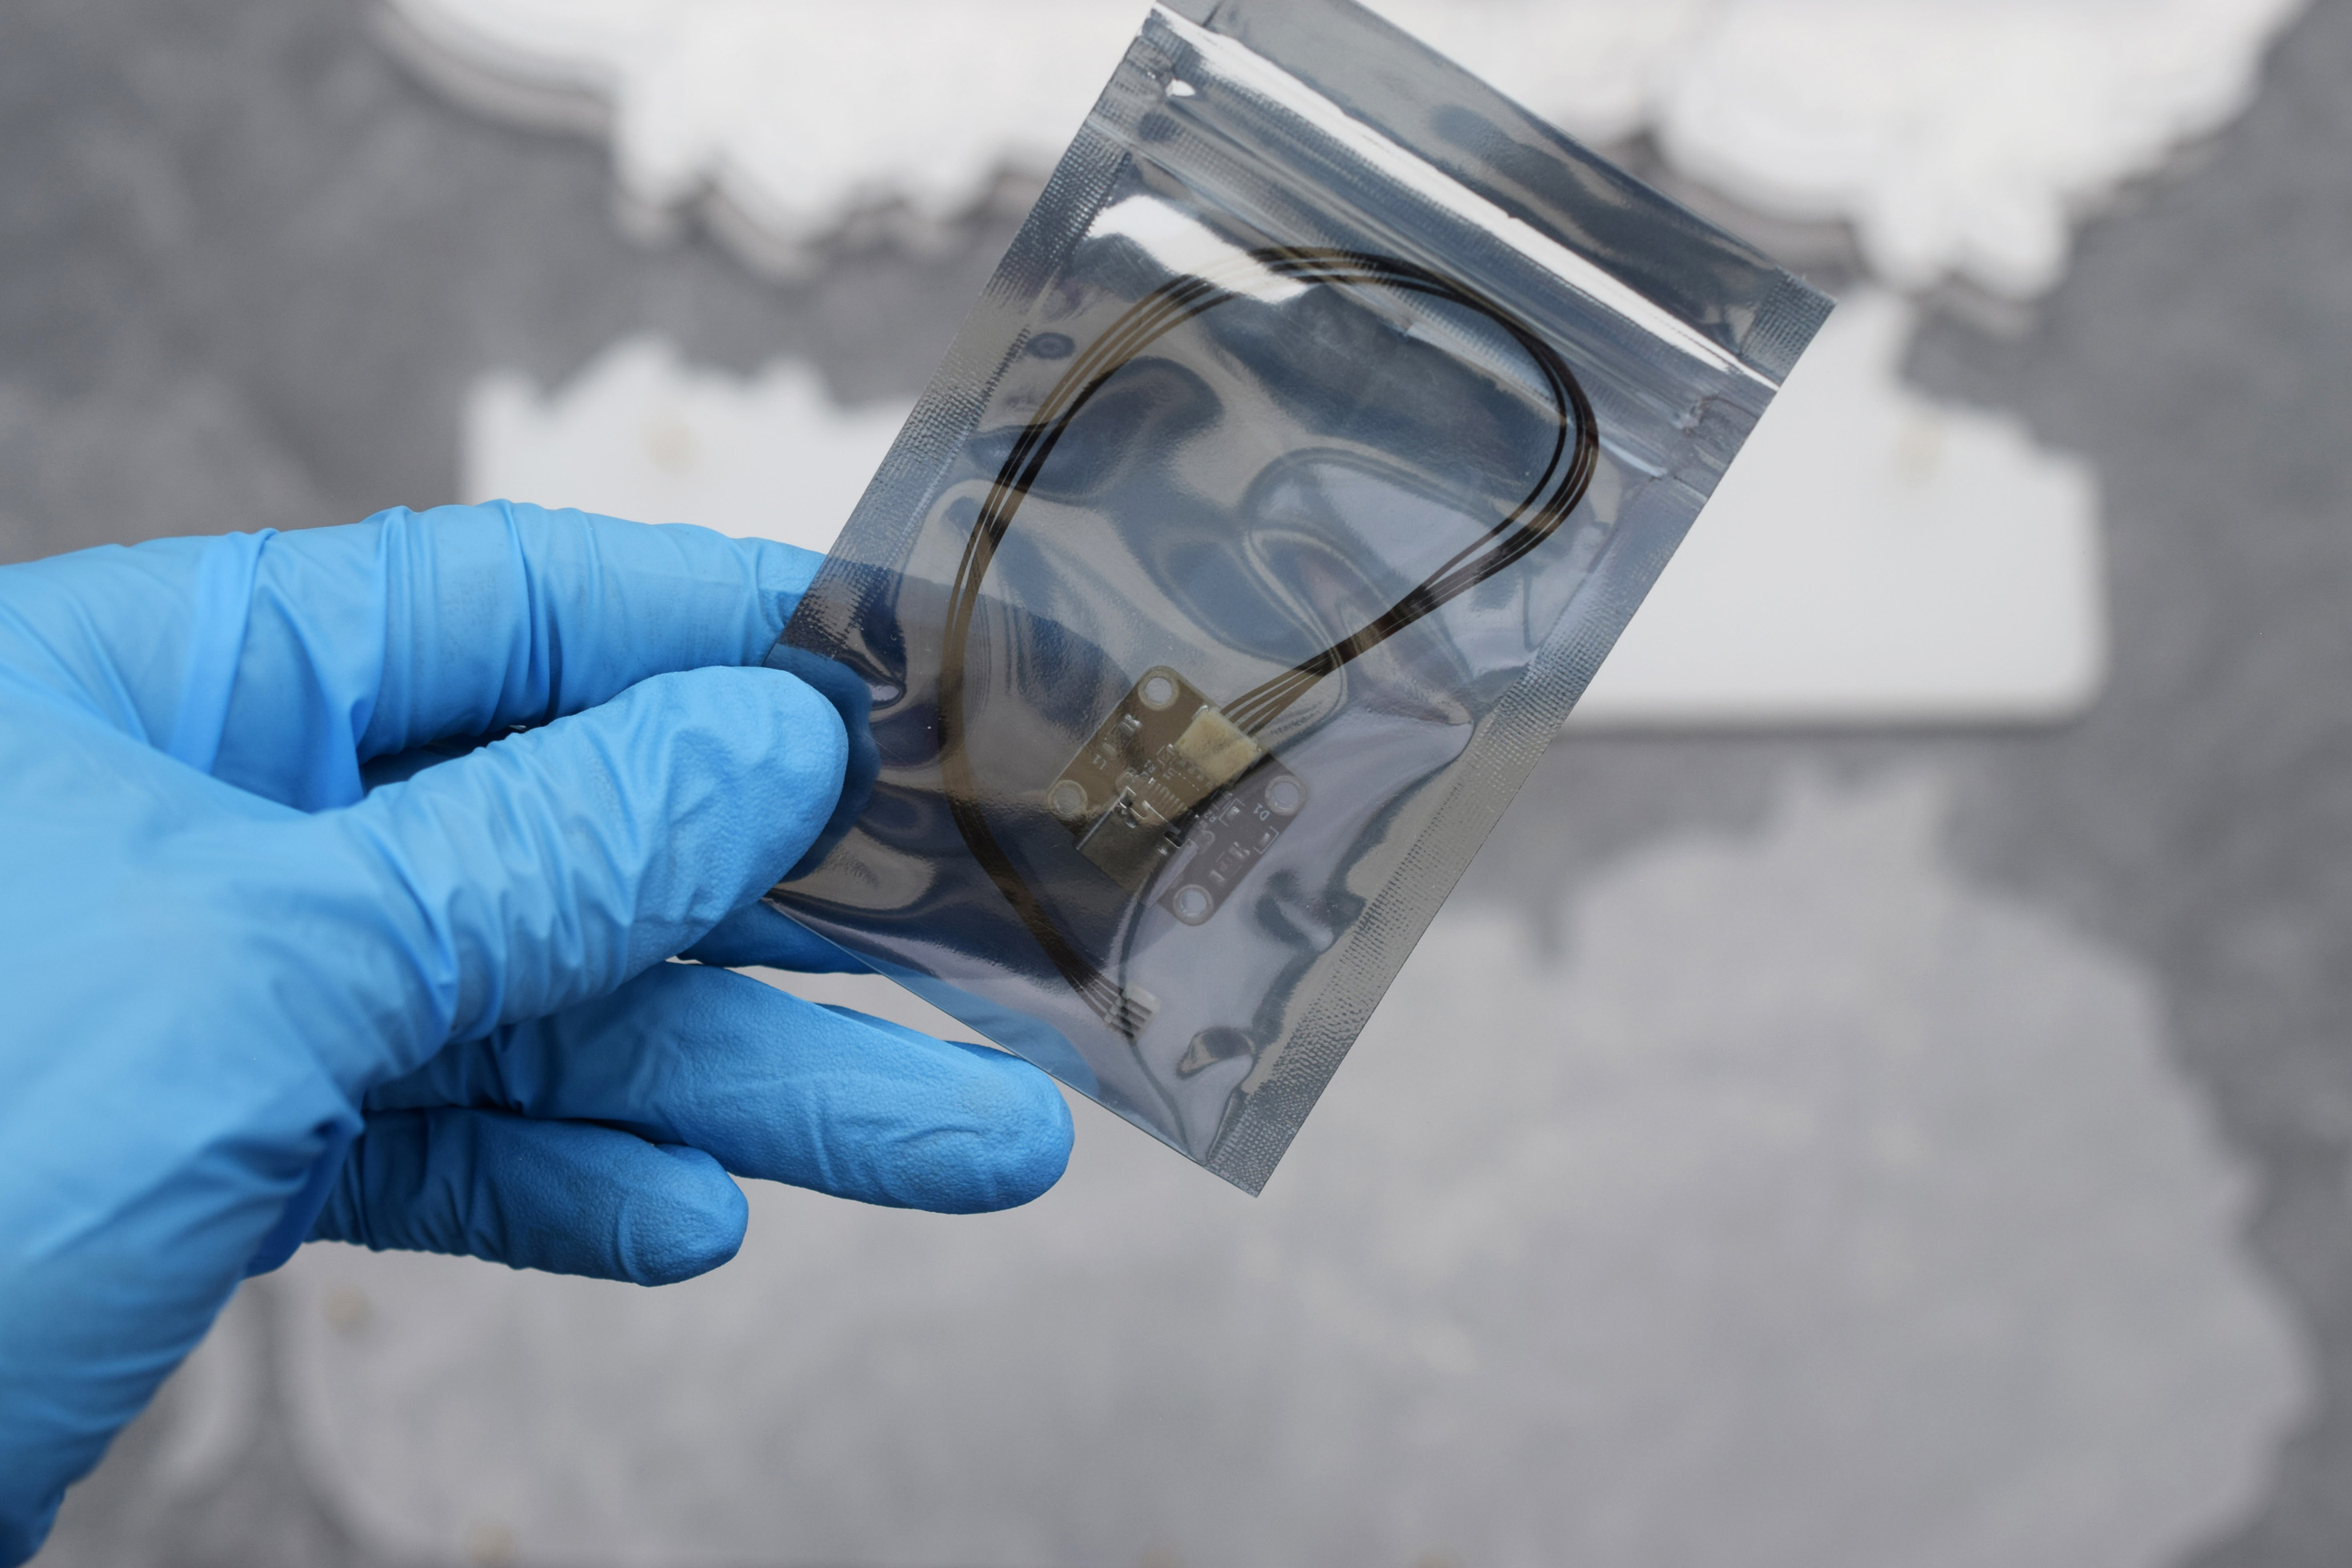
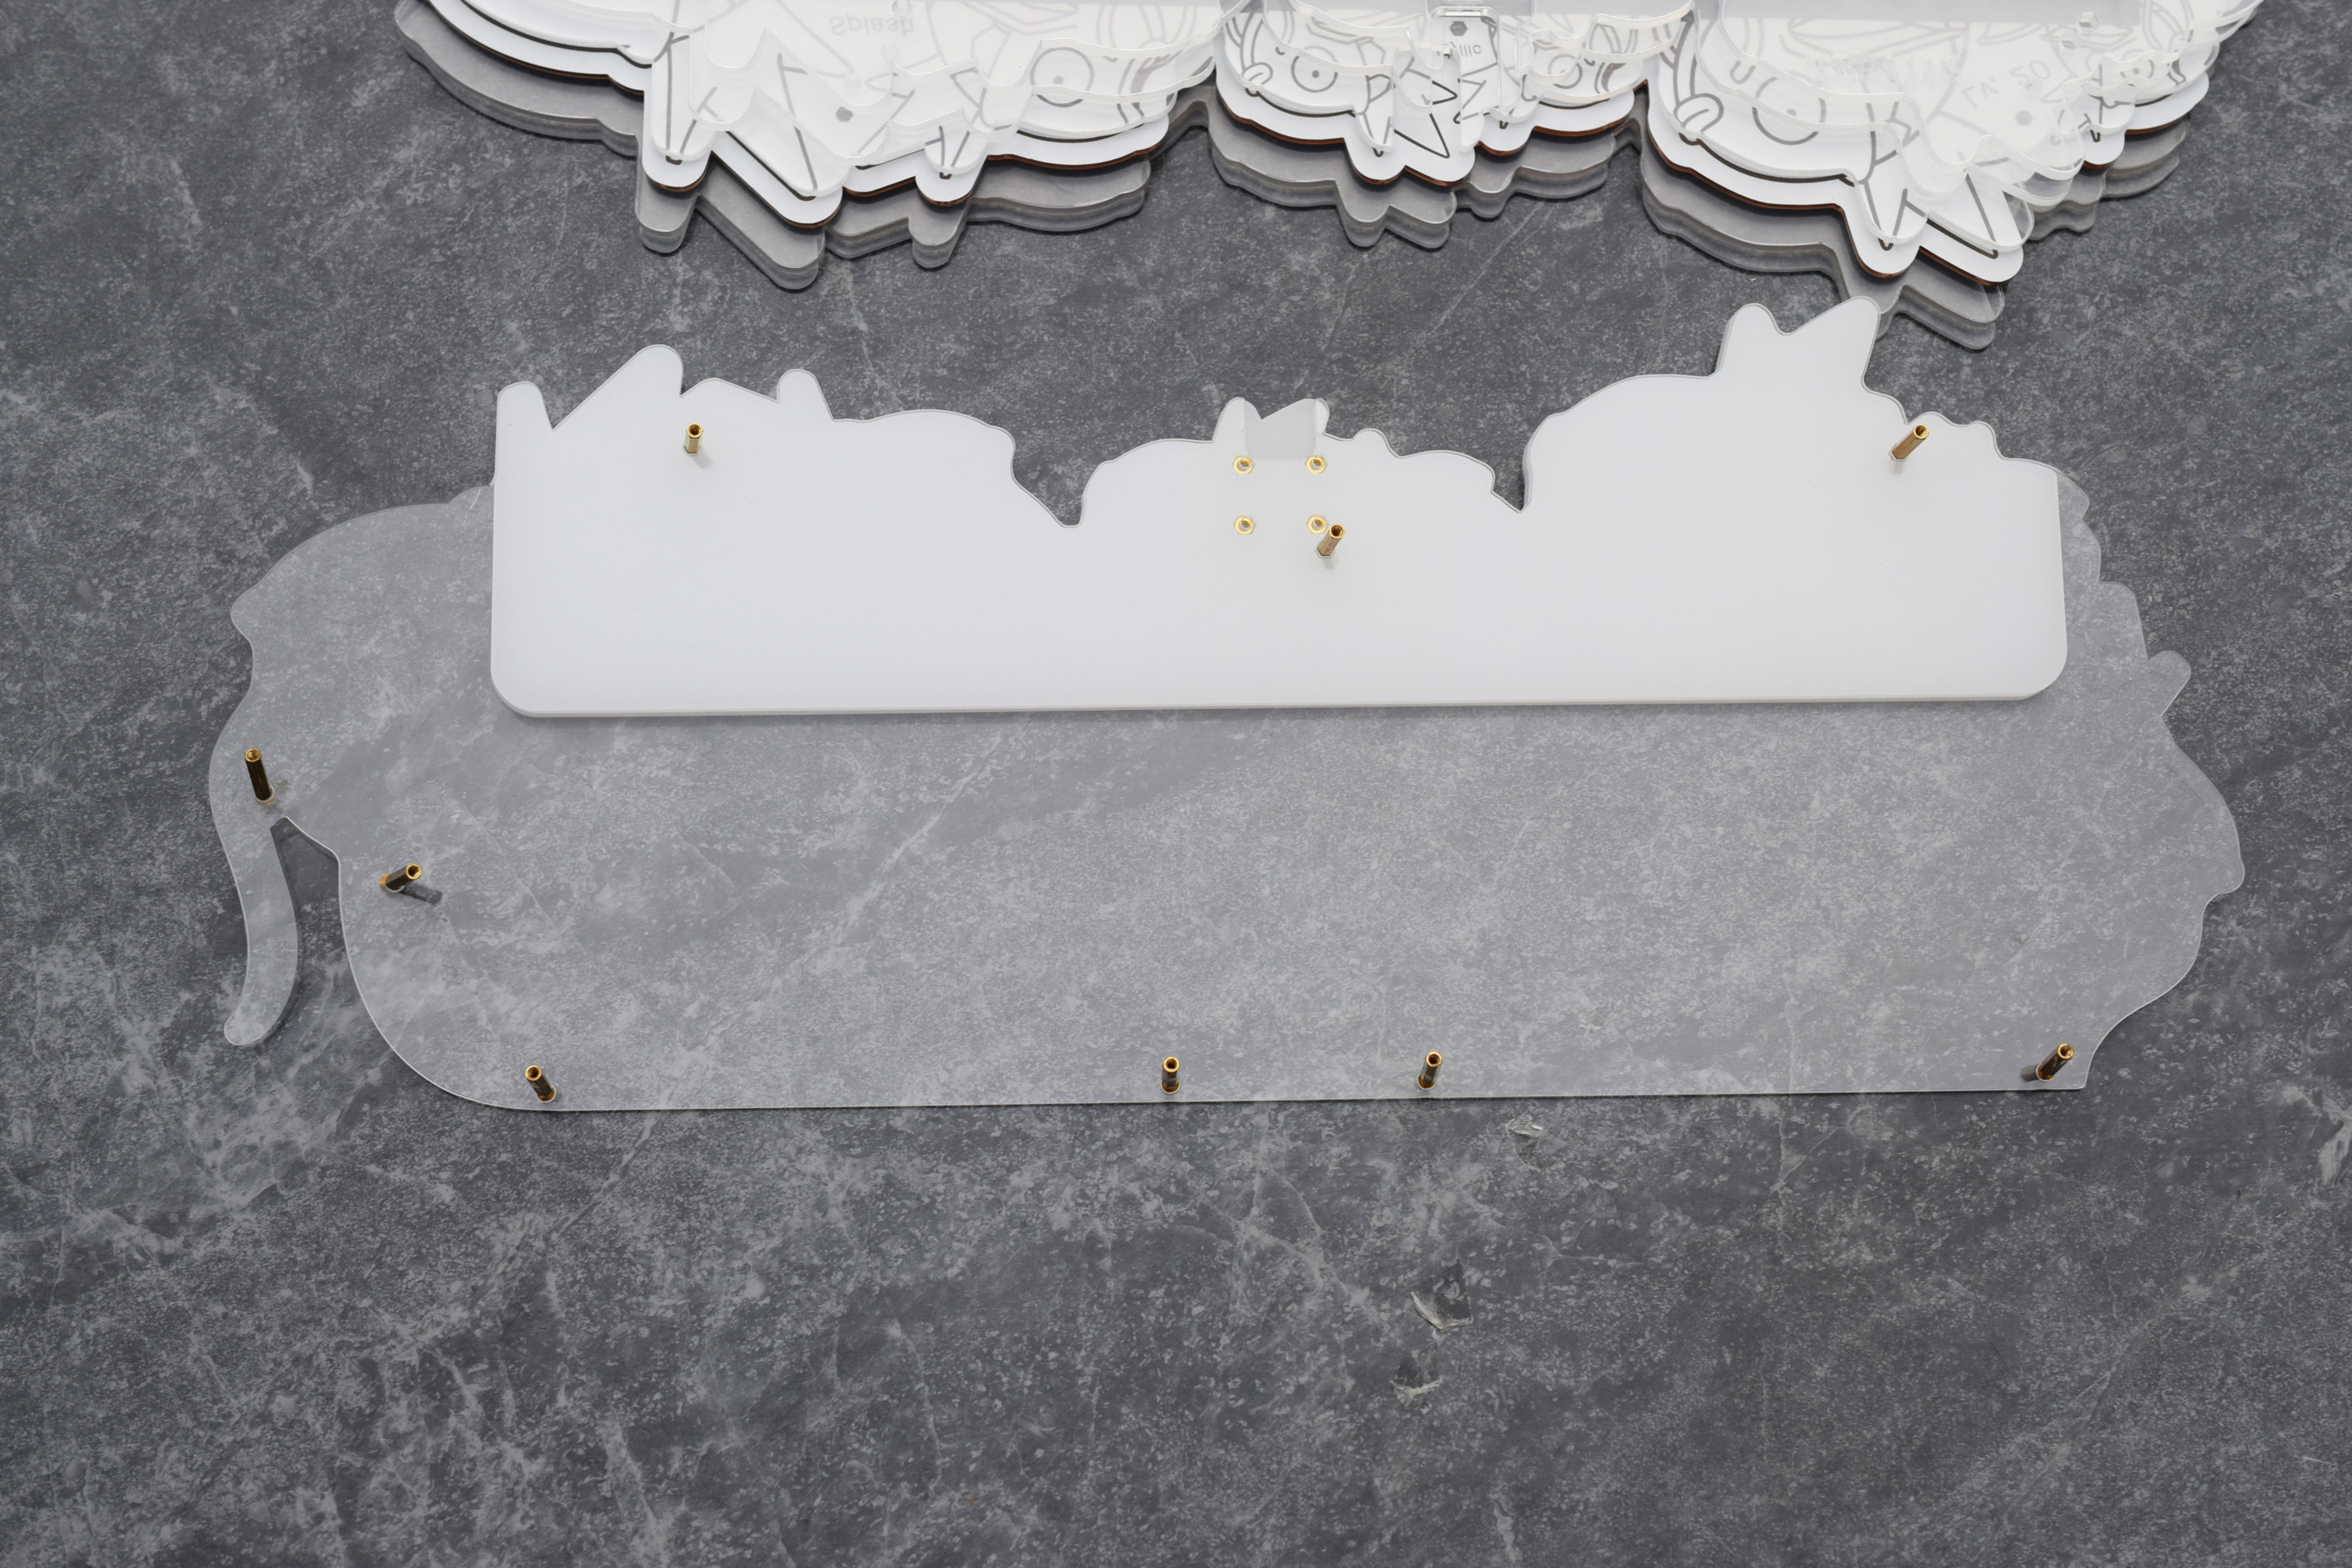

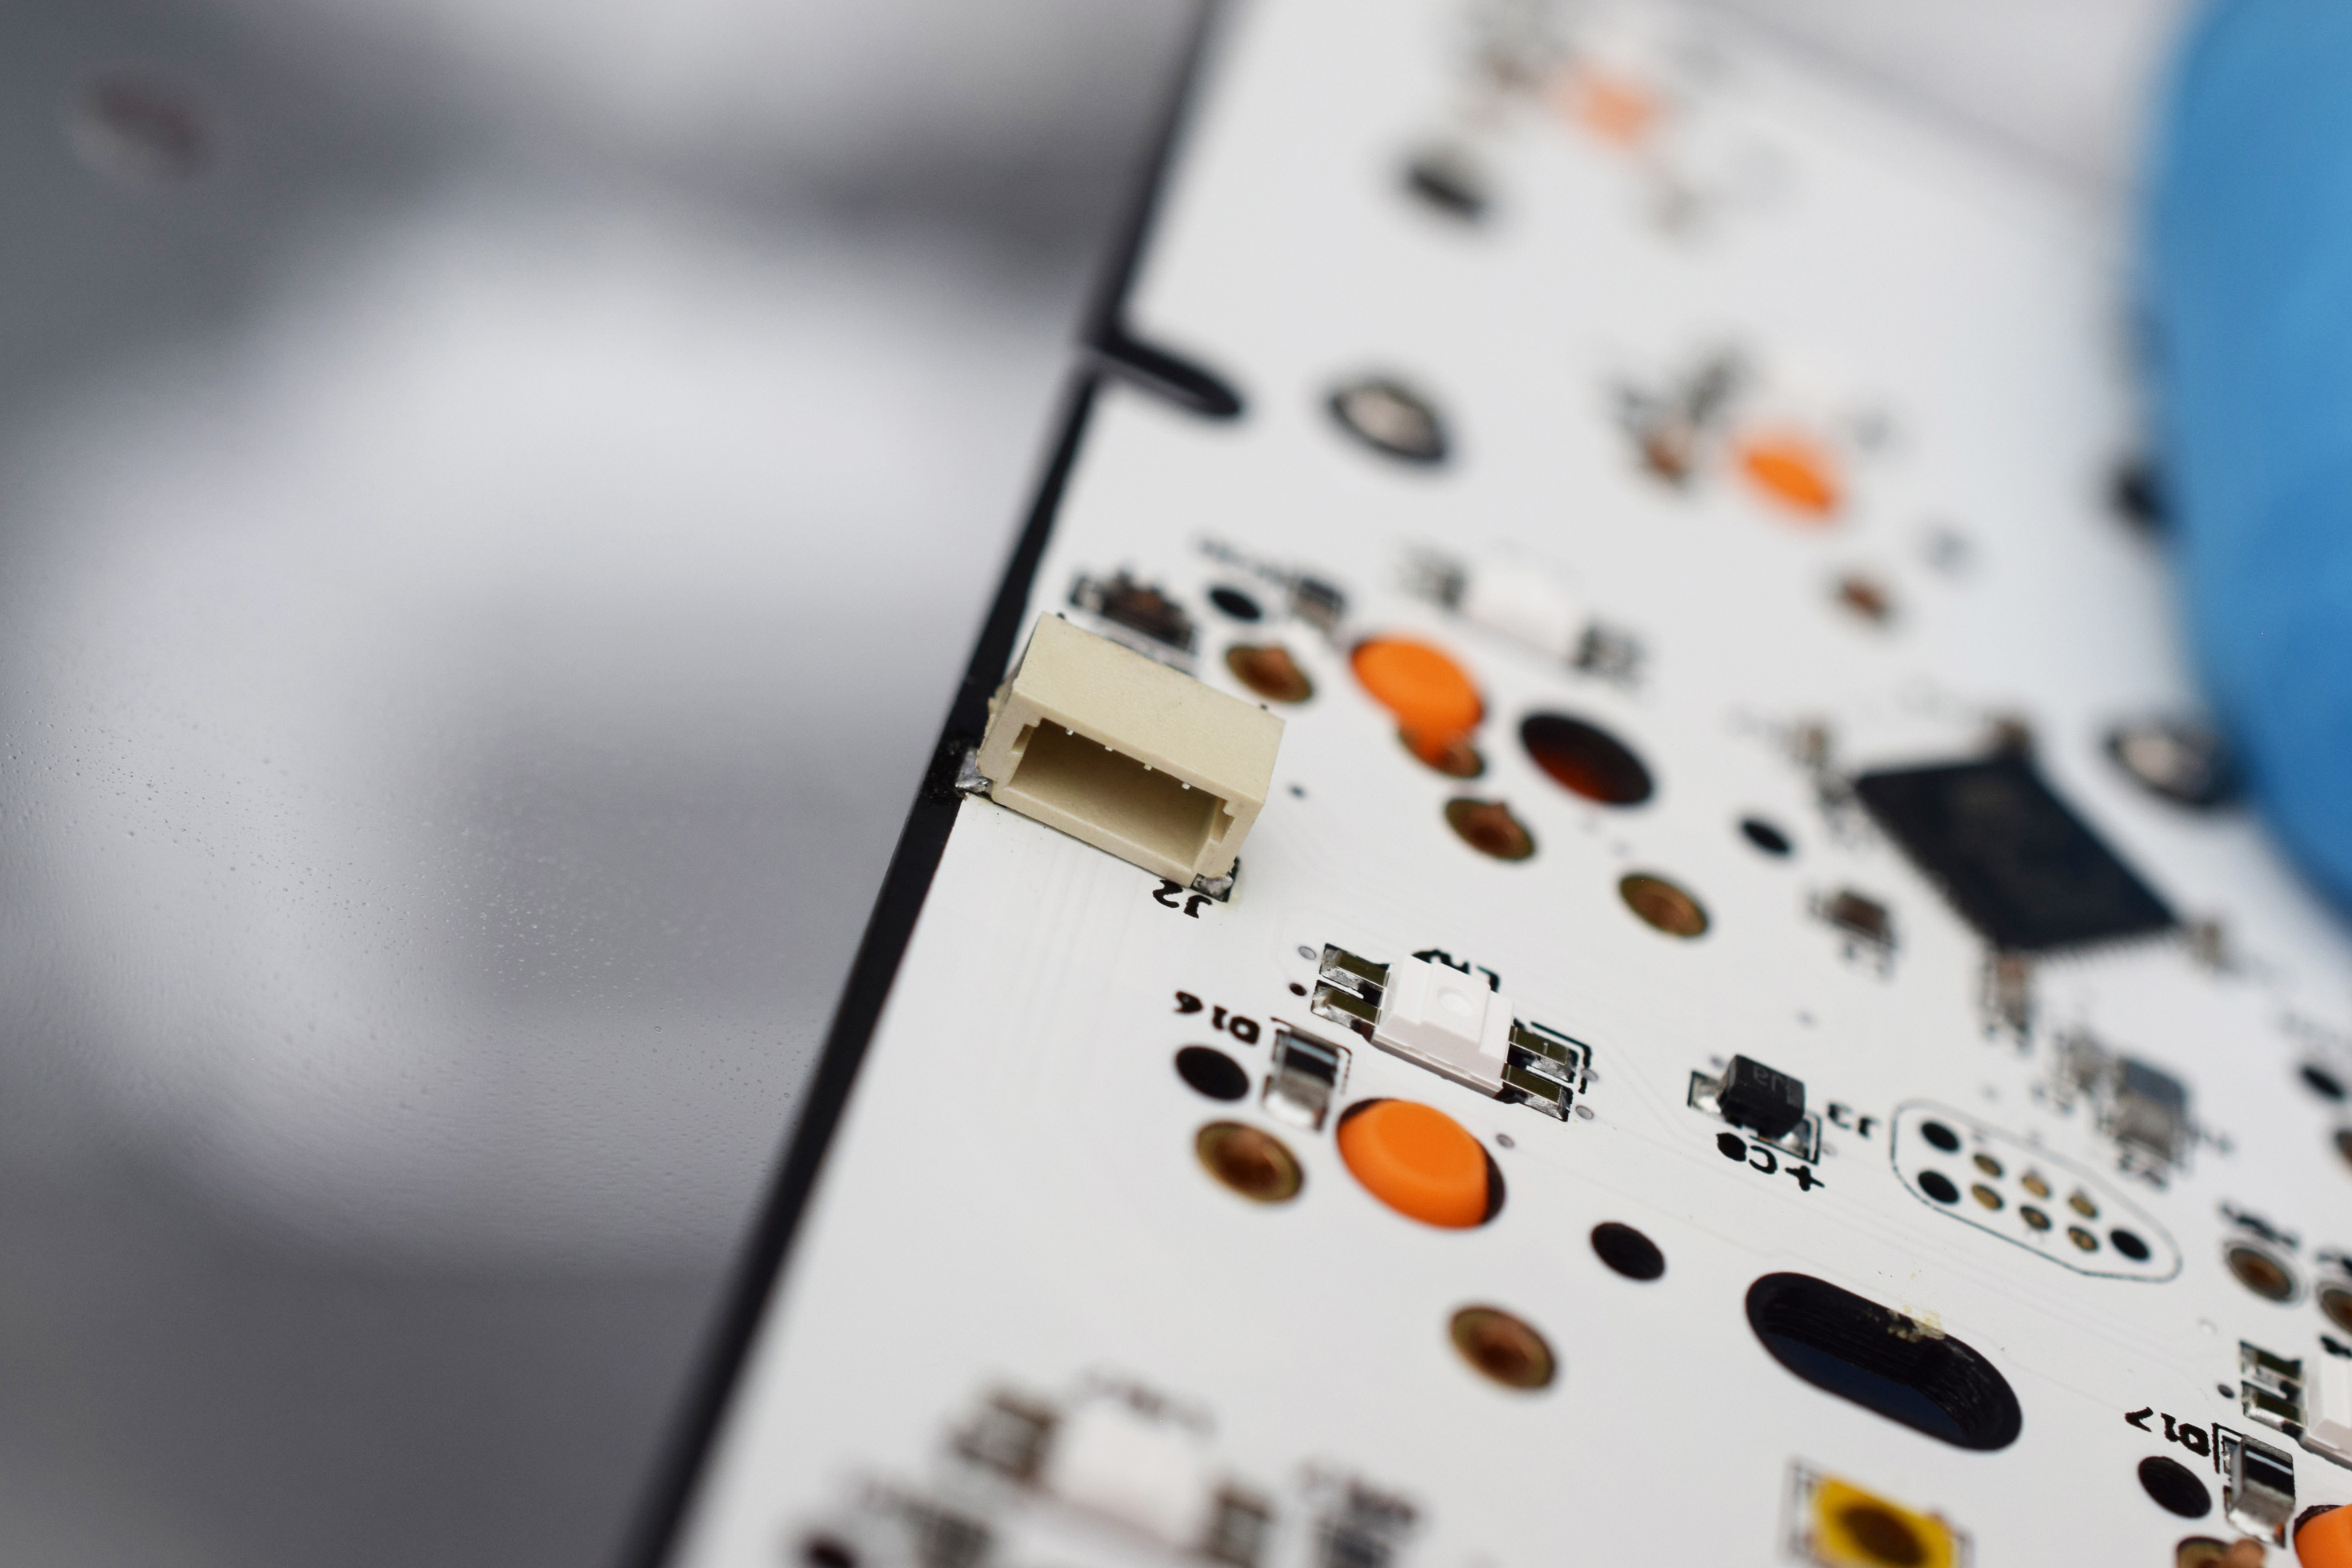
Install the daughterboard.
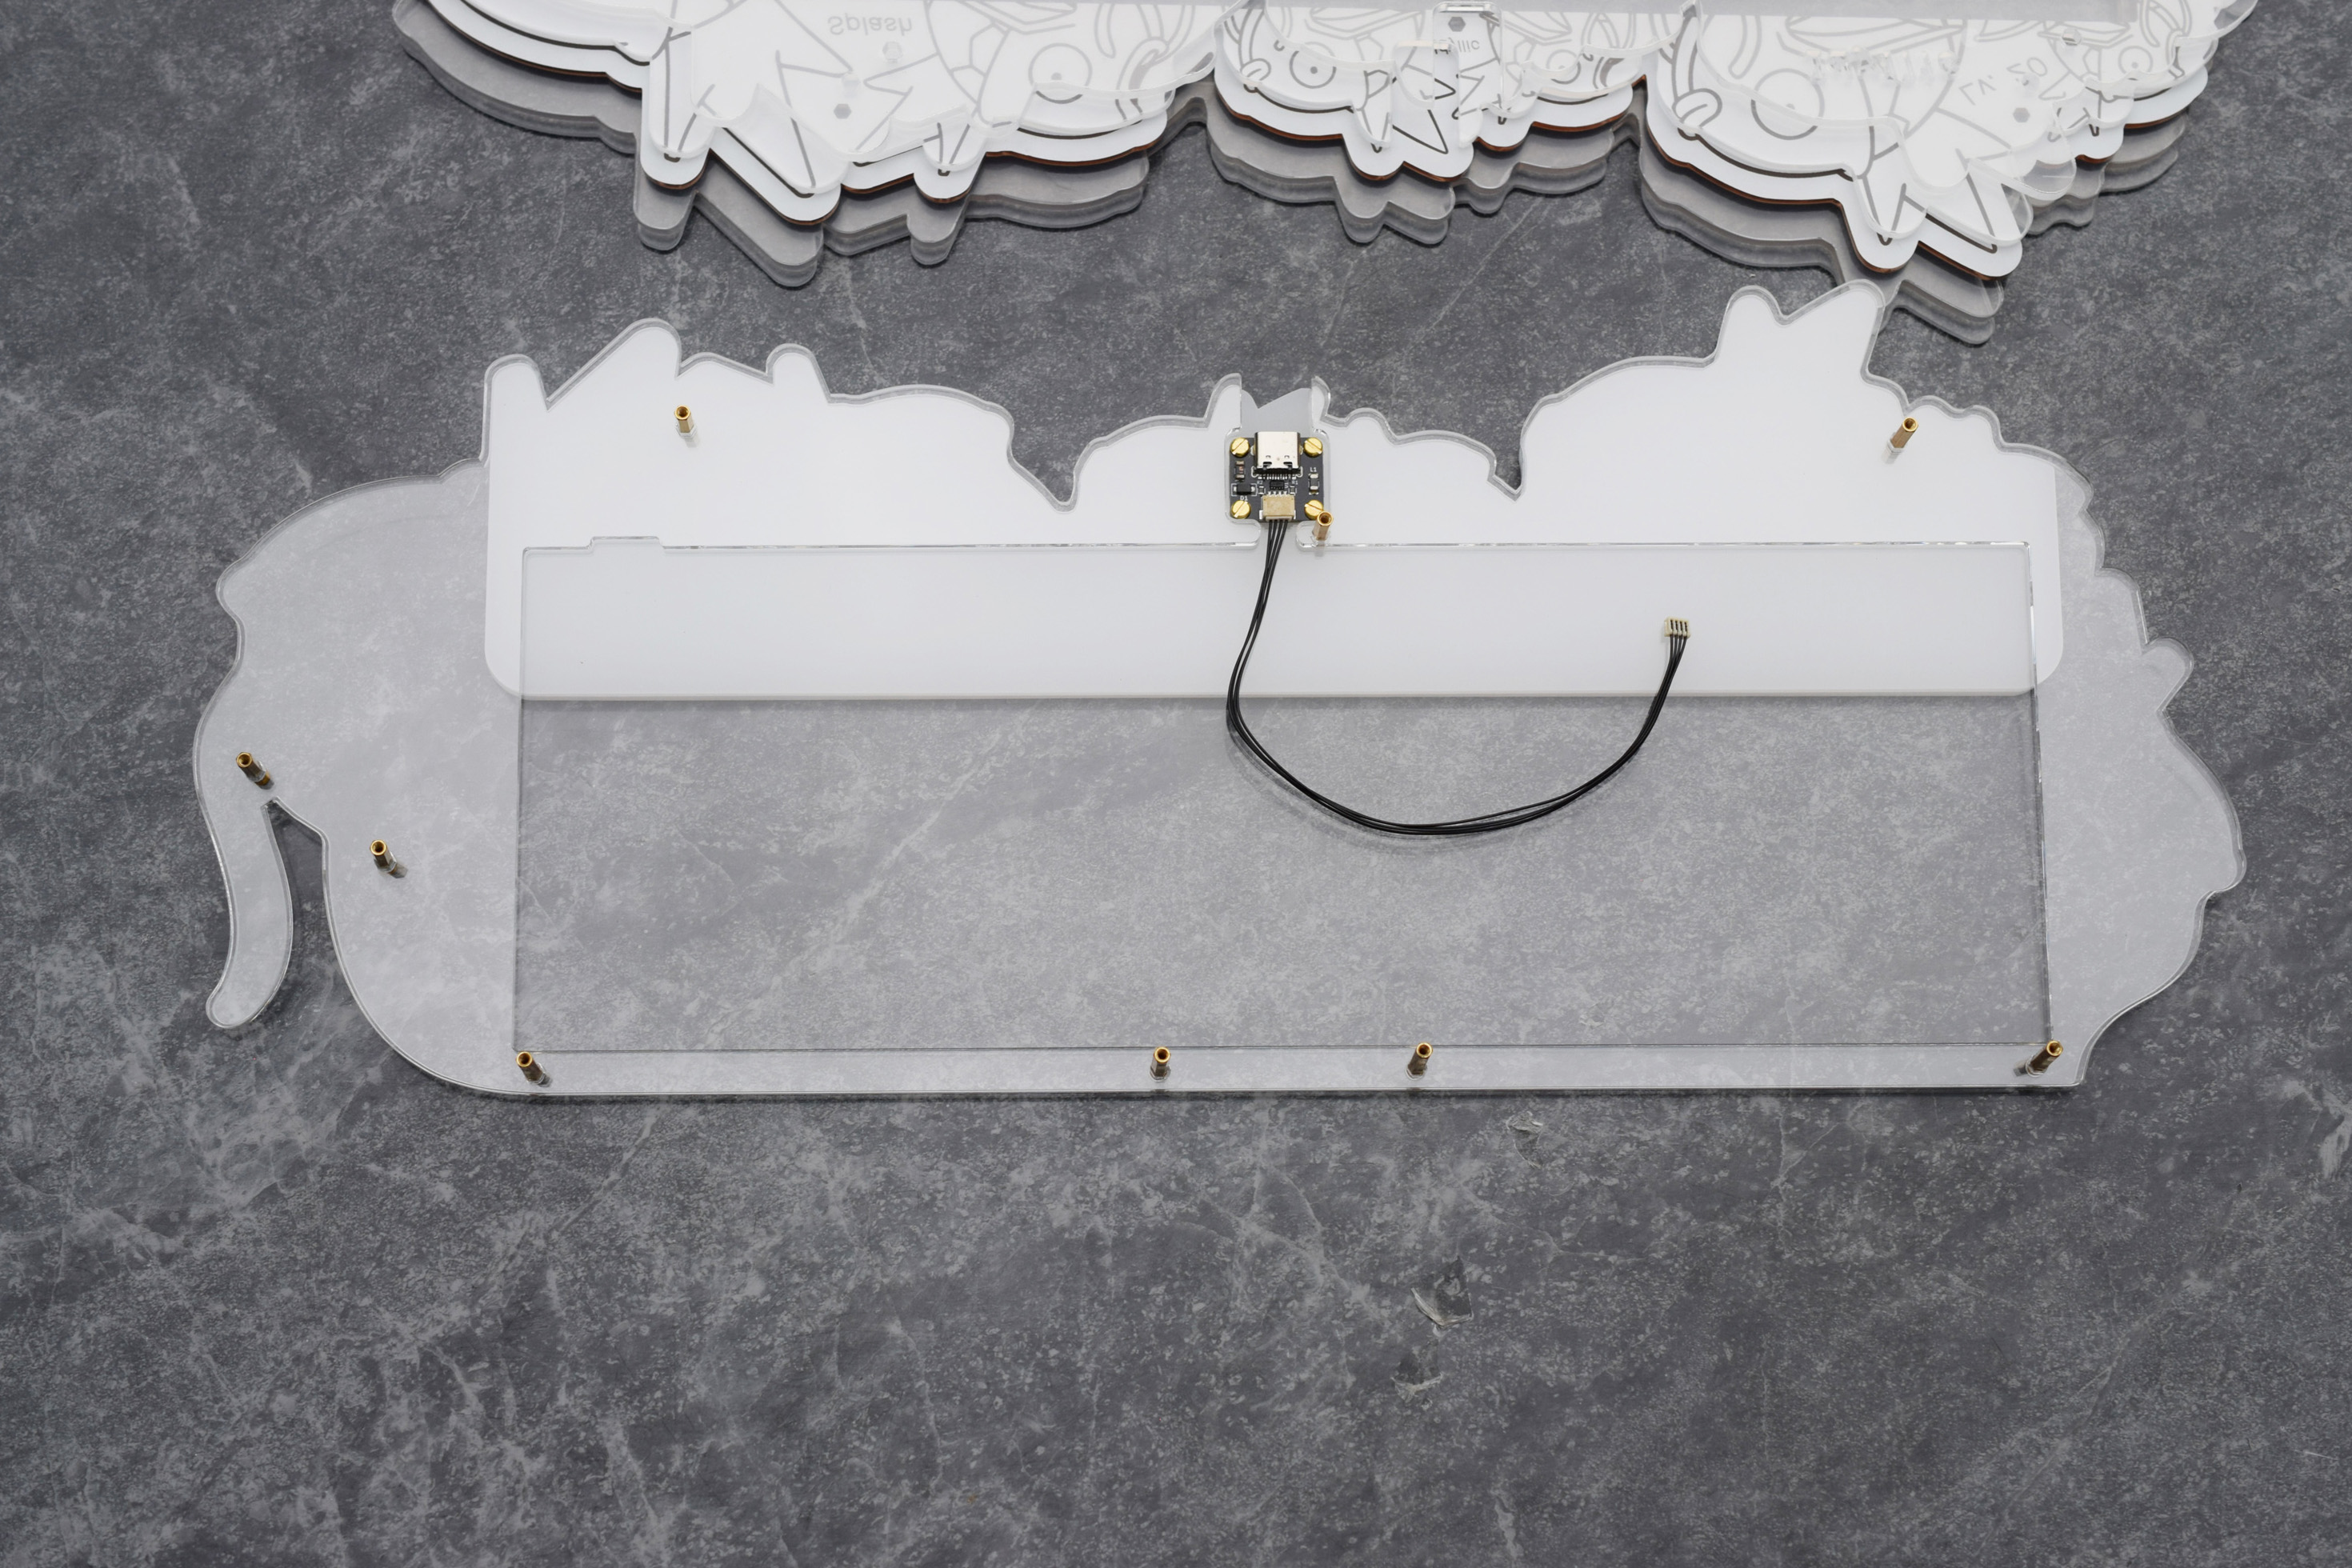
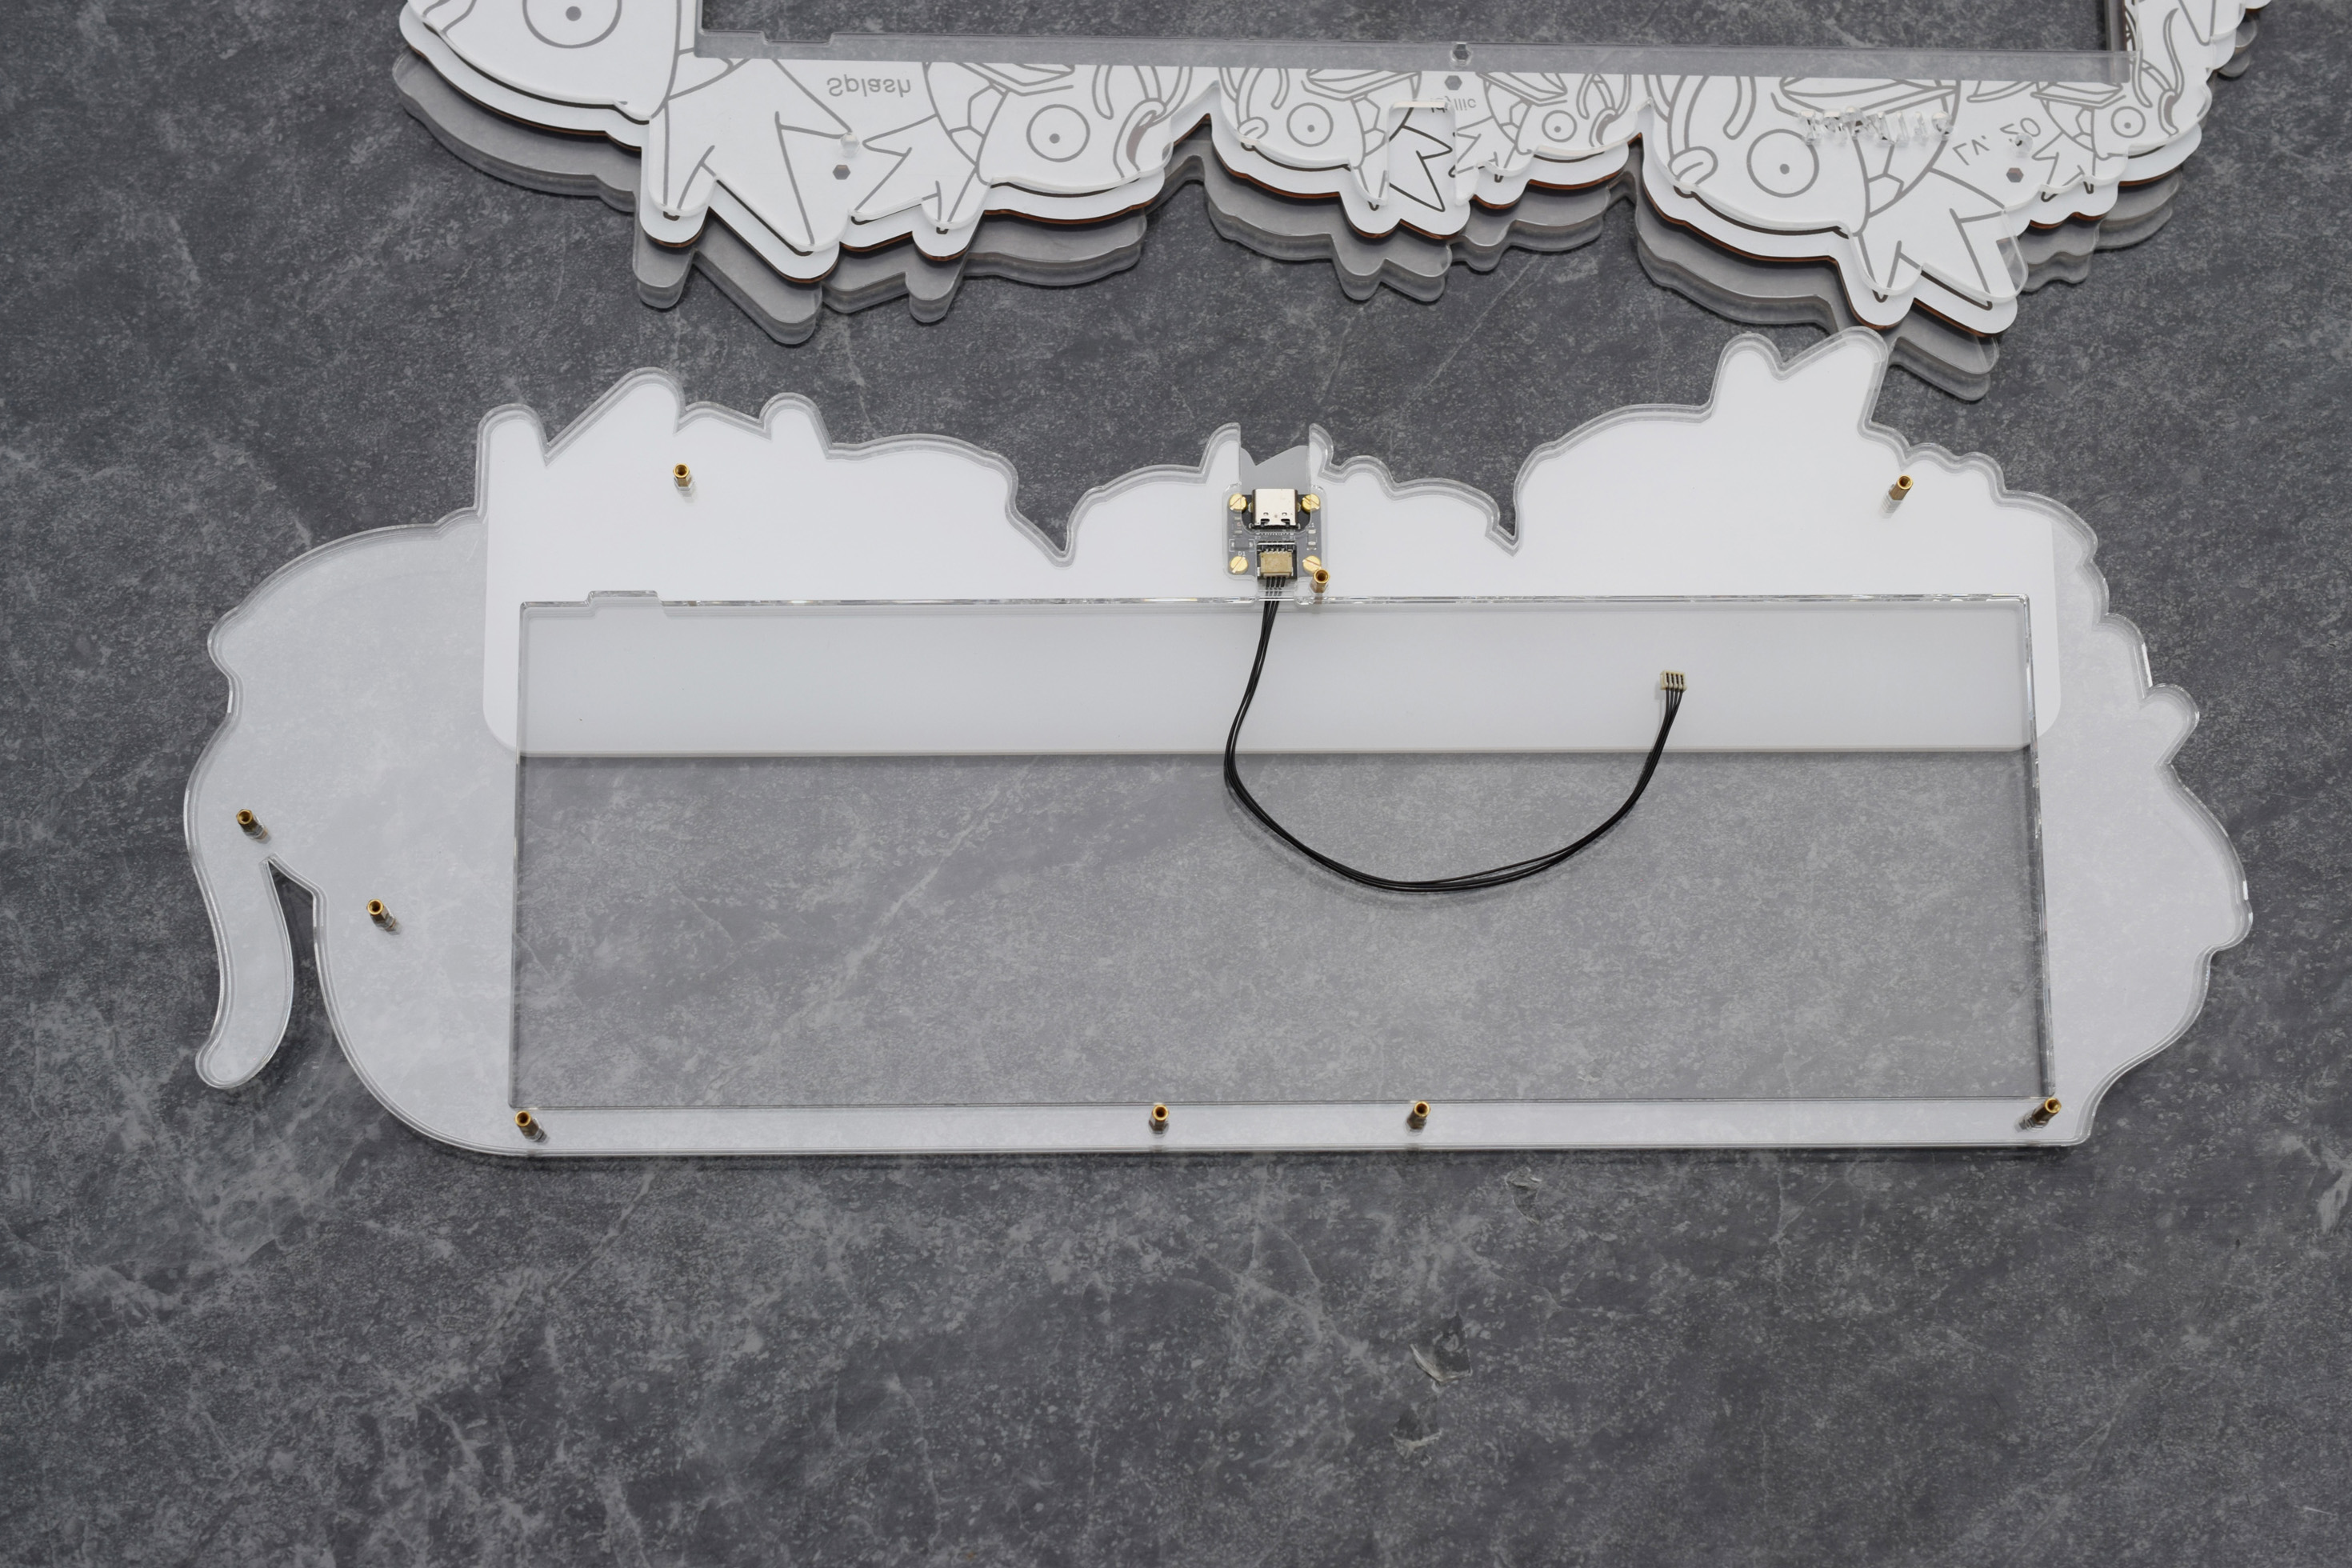
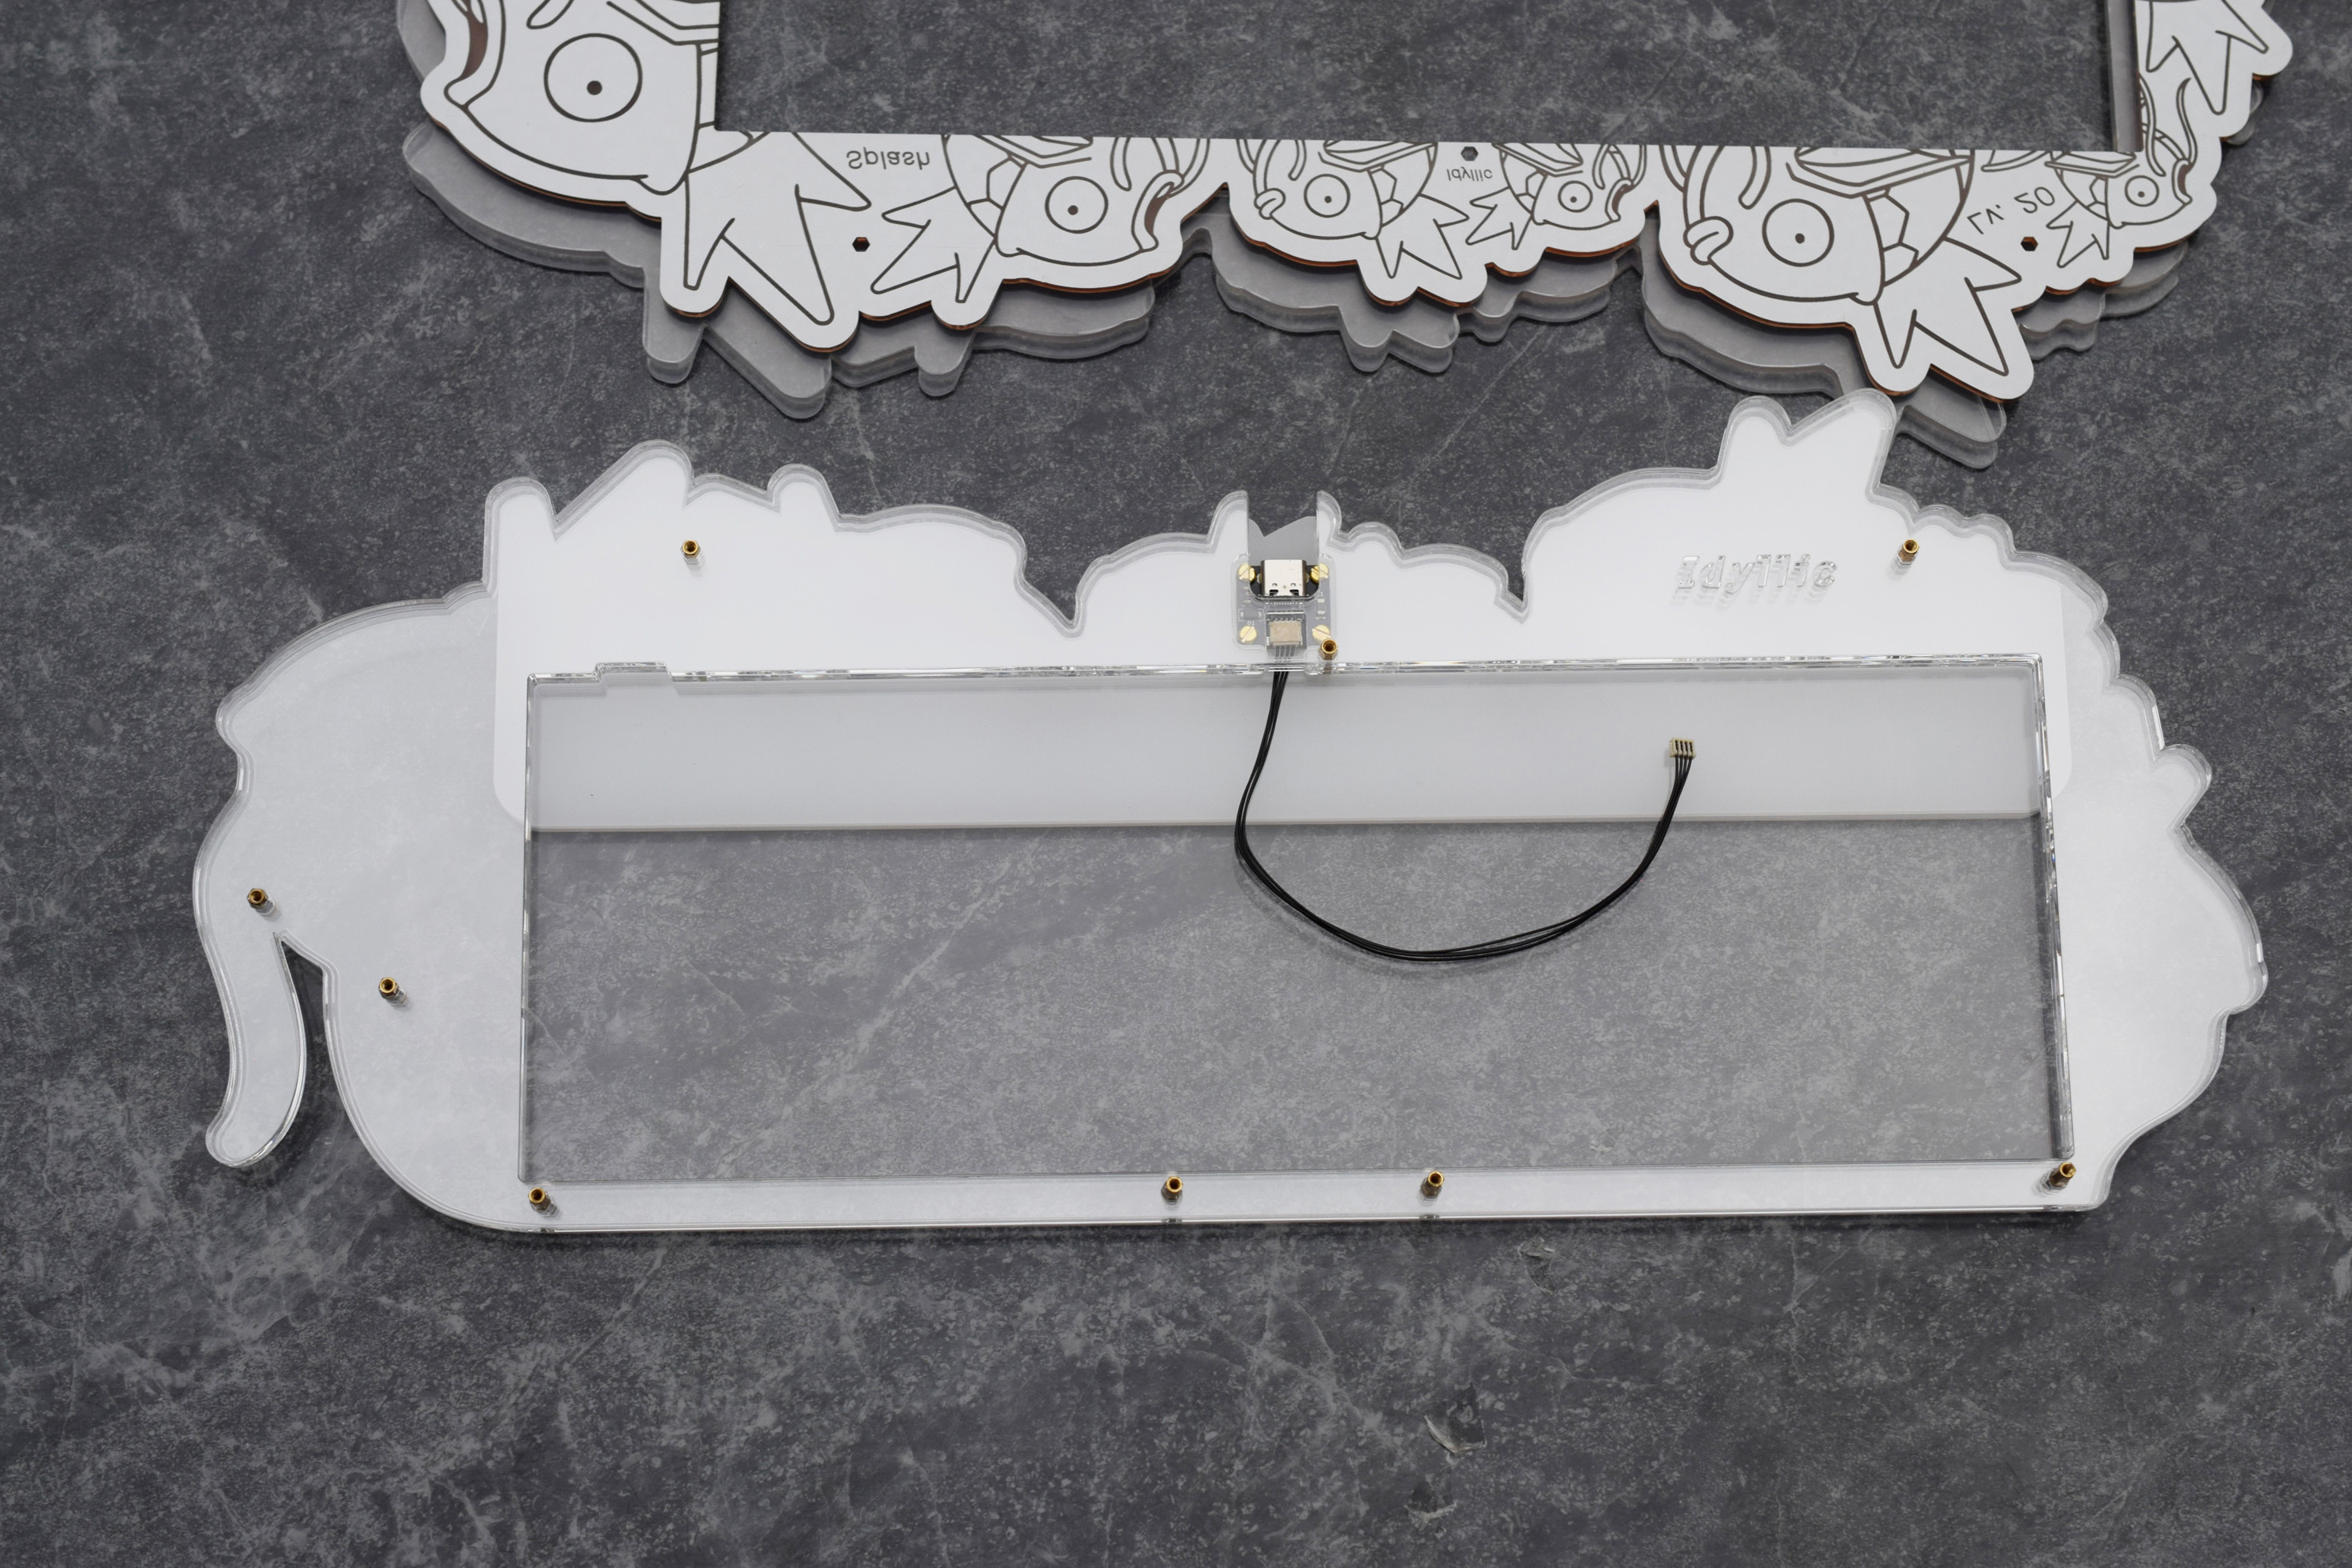
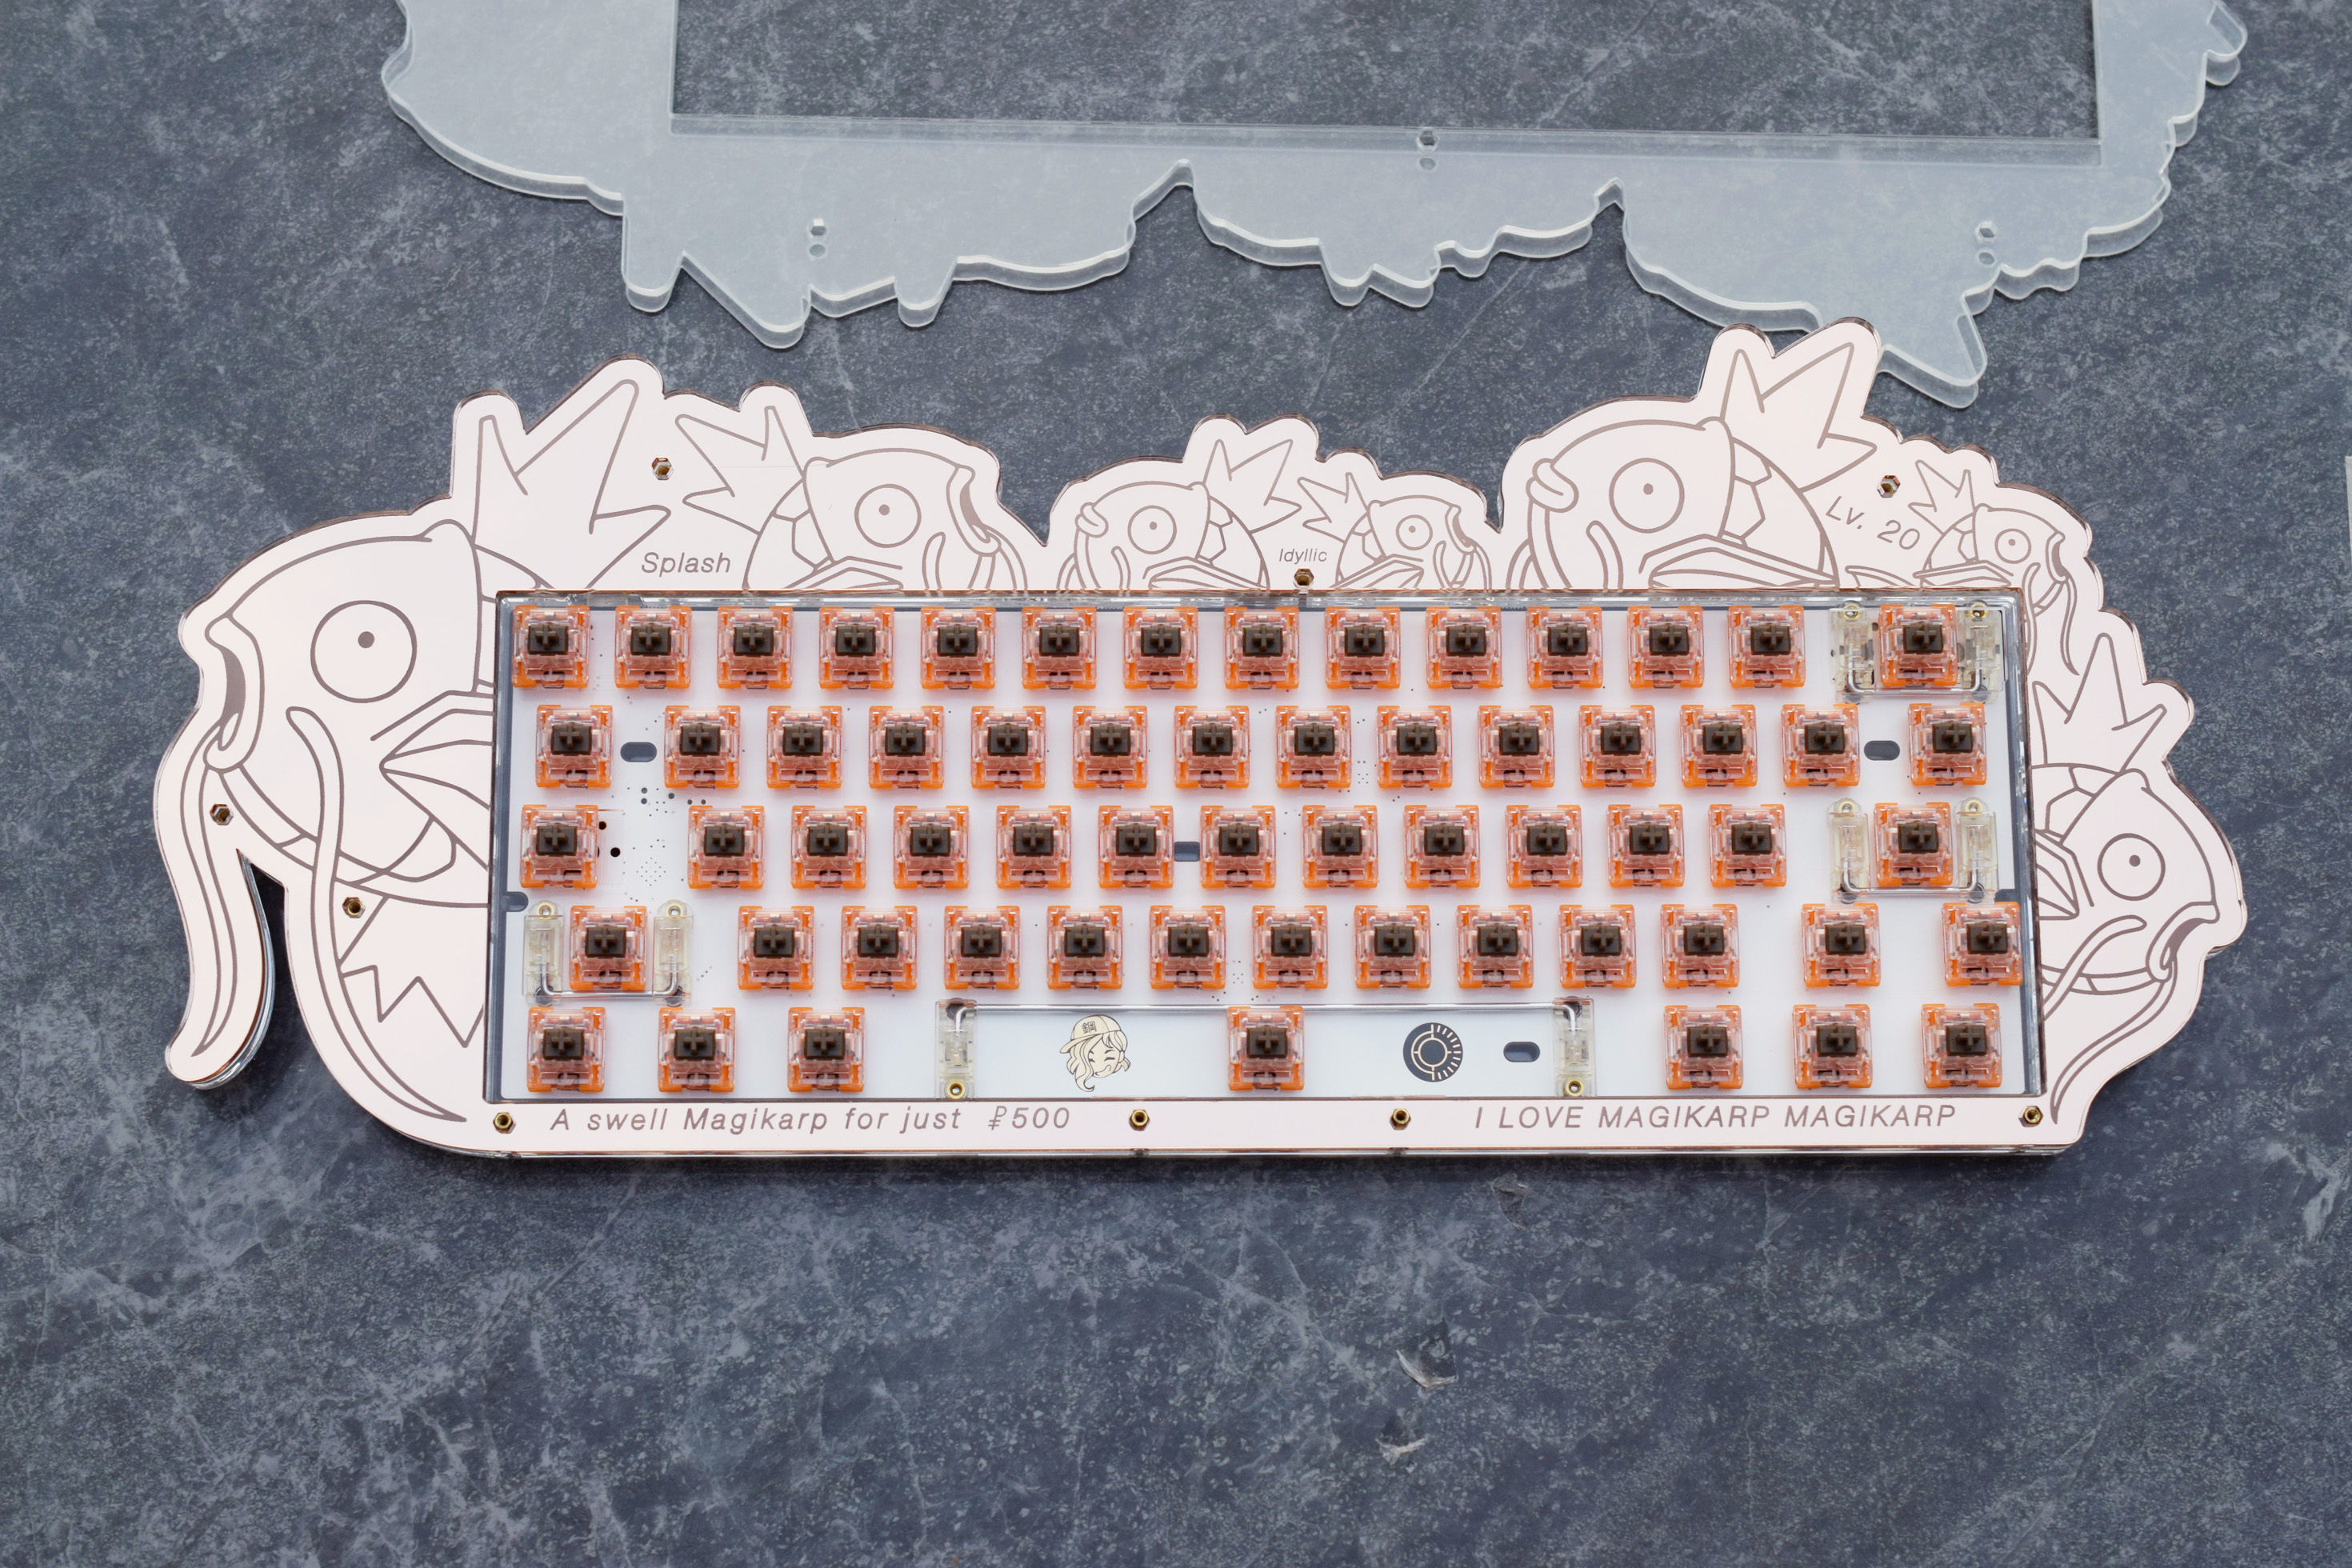
Grab your Plate and PCB; it’s time to add it into the stack. Connect the JST cable from the daughterboard to the PCB.

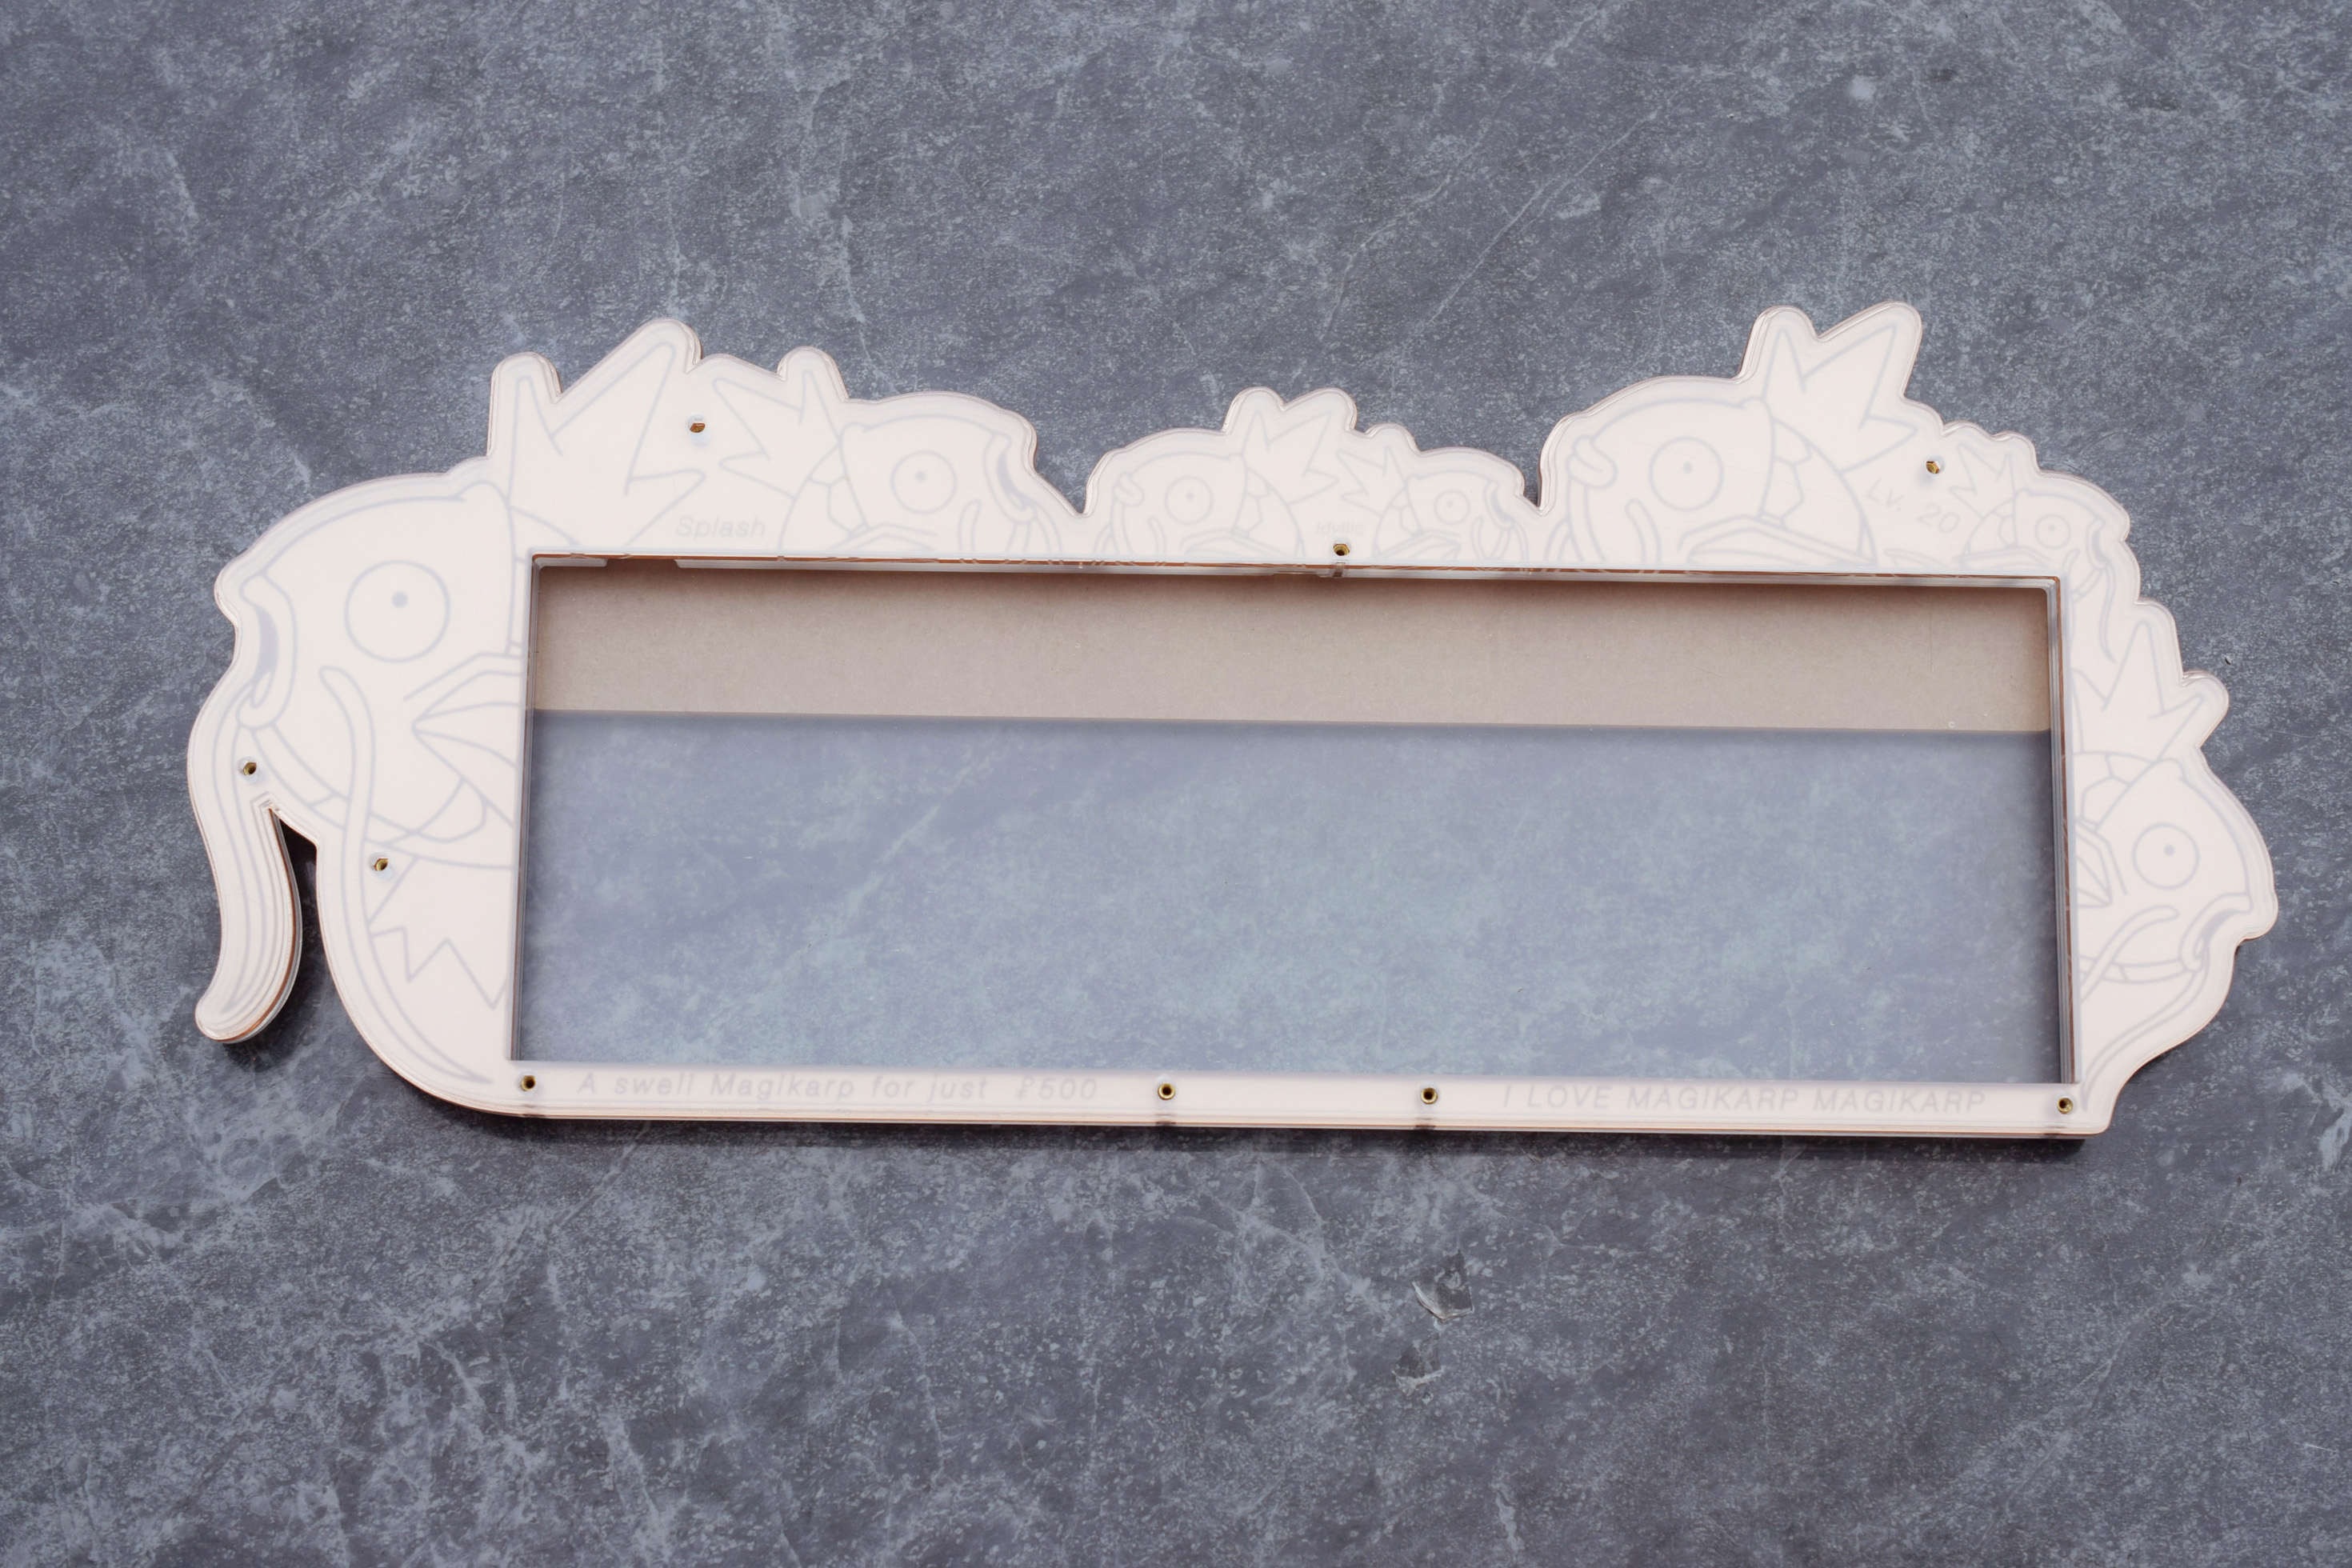
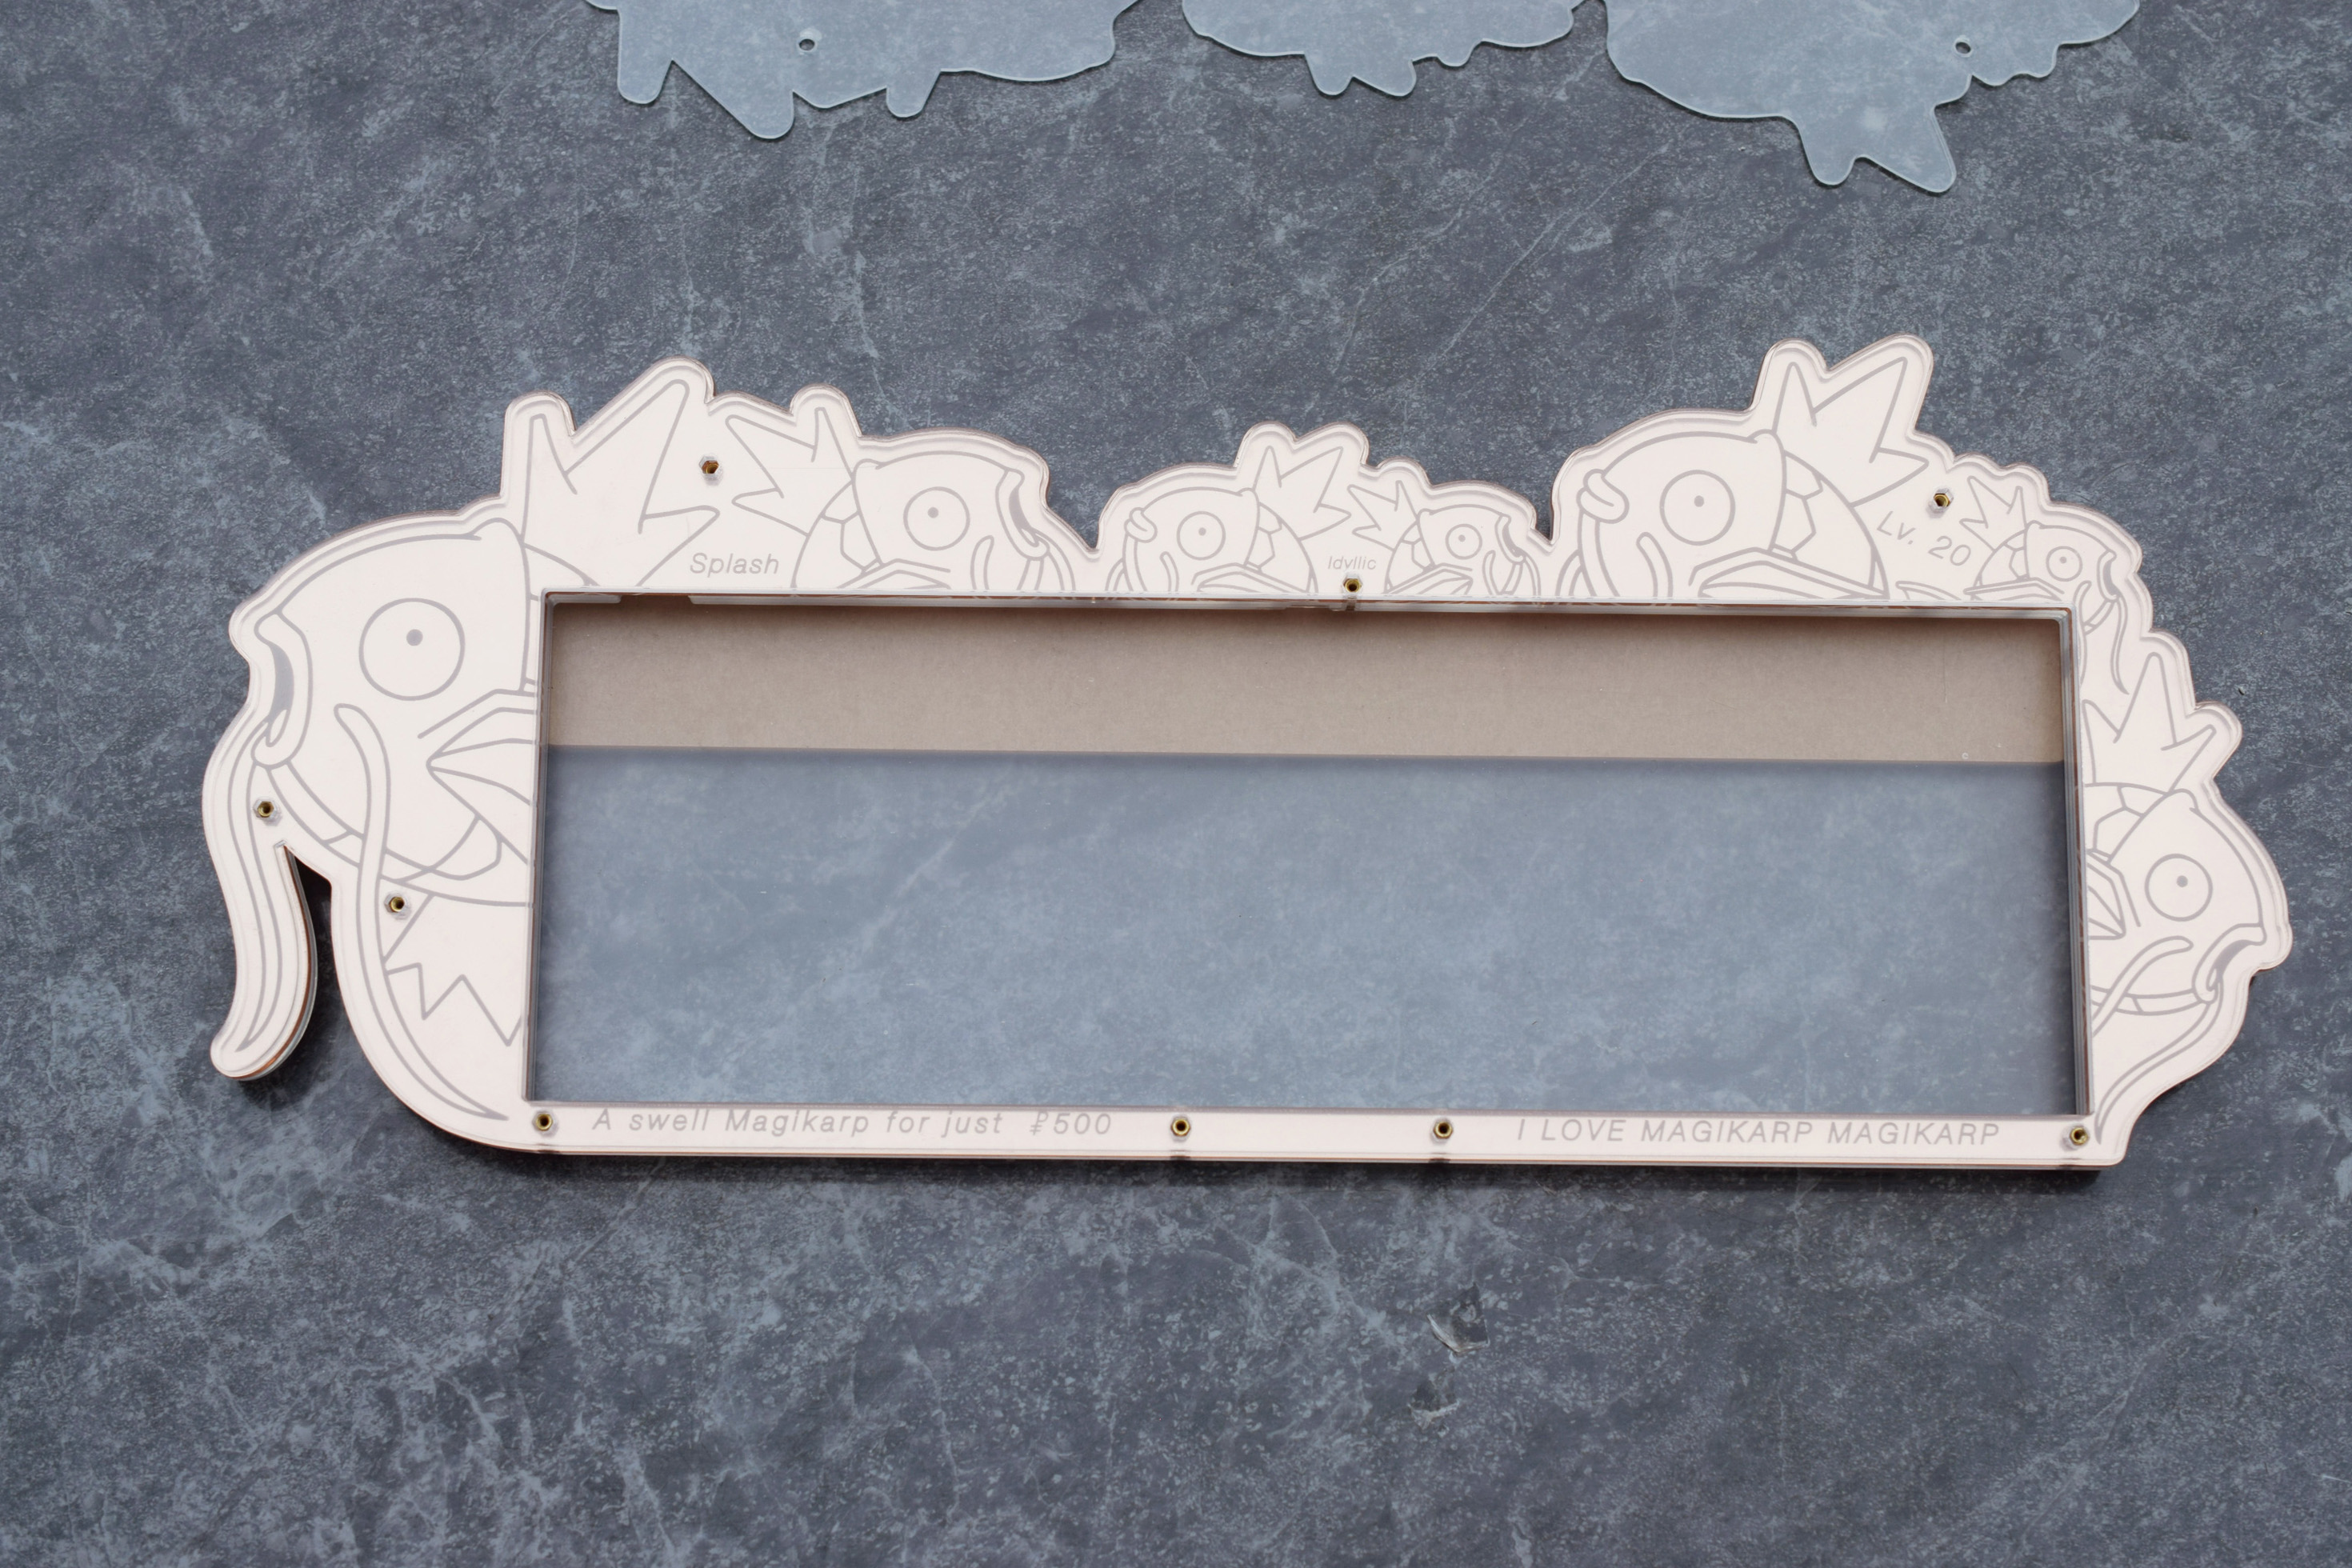
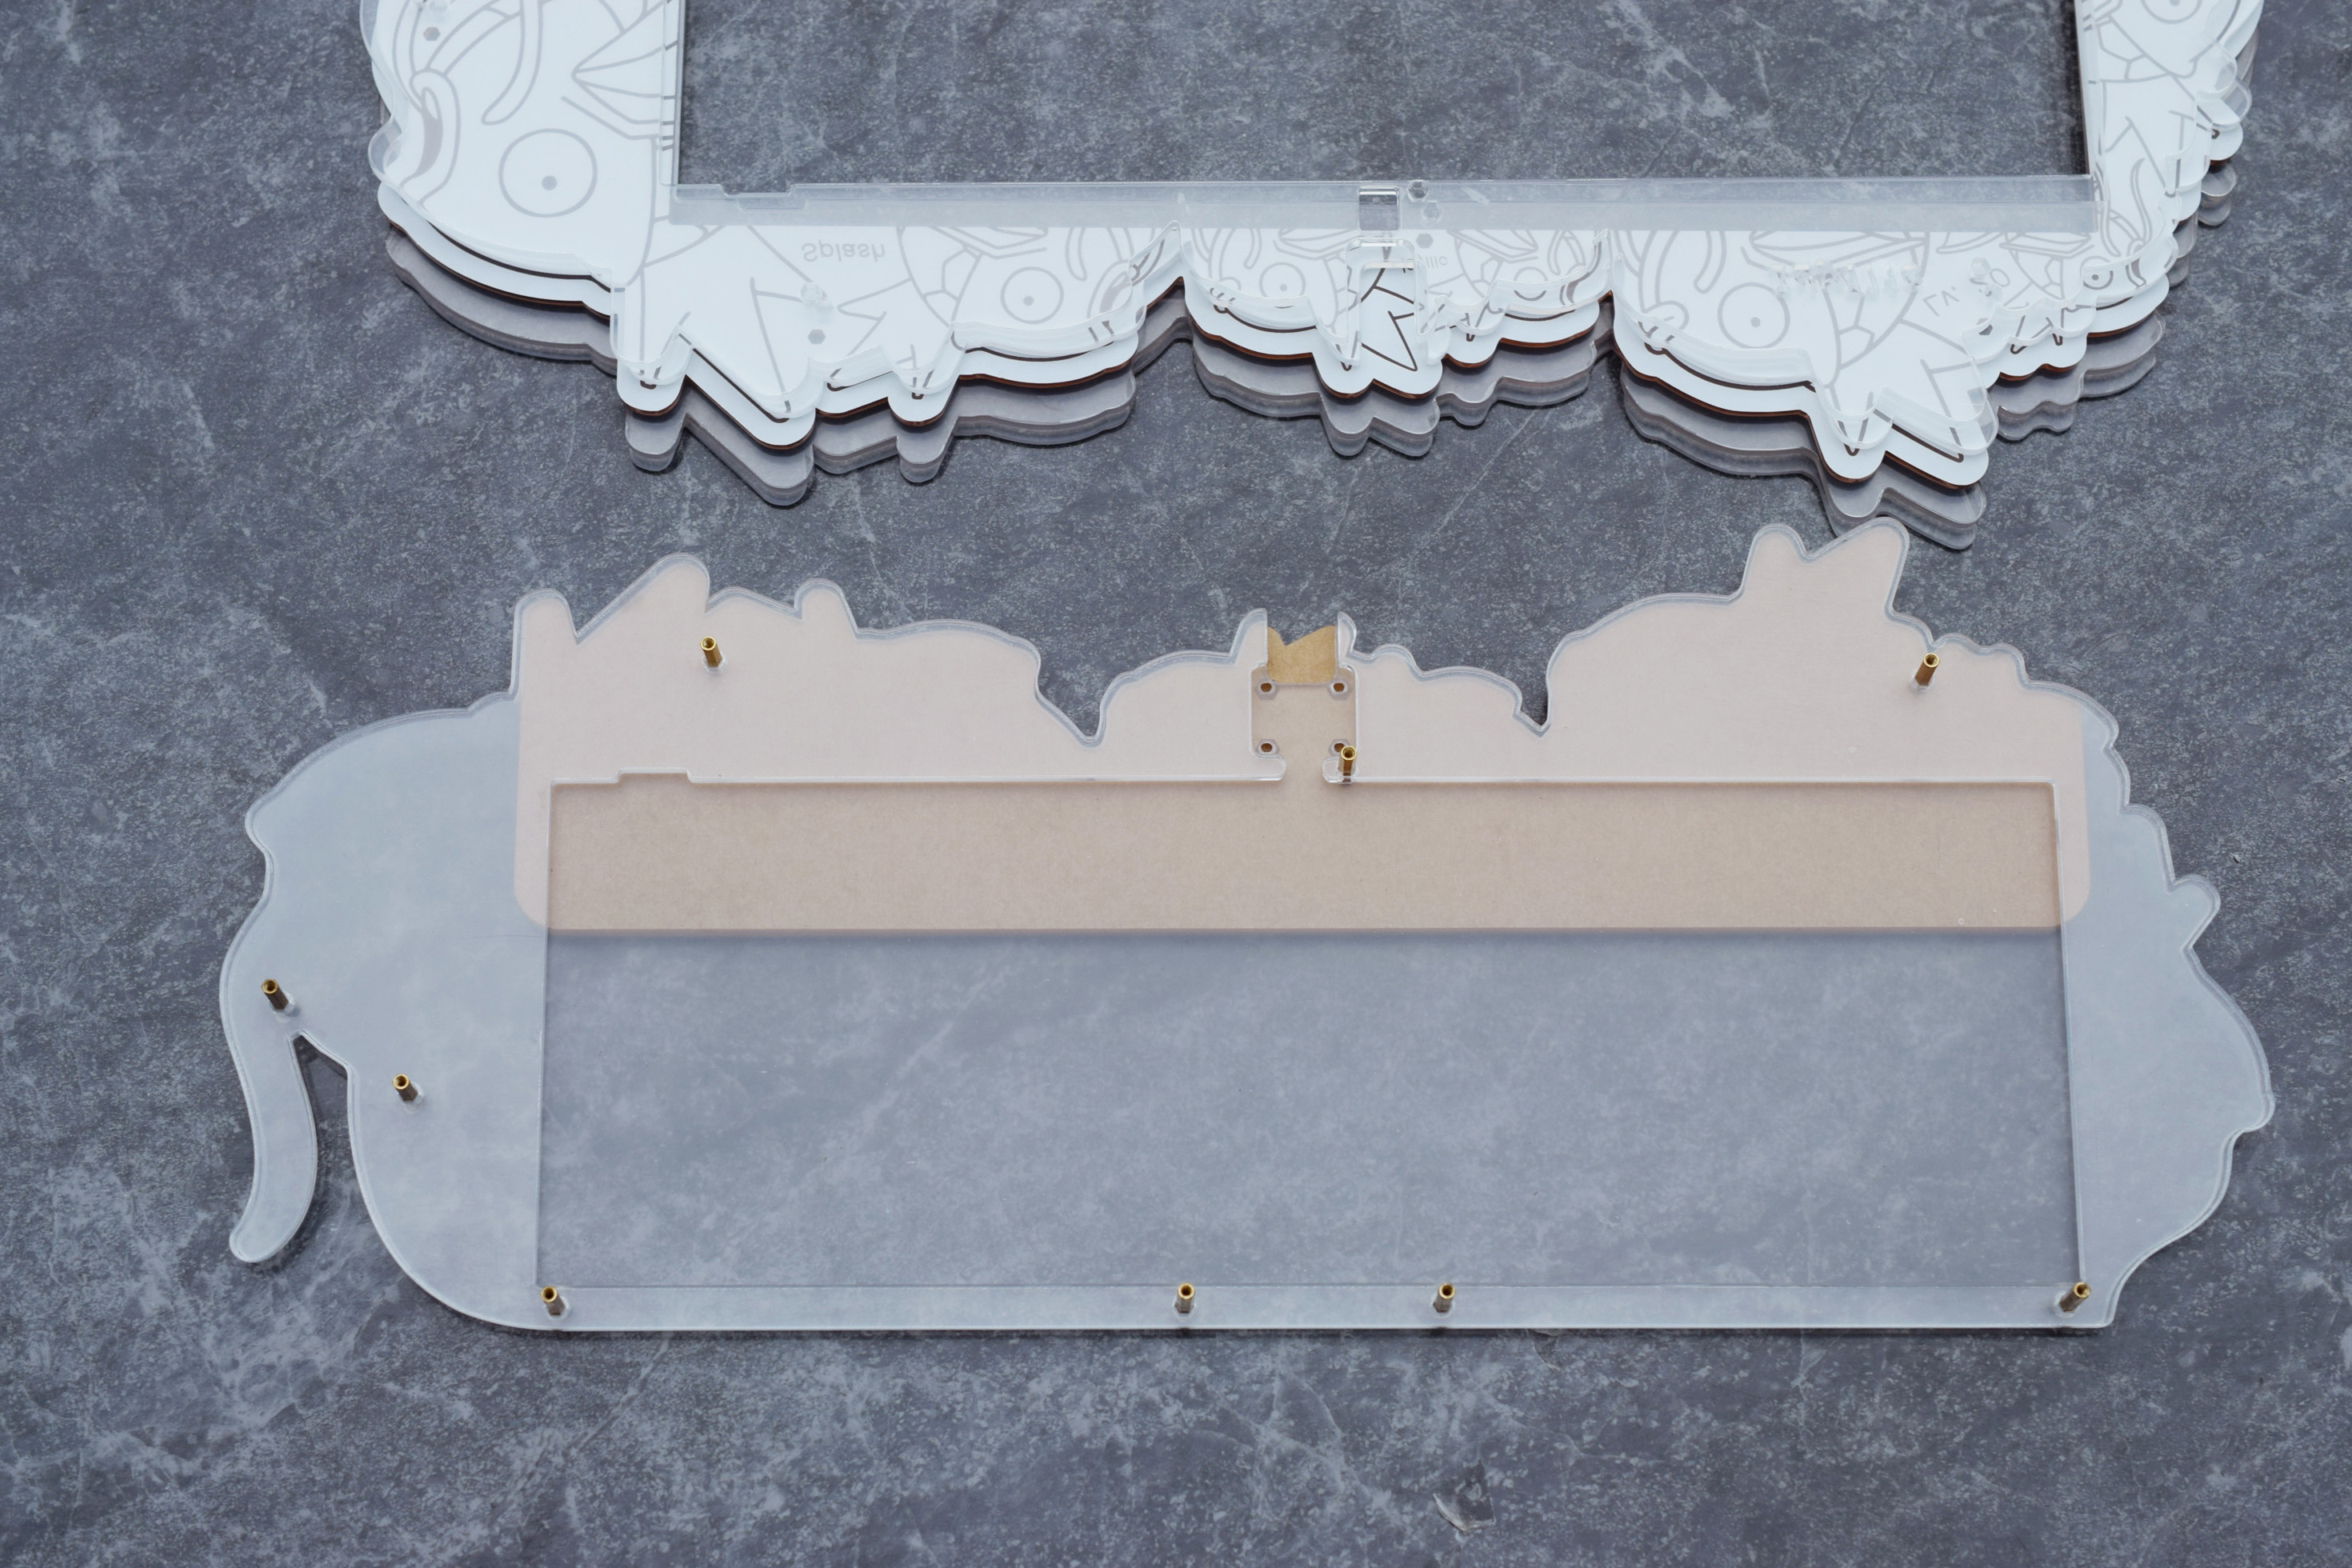
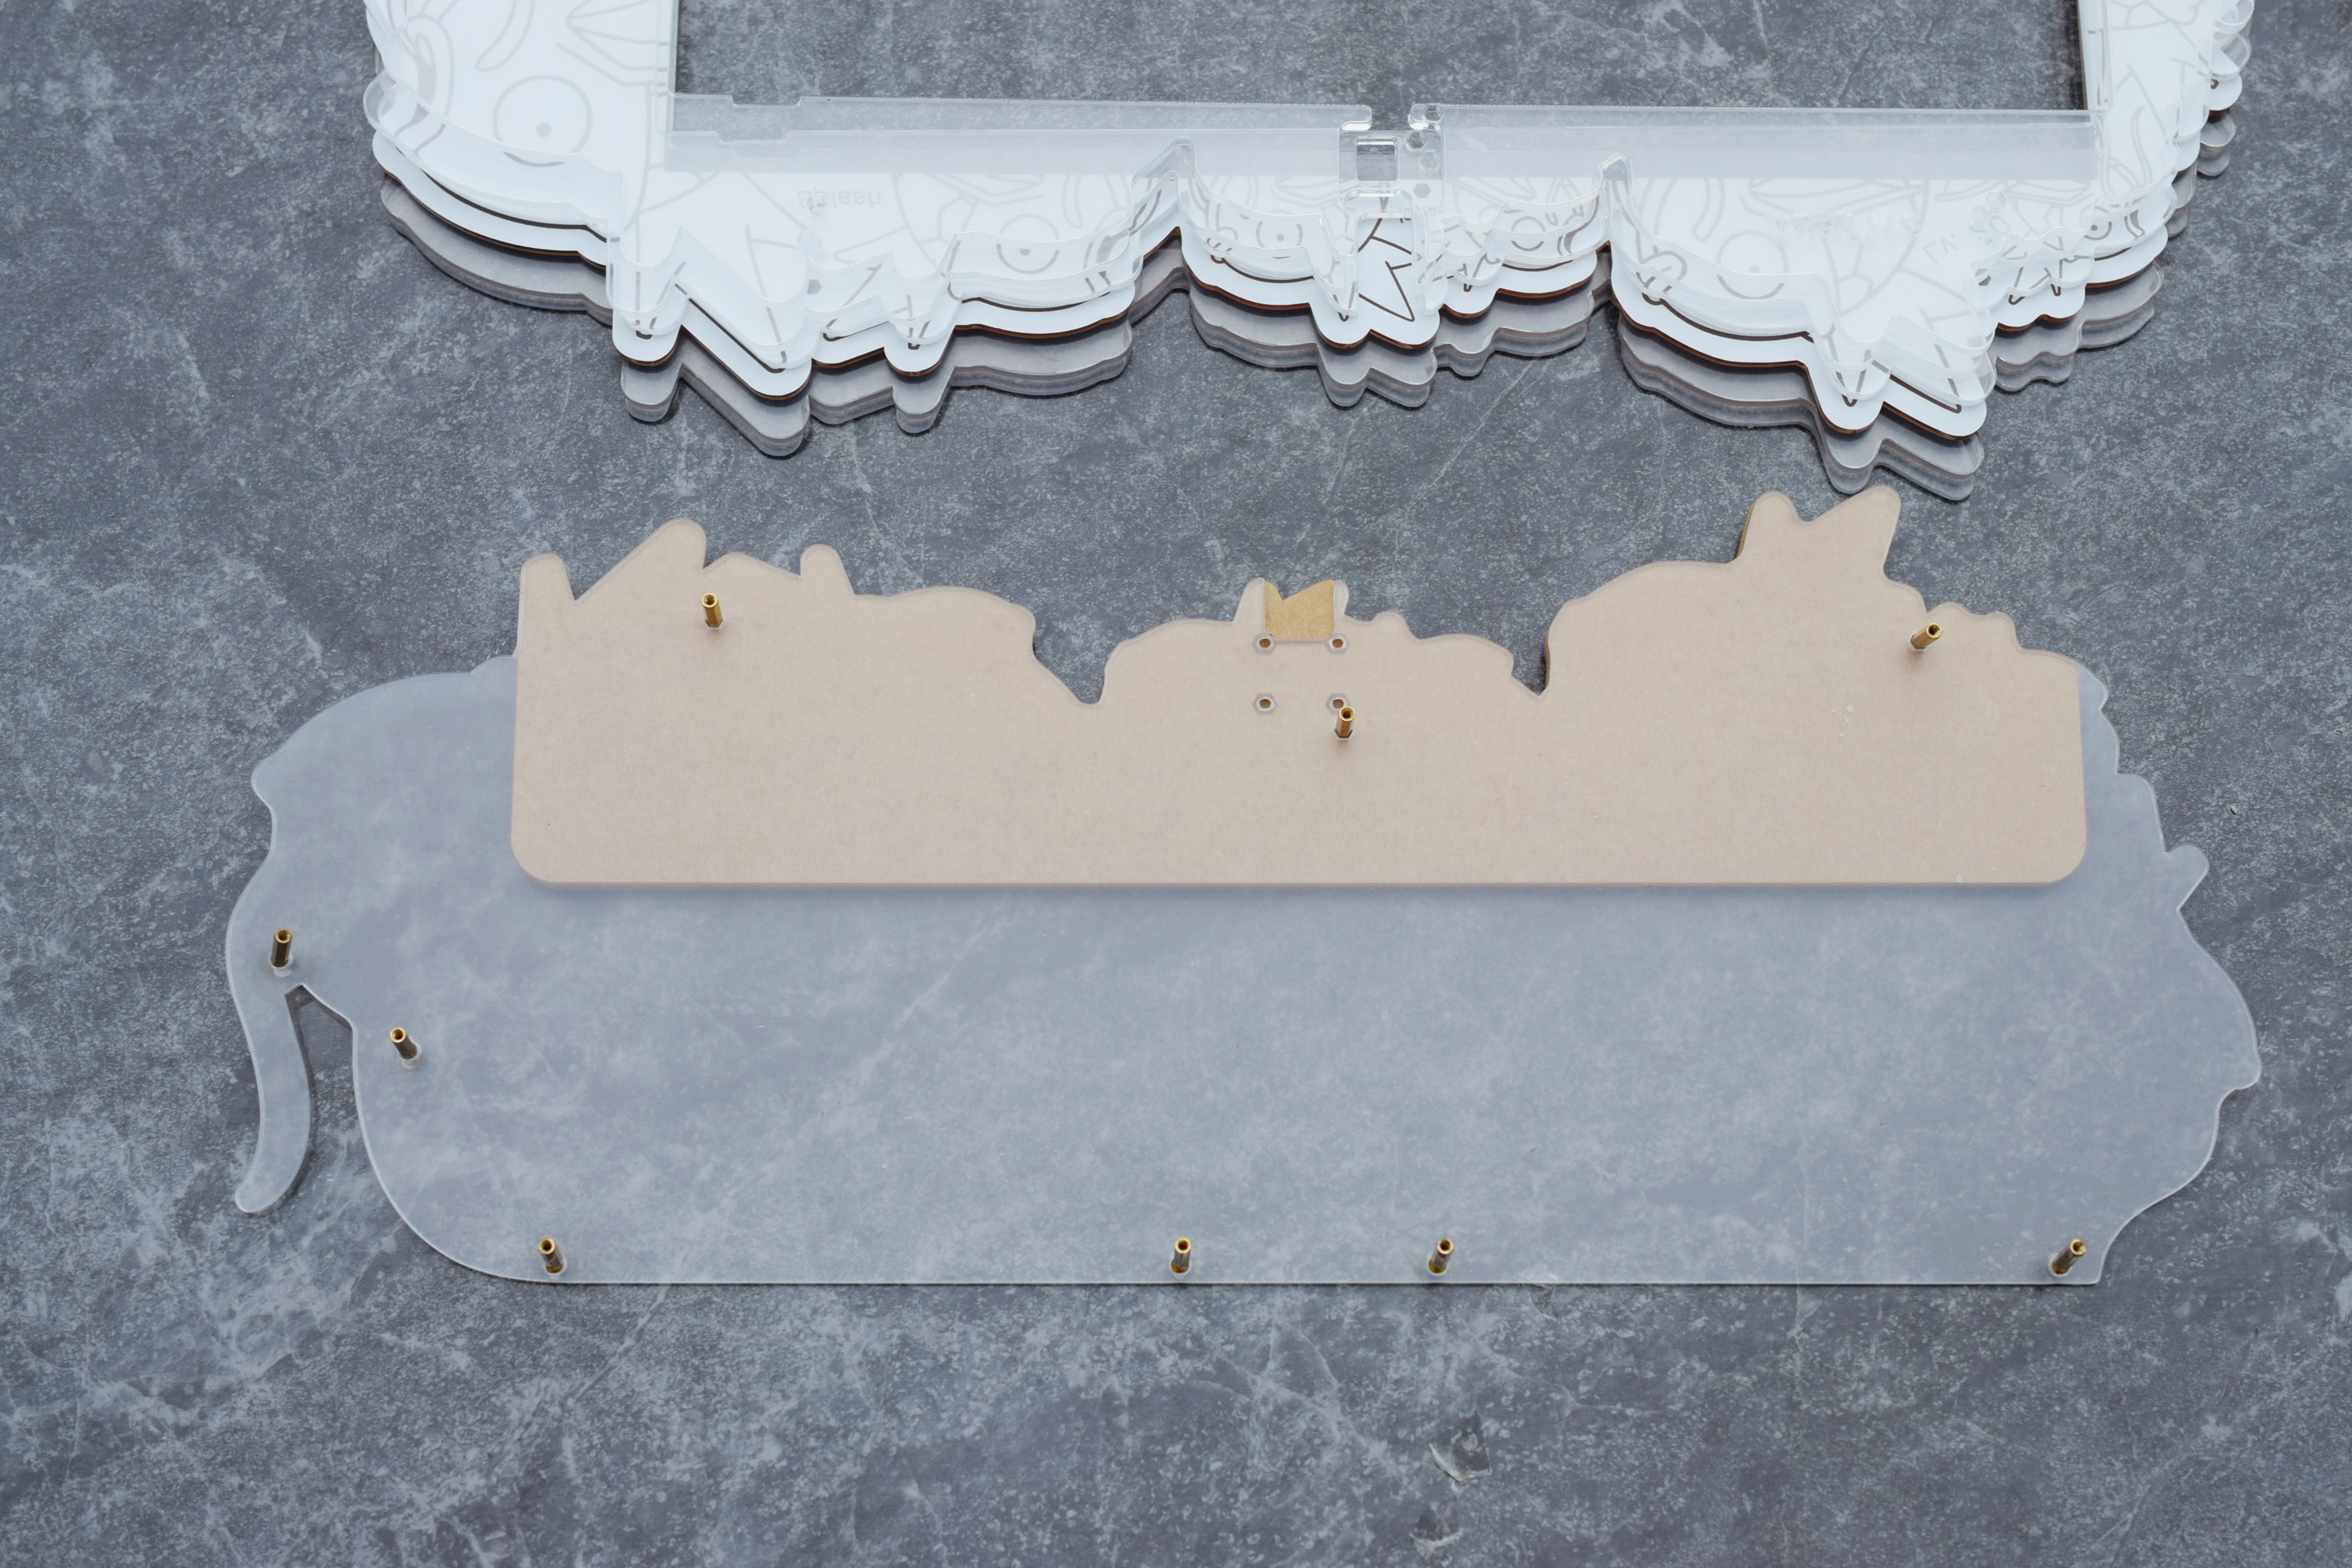
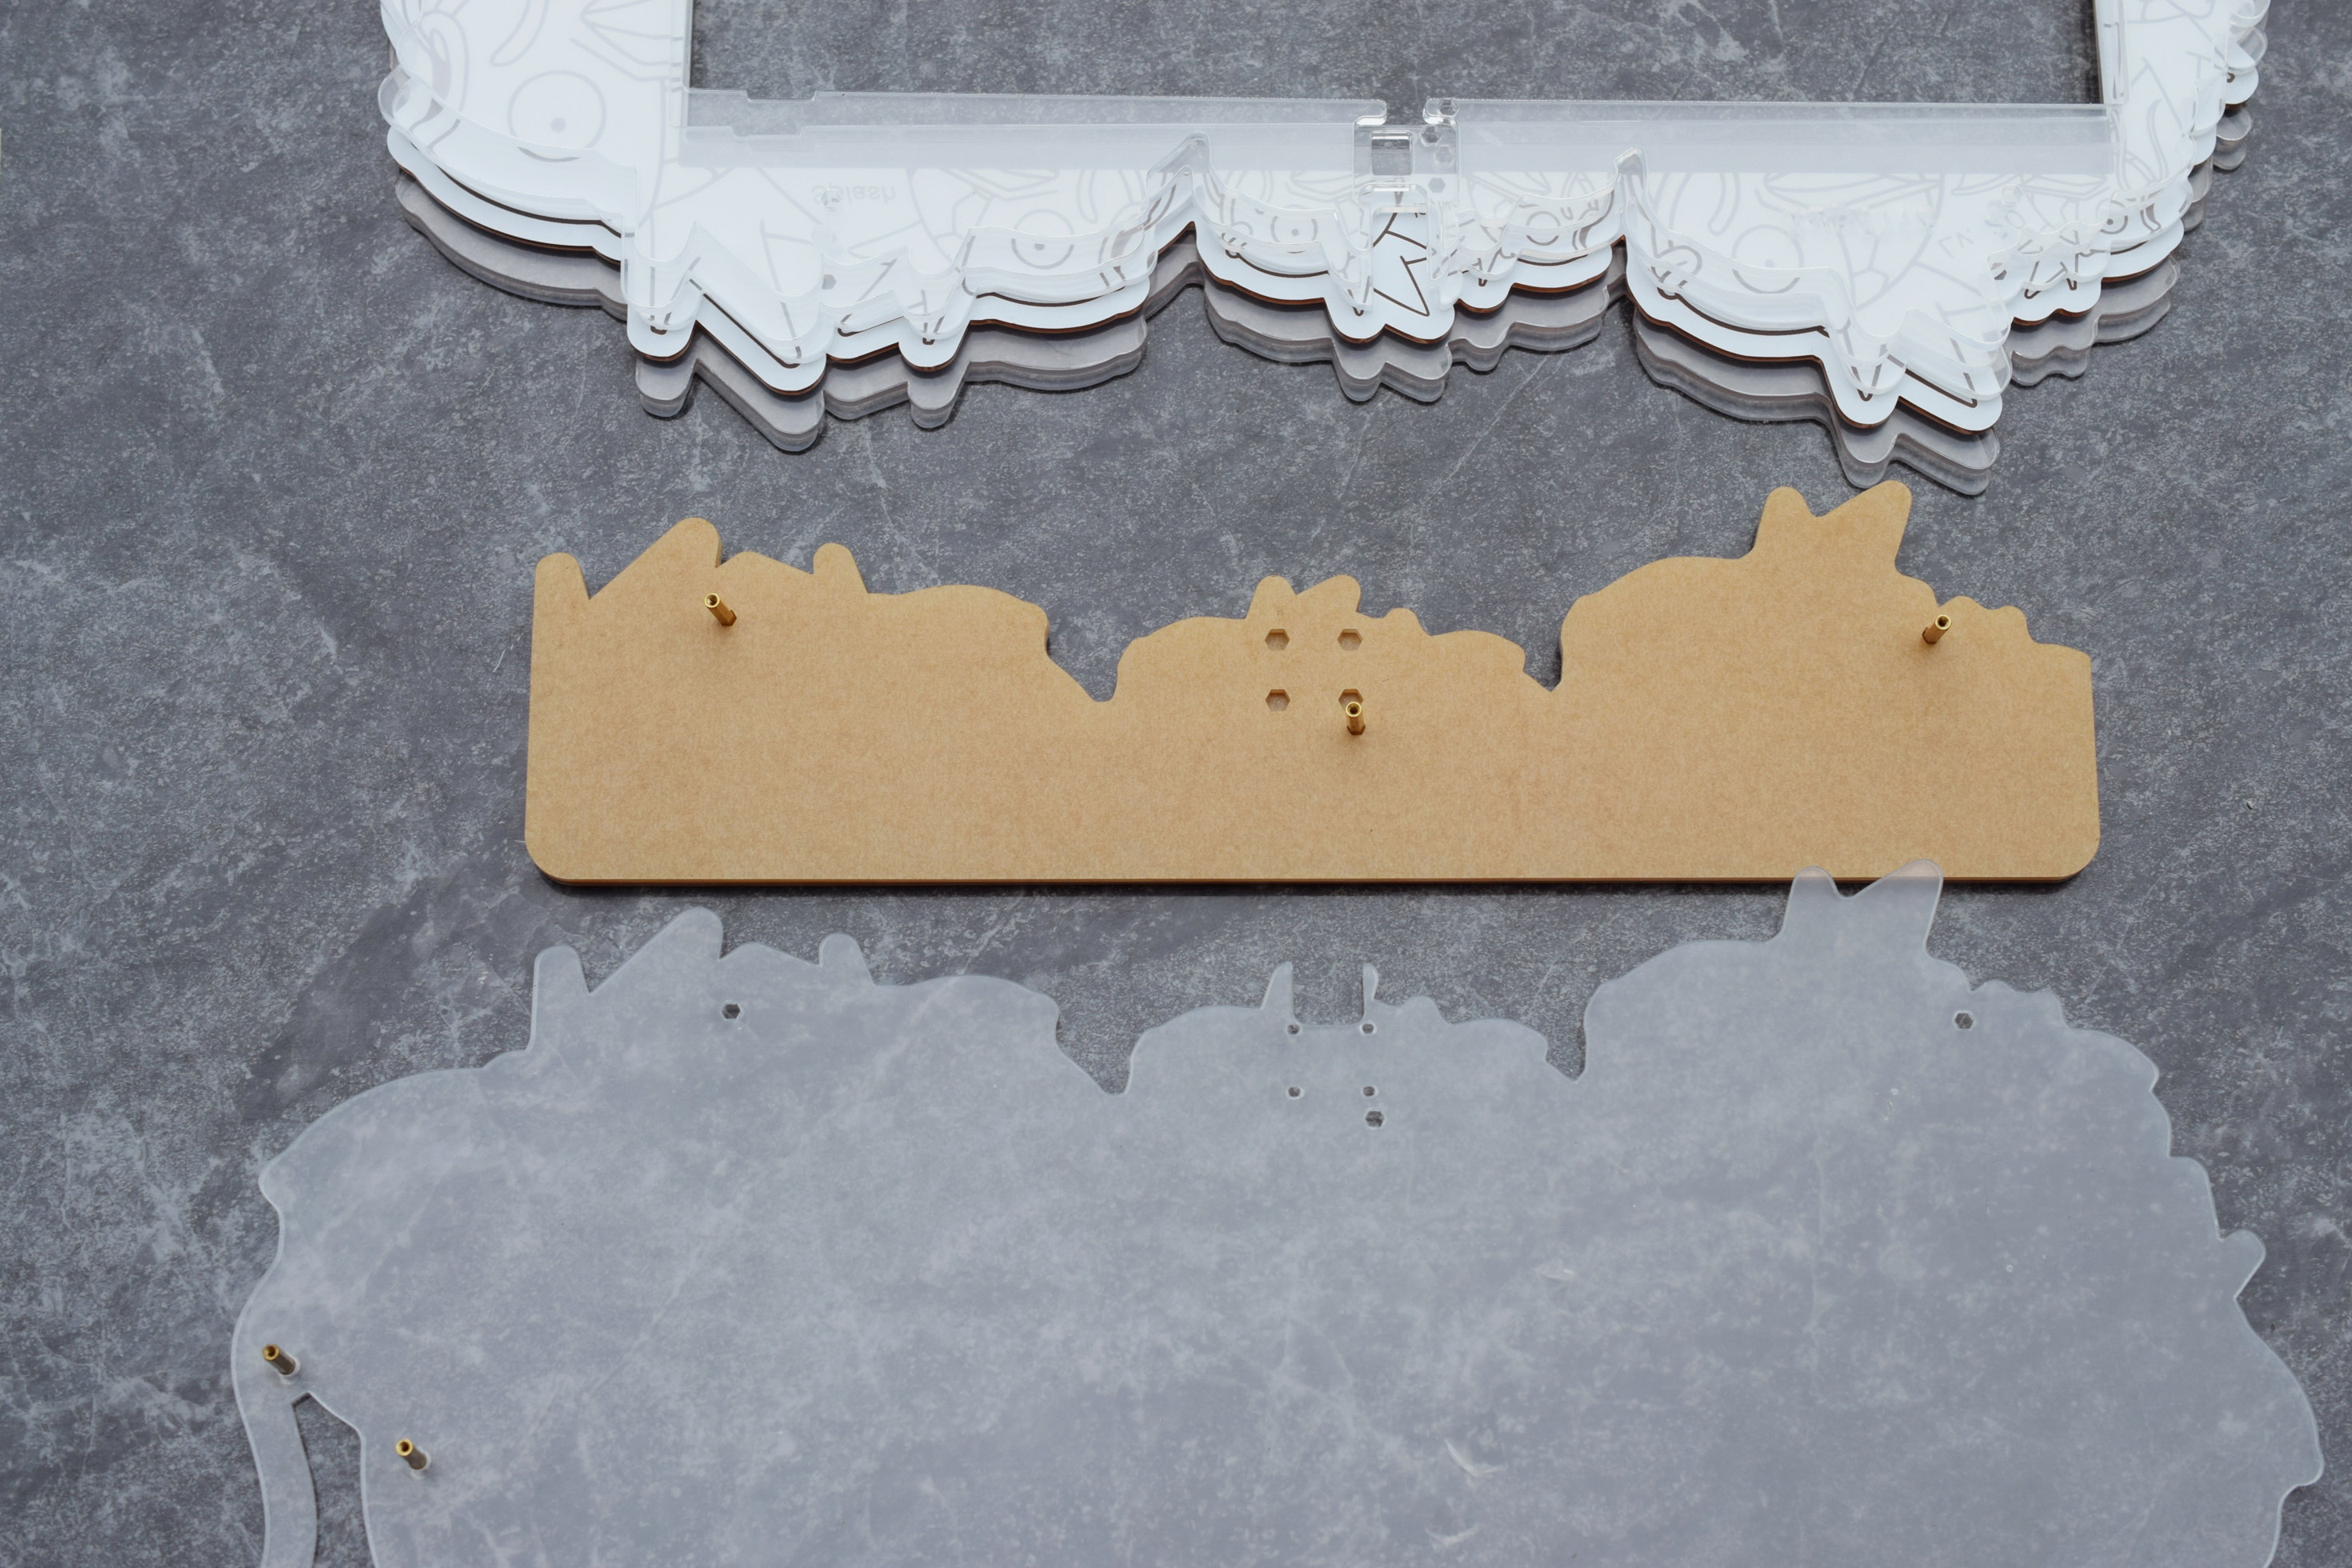
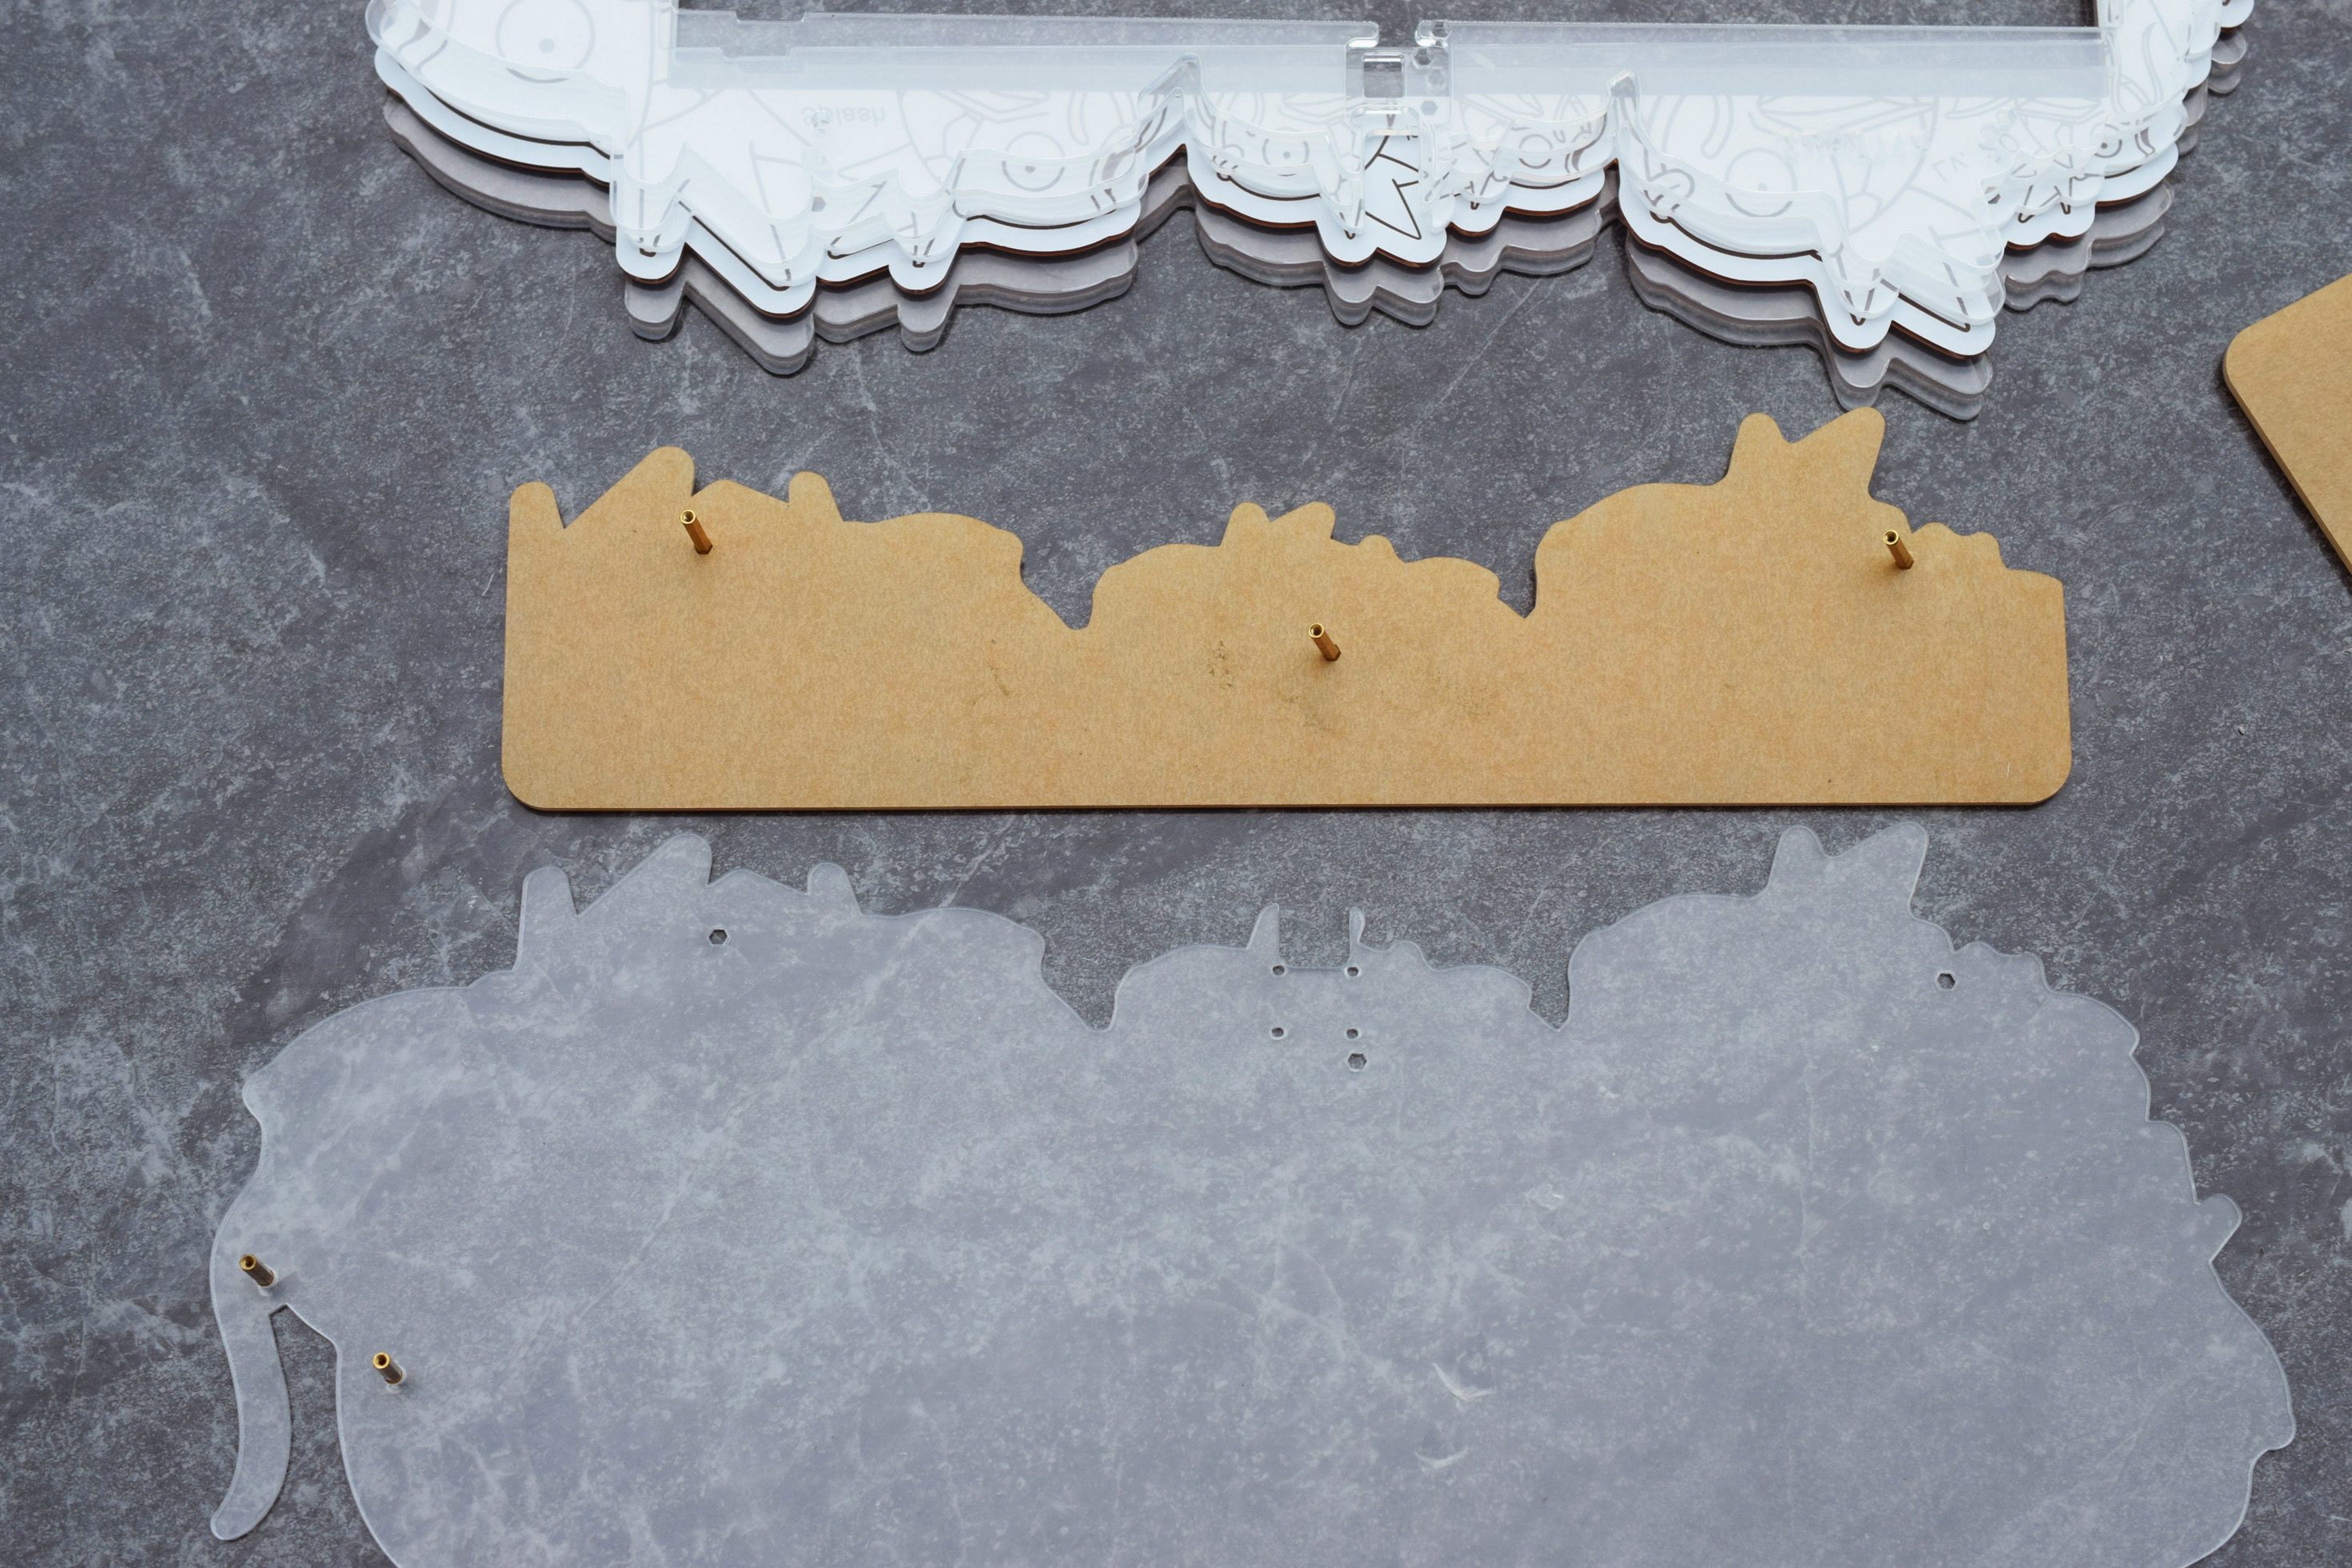
Build Guide with Pictures - Removing all the dust from the final Layers
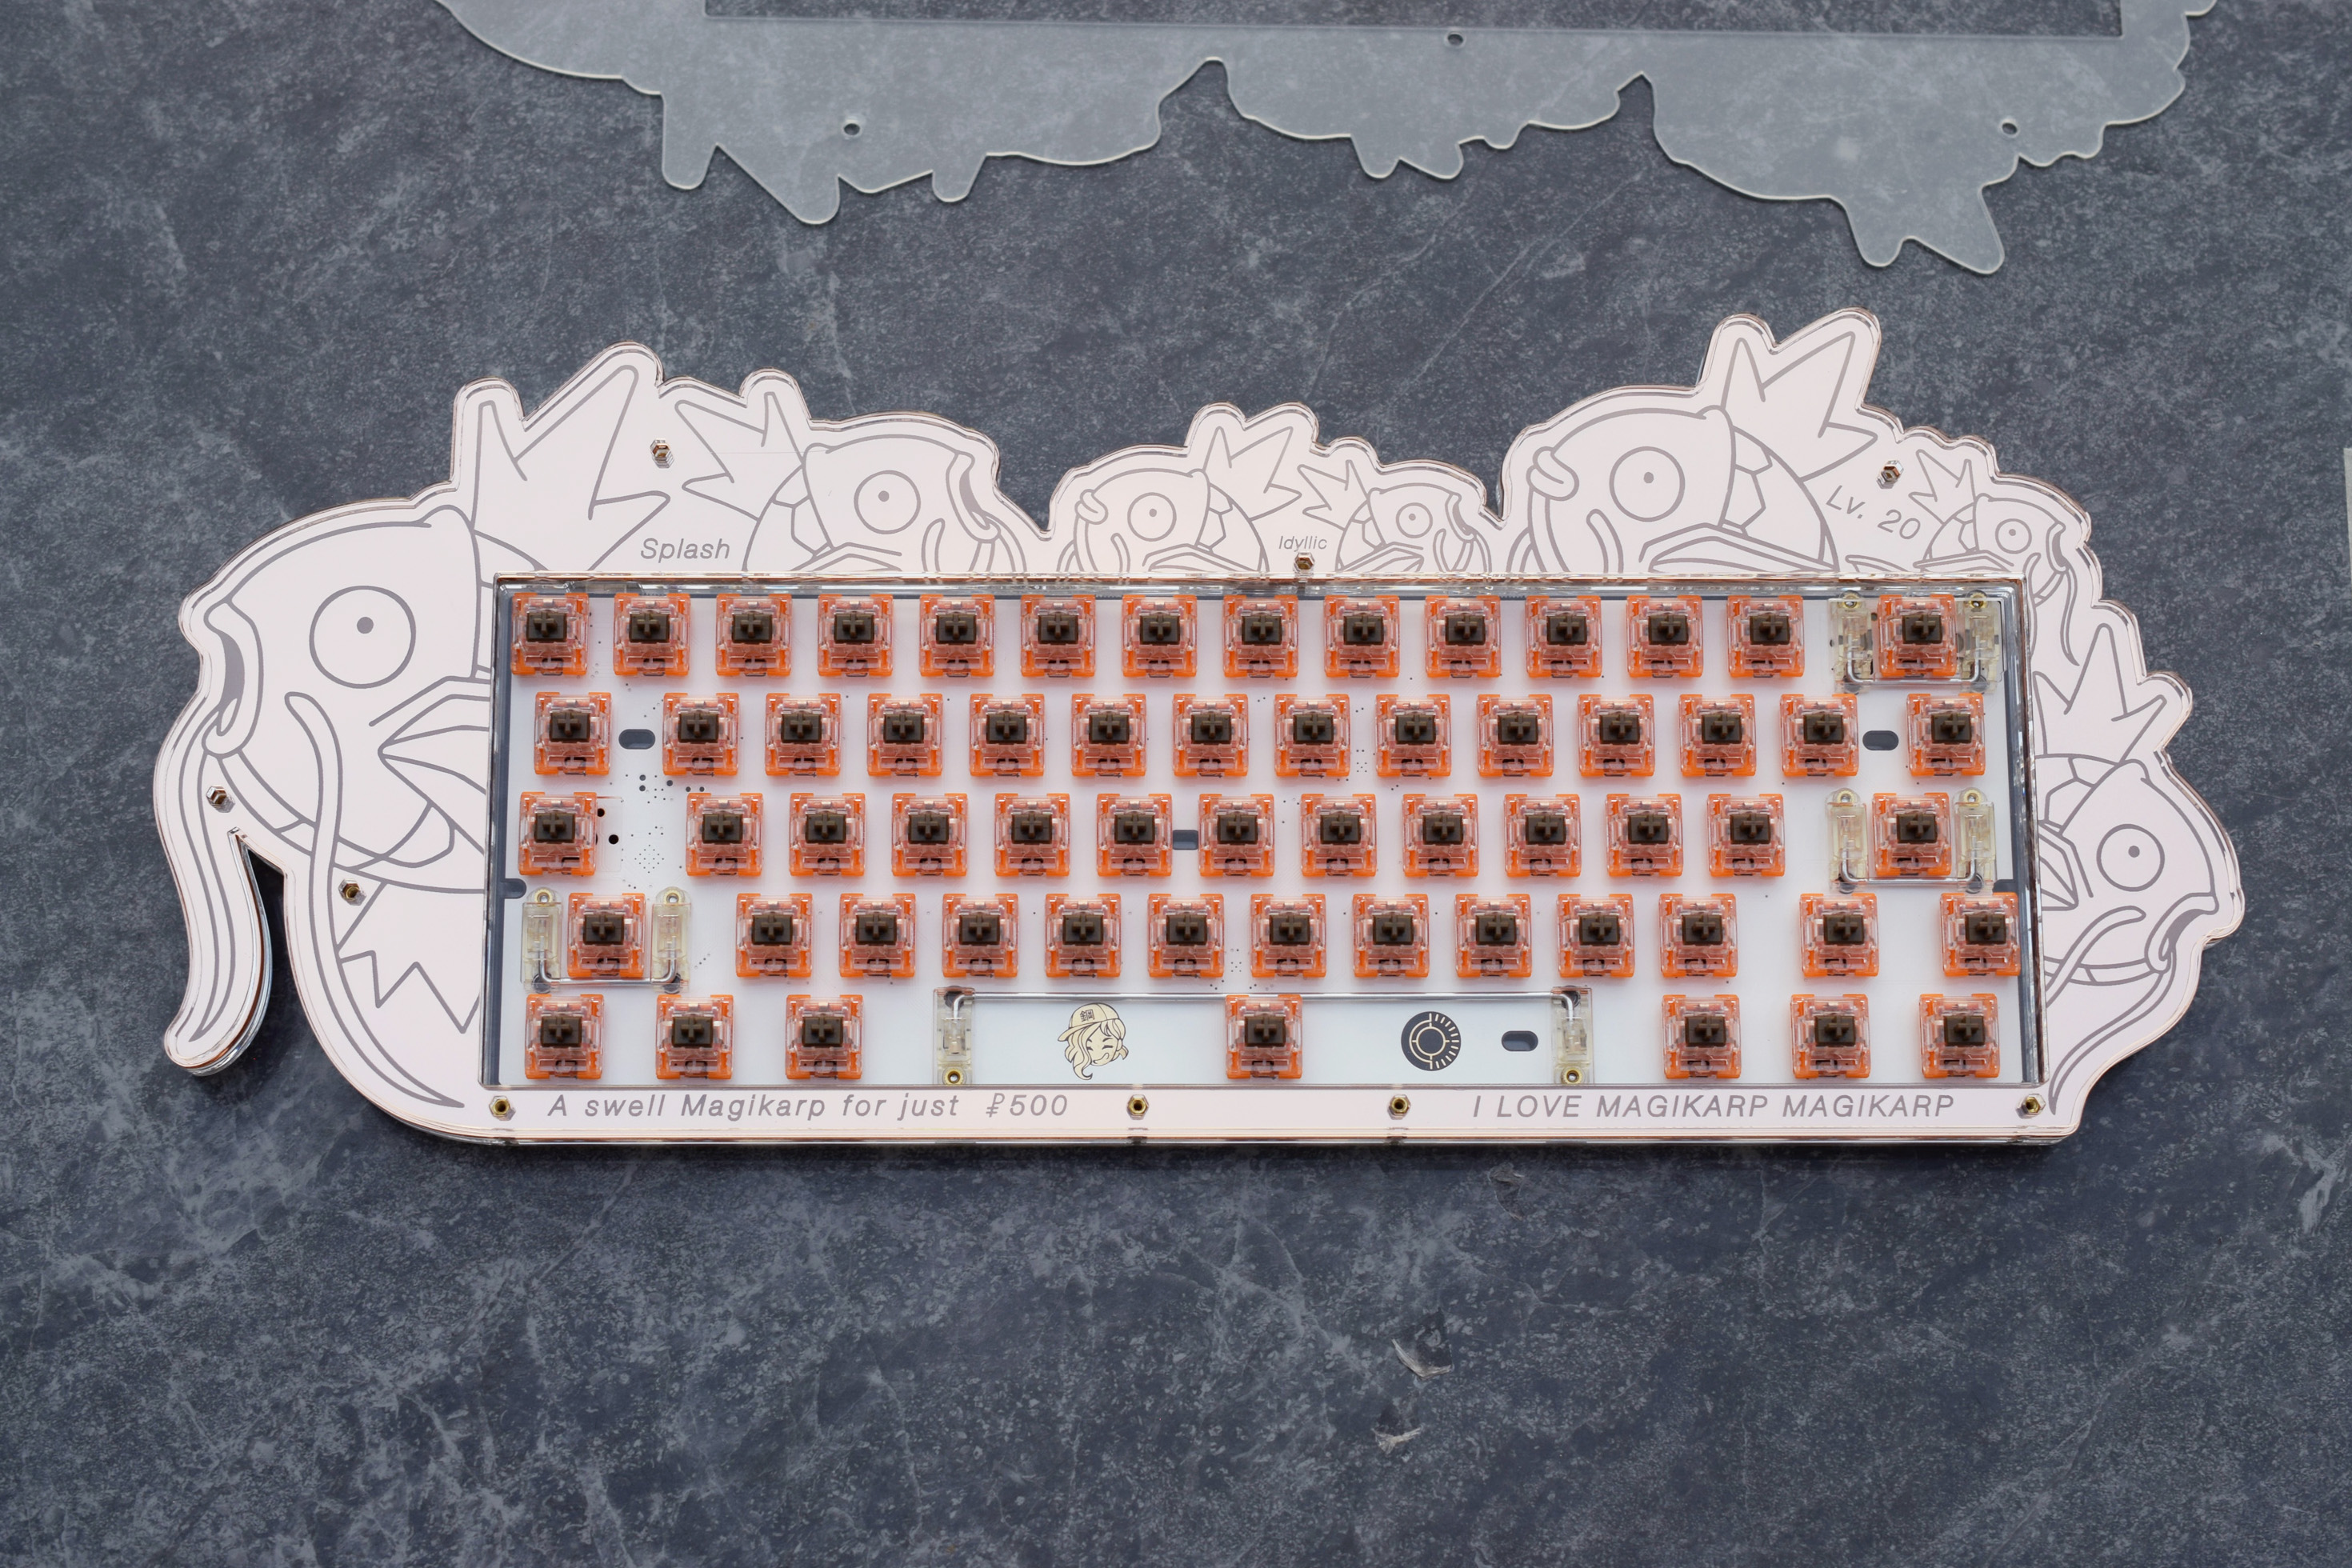
We are now up to the final three layers. Since these are the top pieces, any dust that gets trapped here will be visiable from the top.
I spend >5 minutes wiping each layer to make sure the acrylic is as clean as possible.
Do whatever it takes to get the best result you can and remove as much dust as possible. Examples: Wear rubber gloves, wash your hands with soapy water, use a damp microfiber cloth
Screw the case back together; don’t forget to install the remaining smaller bumpons on the underside of the case.
Your case is now built!
Thank you for the support; if you have any questions or need more advice please send me an email.
Email: idyllic@acrylicperipherals.com