Spontaneous TGR Jane V2 ME Build
17 October 2022
Disclaimer: This is not a build guide nor is the photography the greatest.
This is Idyllic having fun and capturing the moment.
Background
On Wednesday the 28th of September, I was fortunate enough to find an invoice for the TGR Jane V2 ME in my inbox. This wasn’t something I needed to have, but how can I turn-down the opportunity to own a keyboard boasting the TGR name.
Monokei’s service was great and the keyboard arrived to me on October the 10th after being in transit with DHL for 4 business days.
At this point, I didn’t have anything in-mind for the keyboard and was too busy with other things to make time for building. When it arrived, the initial decision was to let it rest in the Kaban for a while longer.
Coincidently, around this time, EPBT SimpleJa R2 had completed production, and my IRL friend was excited to finally get her first GB keyset after waiting >1.5 years. Unfortunately, being relatively normal, she doesn’t own an array of keyboards, and therefore didn’t really have anything to put the keycaps on.
Curious to see the quality of the EPBT dye-sub, I offered to let her build and borrow the TGR Jane ME. We both win in this situation; she has something to put SimpleJa onto, and I get my Jane V2 built.
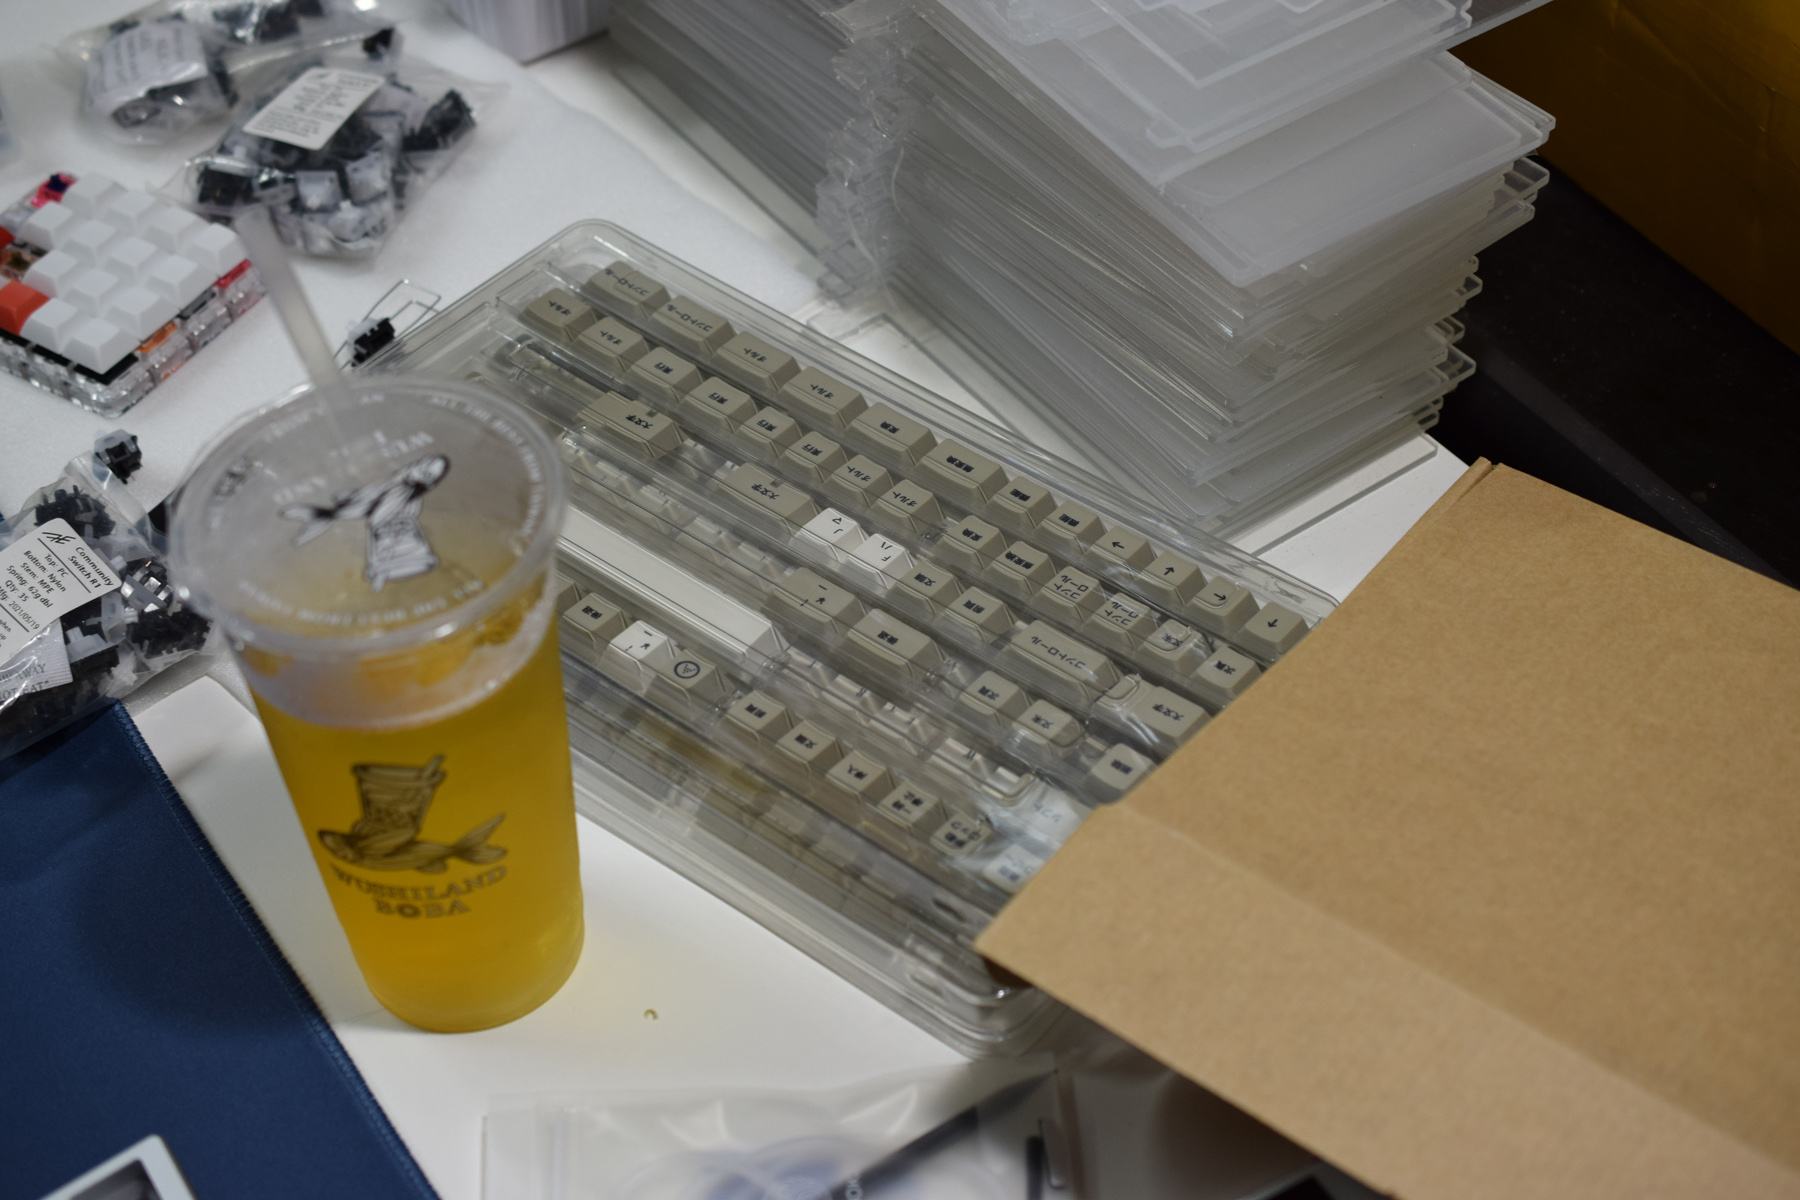
With University concluding and the end of year approaching, the odd hours of a Monday was chosen to build the keyboard — Friend A and Friend B arrived with my Bubble Tea order at around 8:30pm.
The Build Plan:
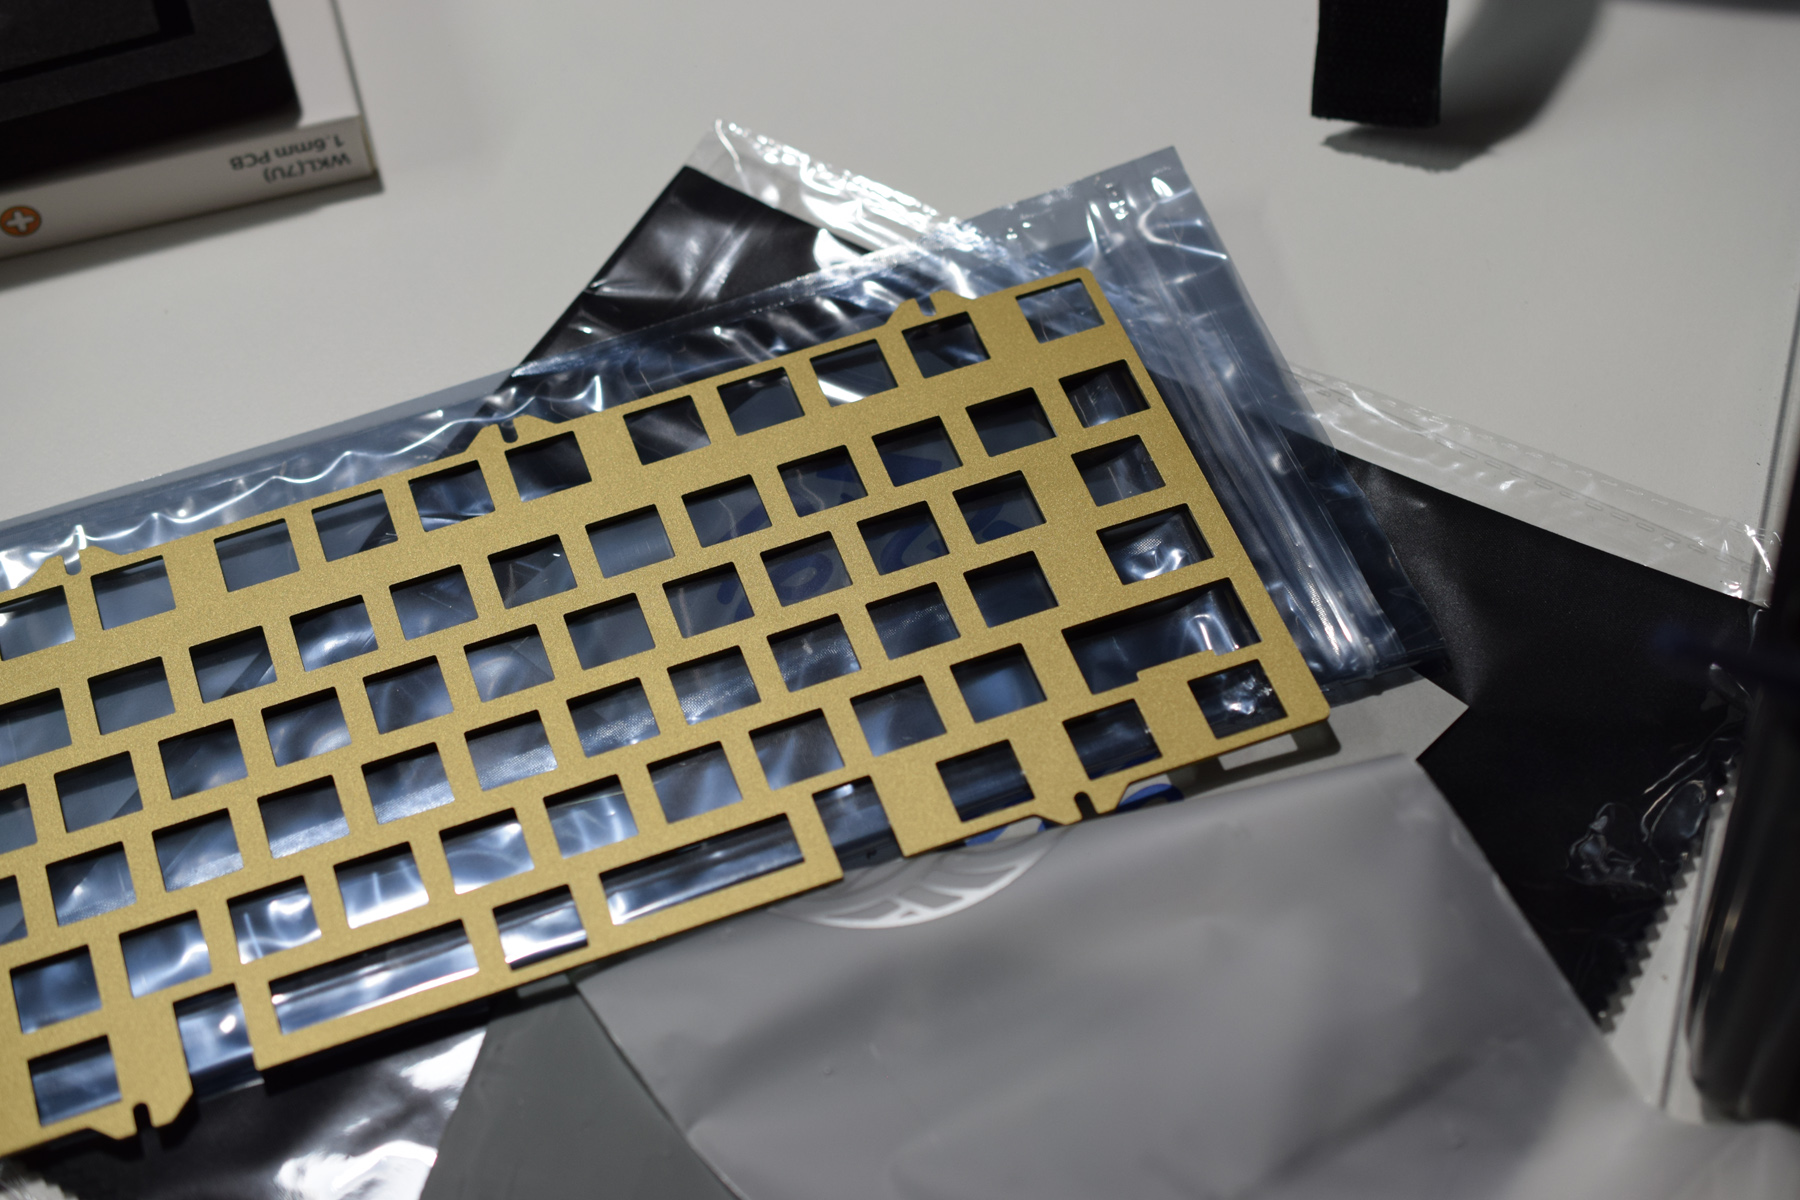
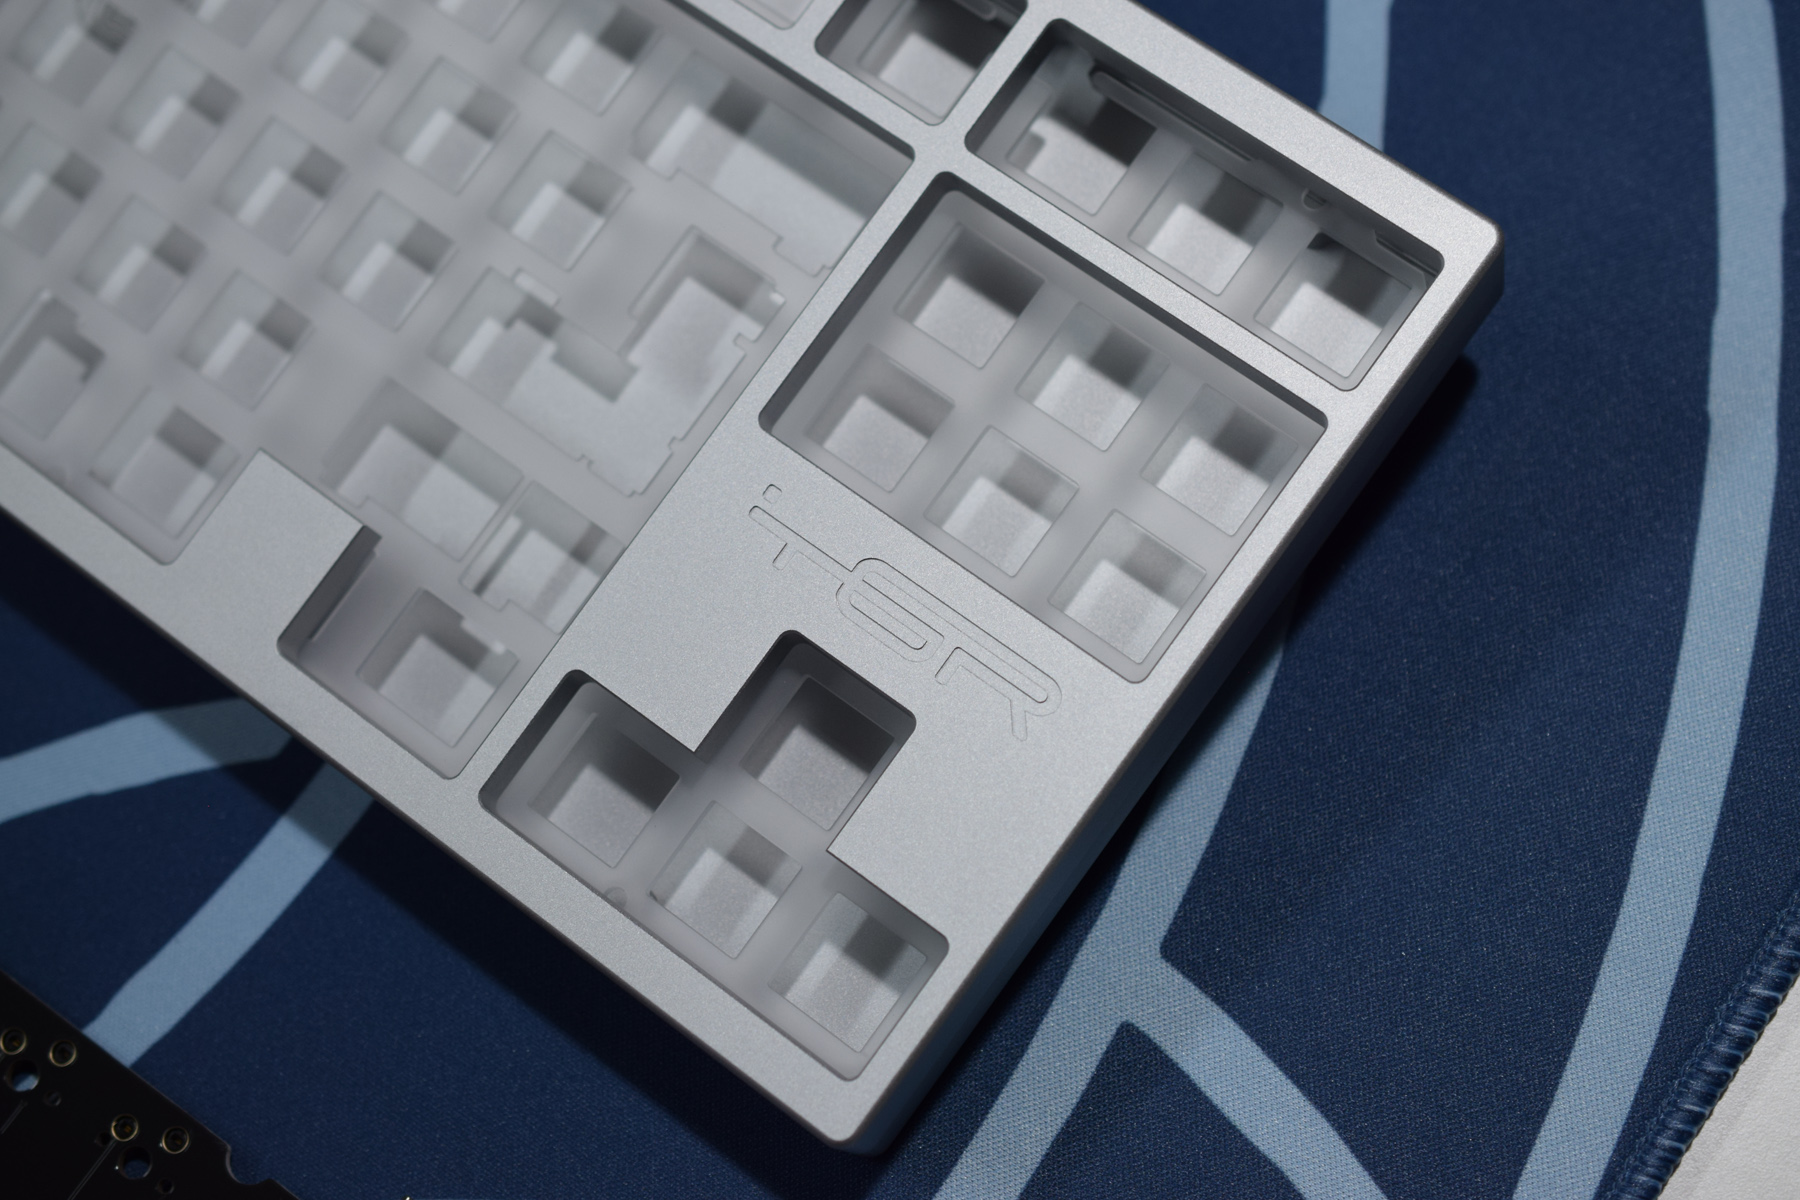
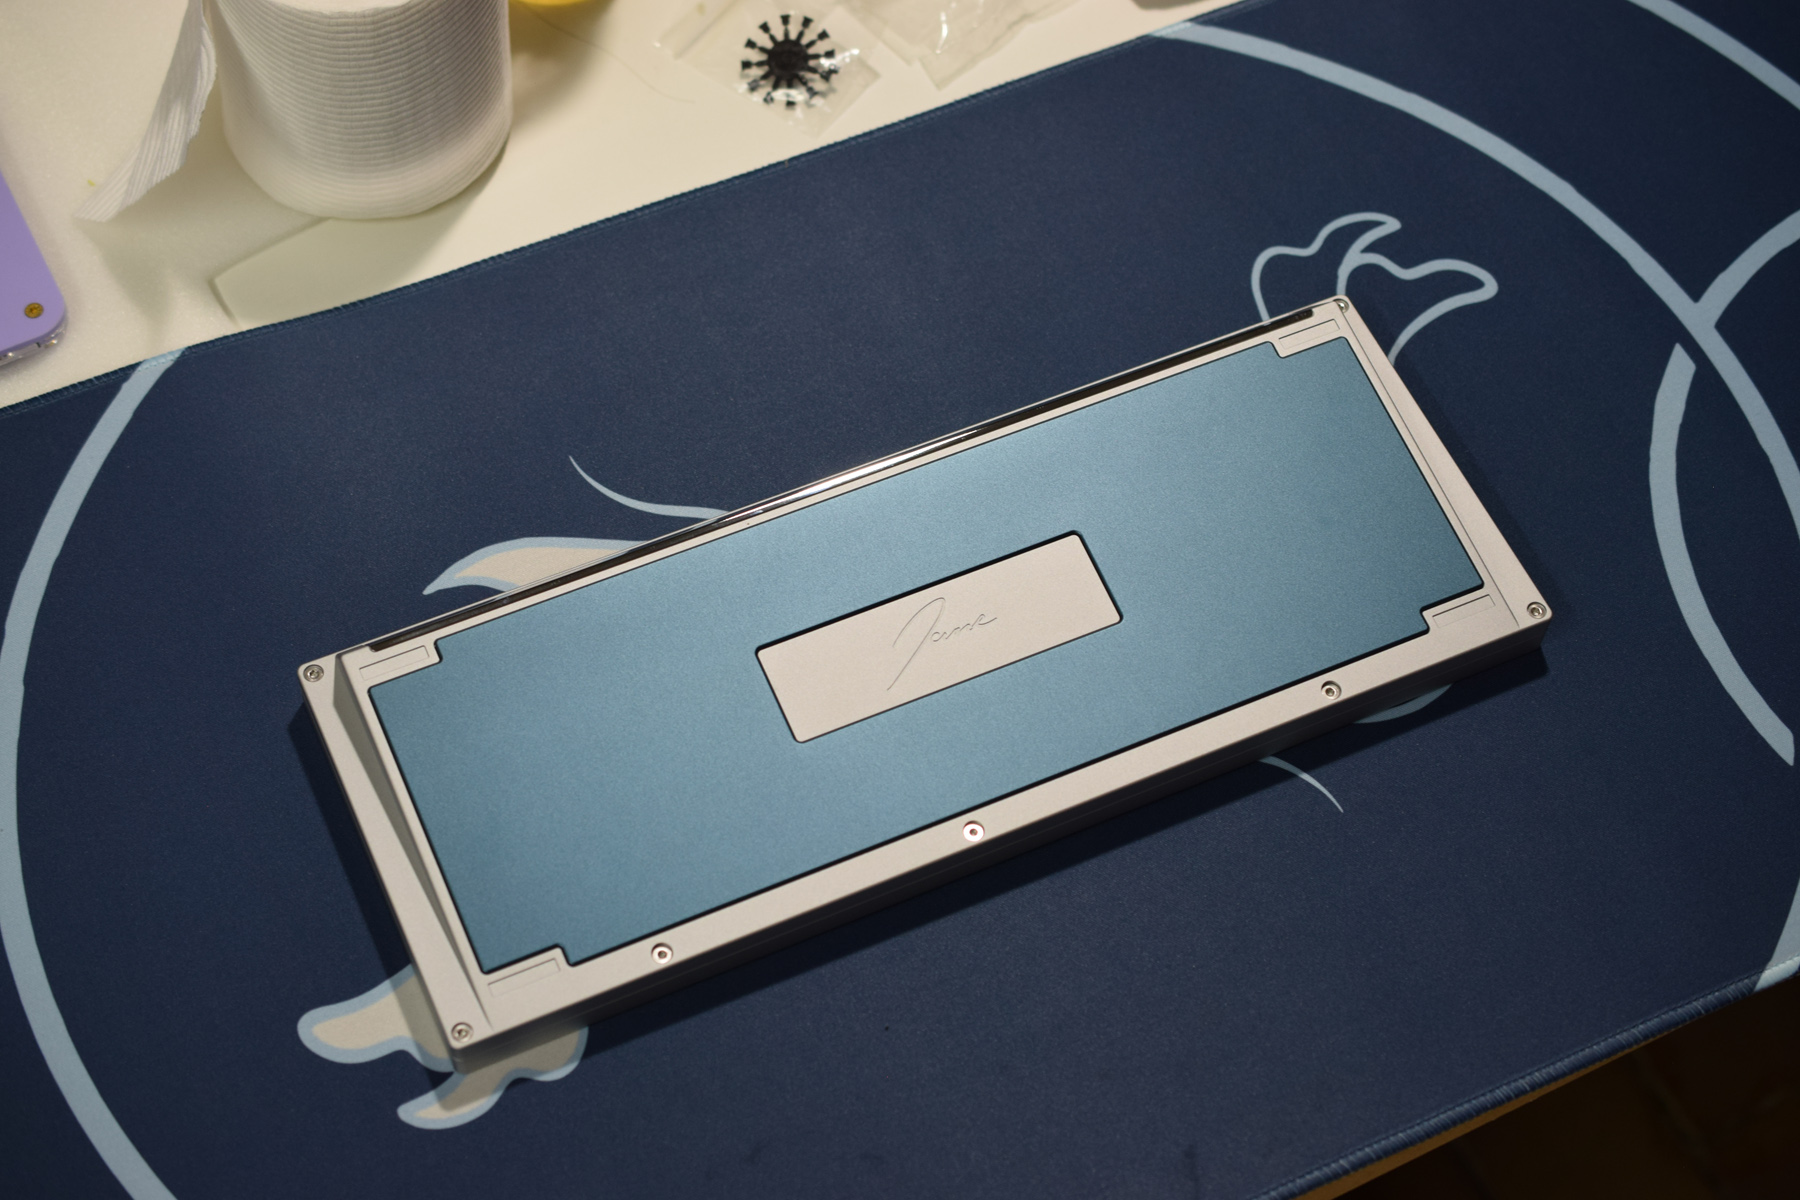
- TGR Jane V2 ME – Silver
- Brass Plate
- All Clacks – Stock (Didn’t have time to prepare anything better)
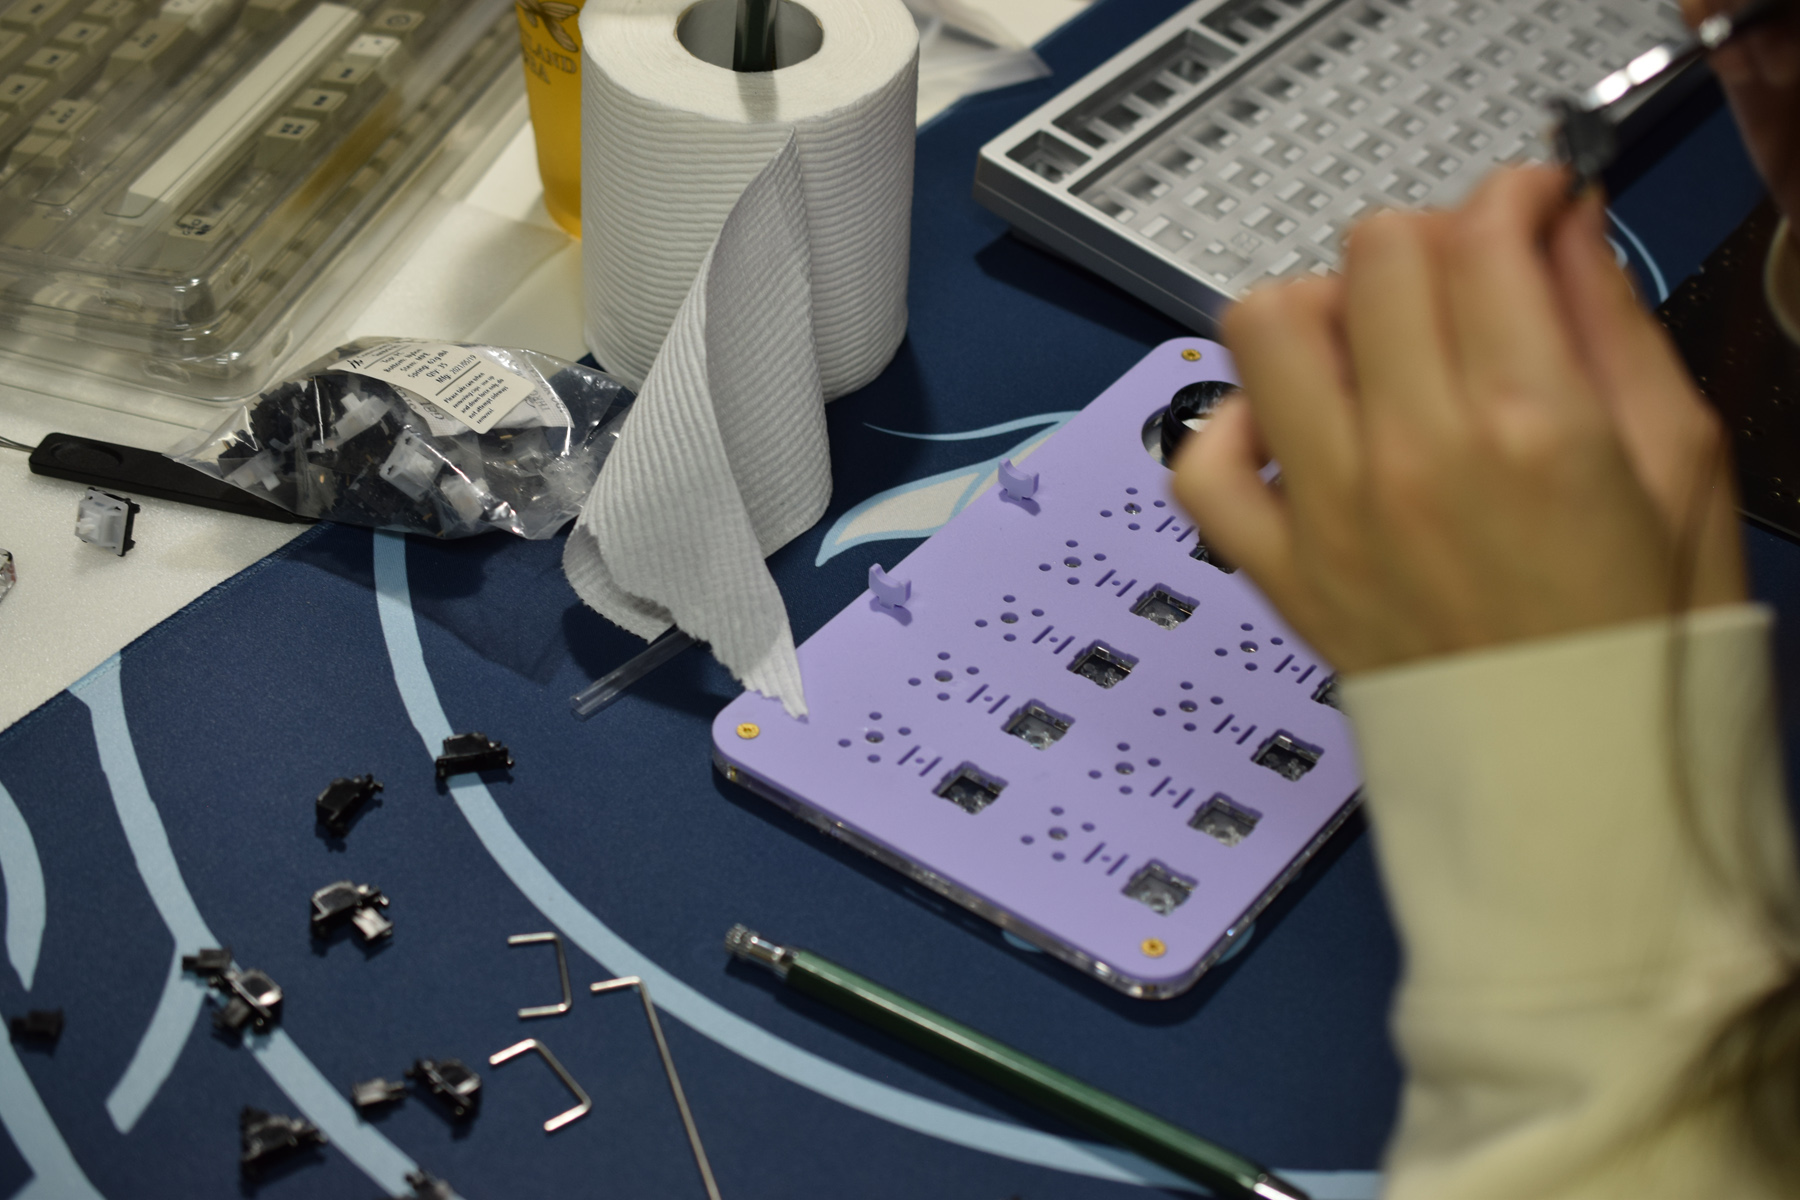
- TX Stabilisers – MCG 129 Lube
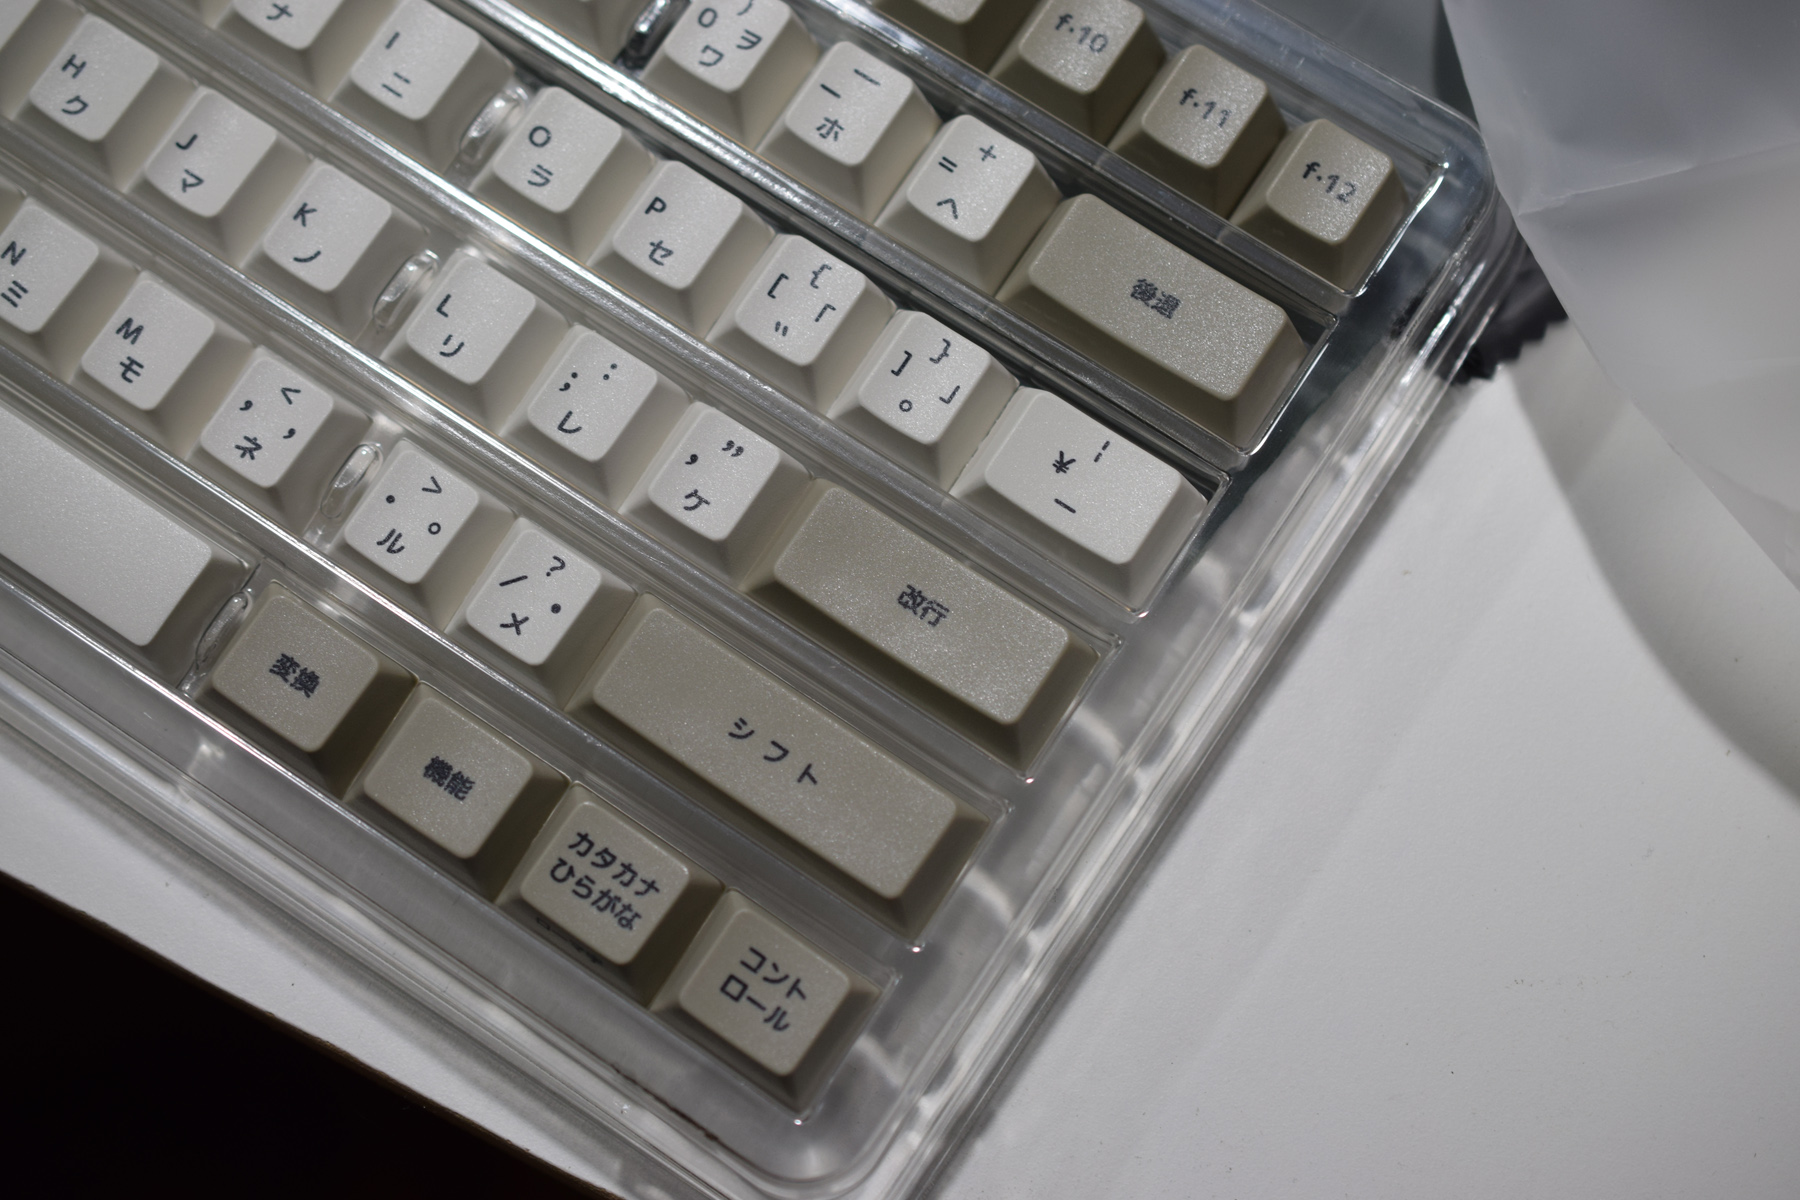
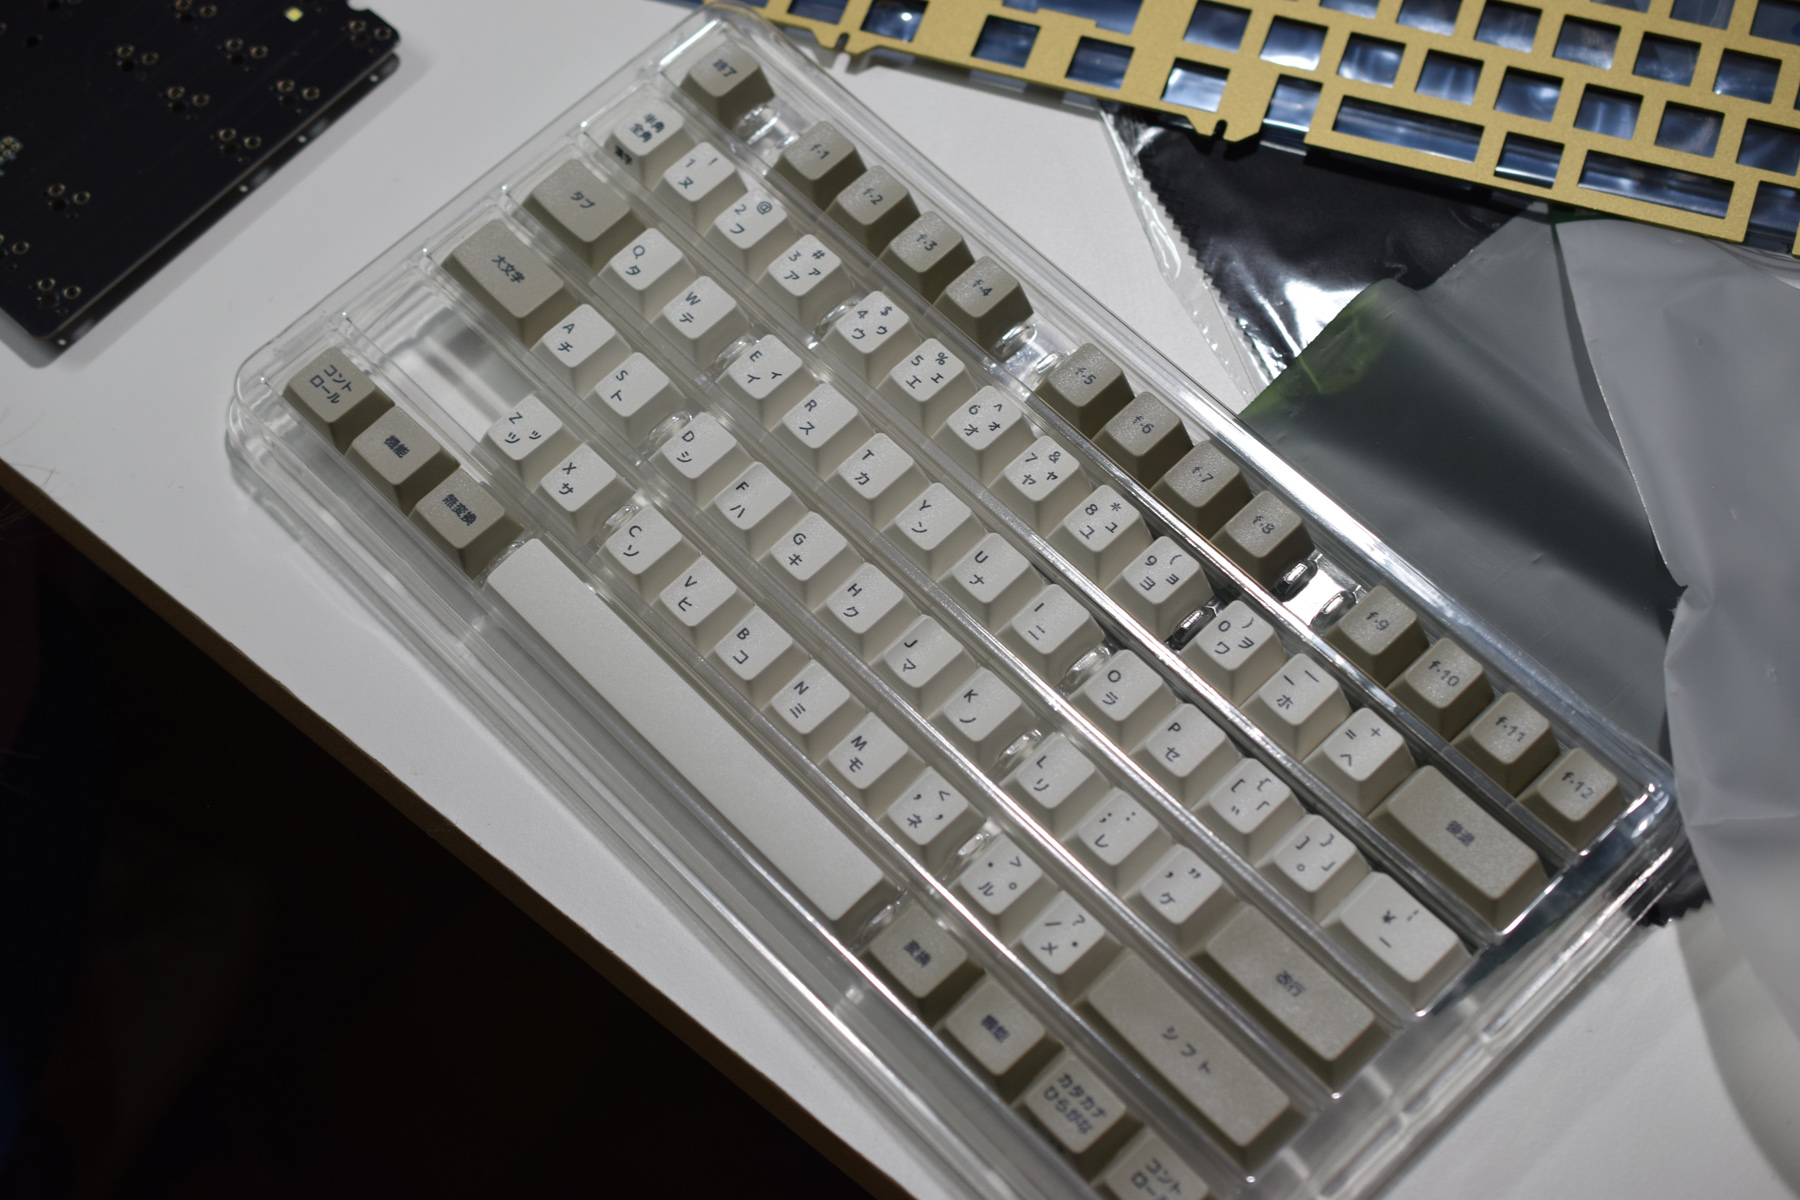
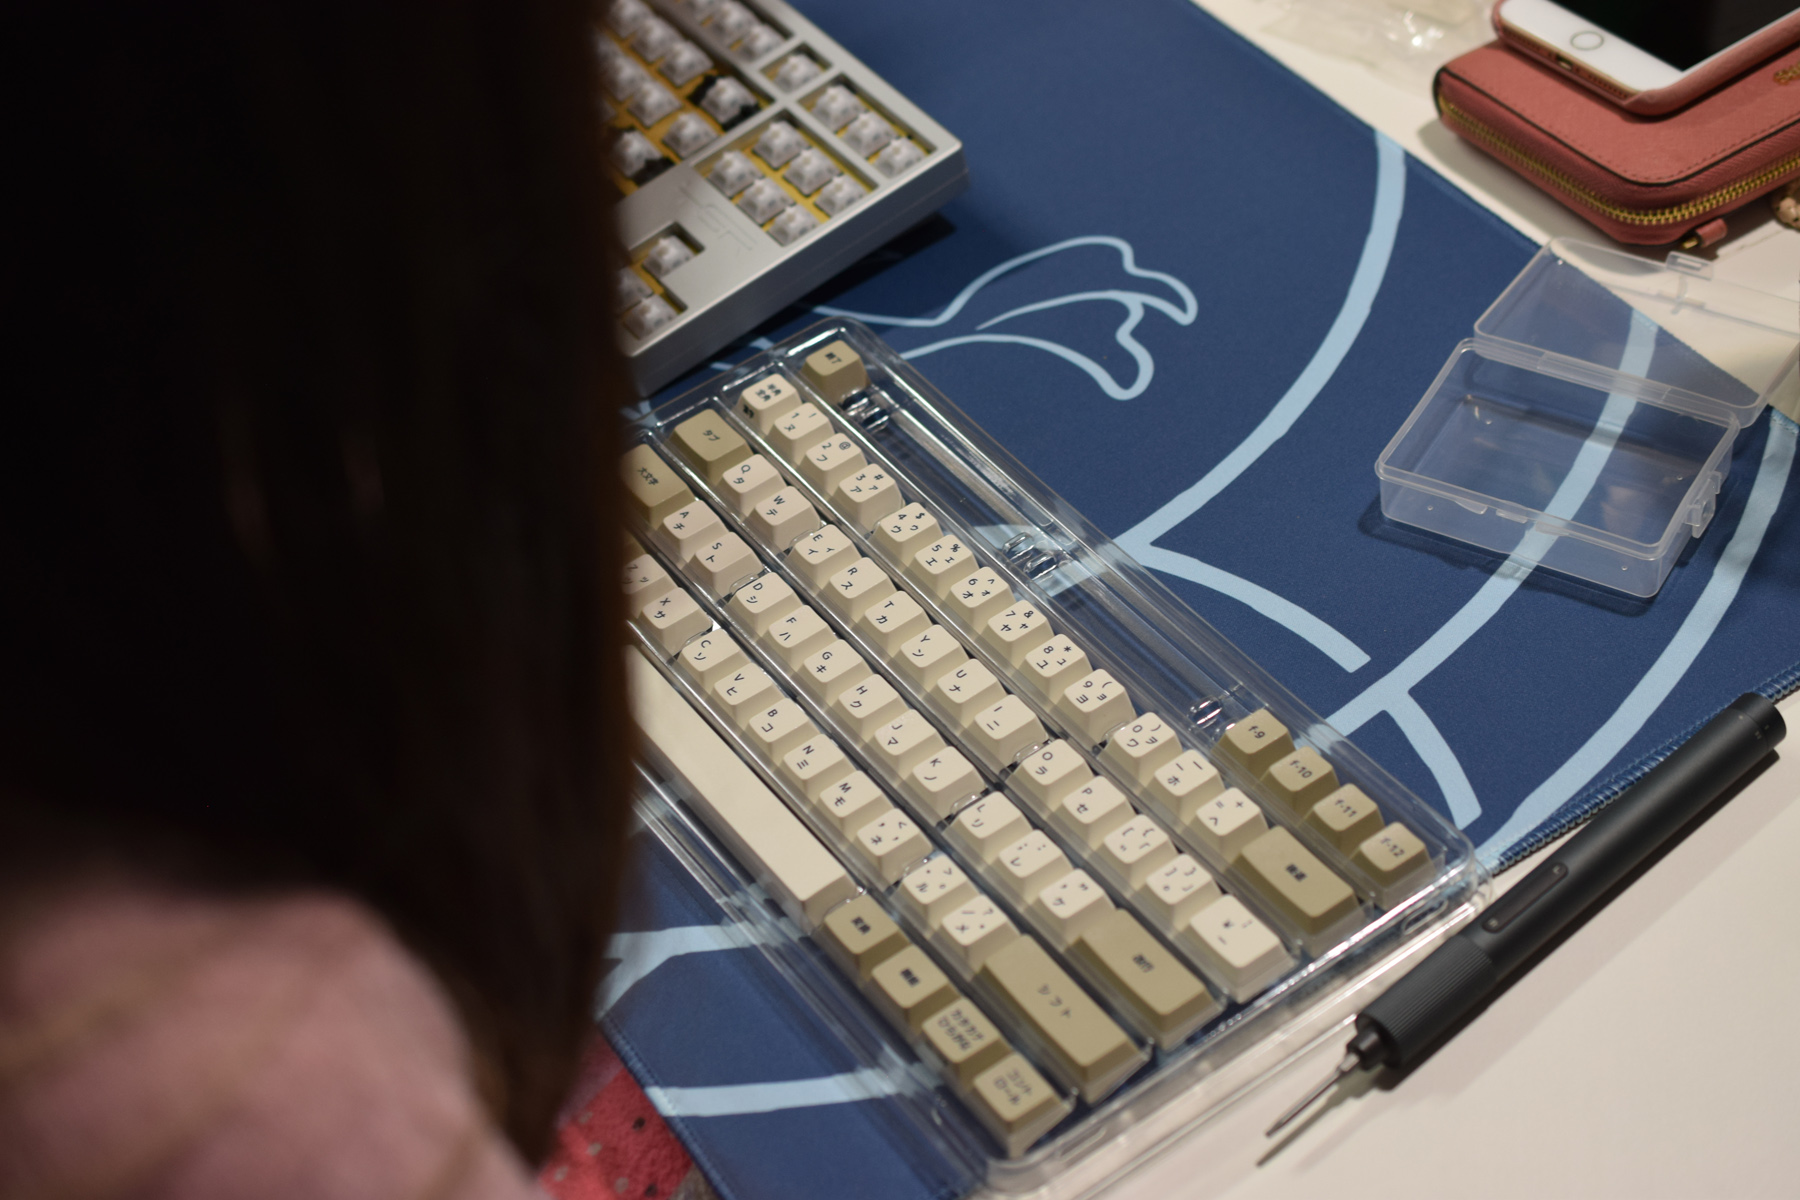
- EPBT SimpleJa R2
Building a keyboard is relatively simple; what’s the worst that could happen?
Though our team could be described as “somewhat-unorthodox”, I wasn’t too worried and put full faith in their building skills.
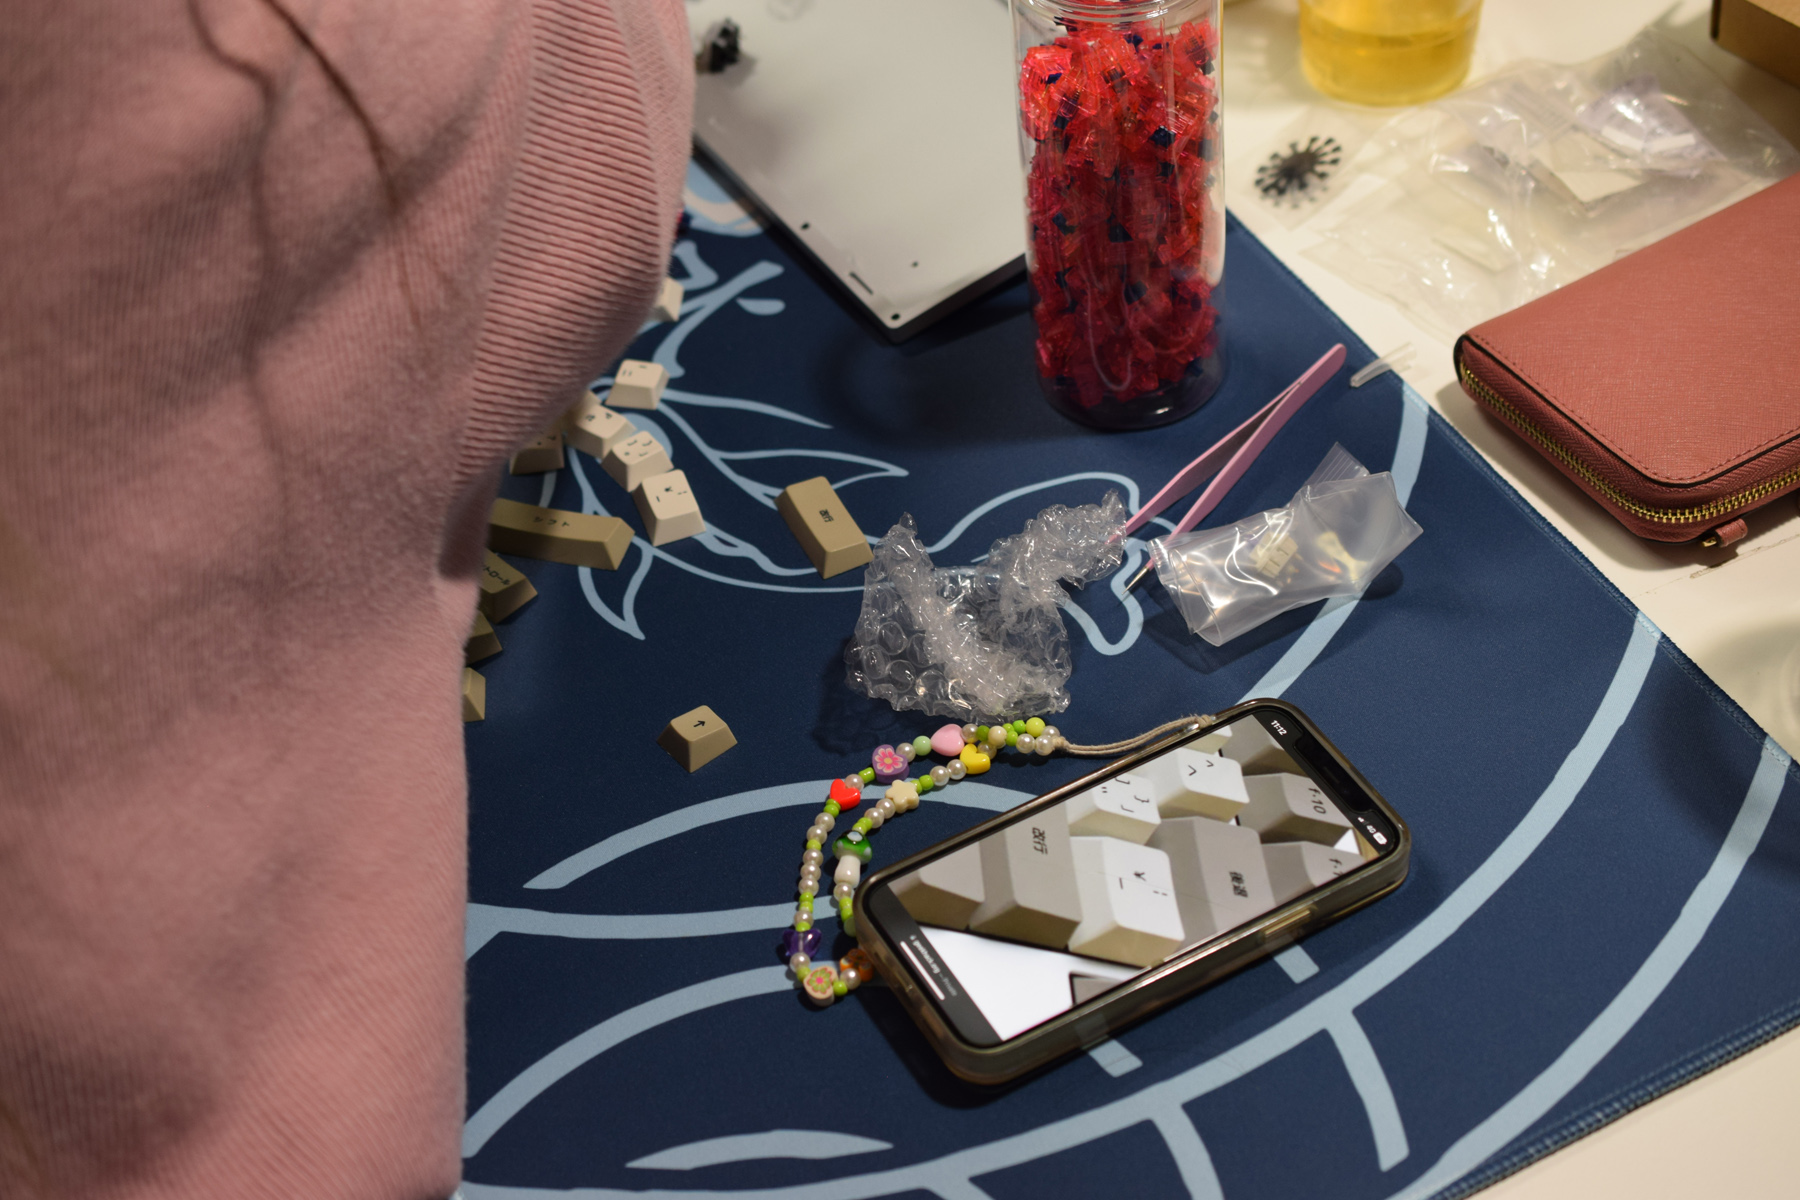
Build Log
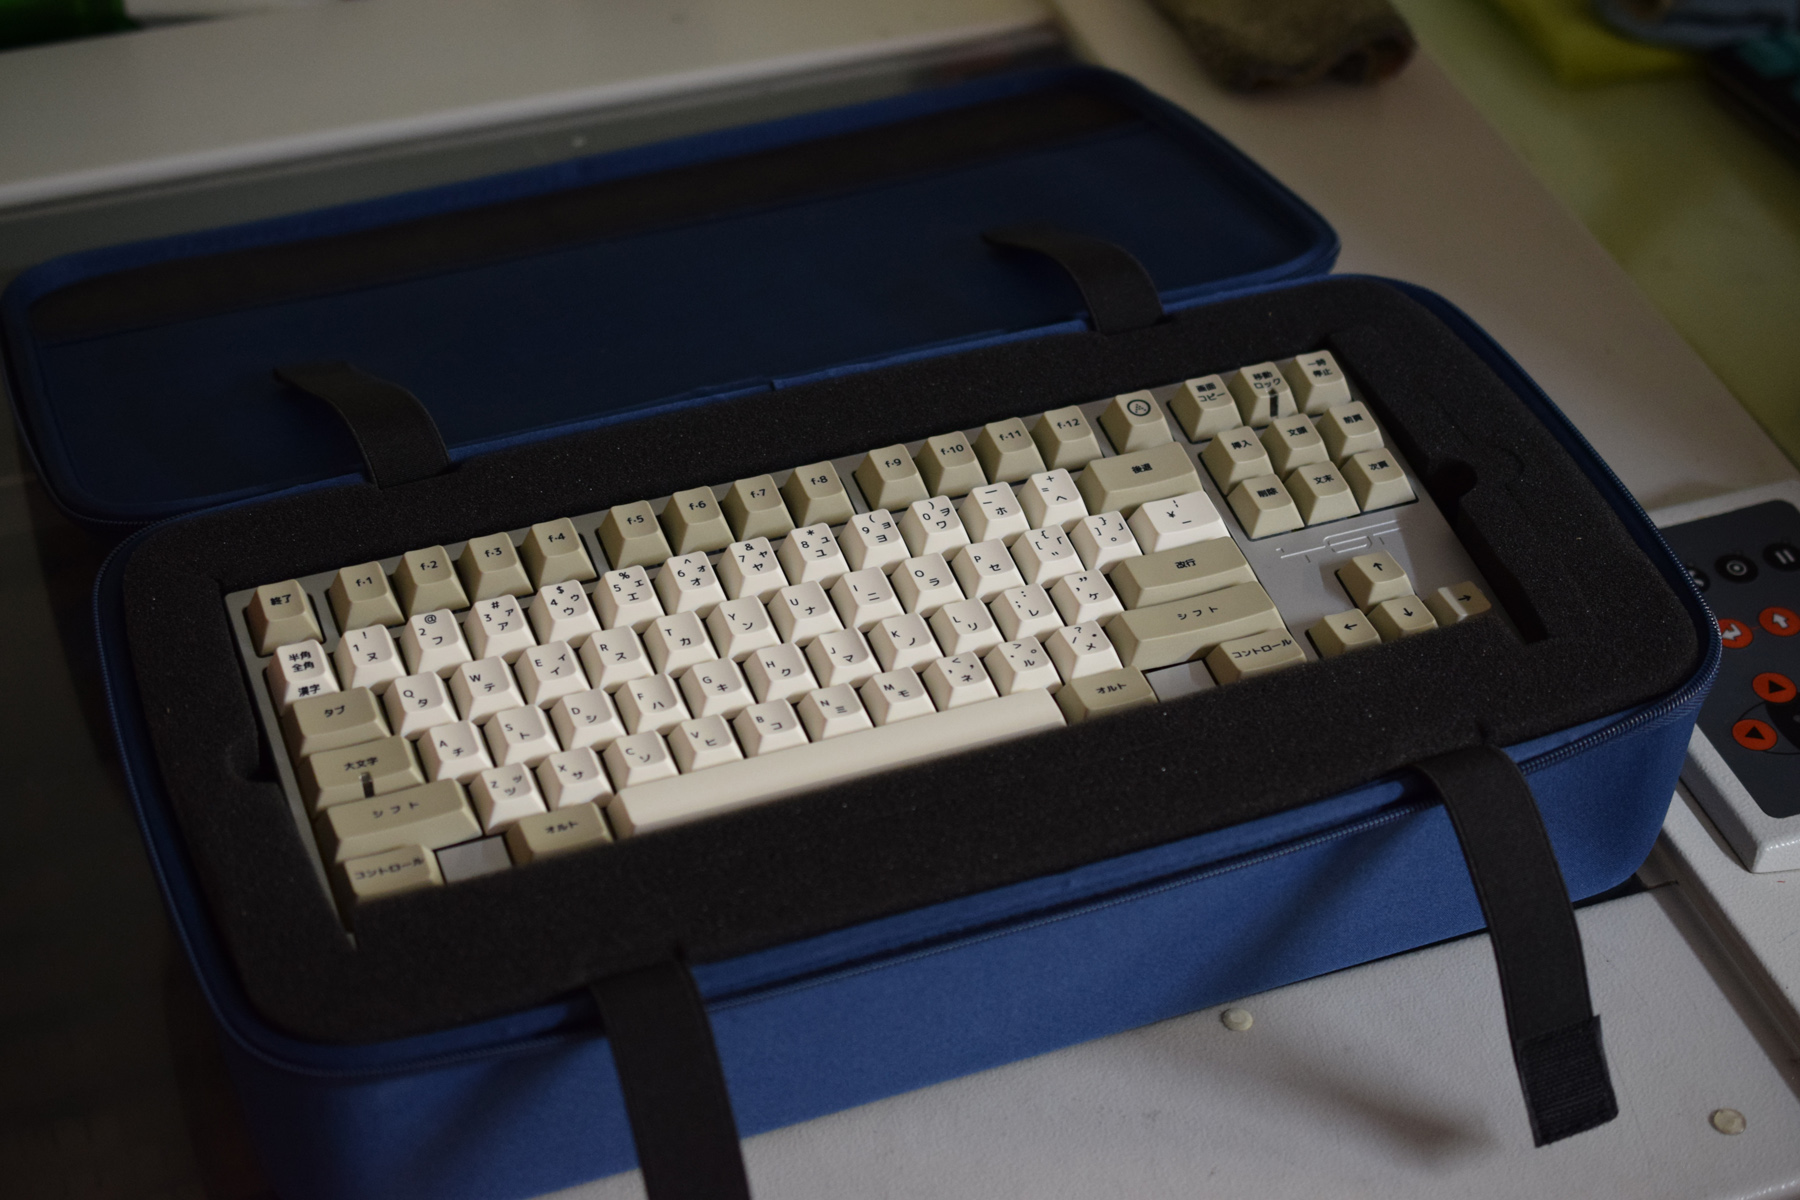
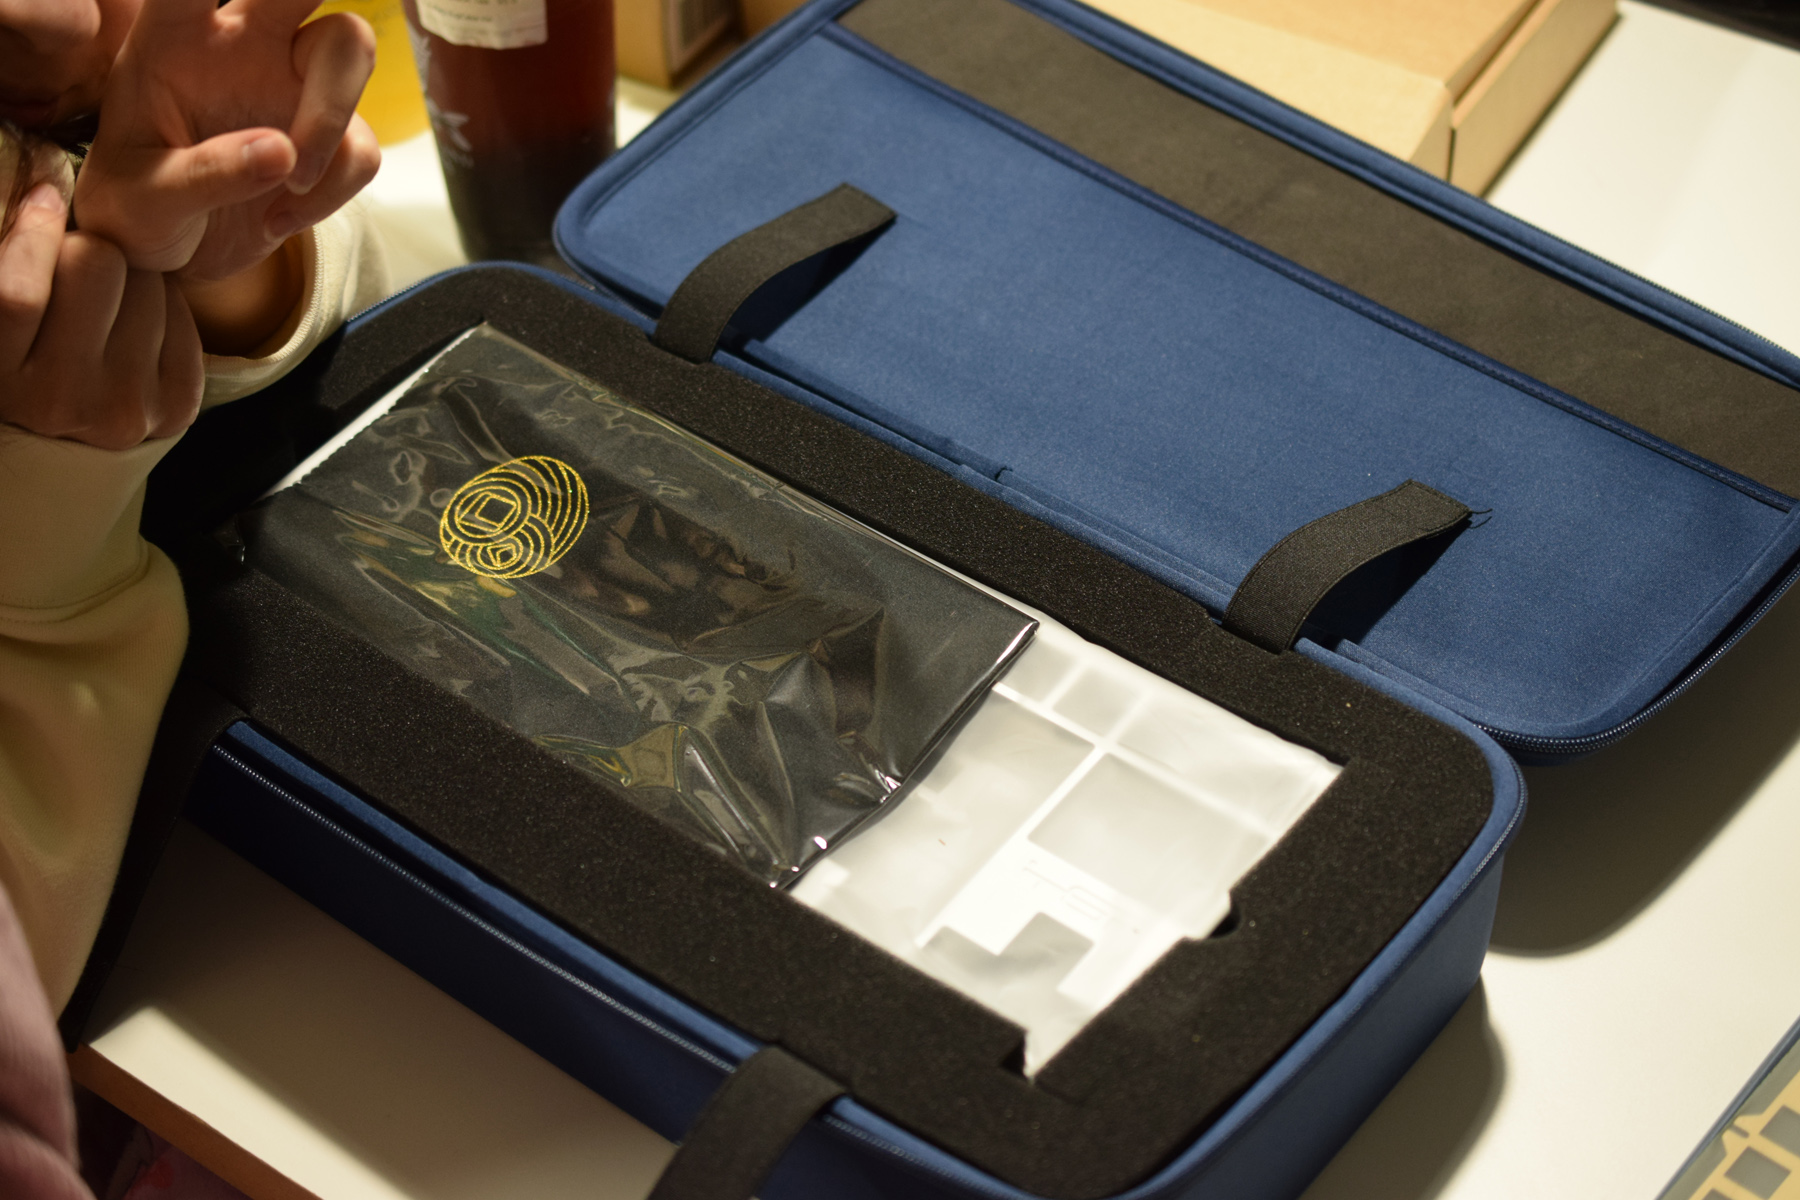
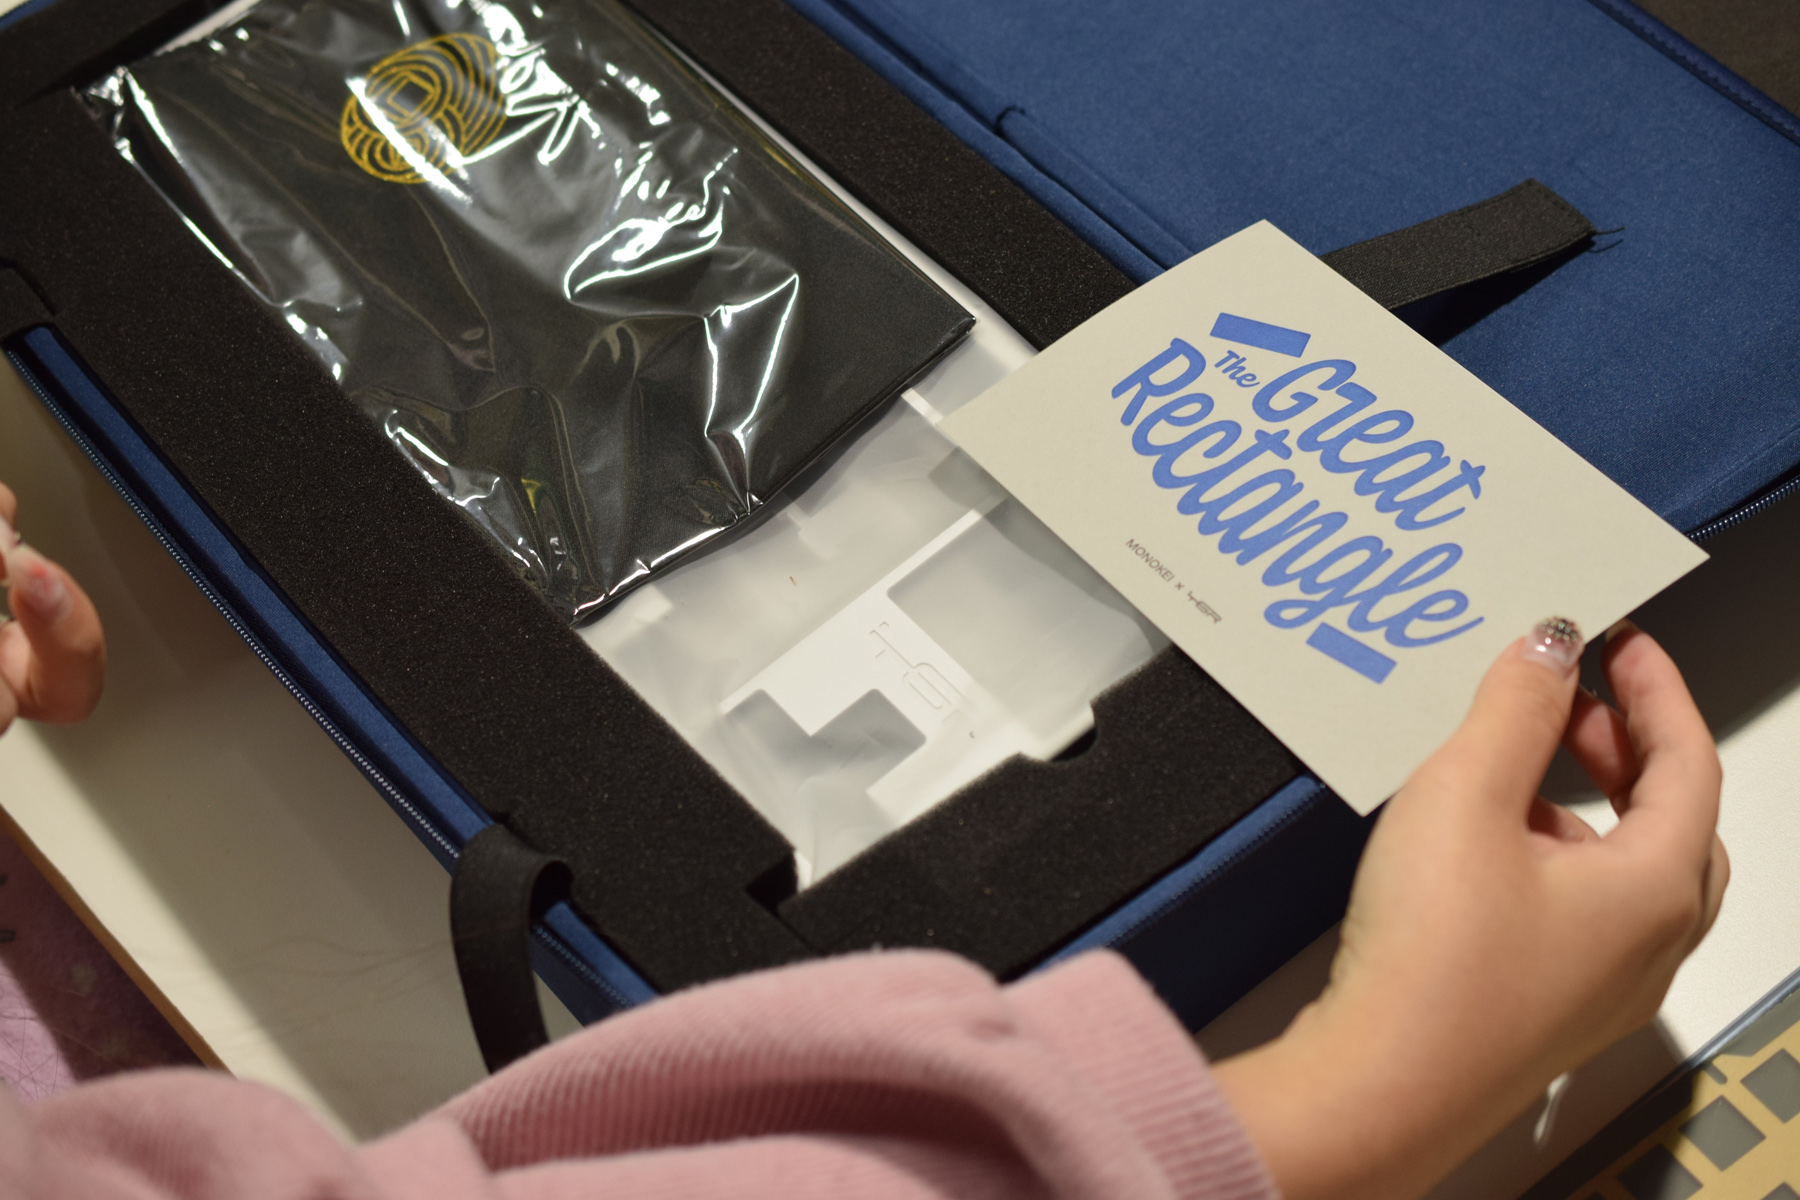
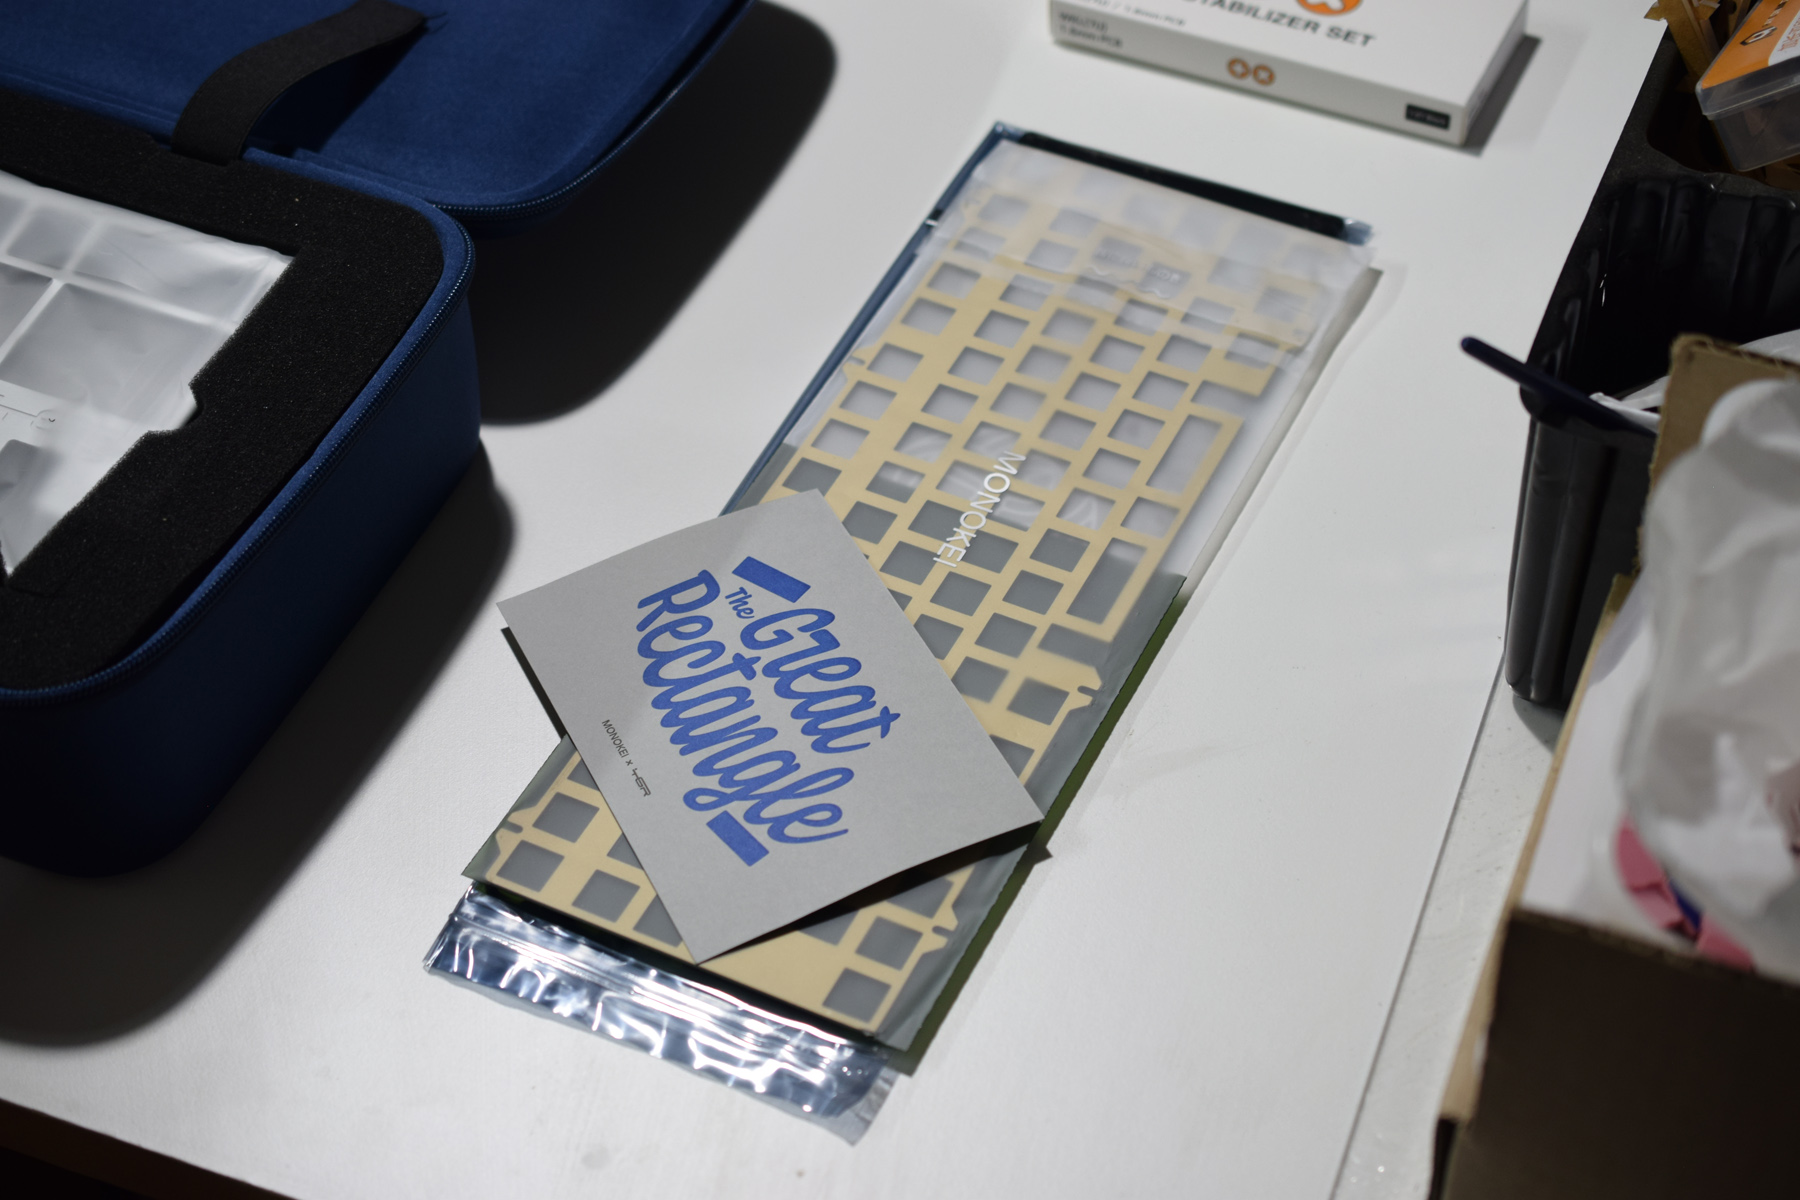
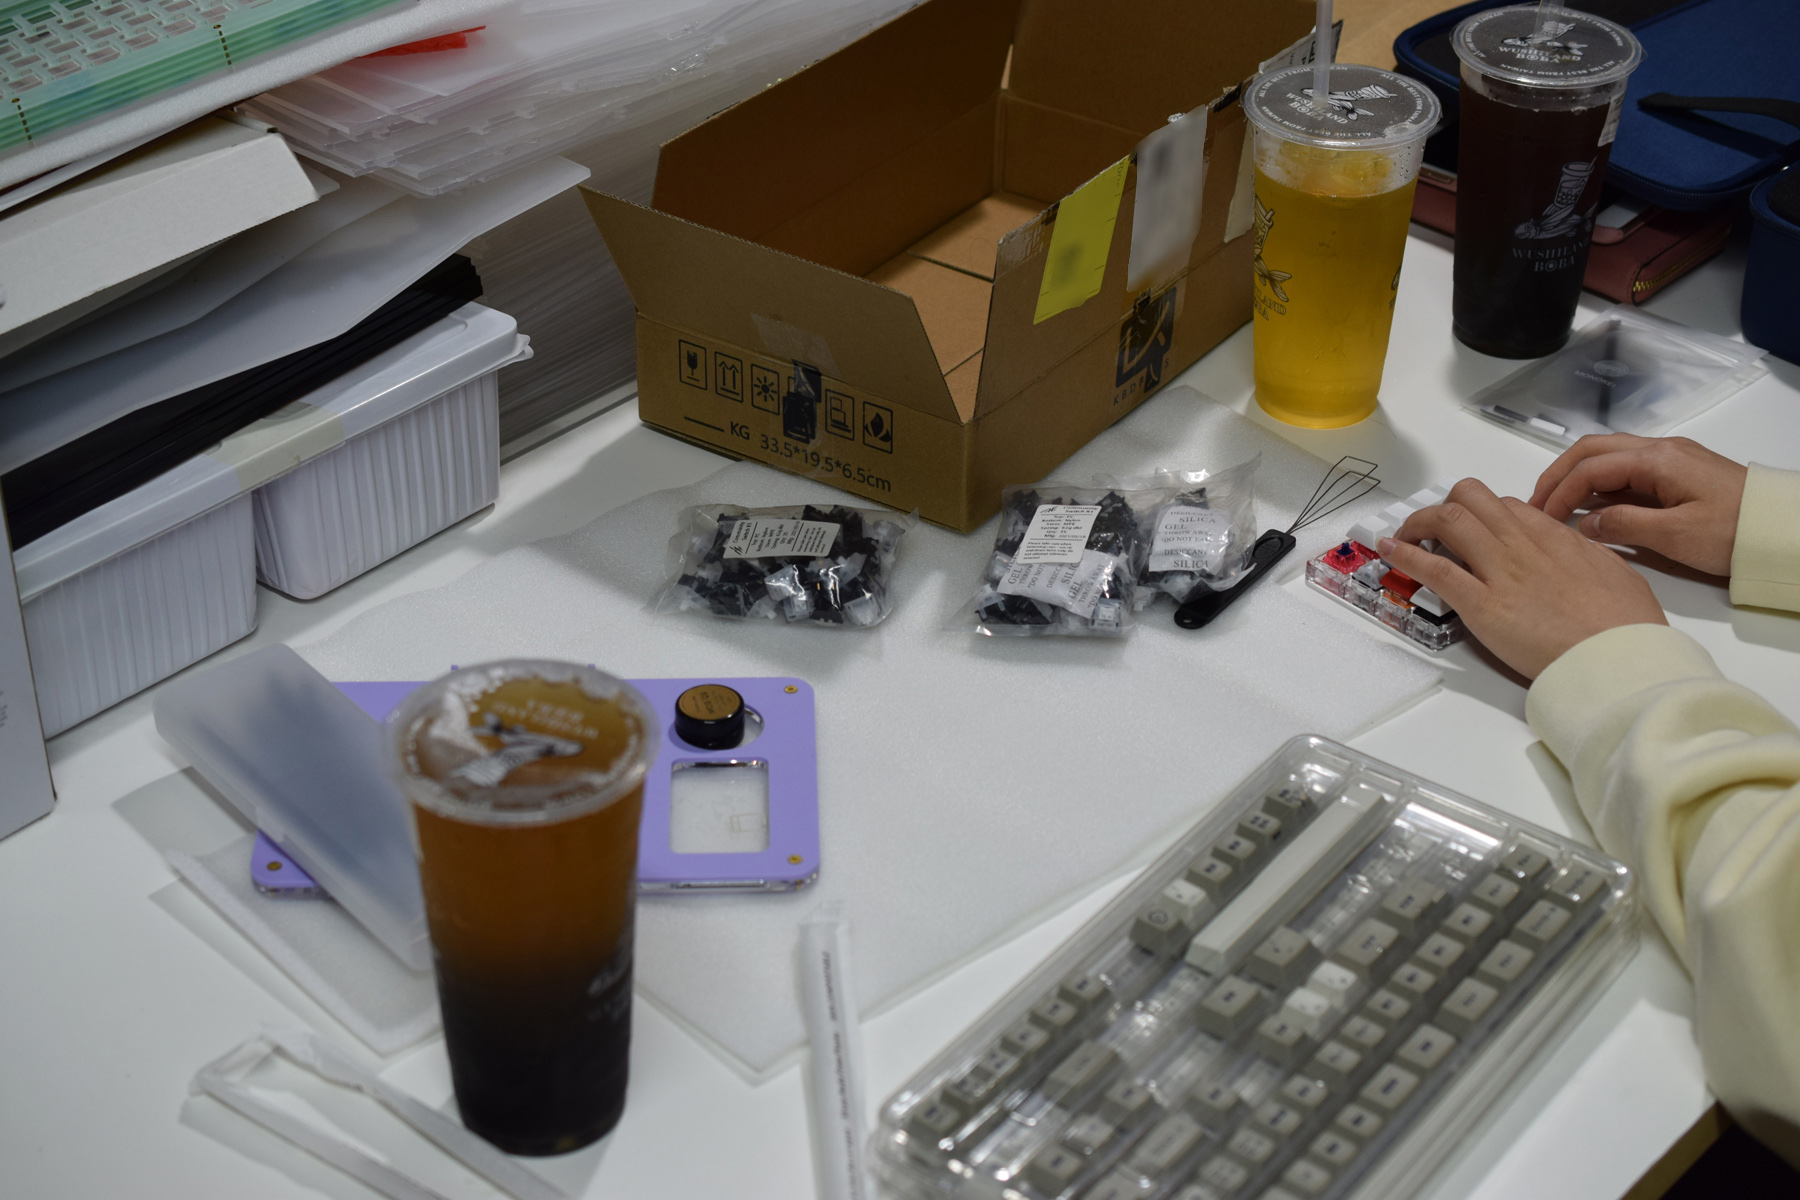
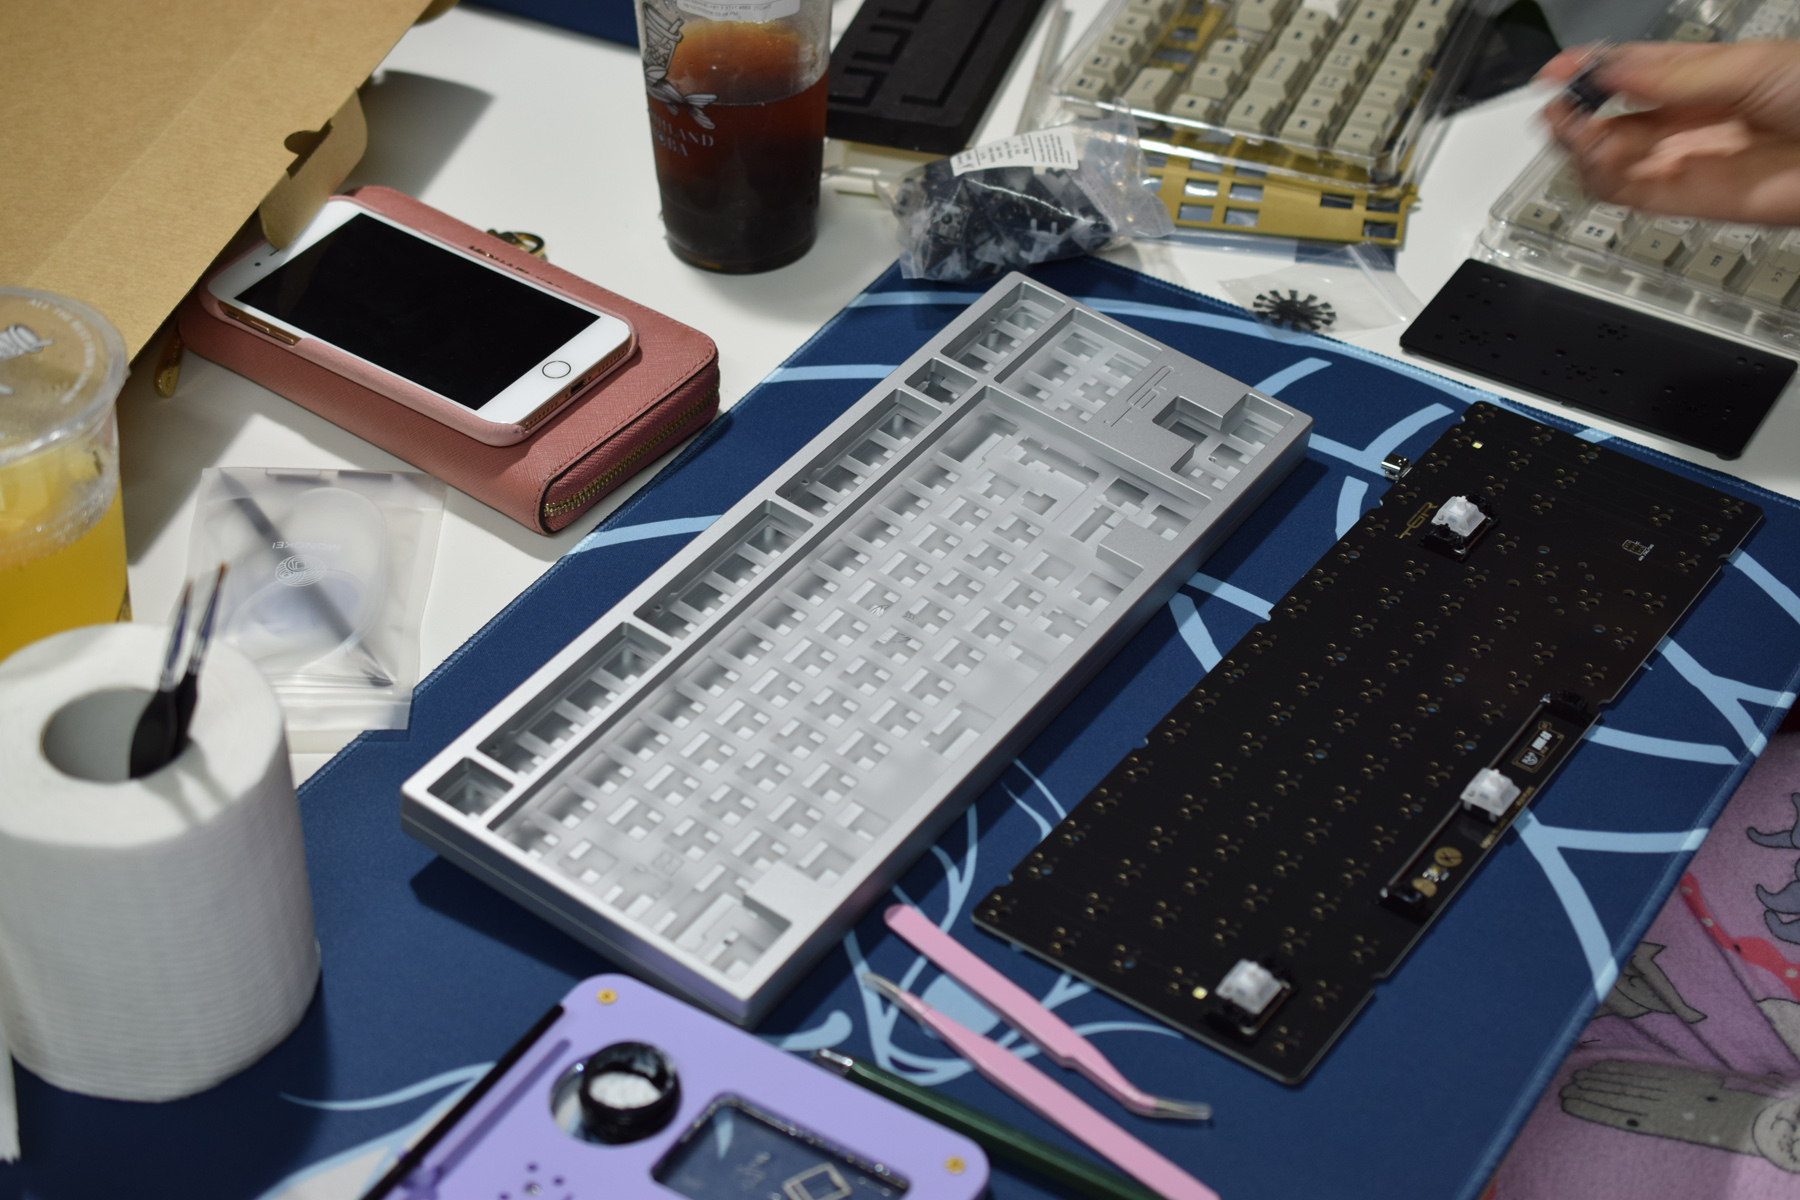
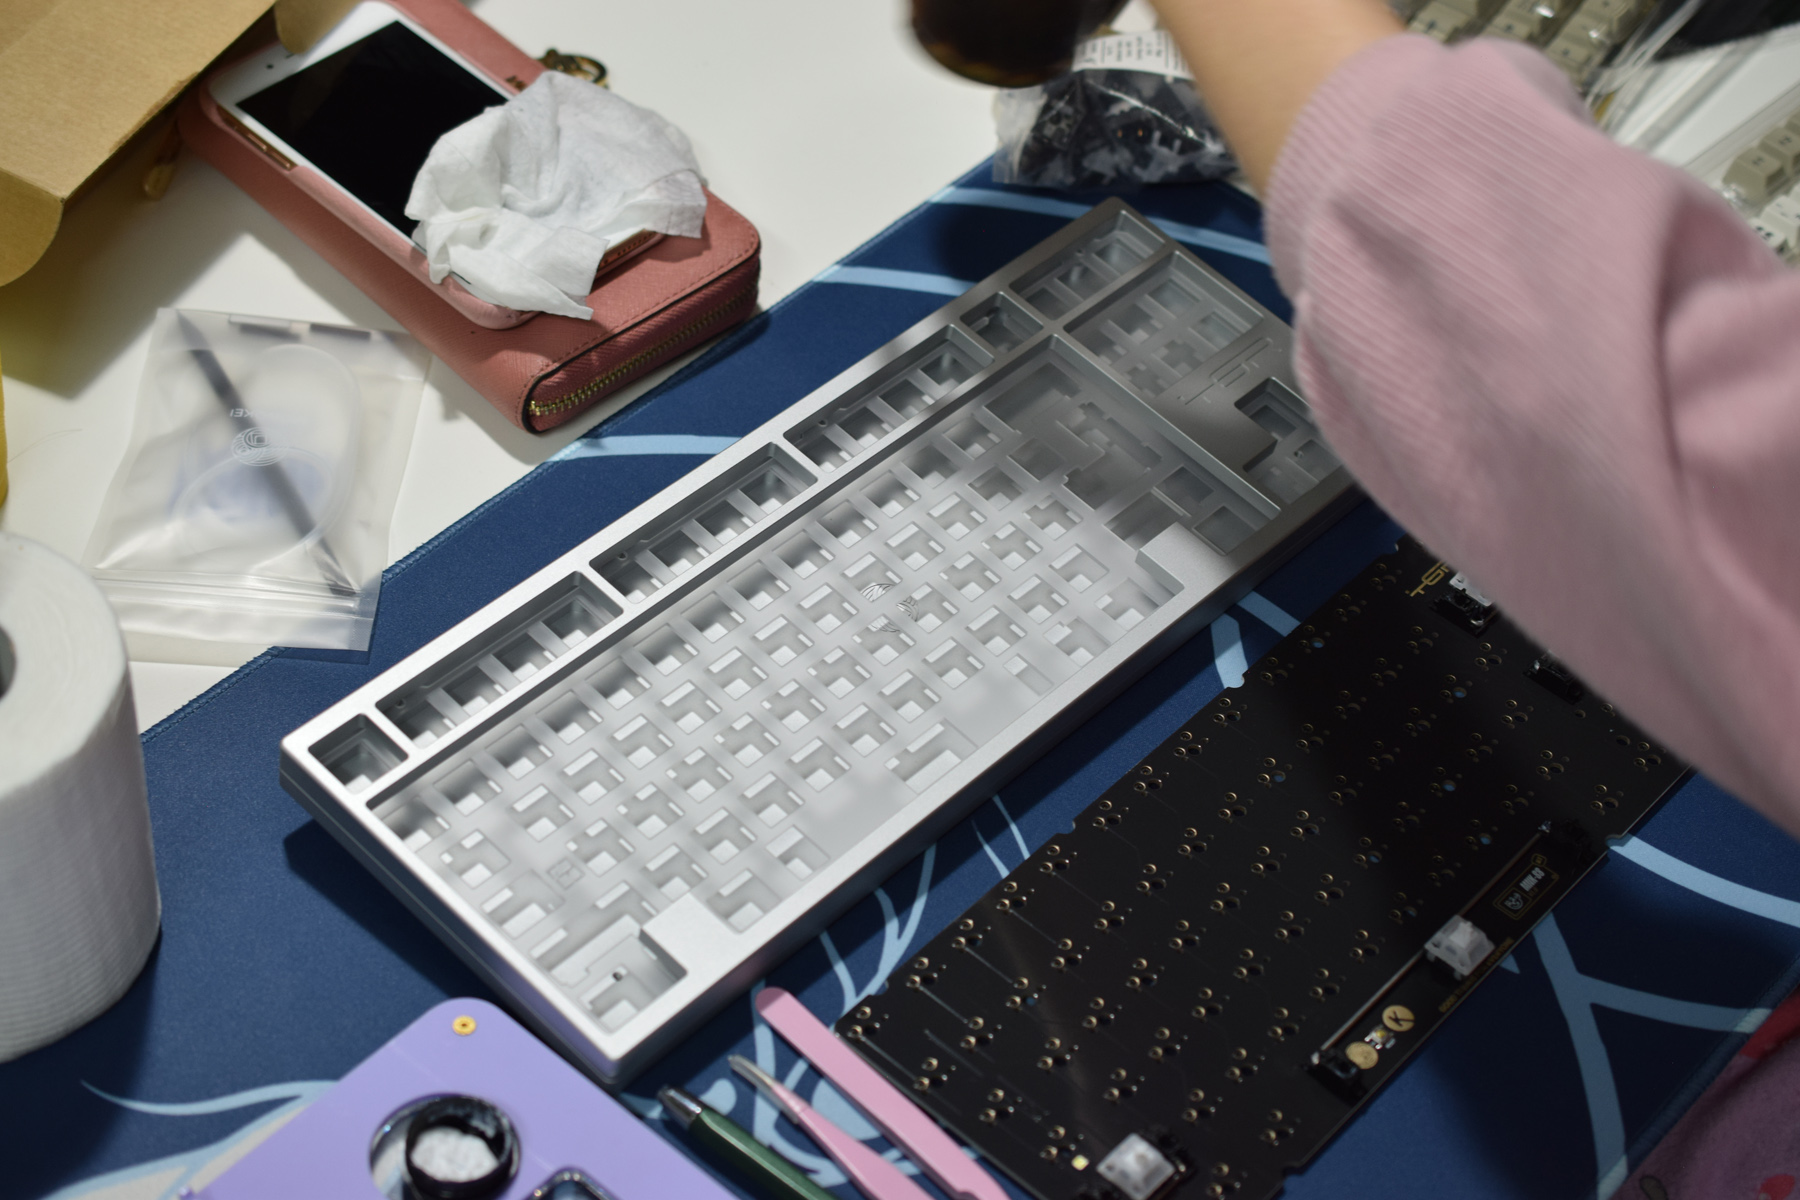
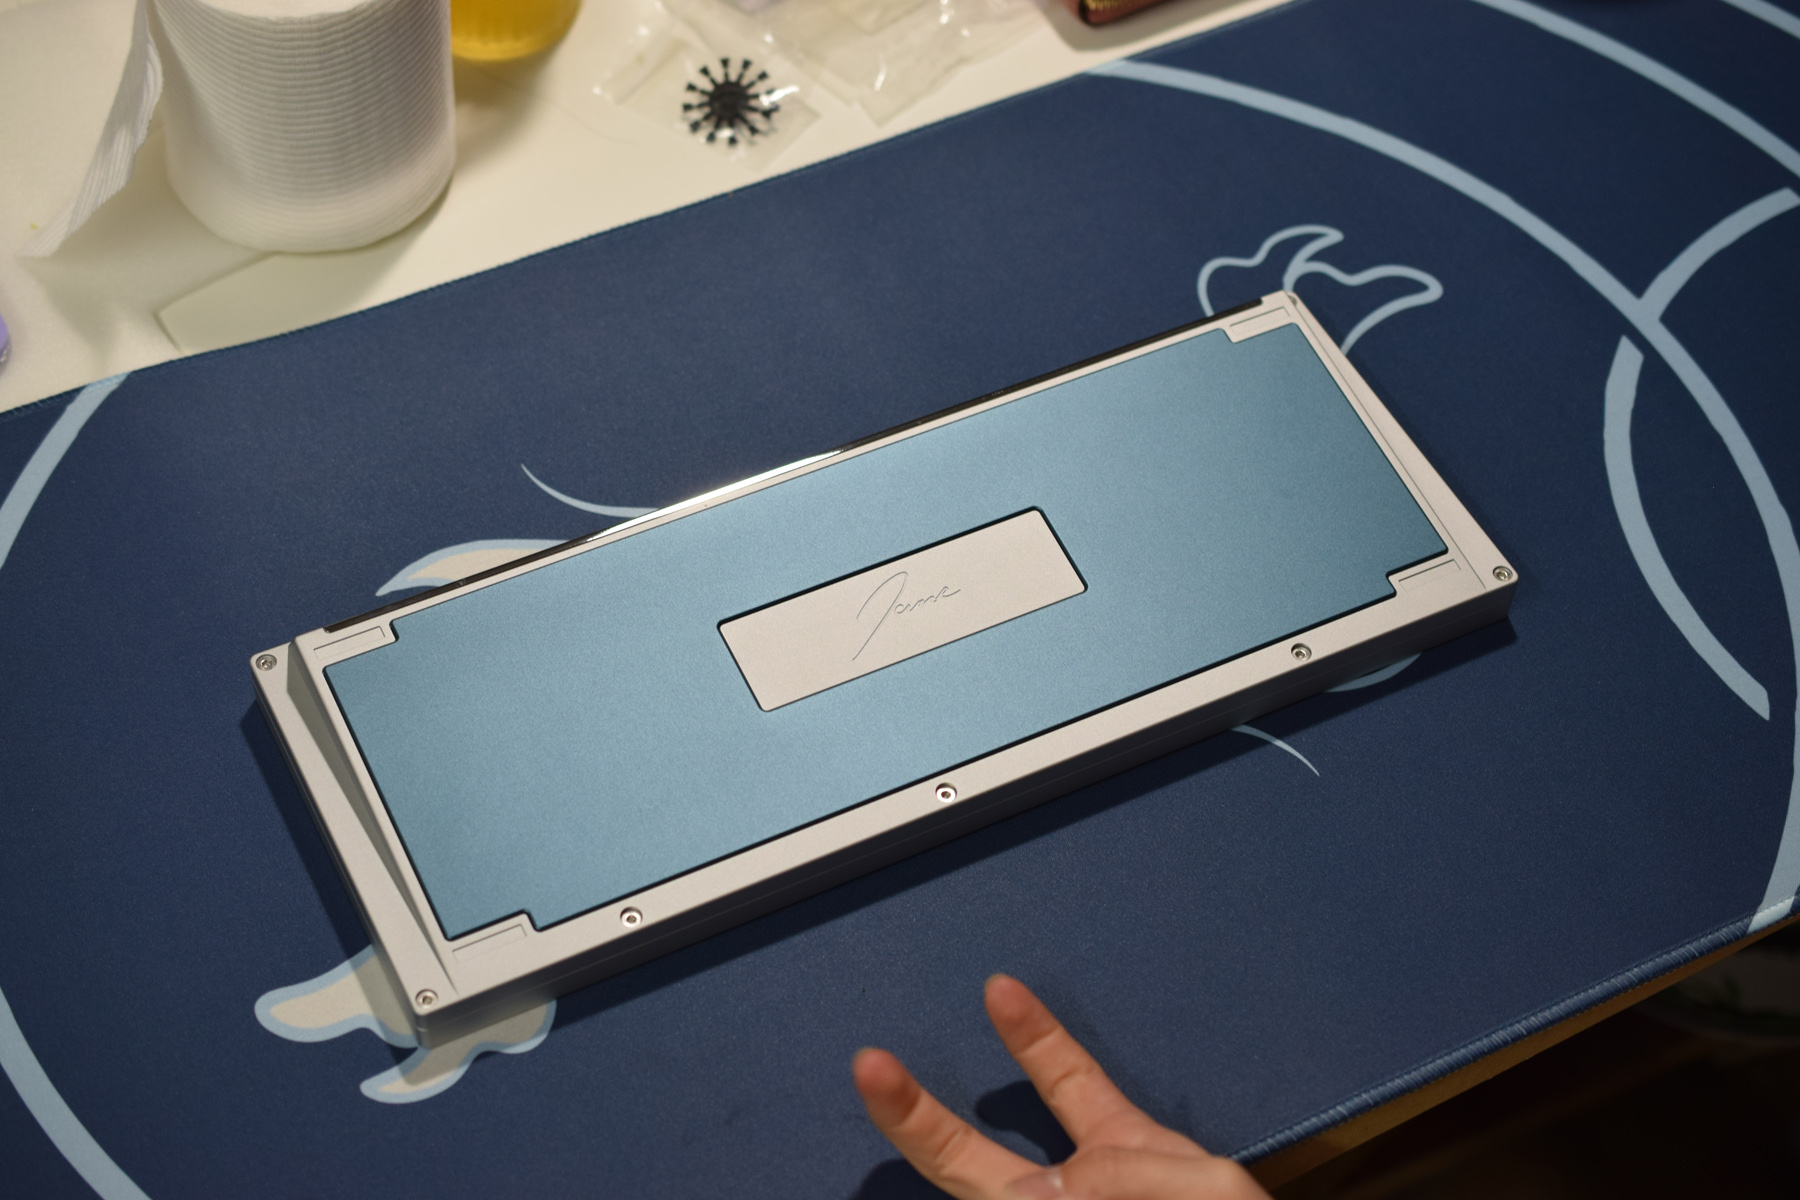
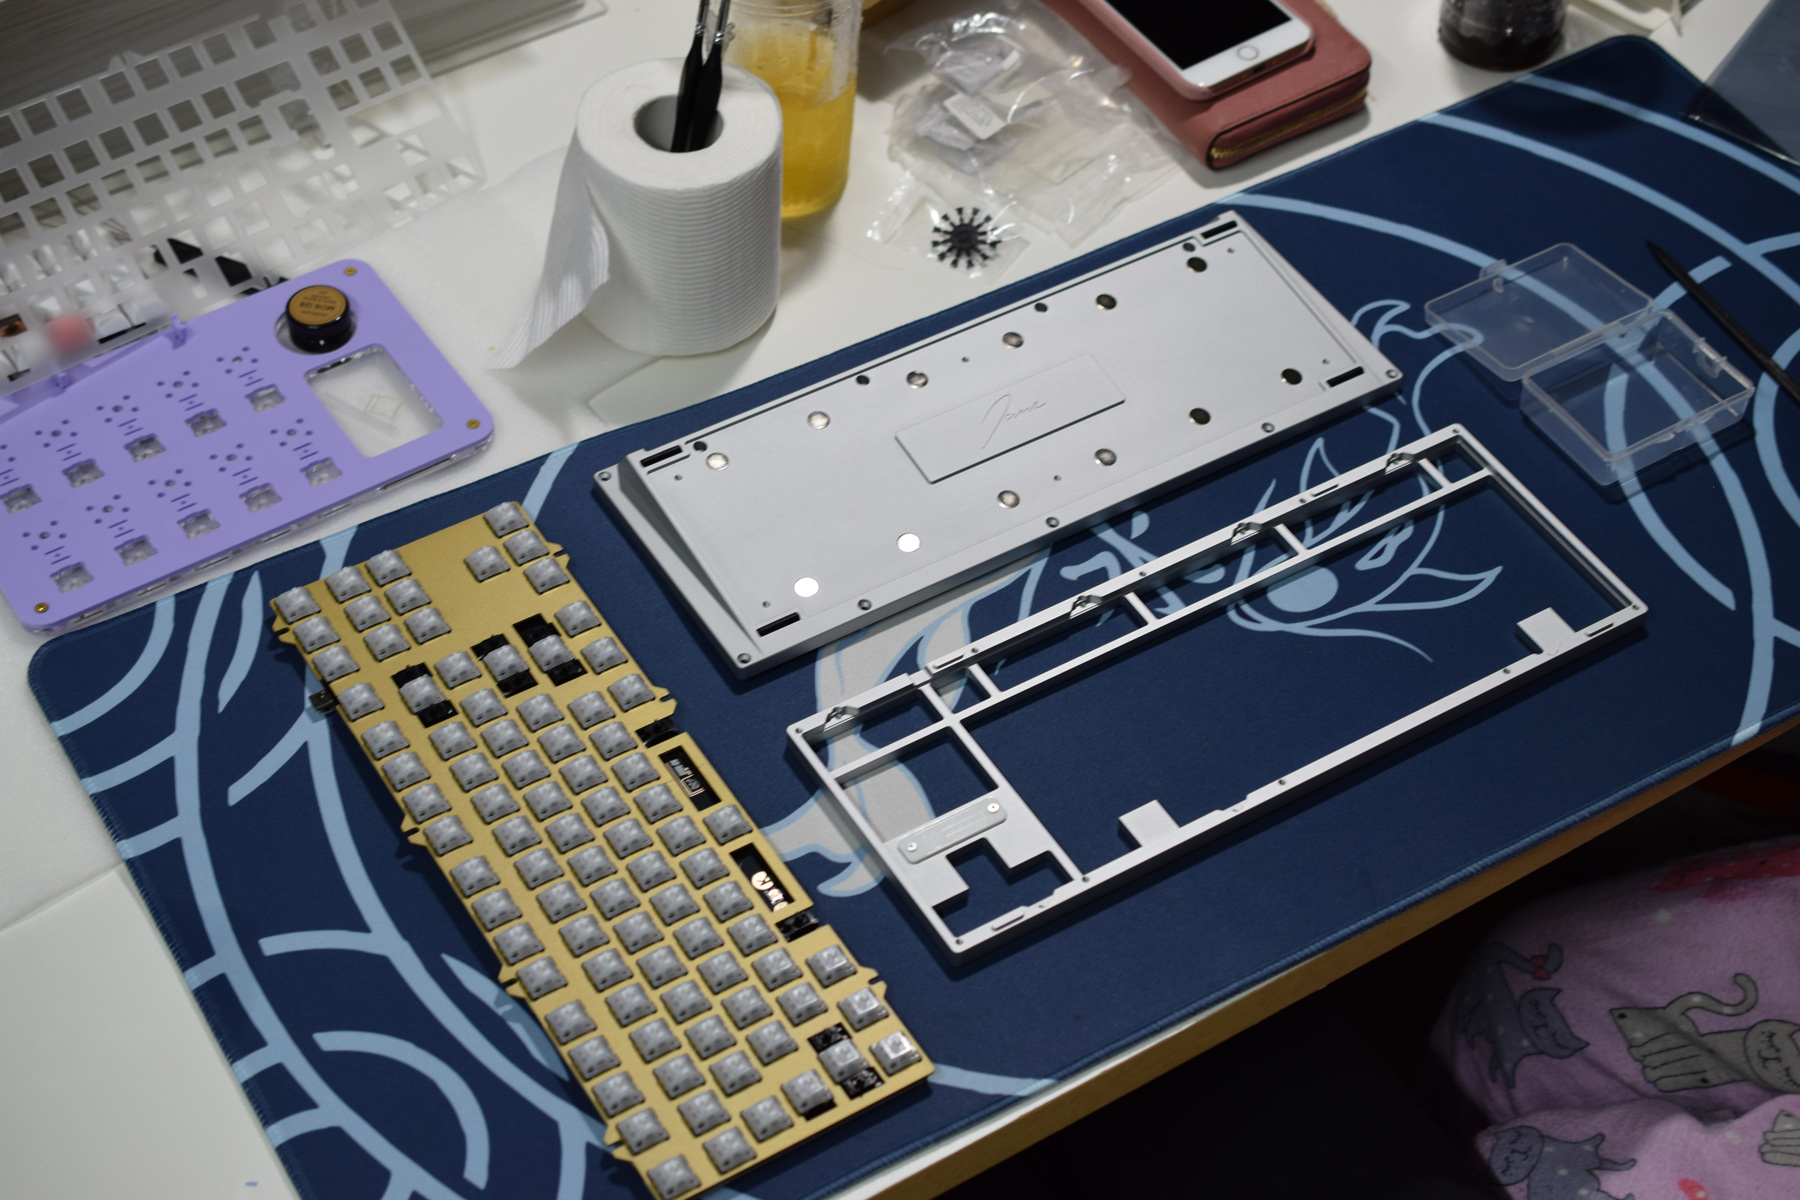
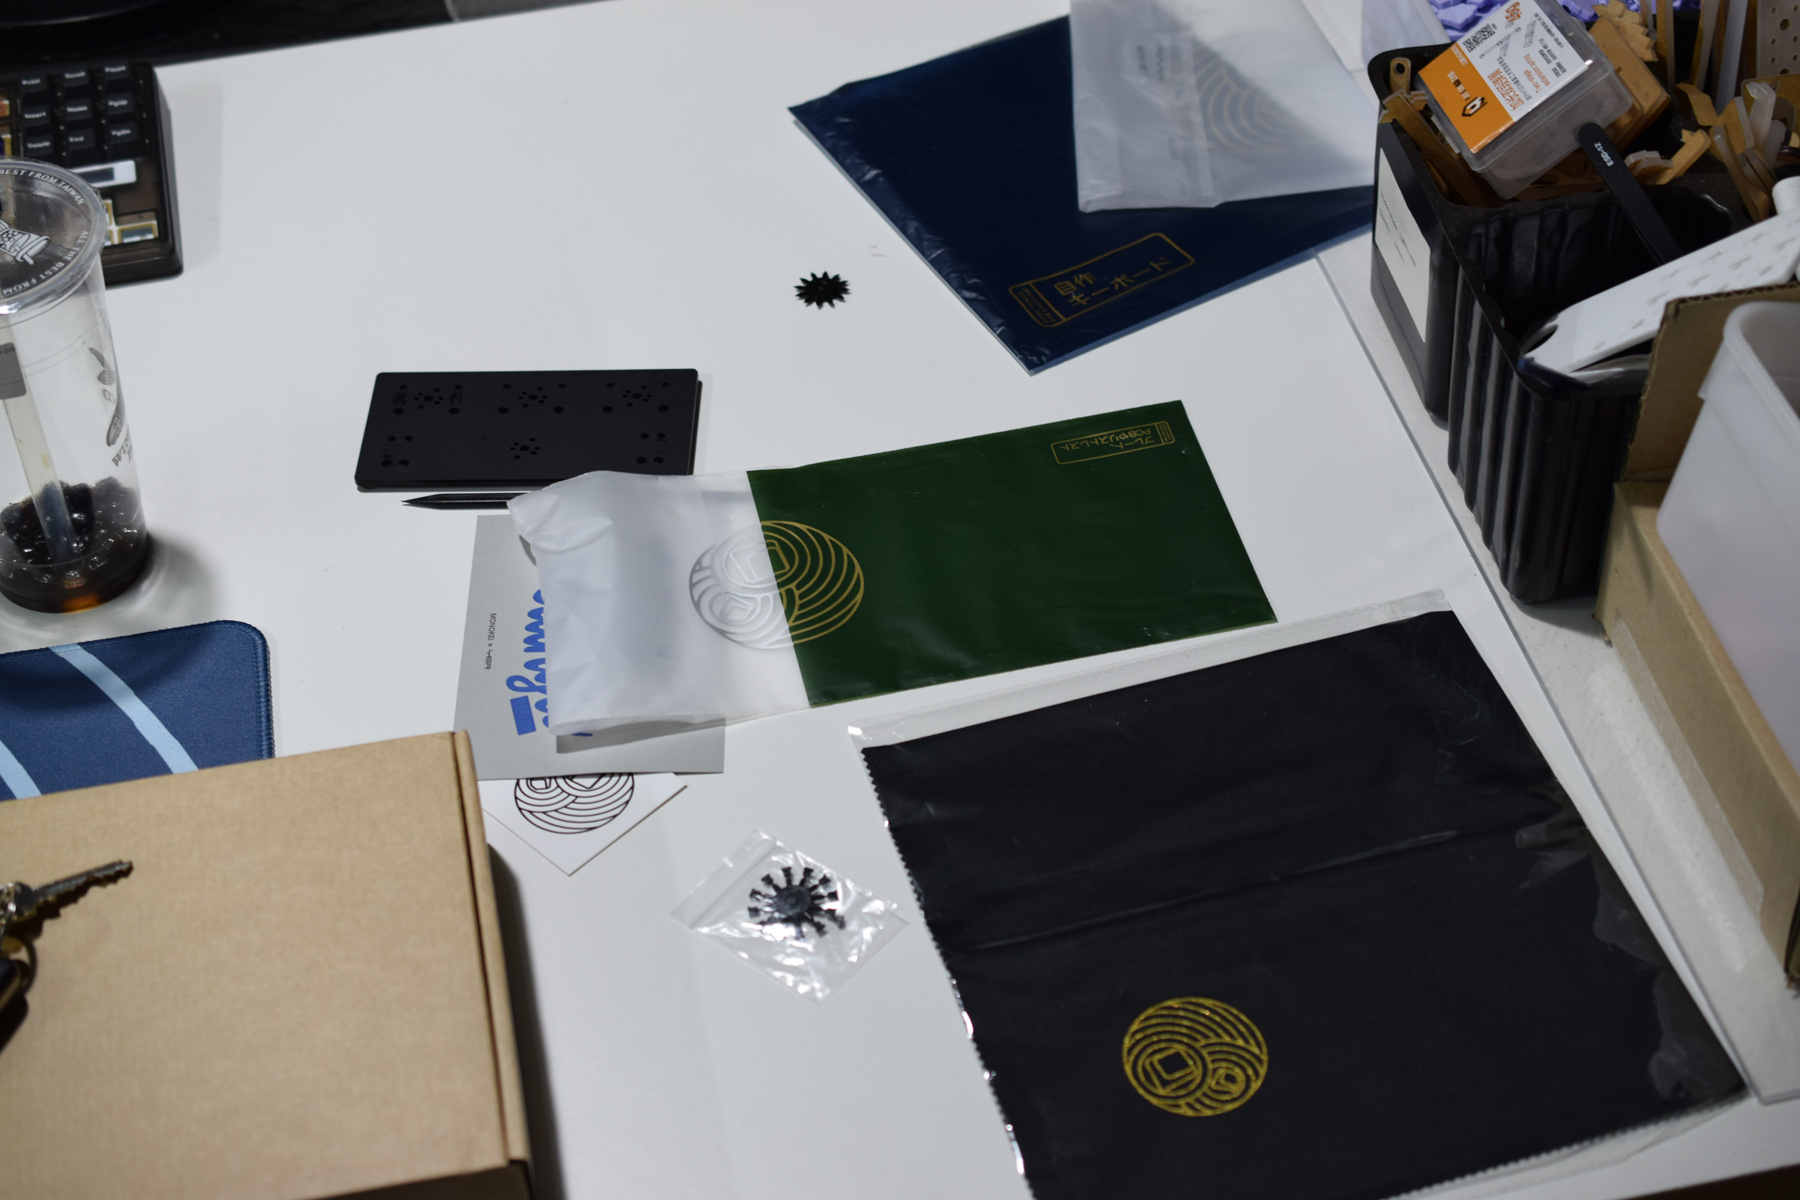
Unboxing:
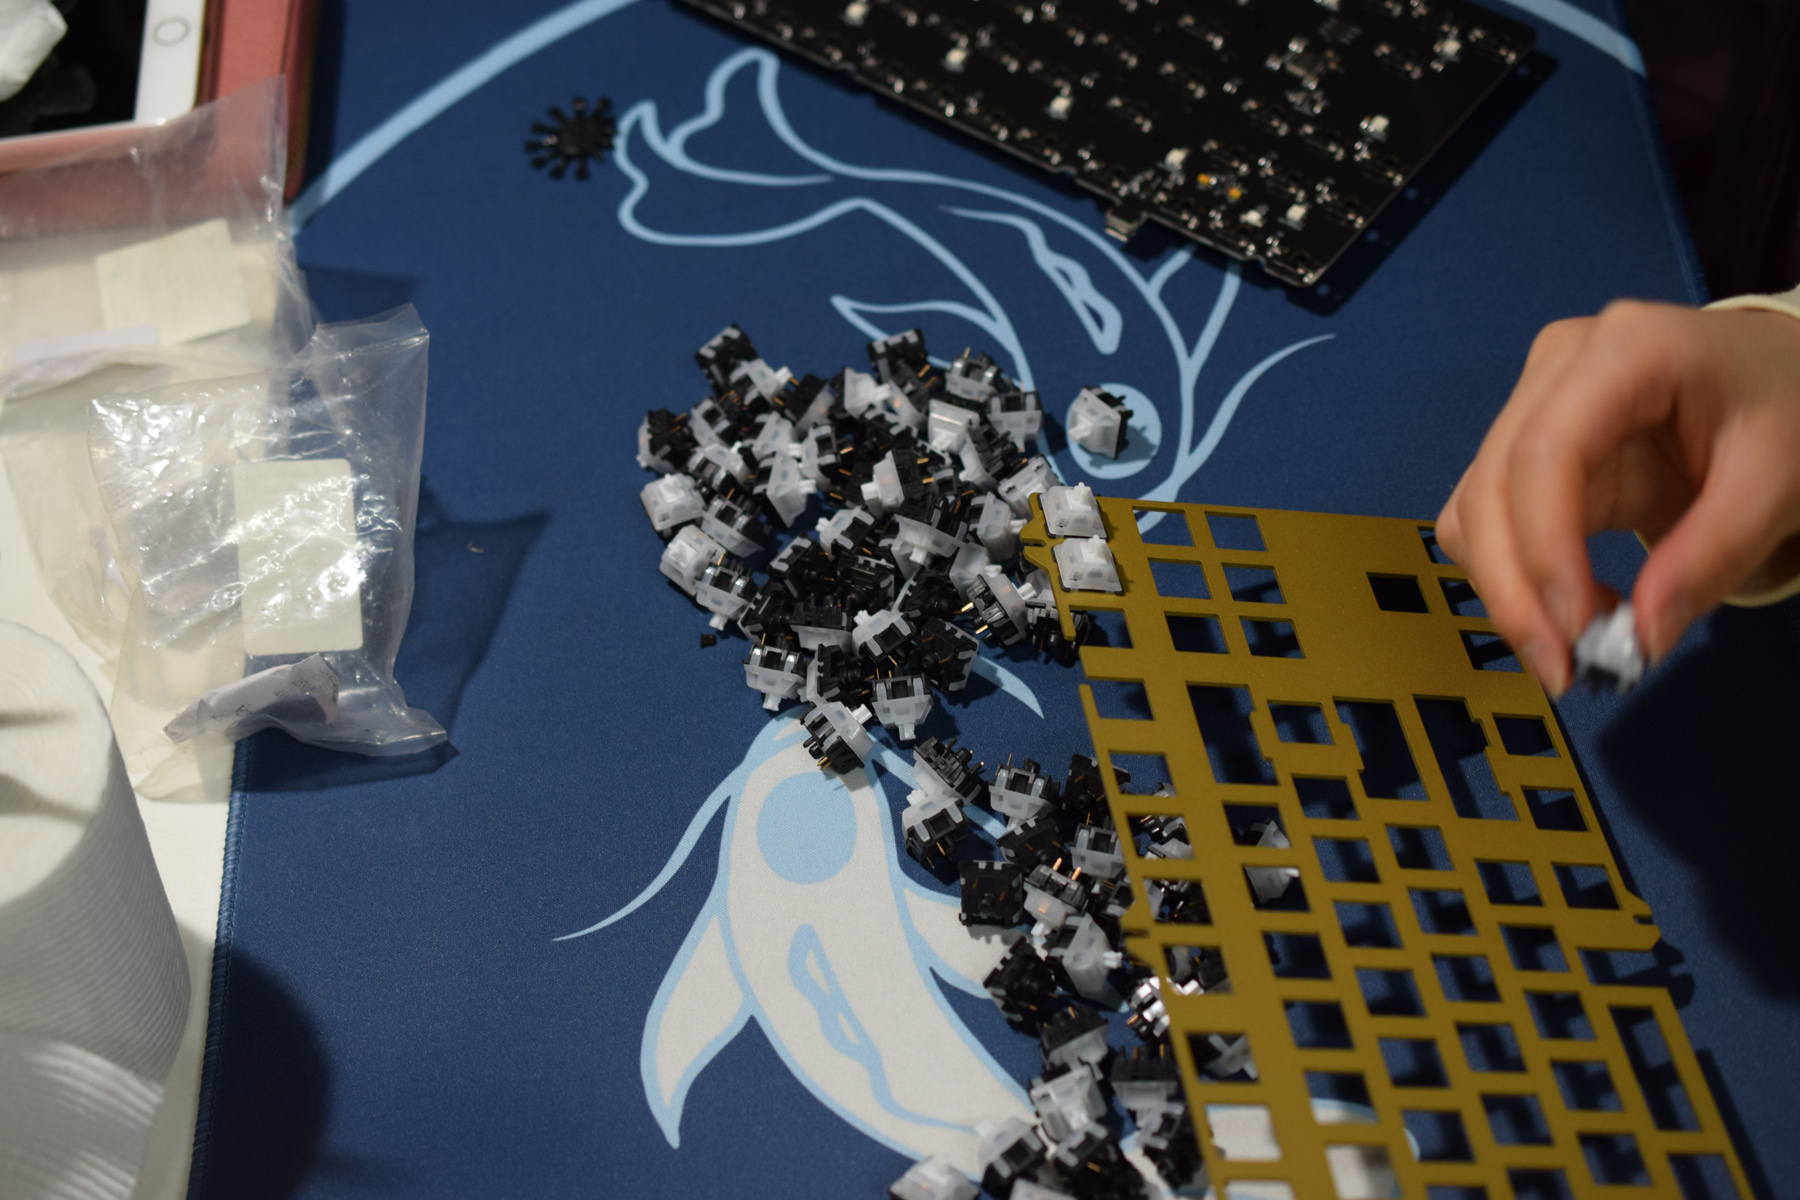
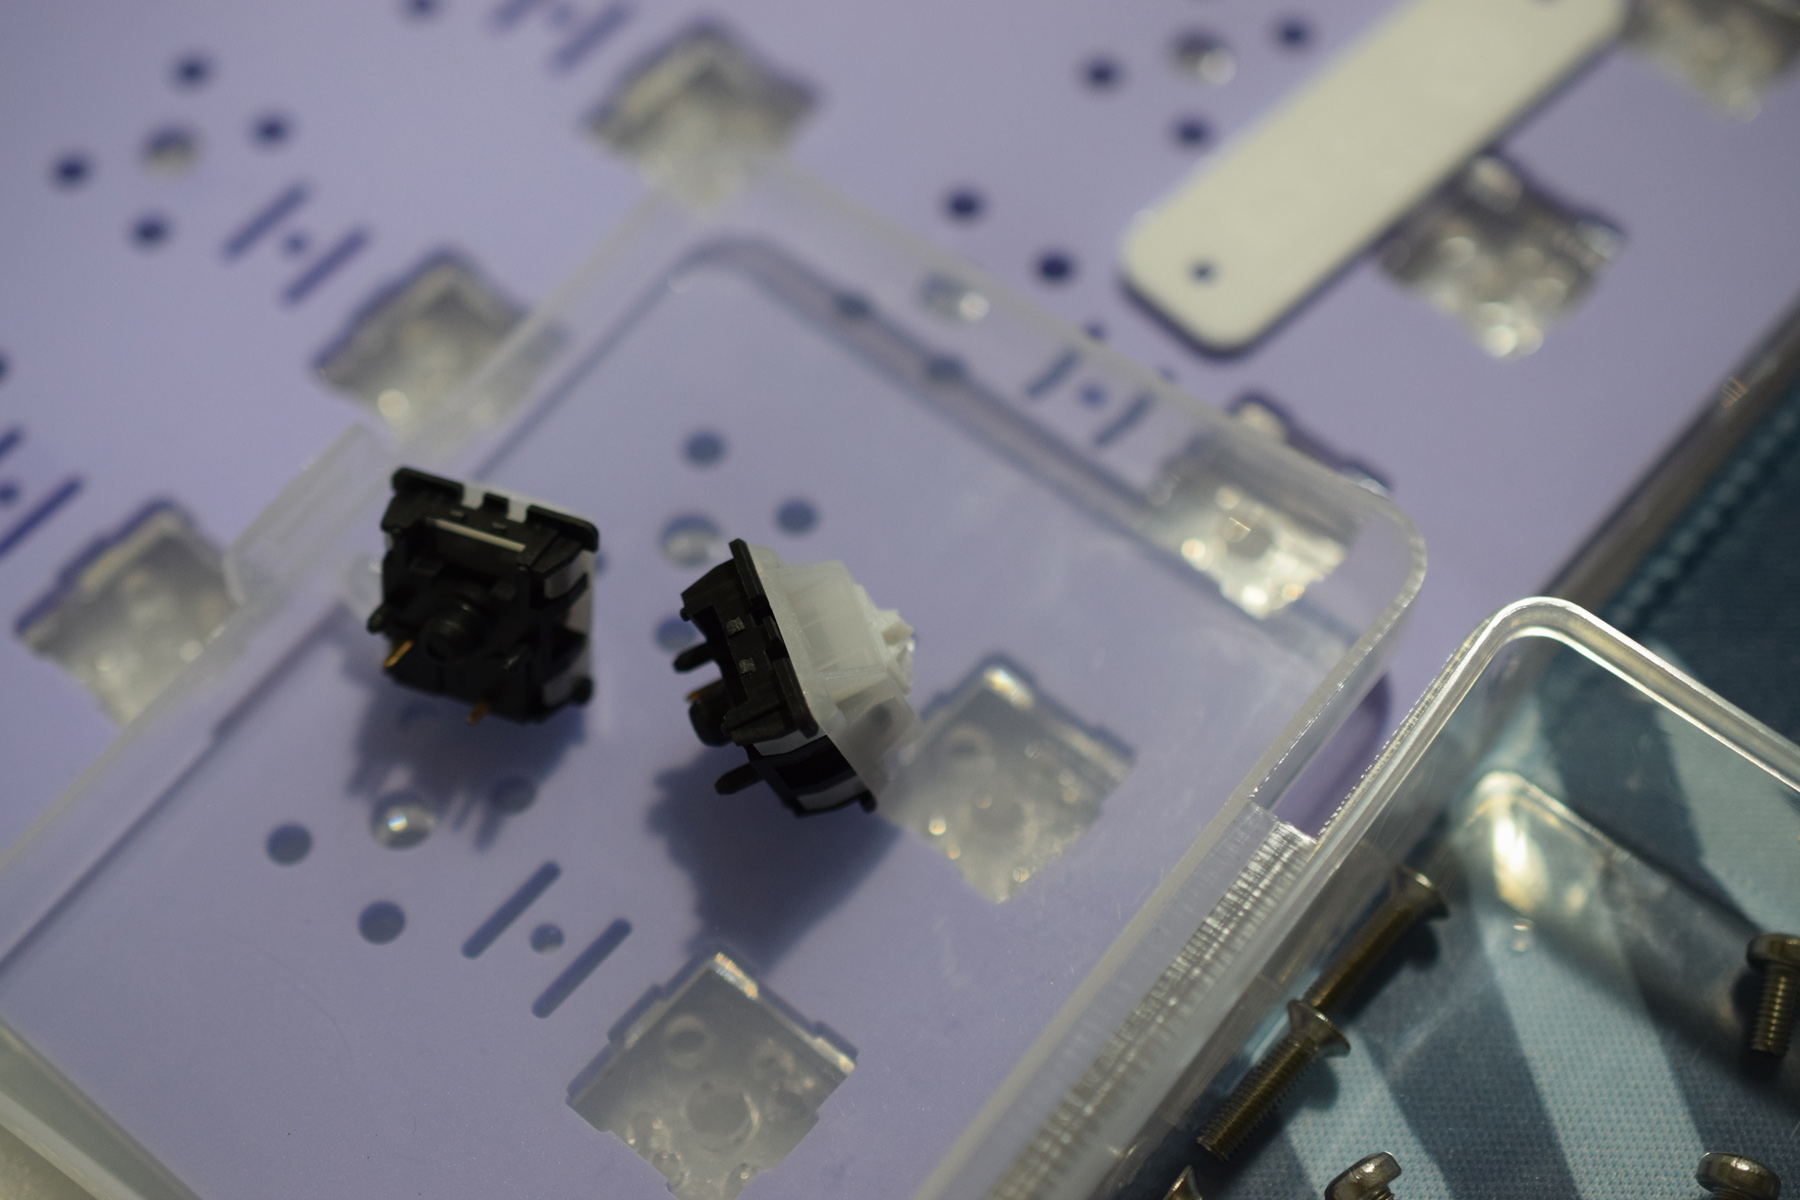
Switches:
Deciding on switches. All Clacks, SP Star Momos or TTC Golden Browns?
Not the best range… But this is all I had on-hand.
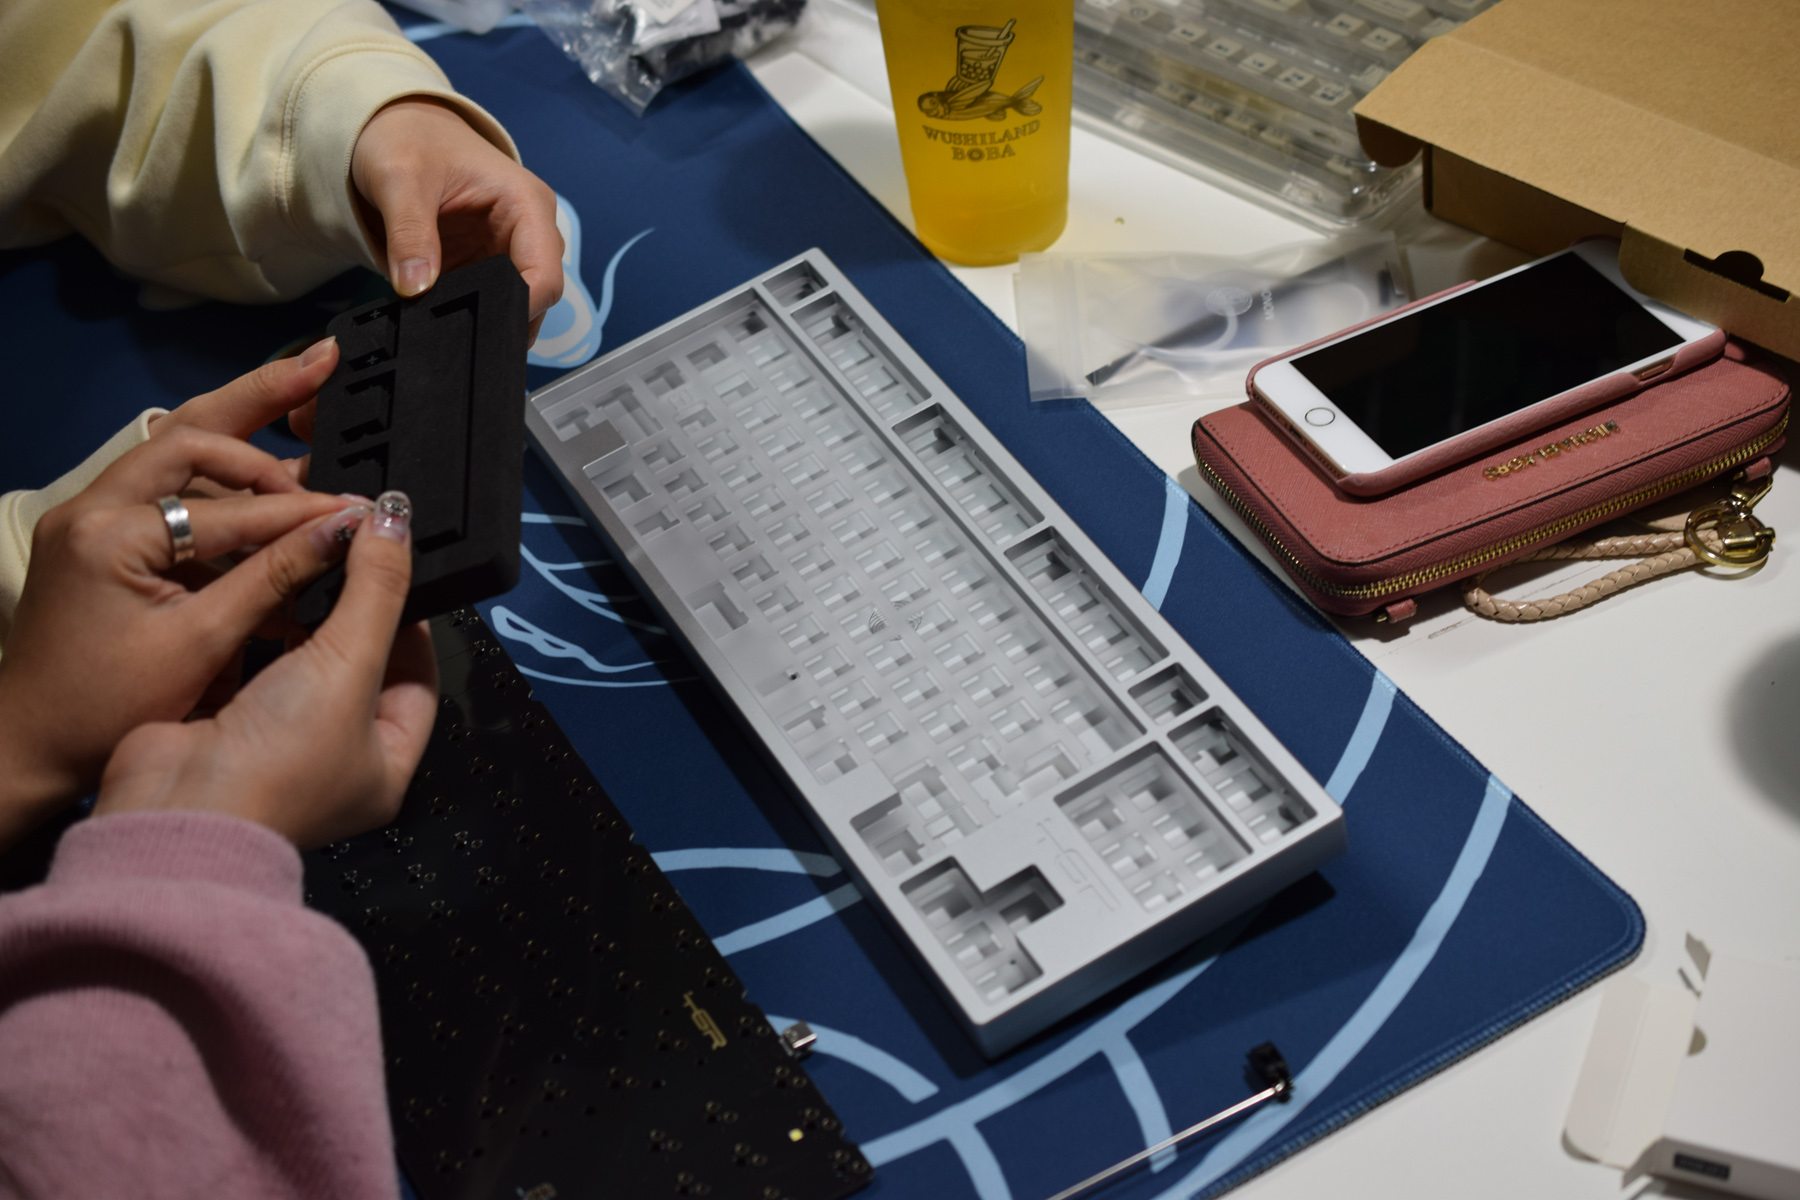
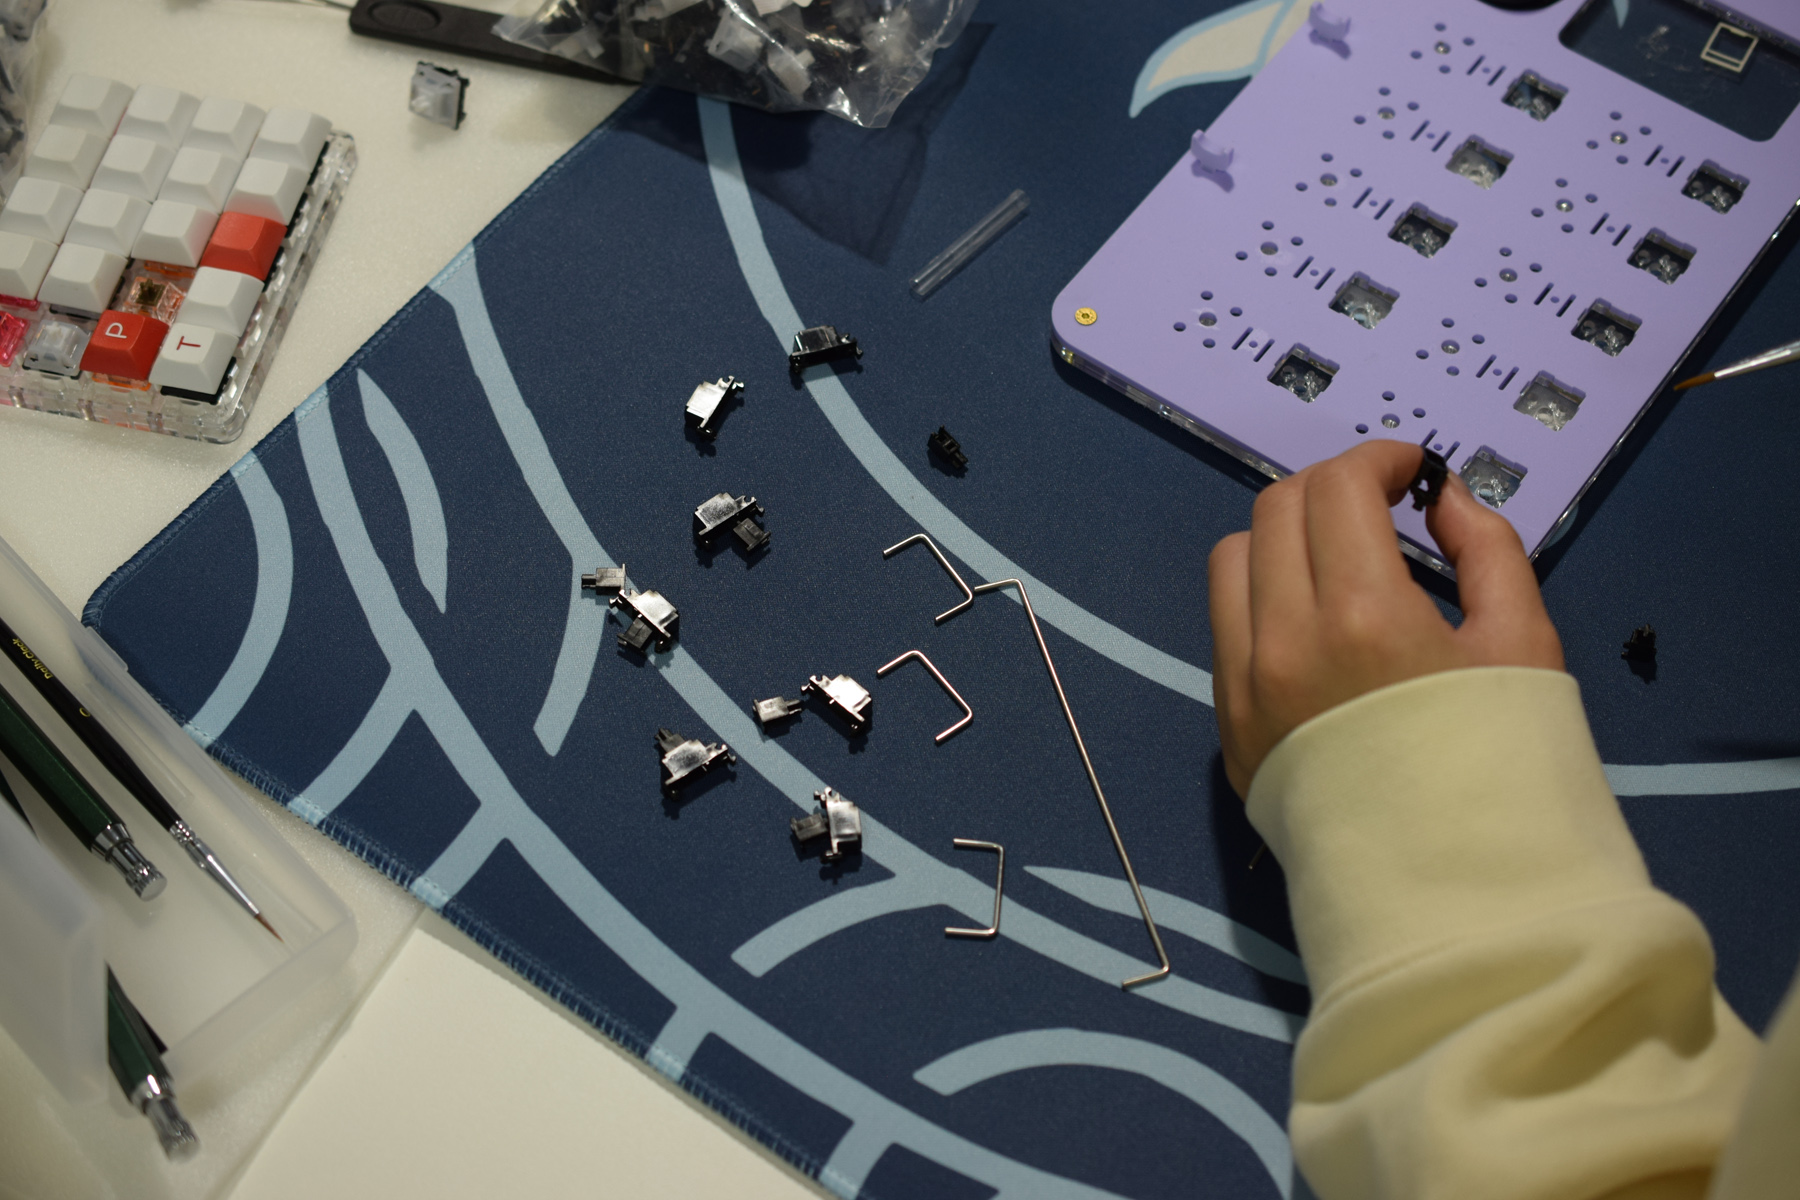
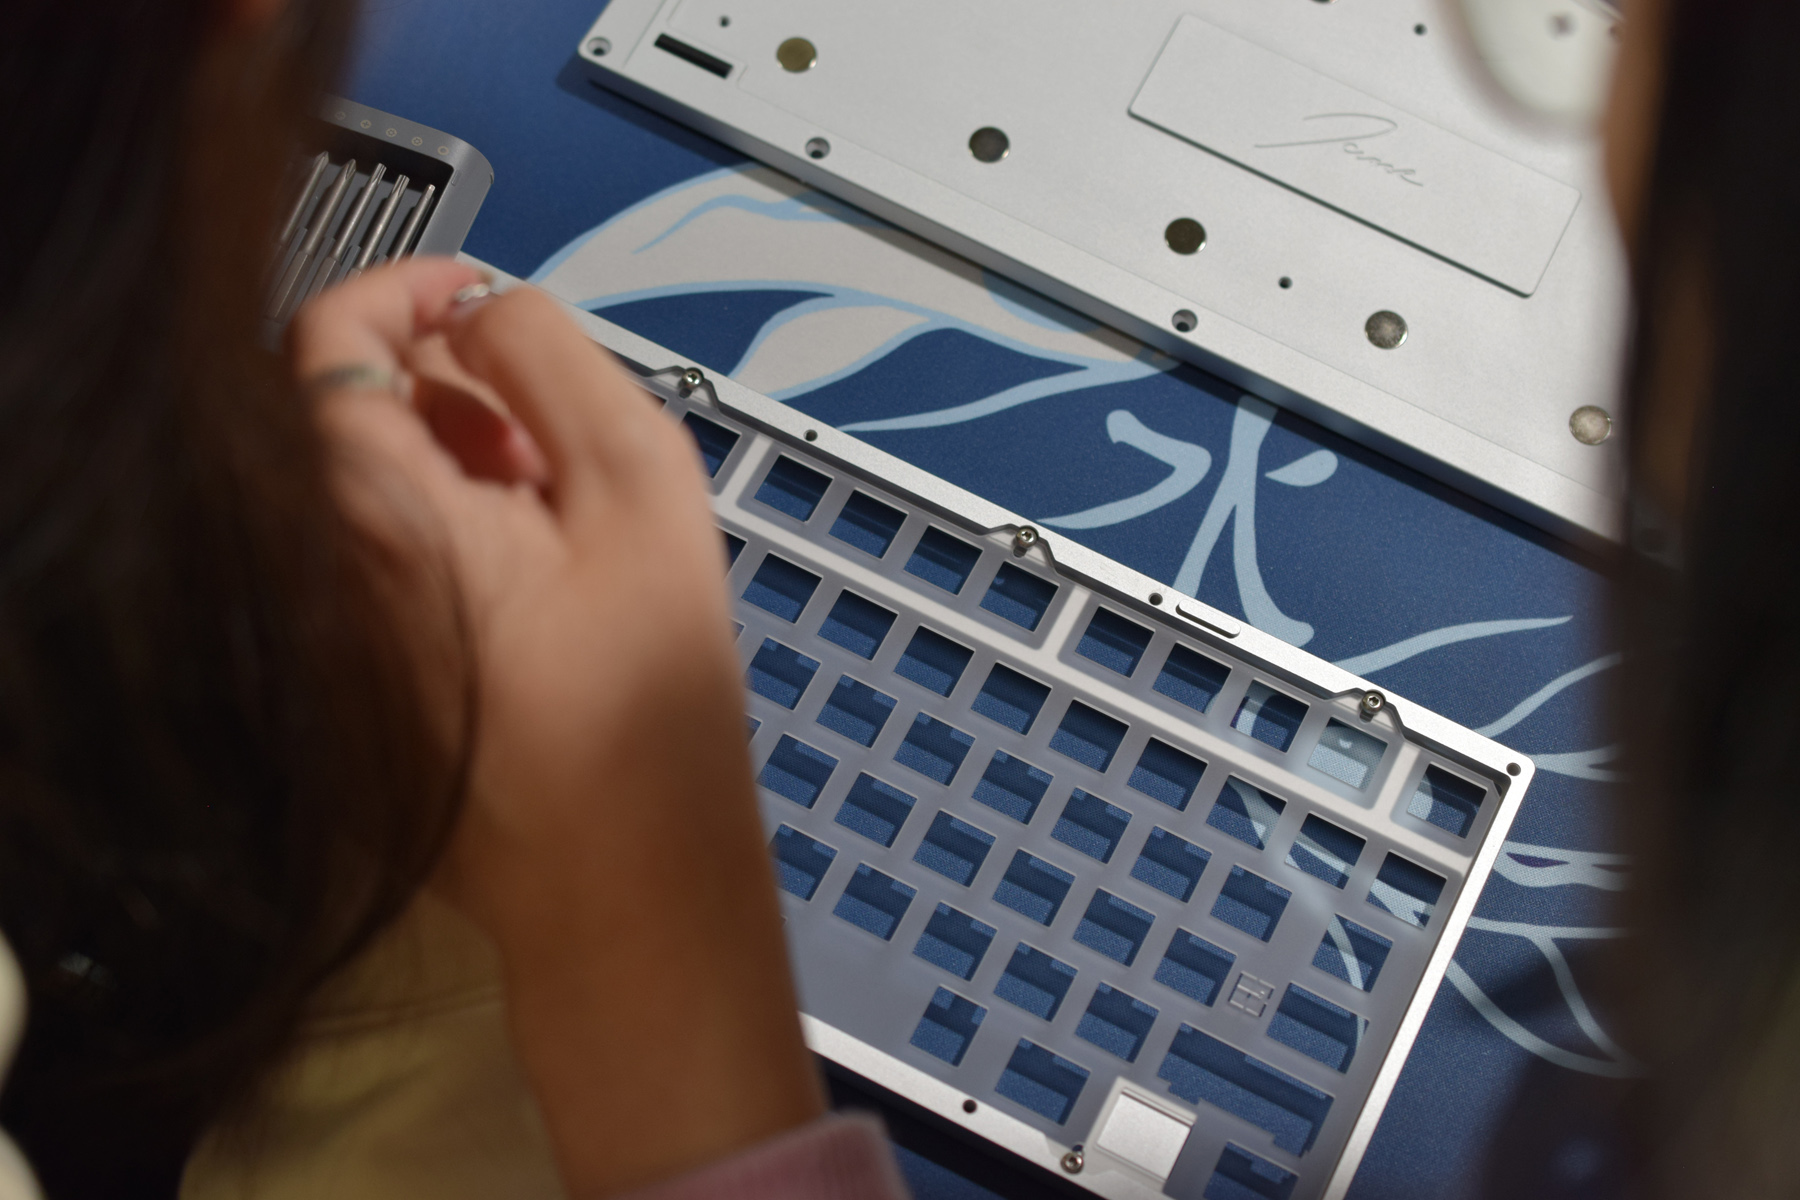
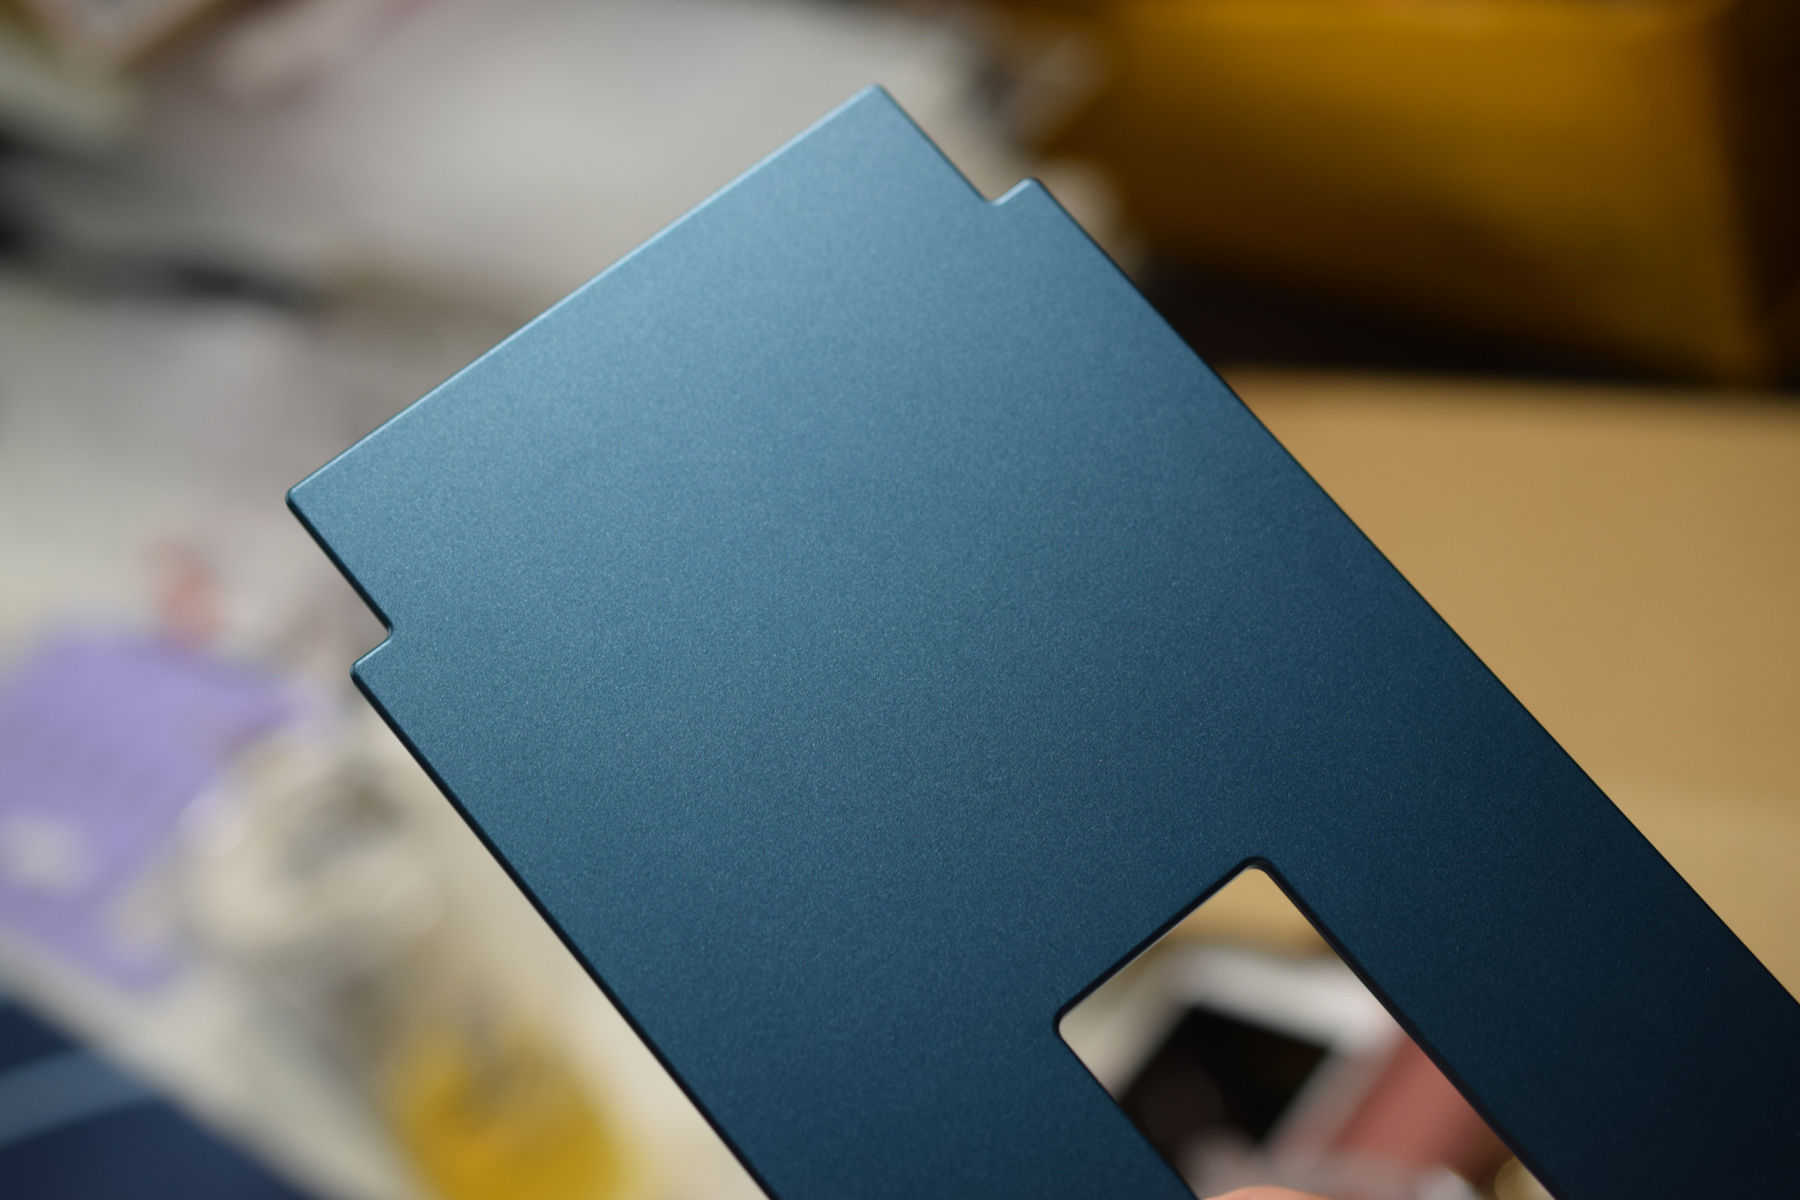
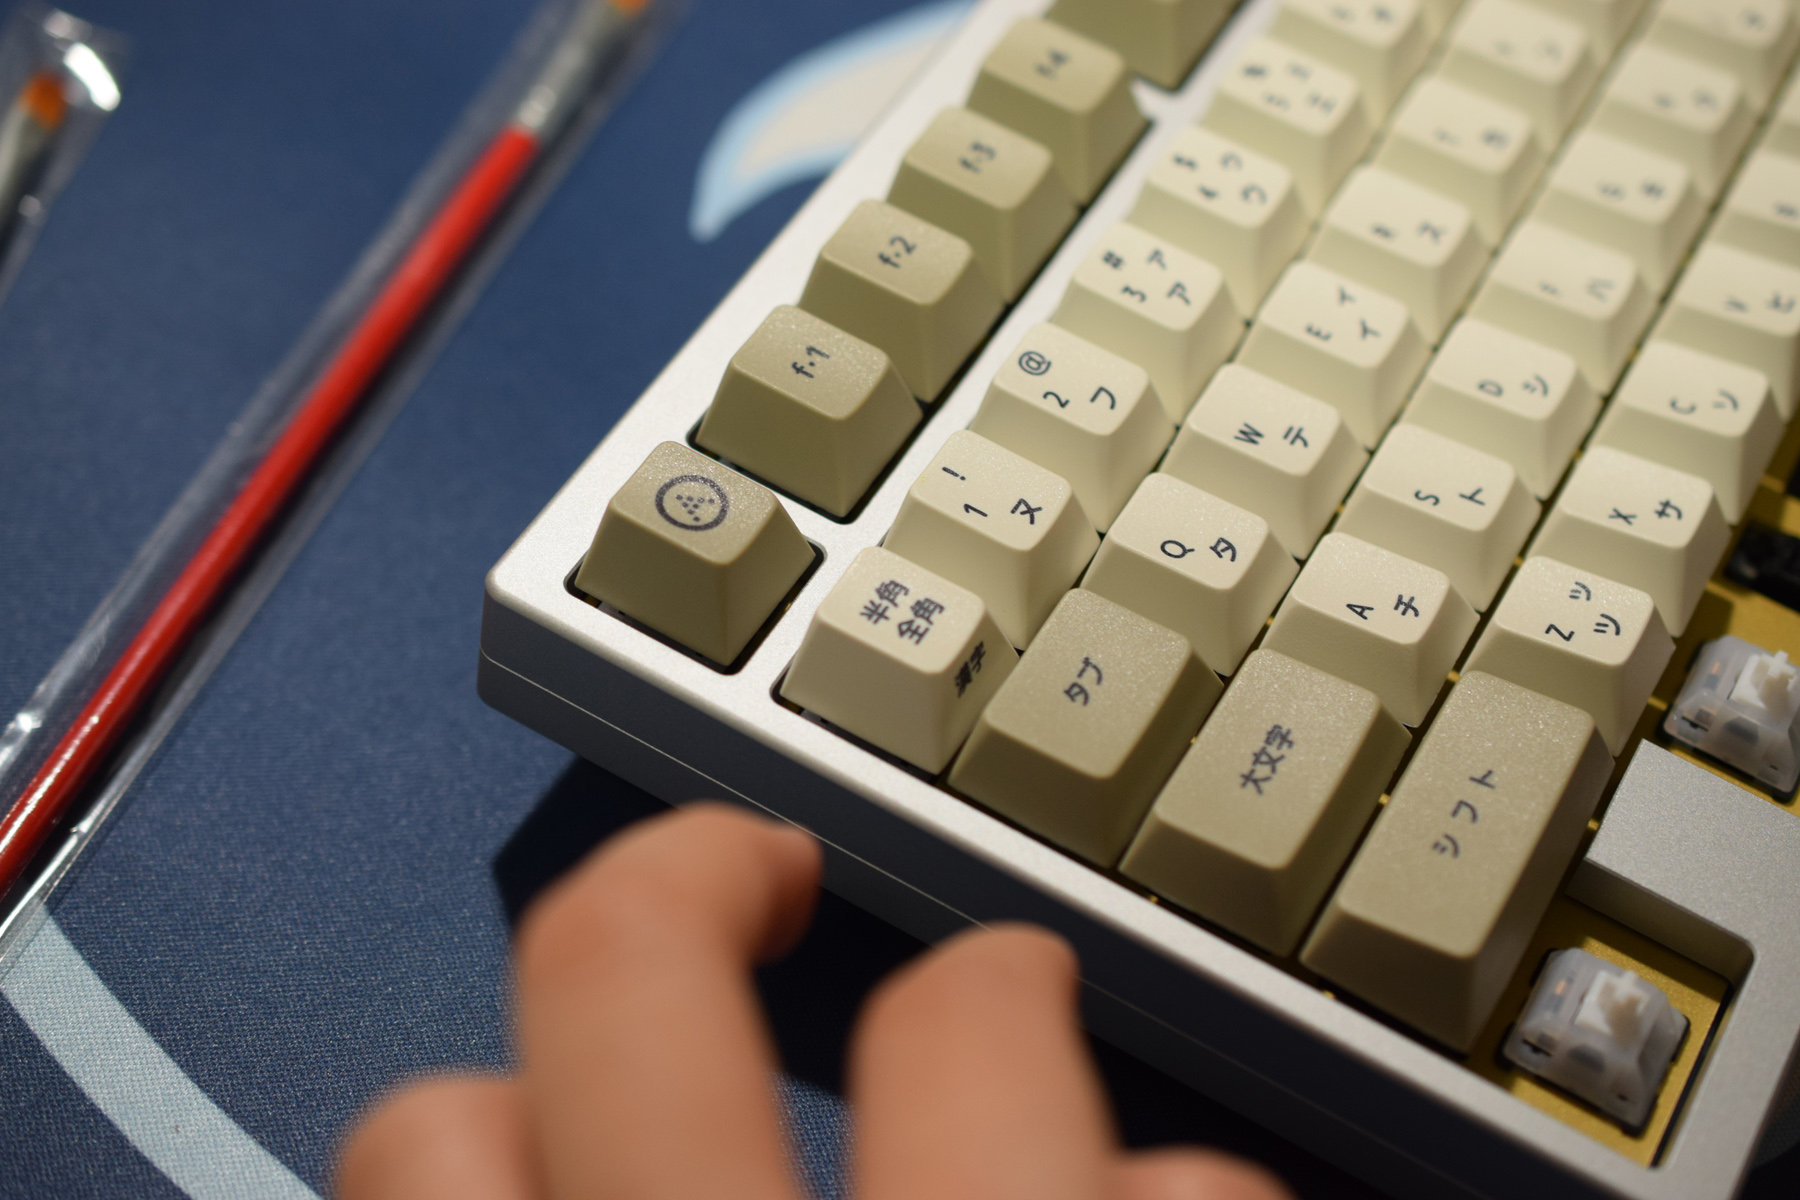
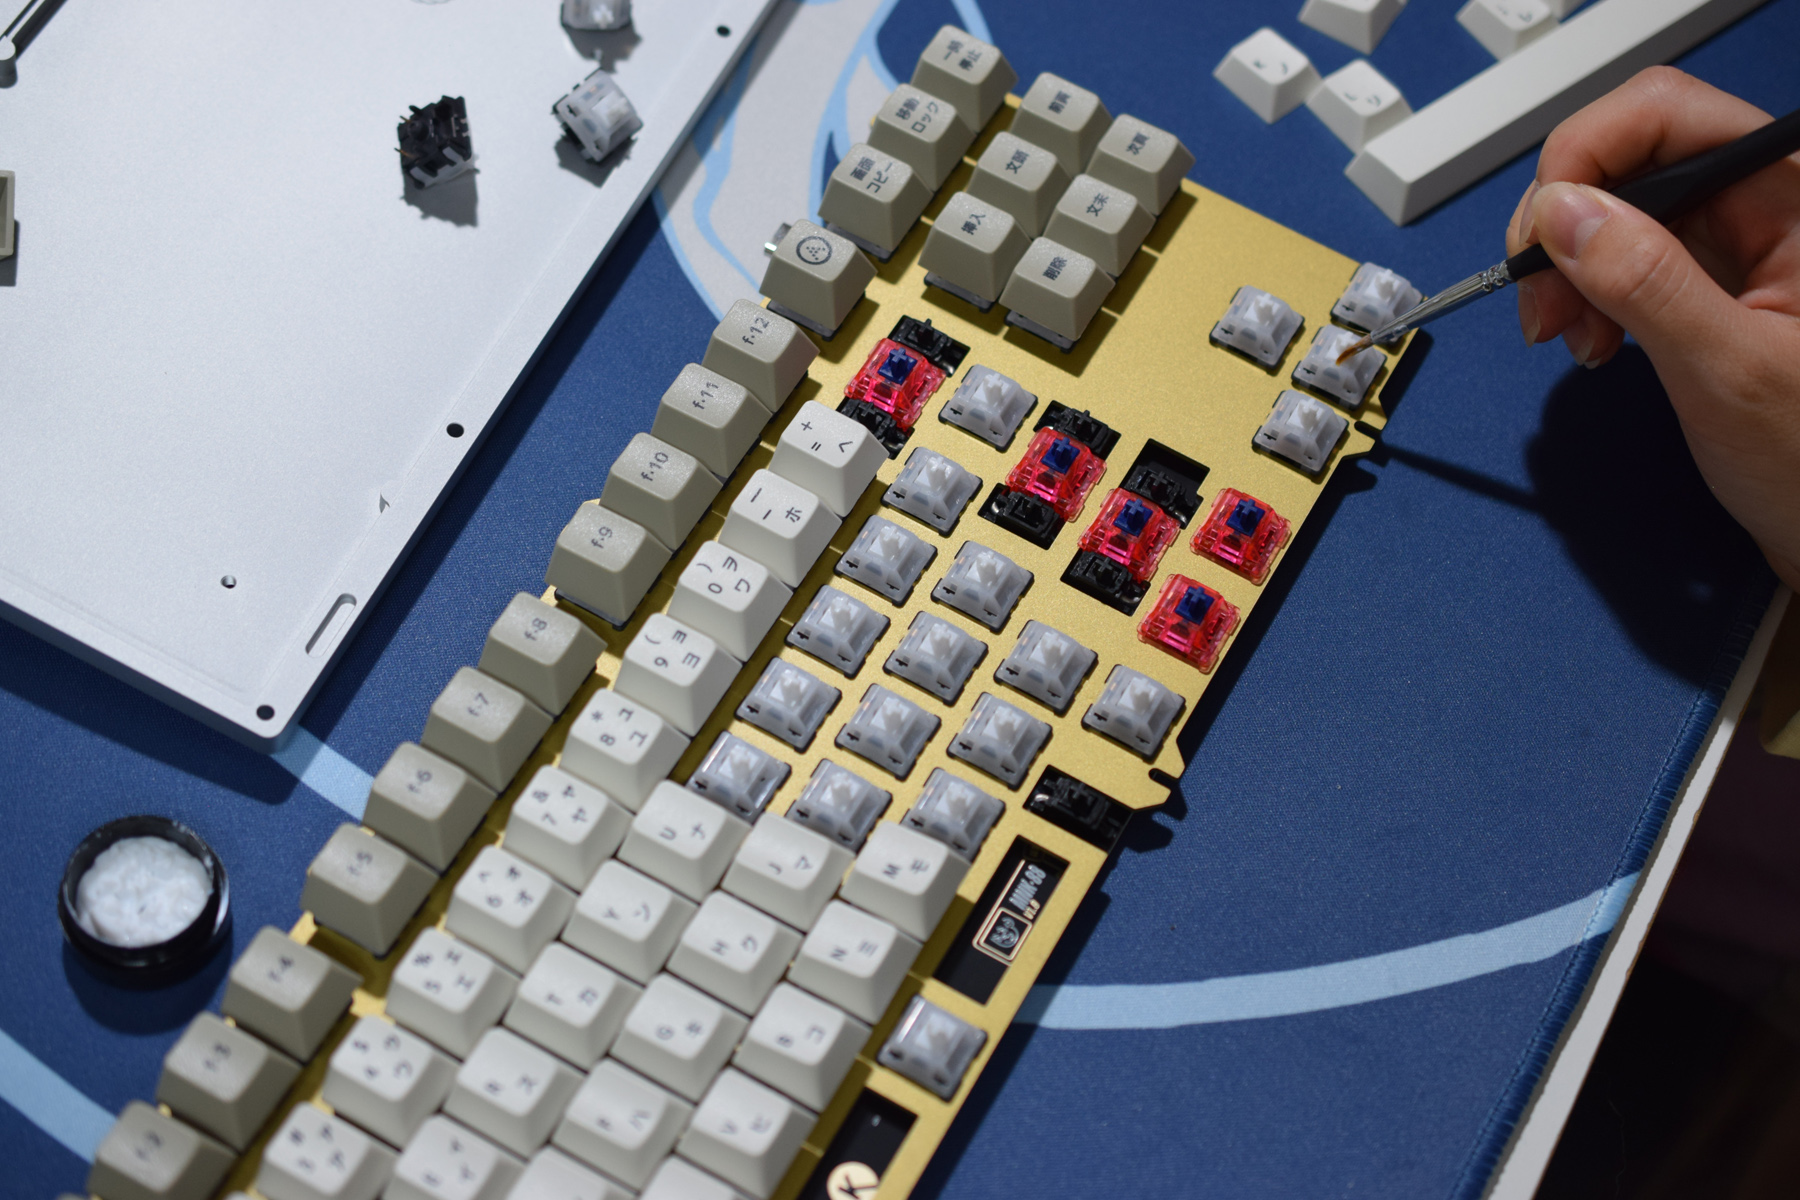
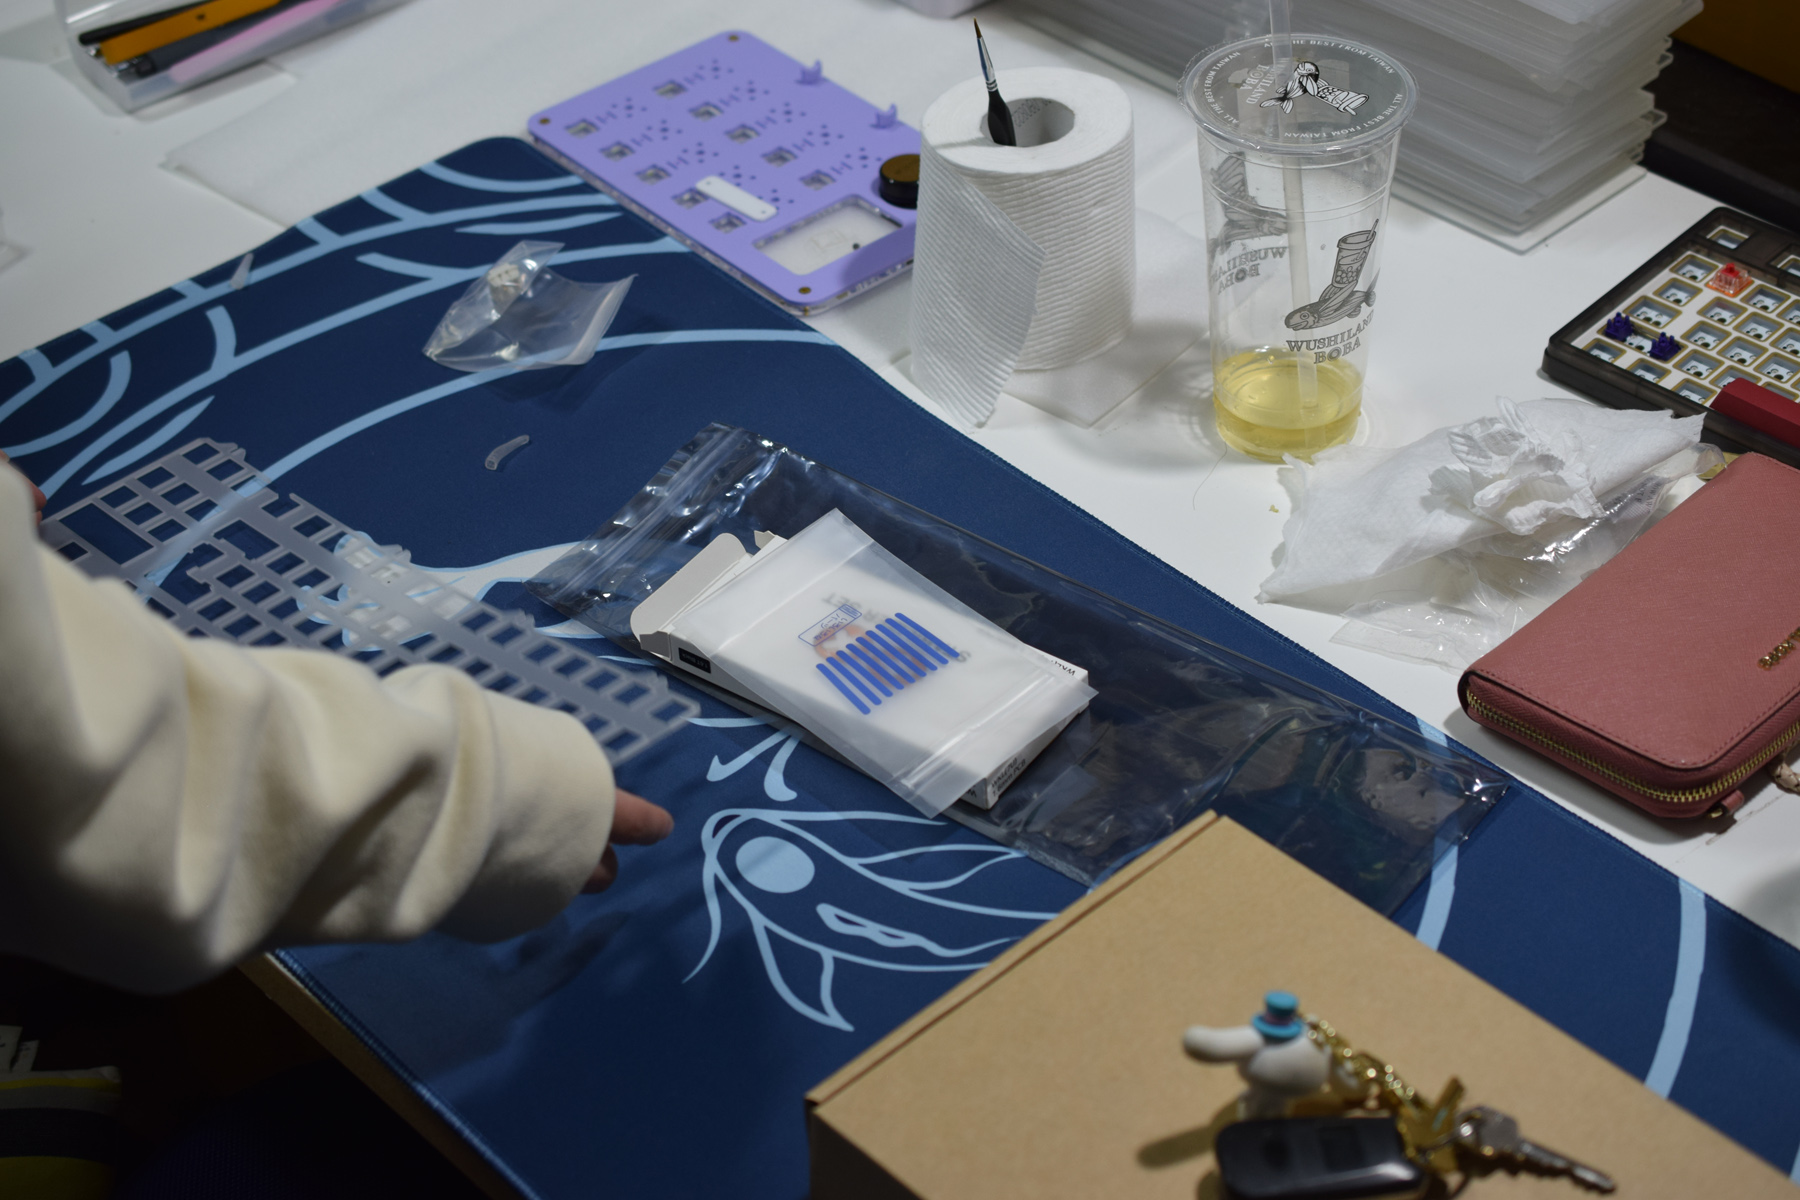
Stabiliser Prep + Close Ups:
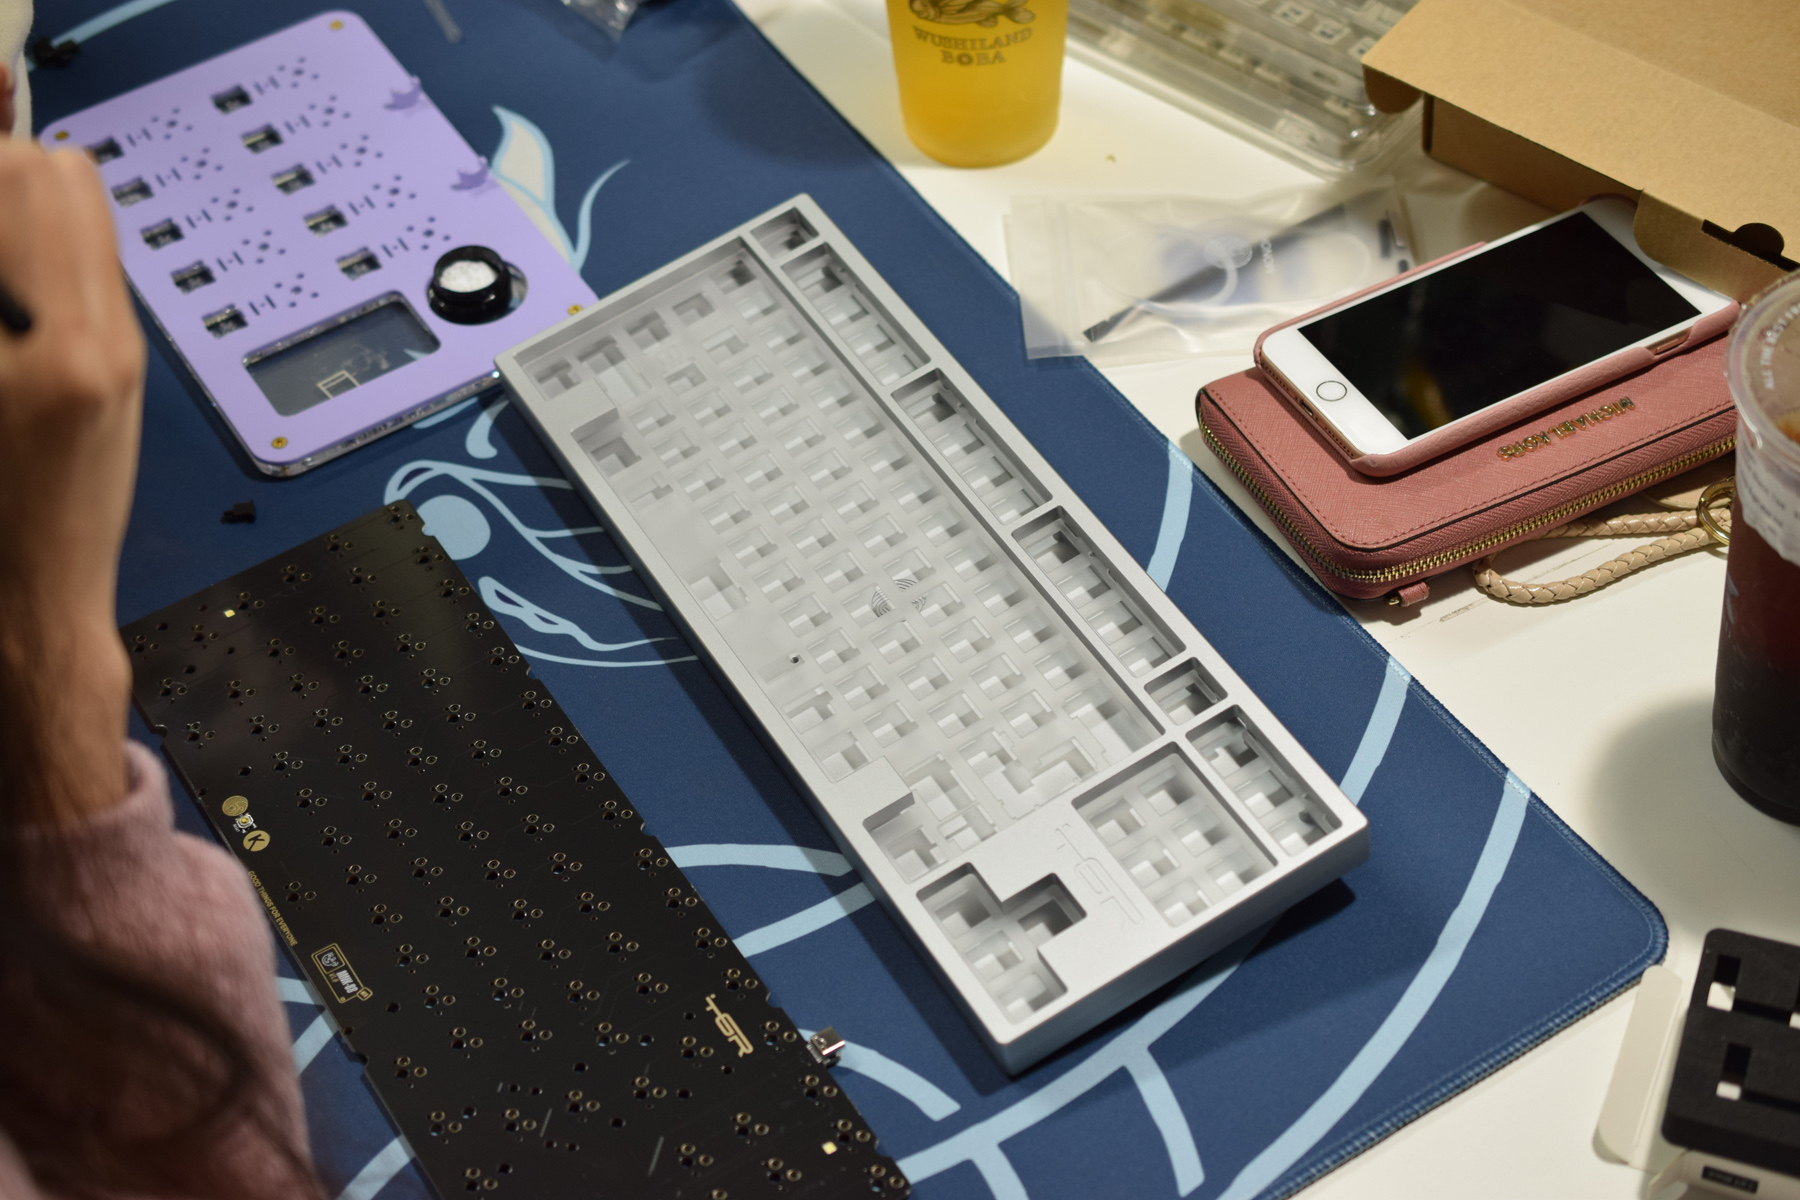
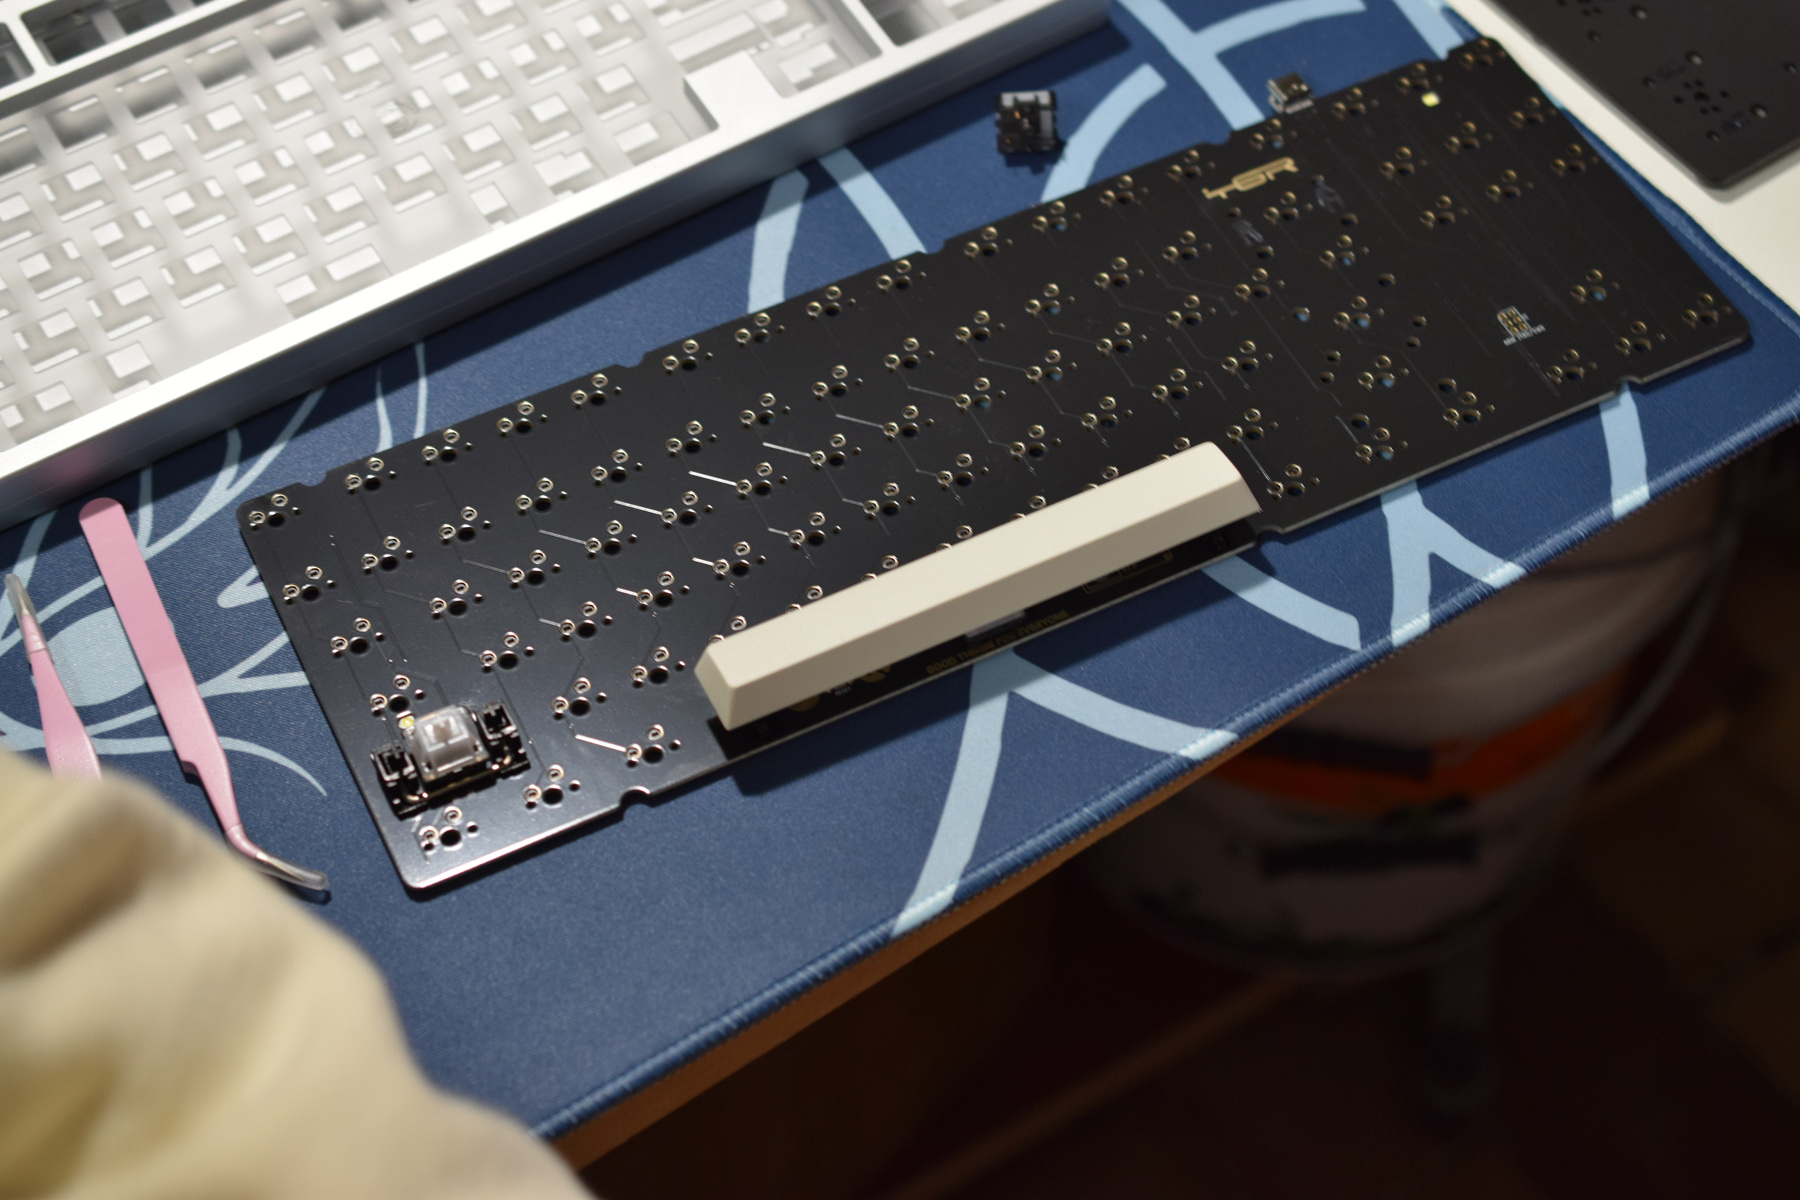
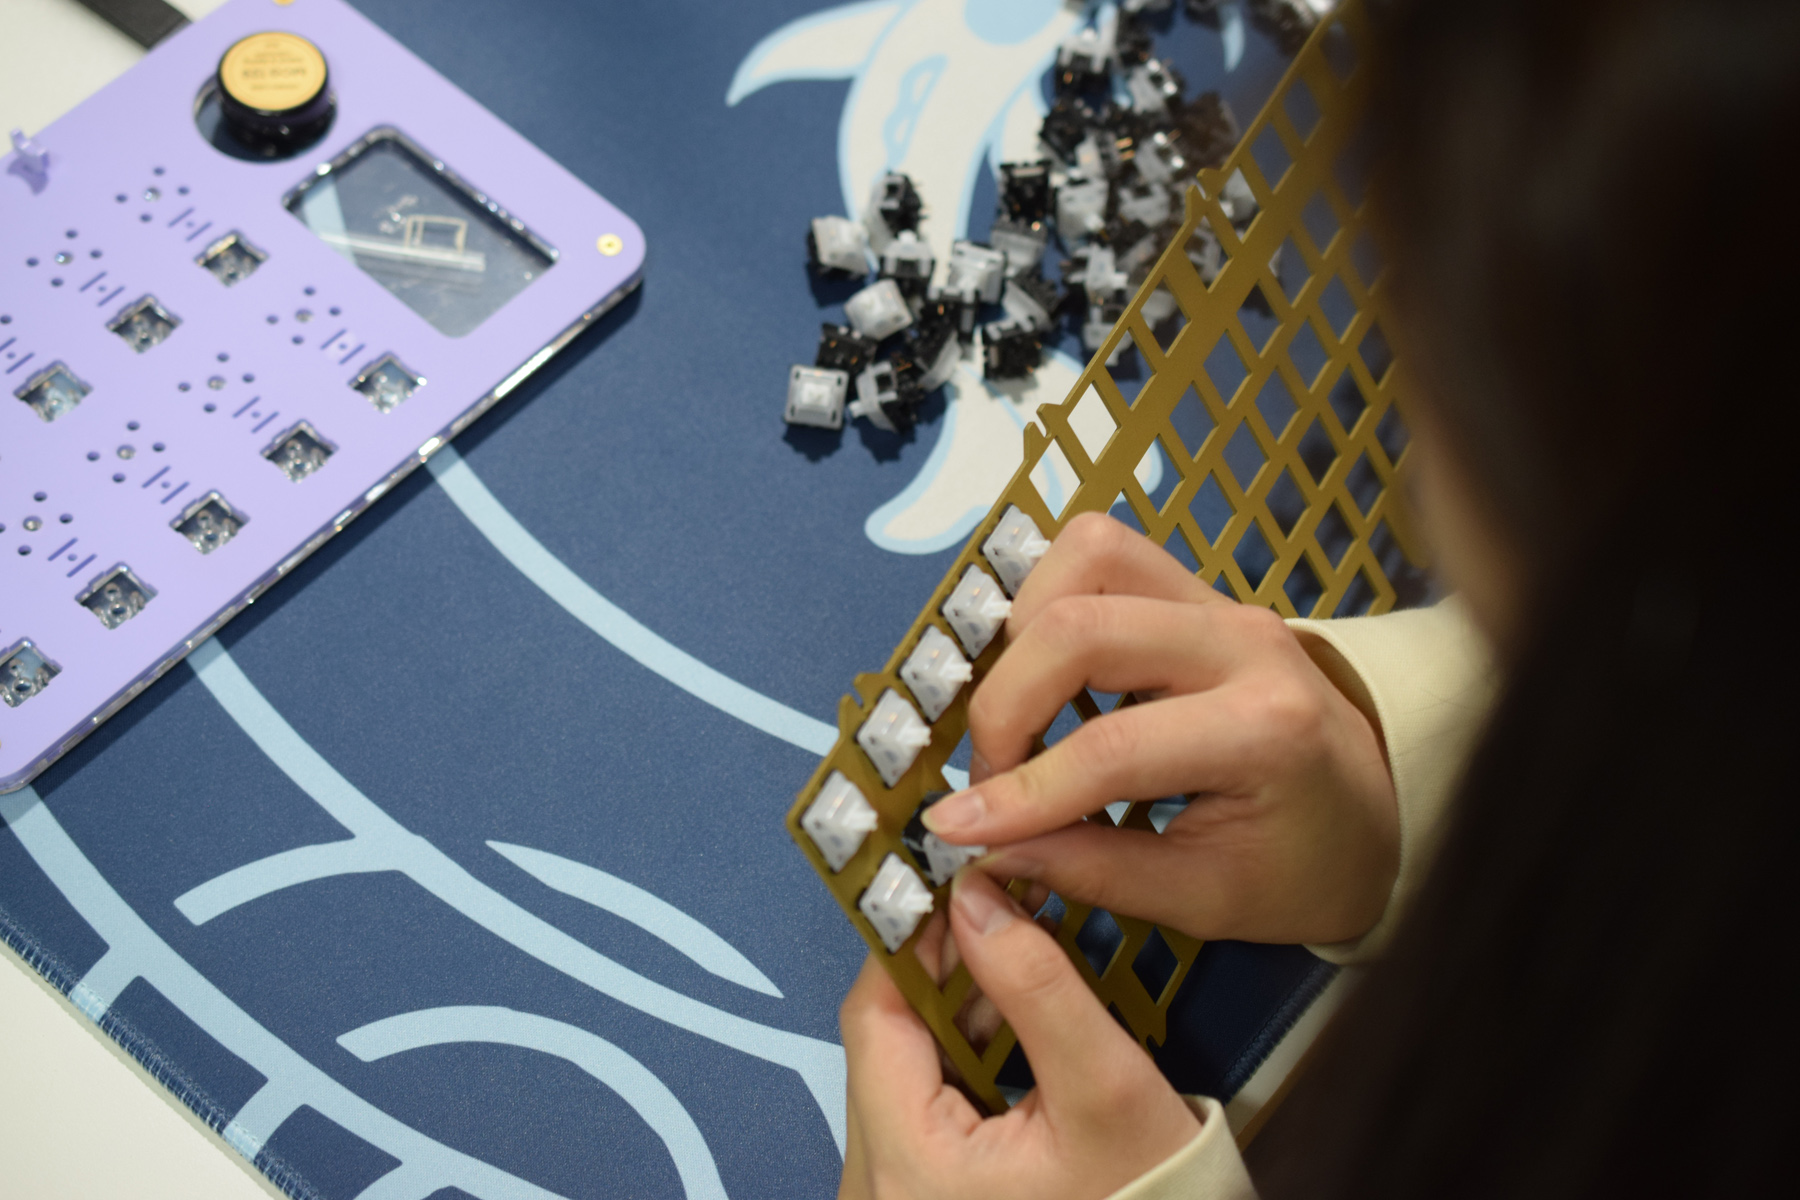
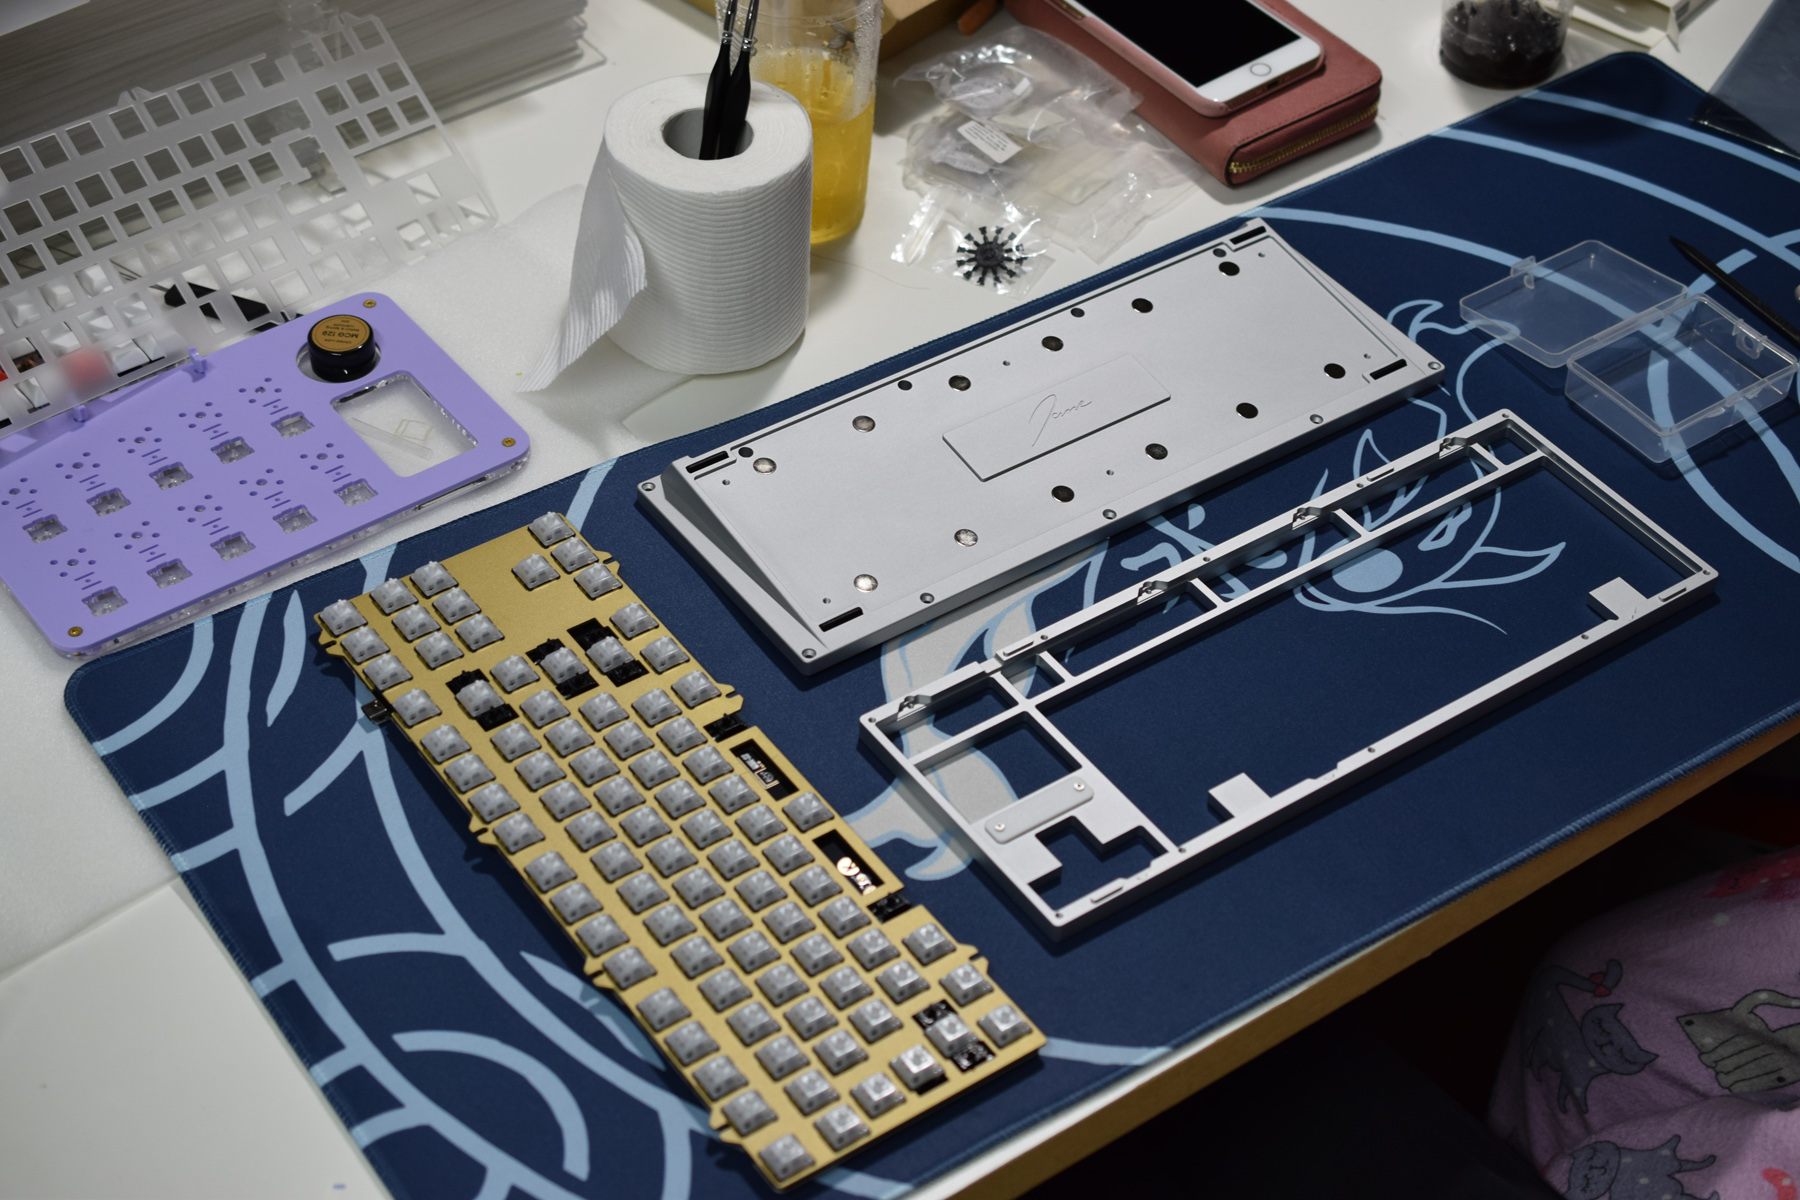
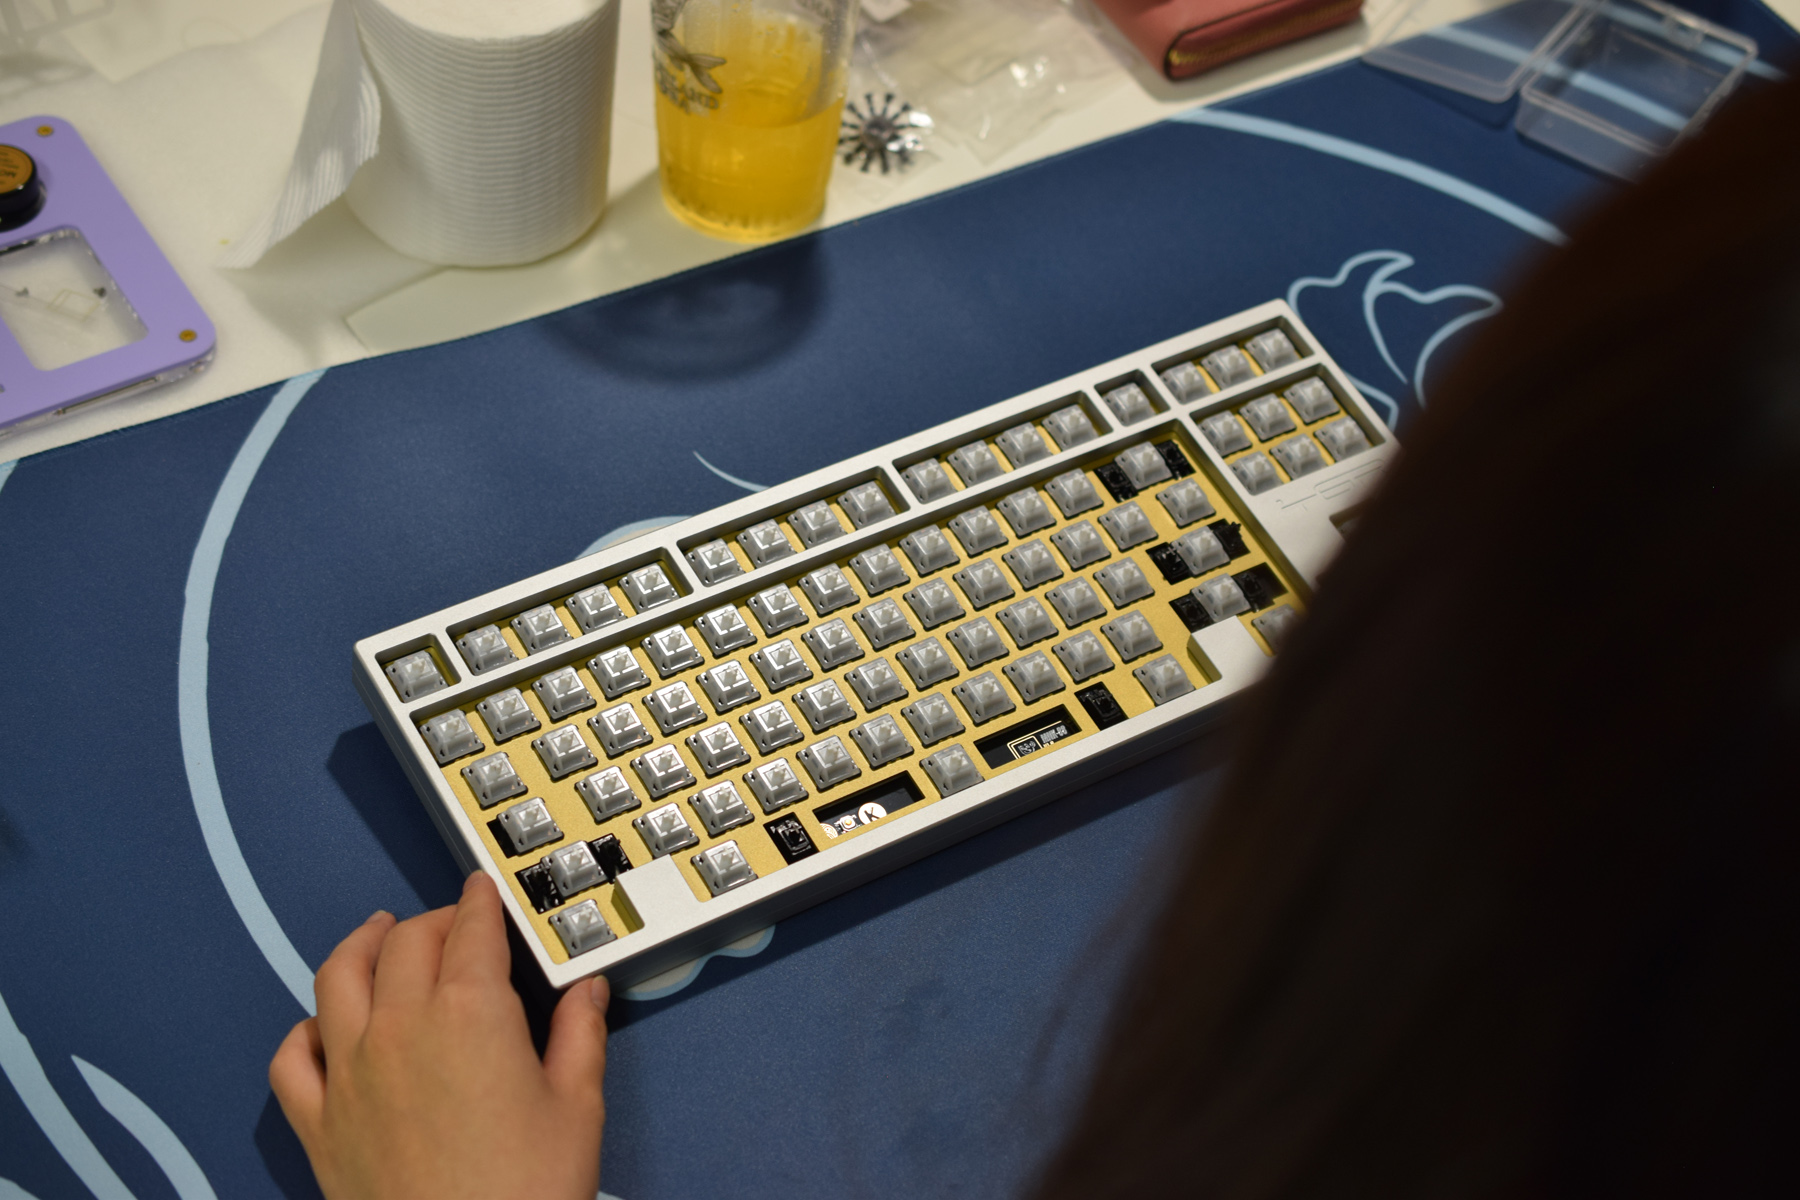
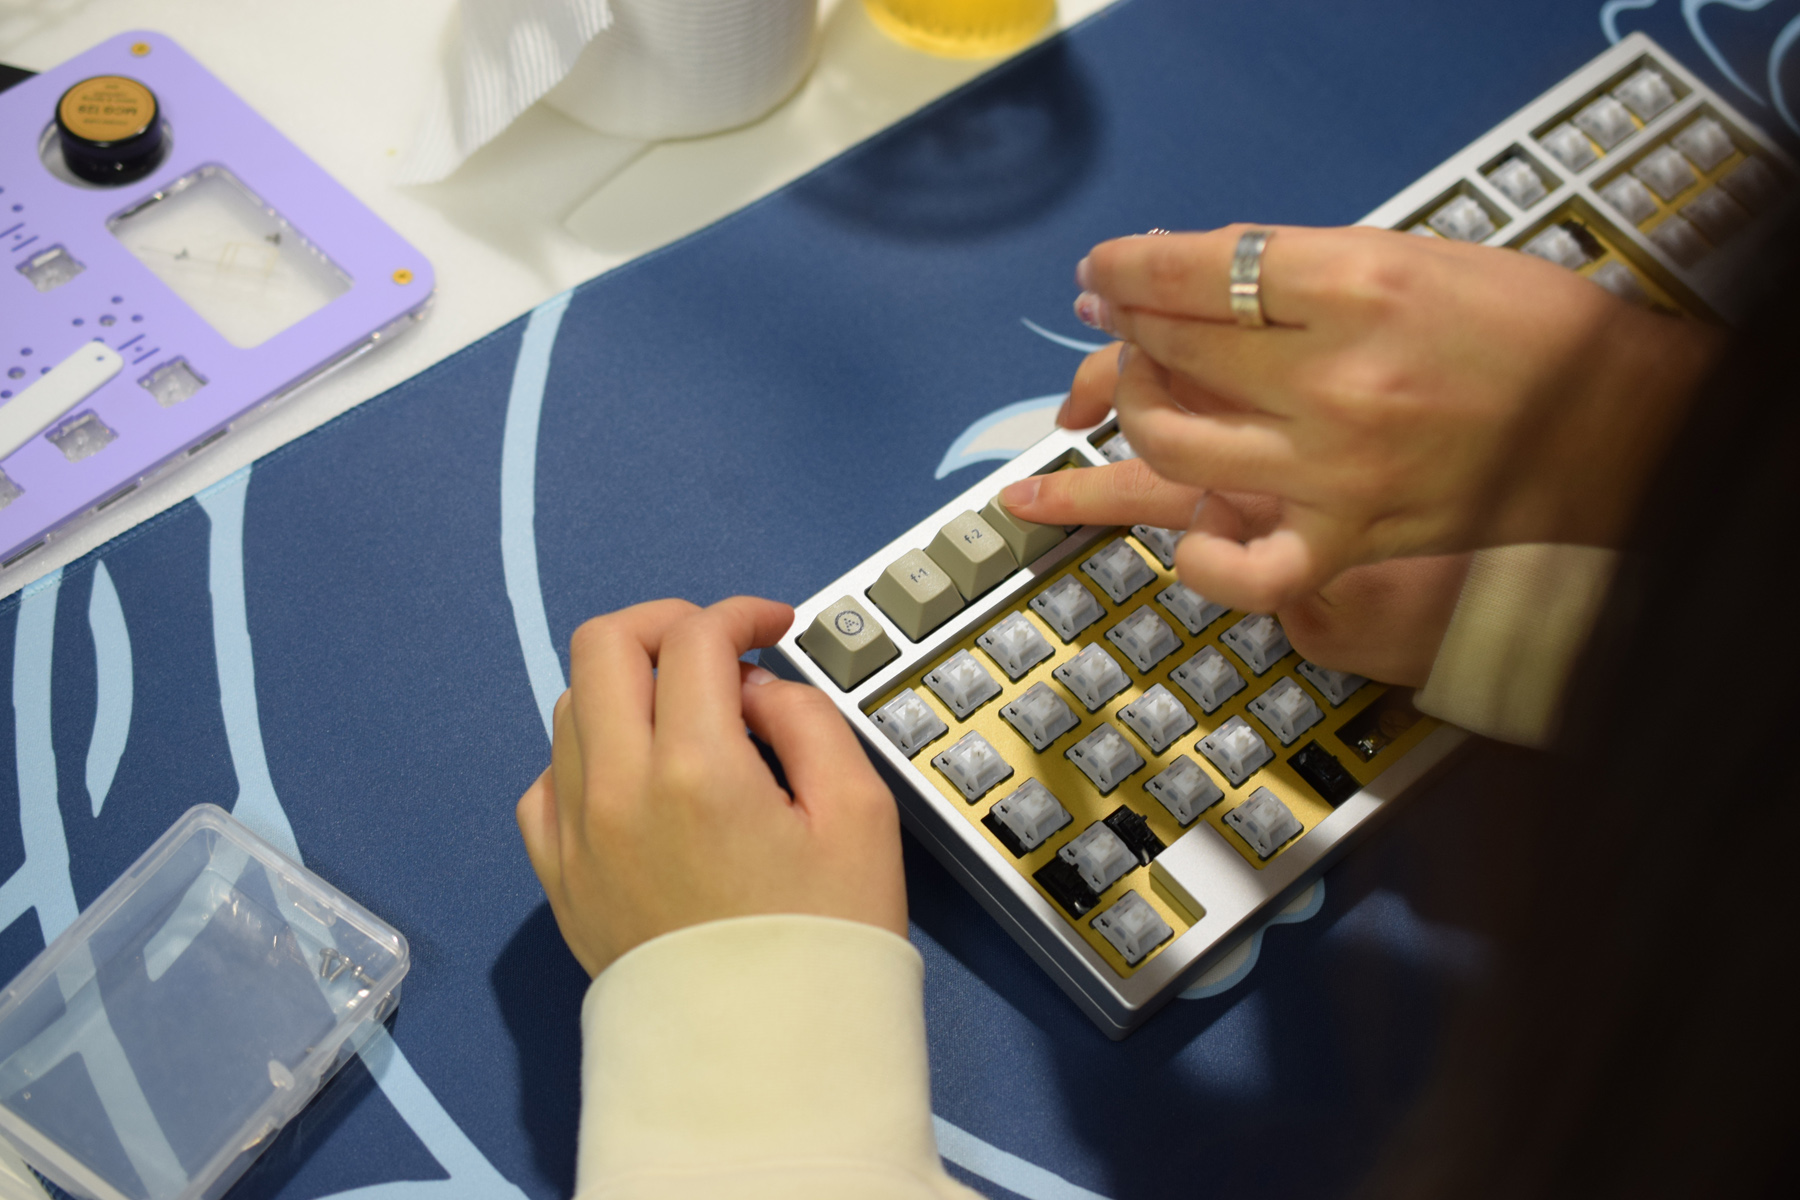
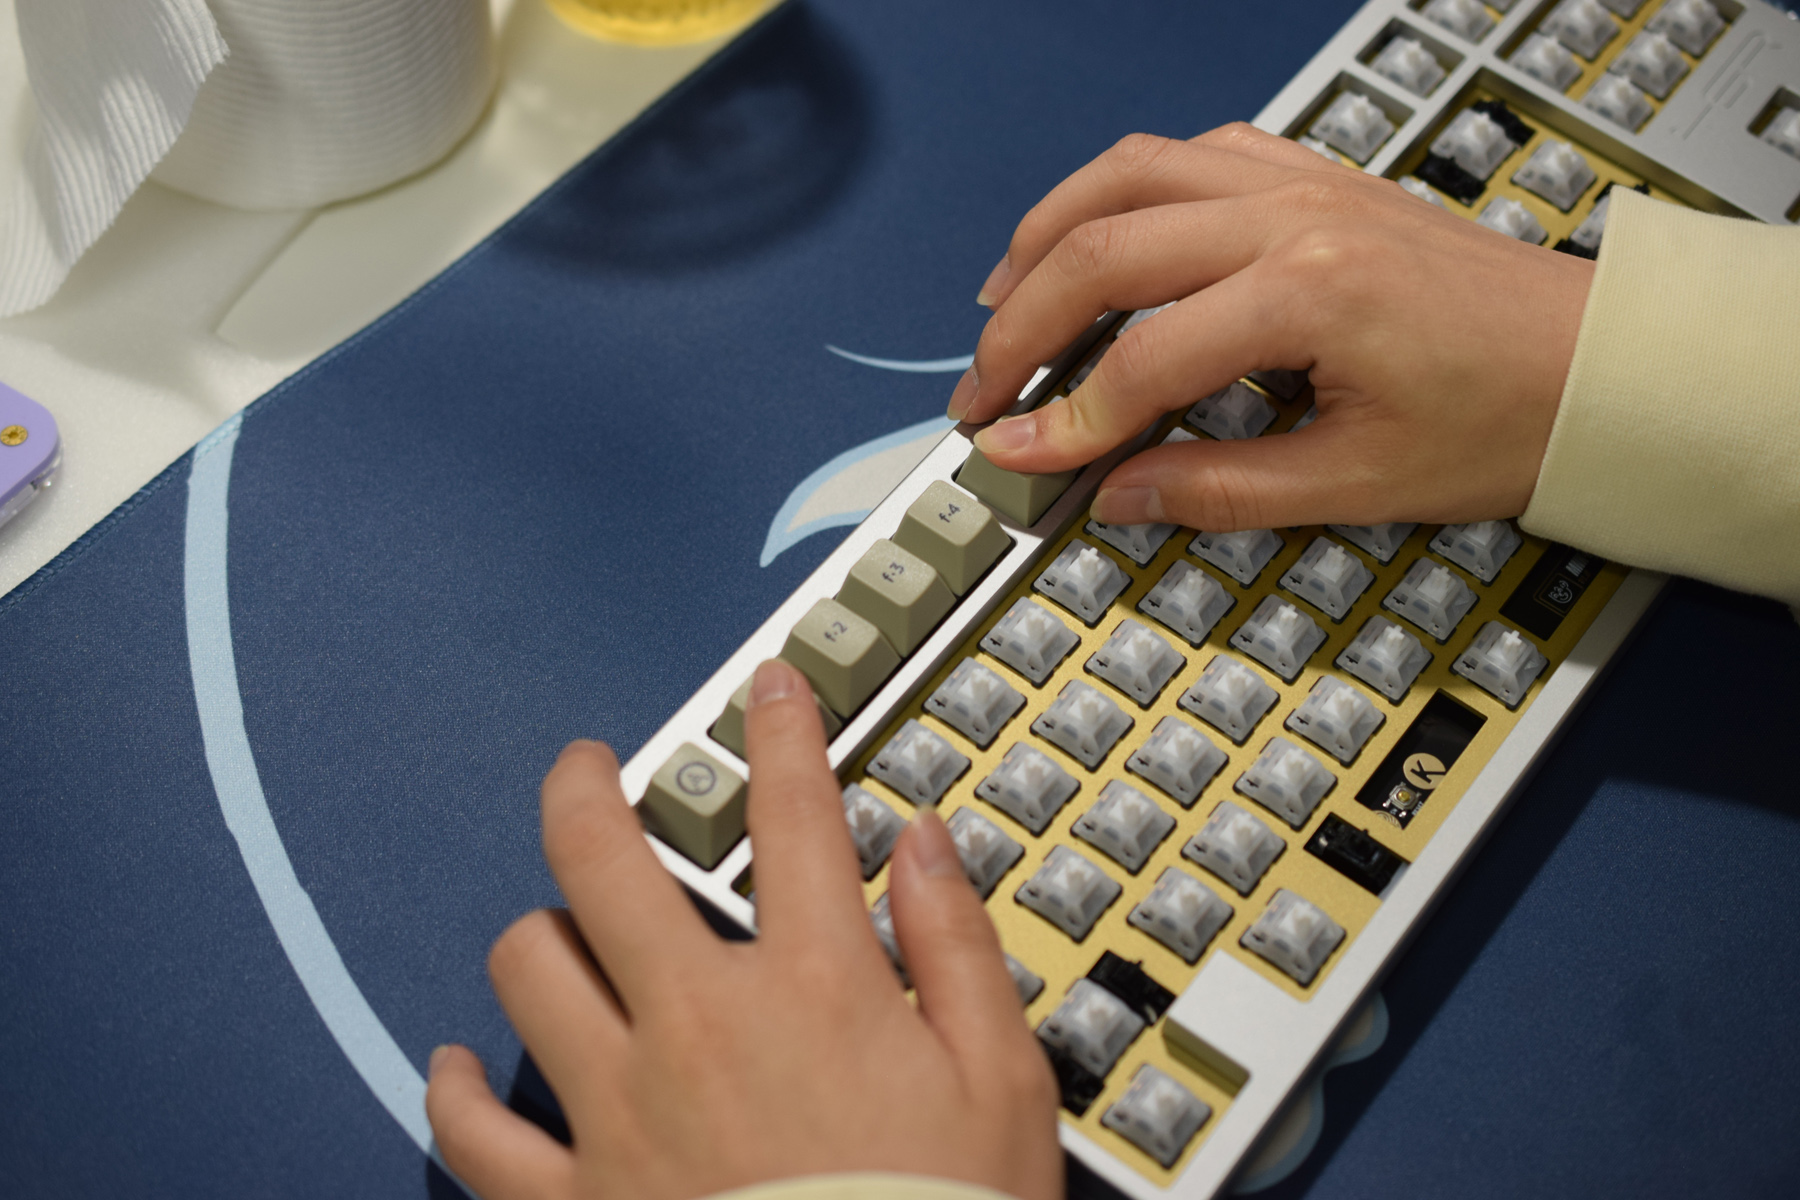
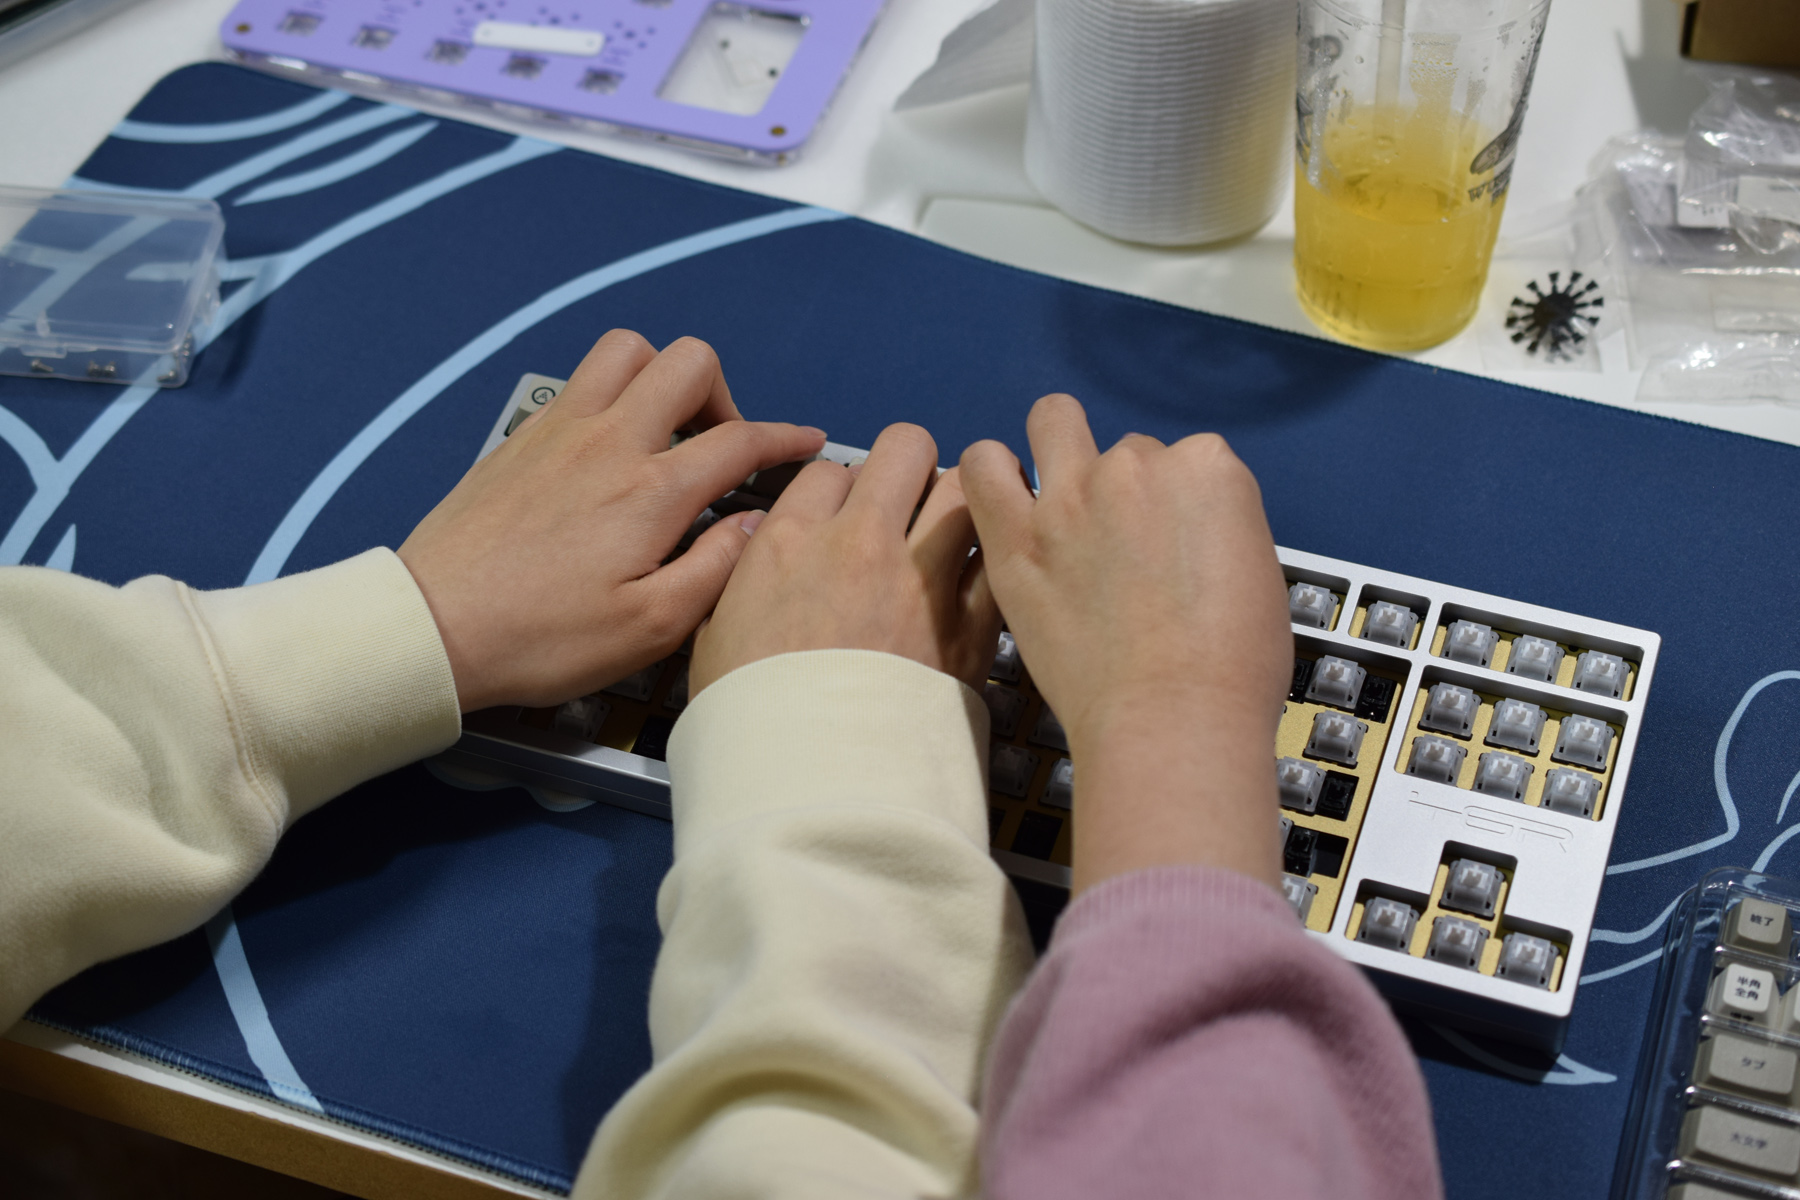
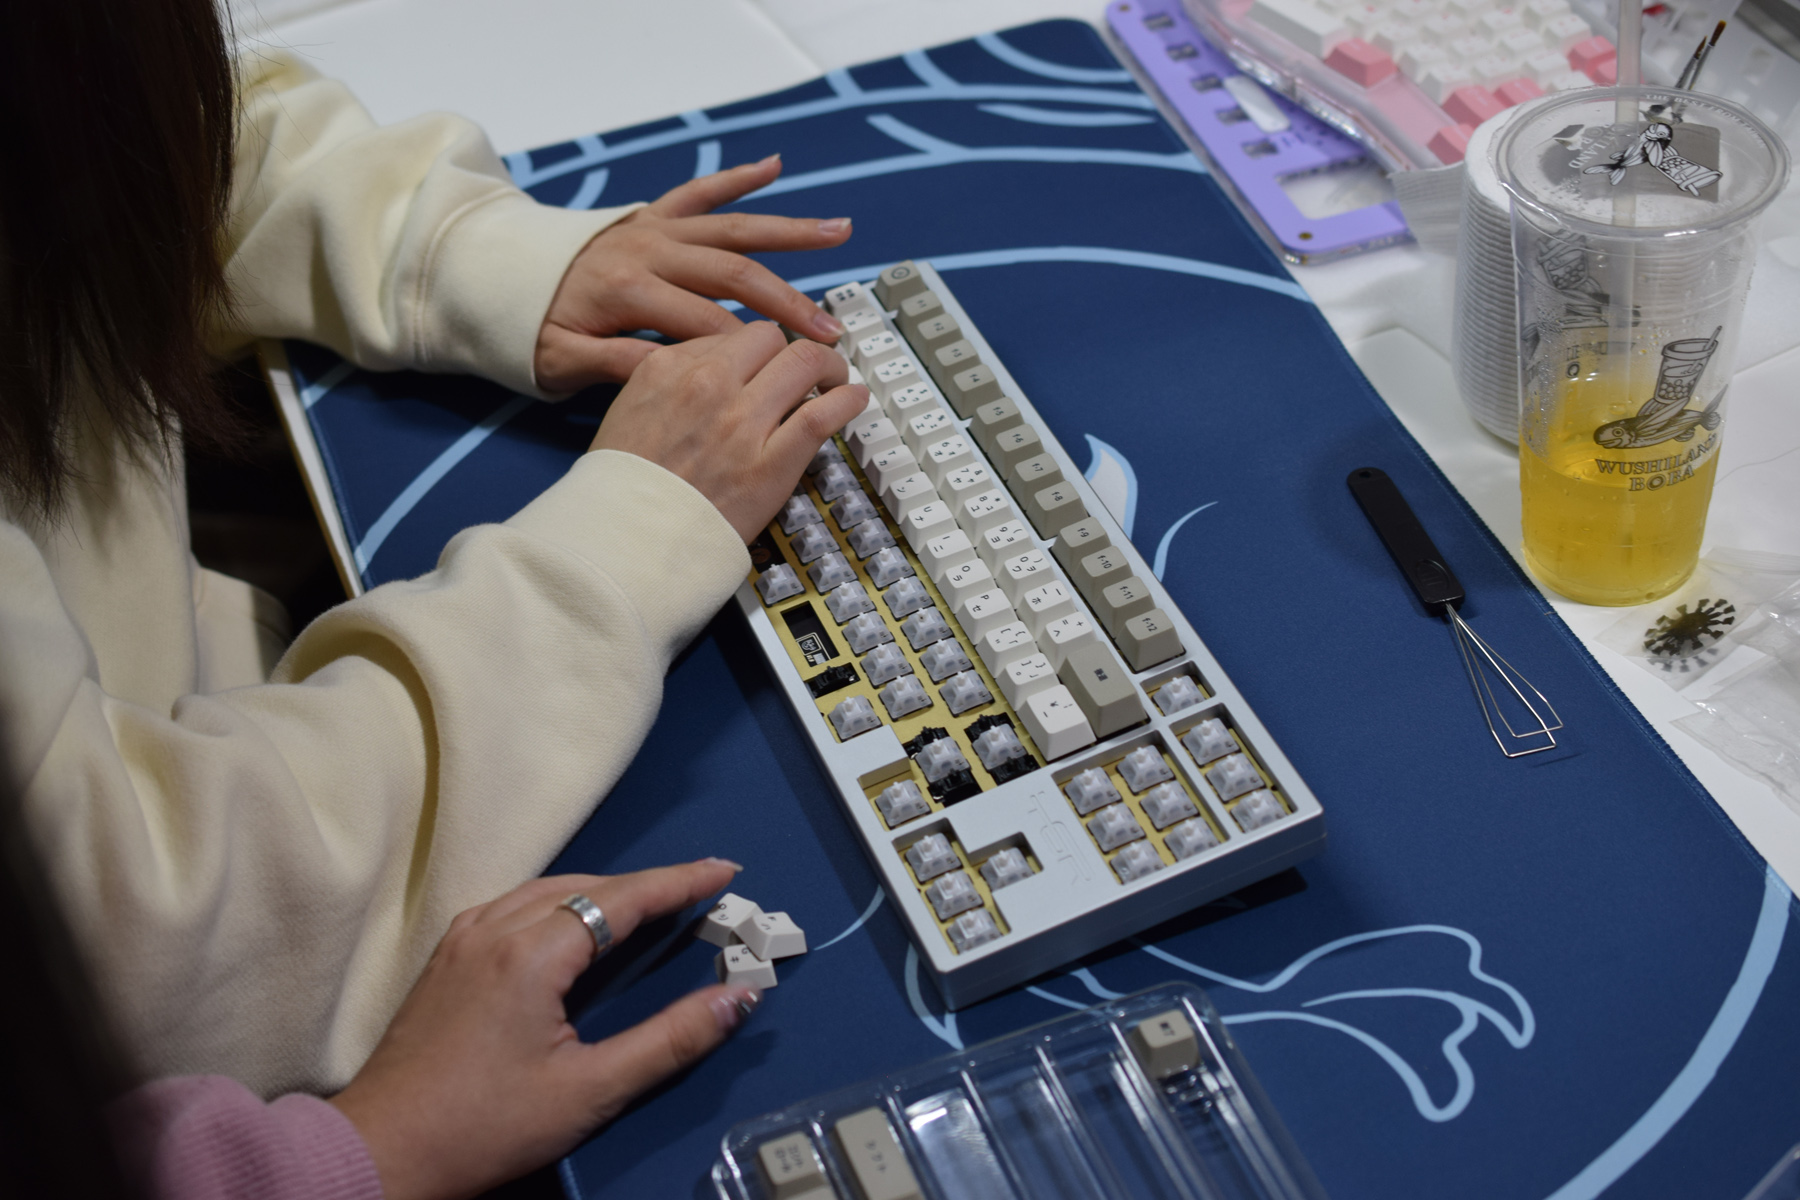
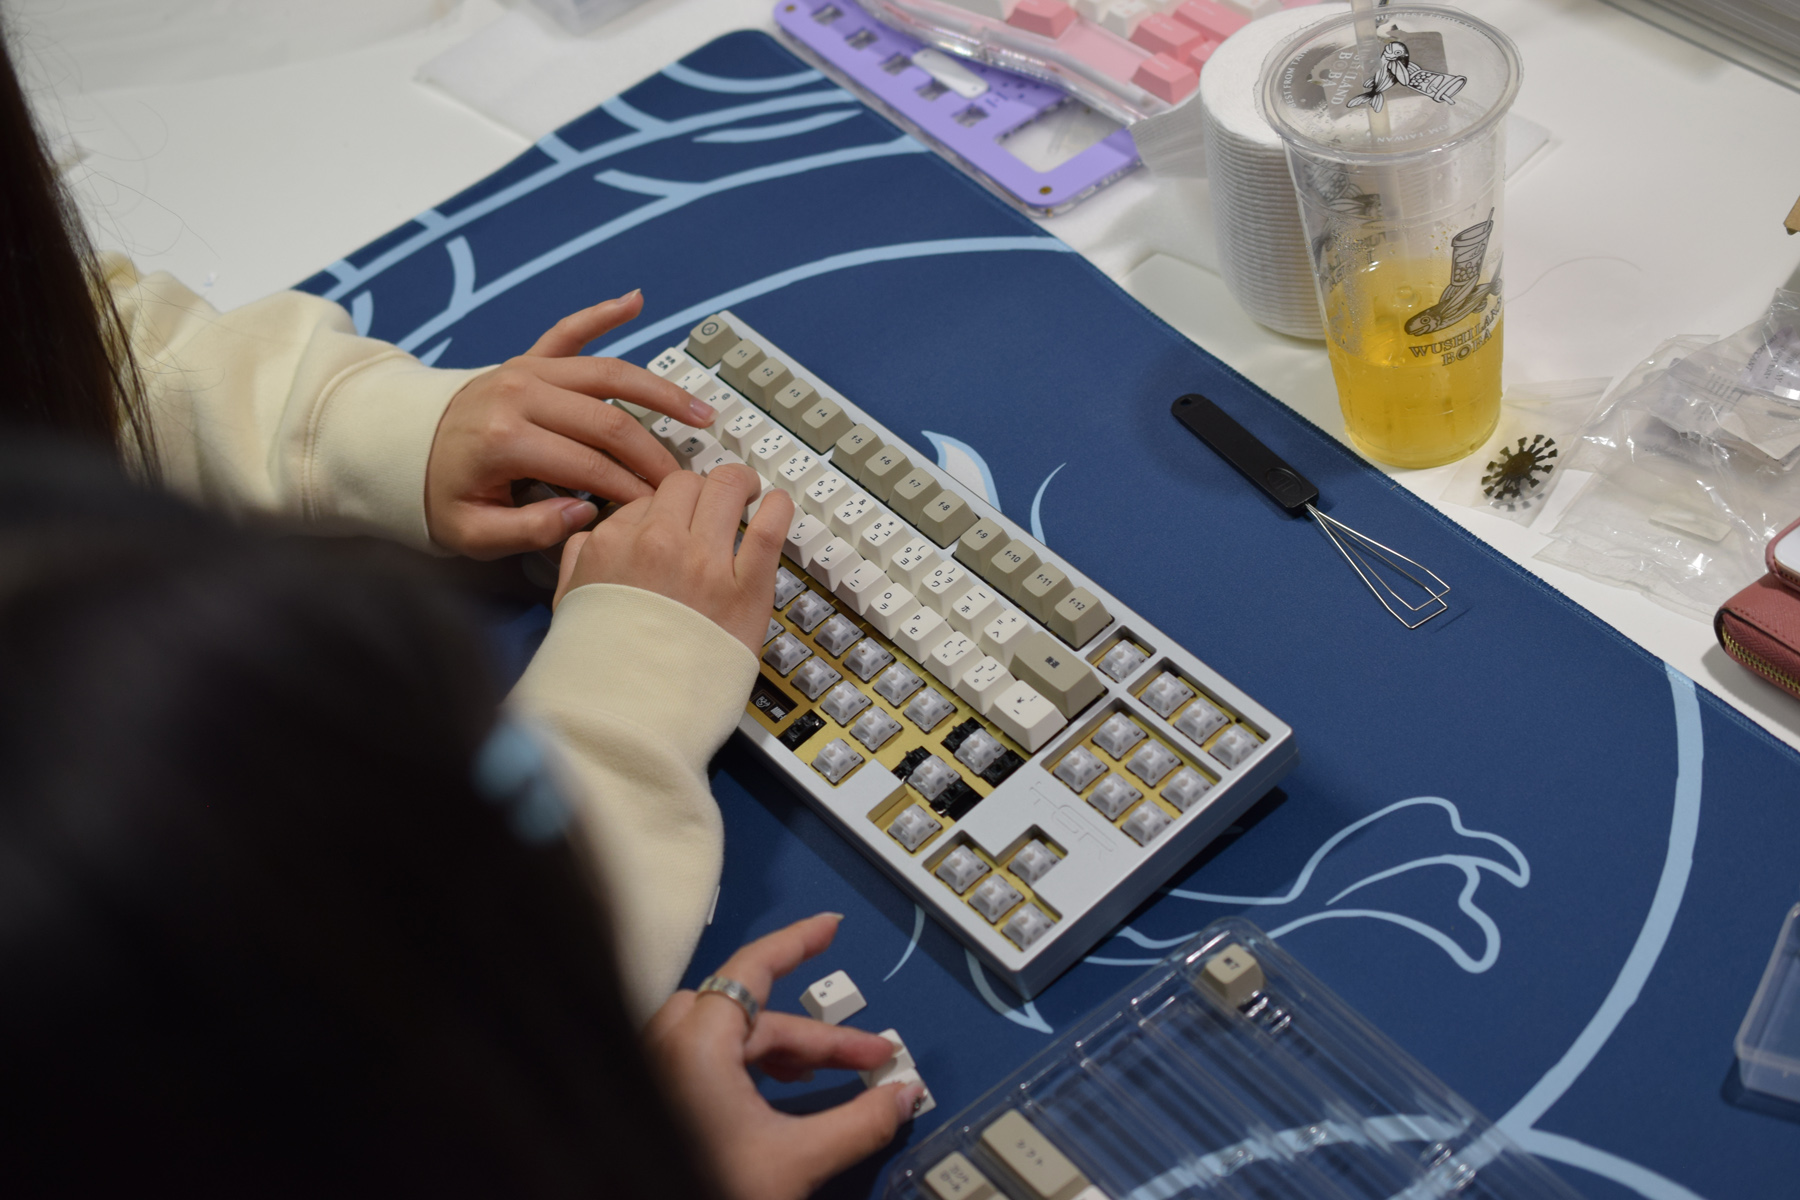
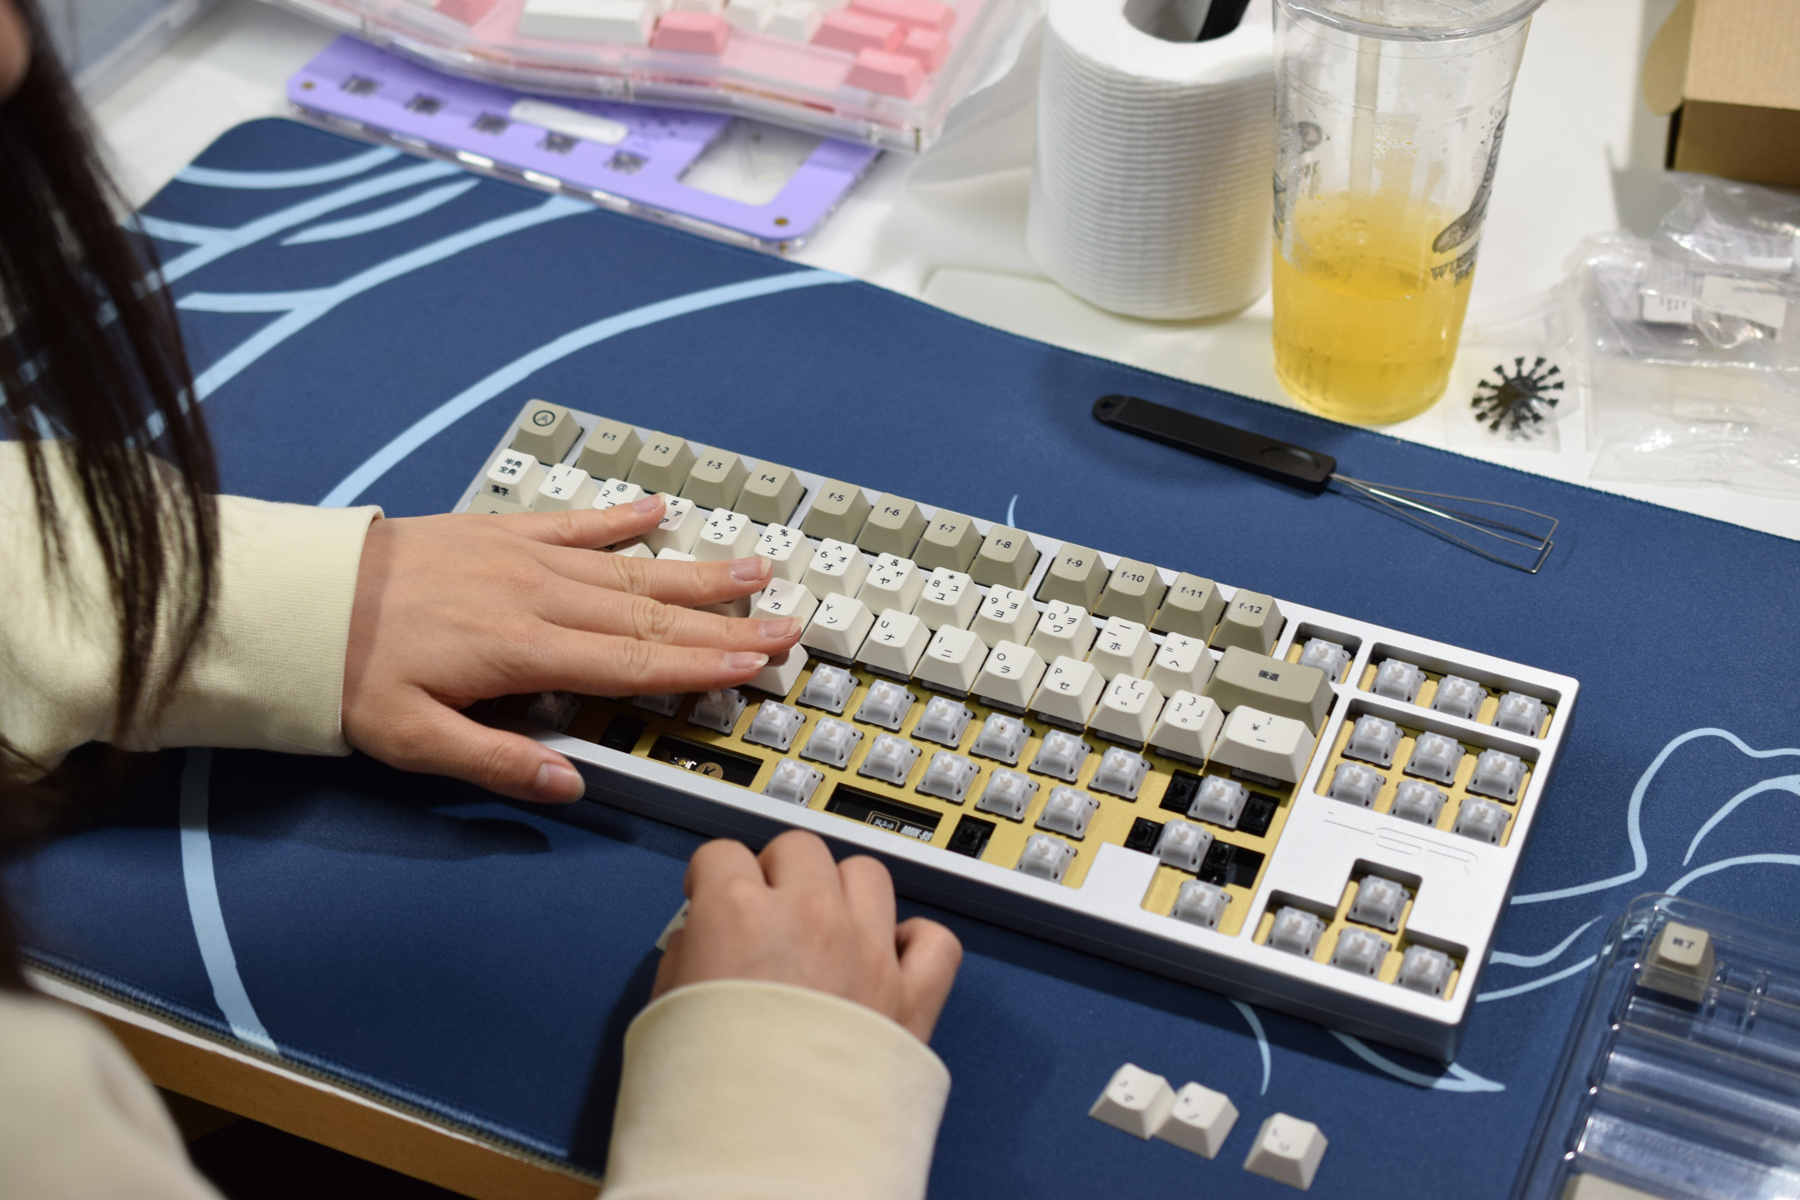
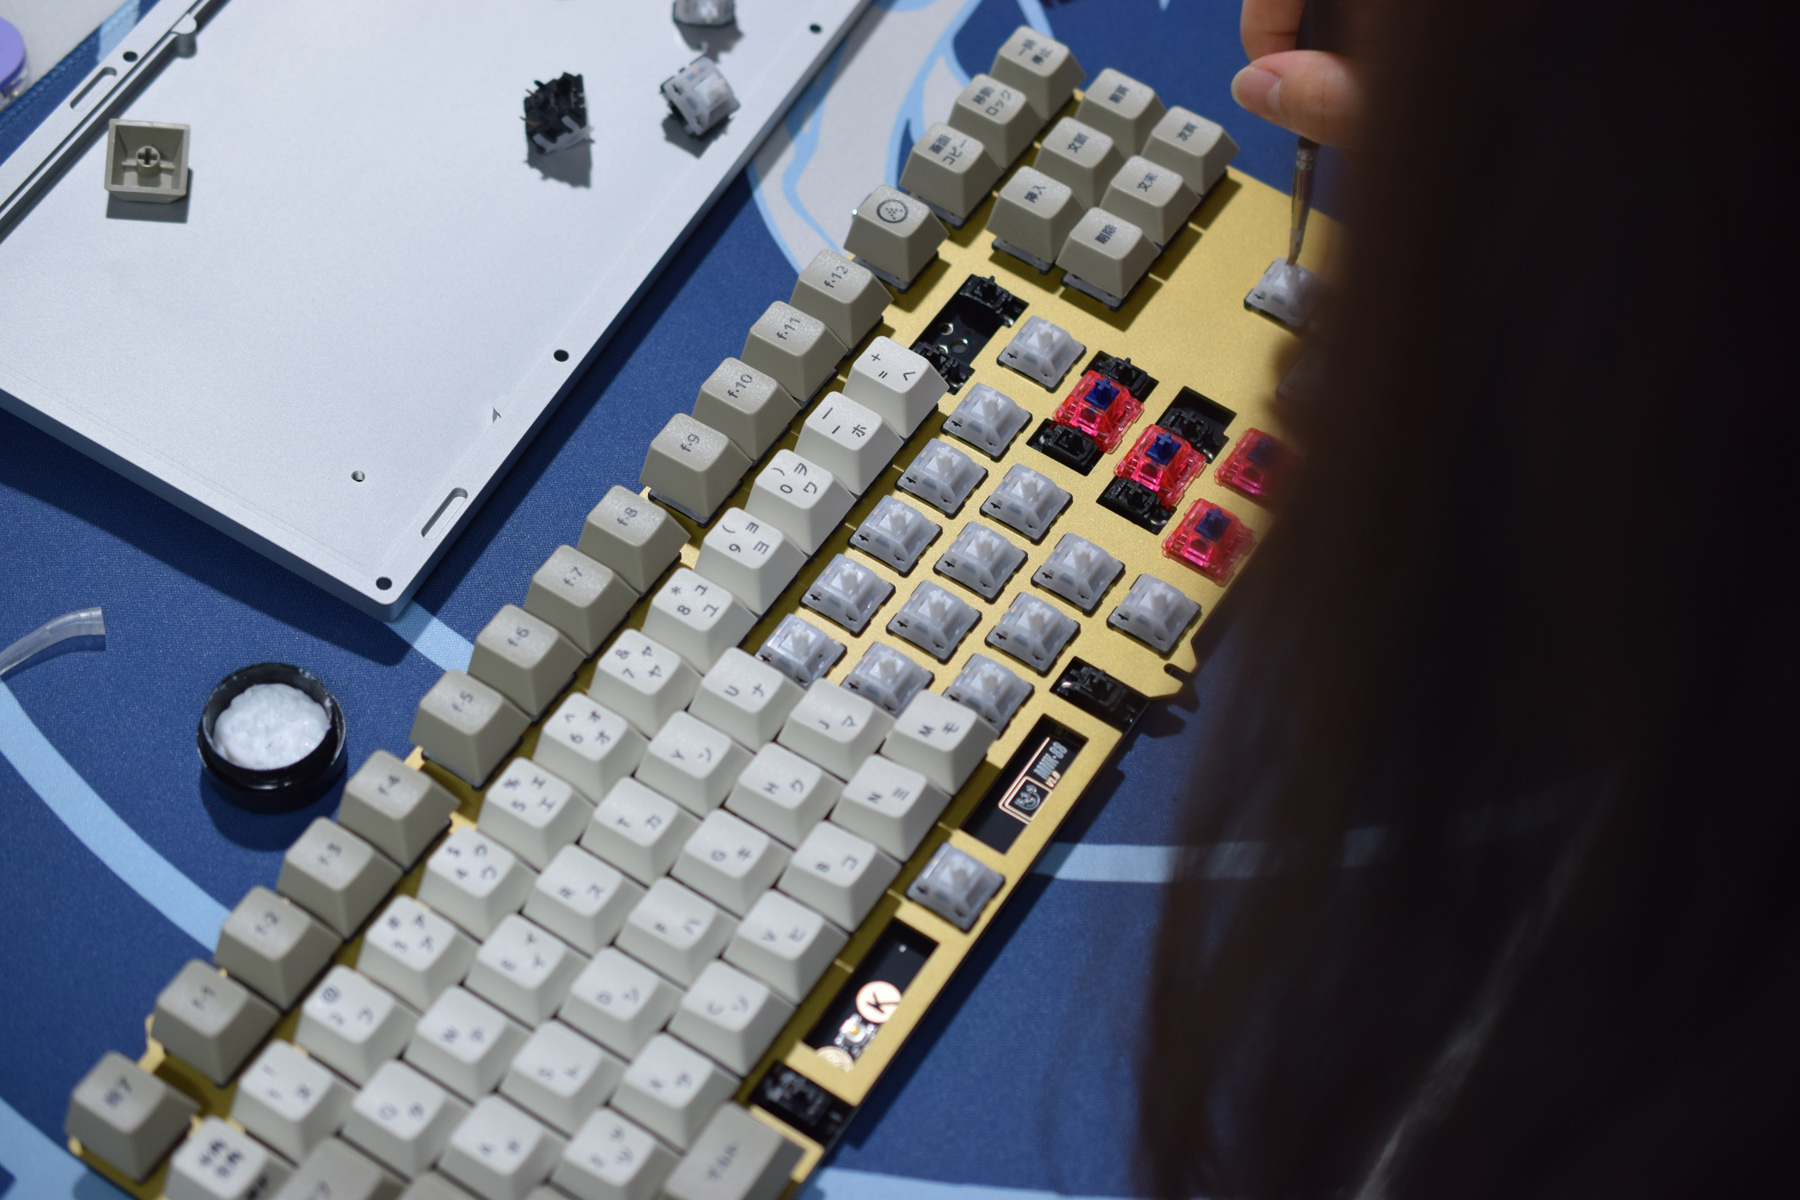
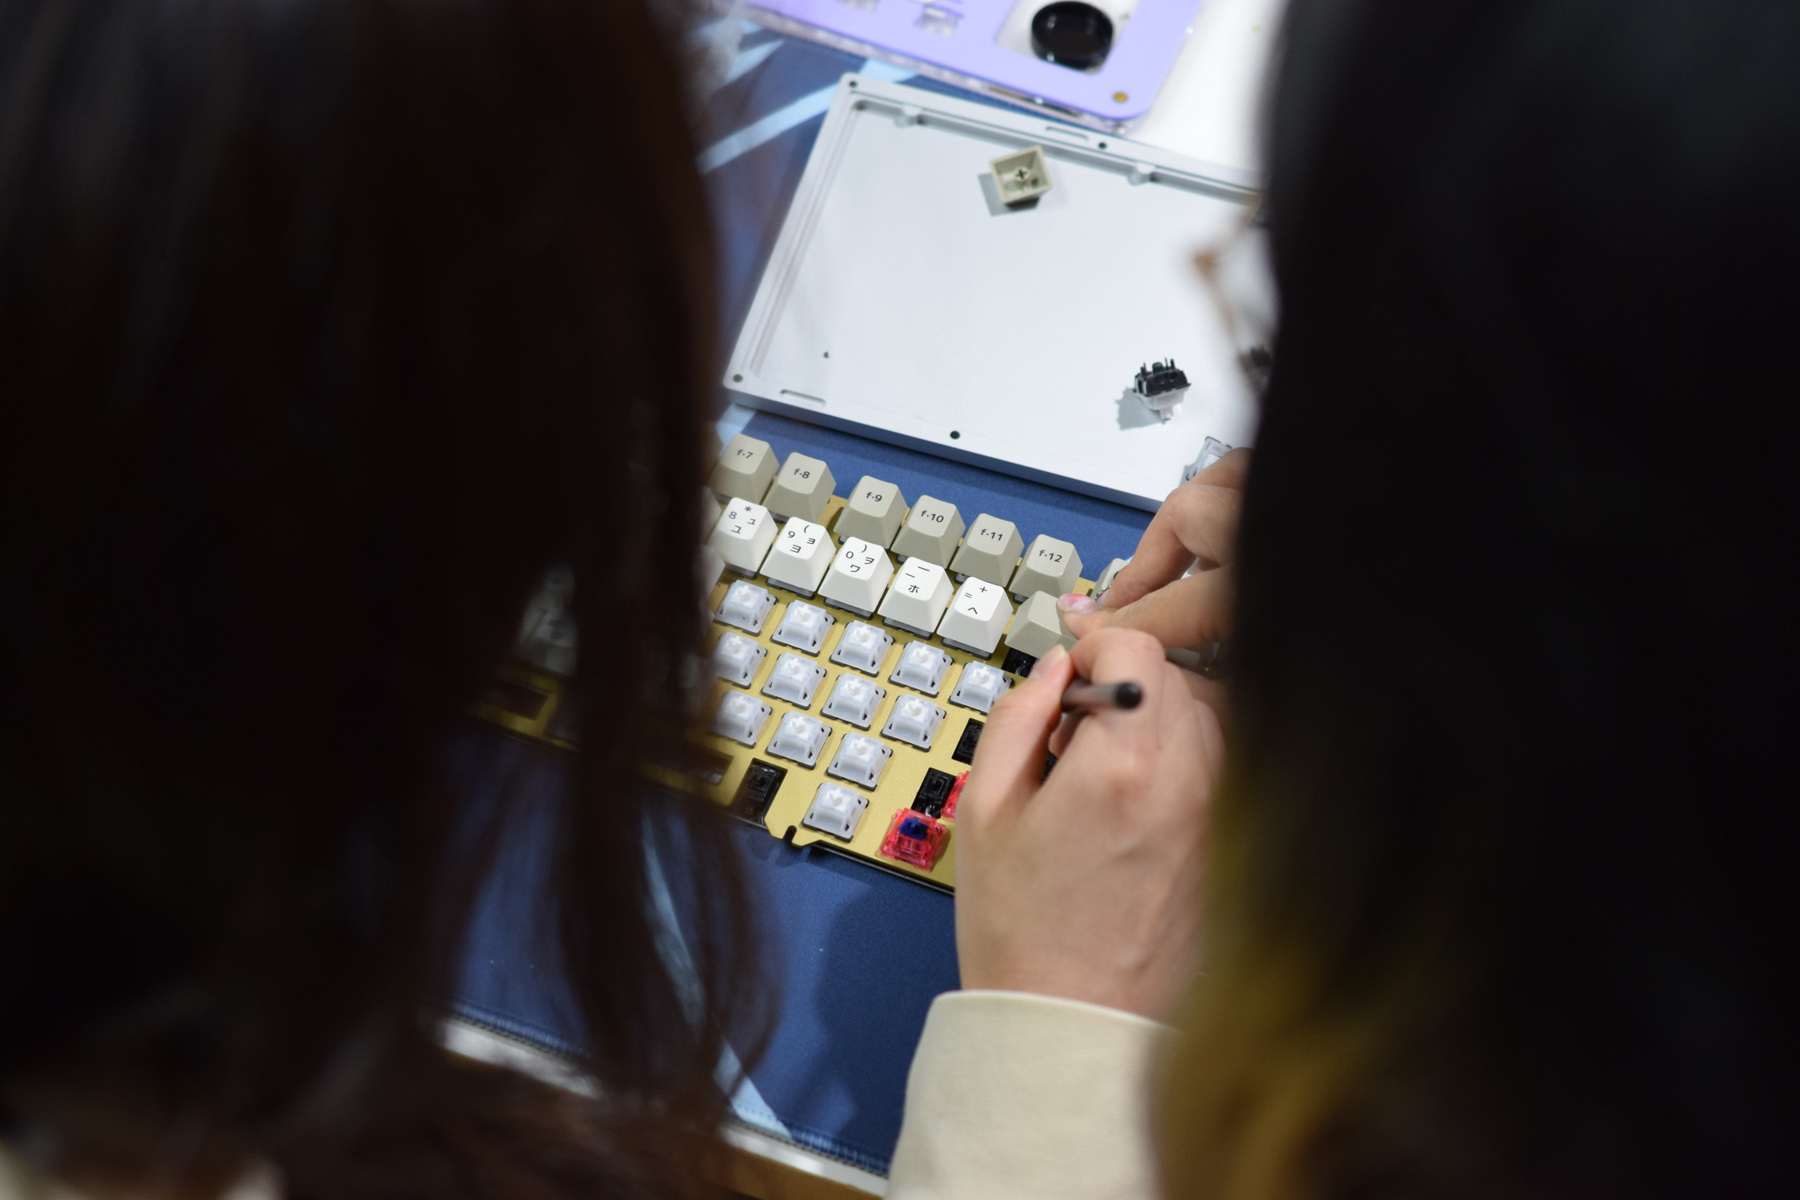
Installing the Switches:
Since this is a Hotswap PCB, I recommended putting switches into the plate all at once, and just lowering into the PCB.
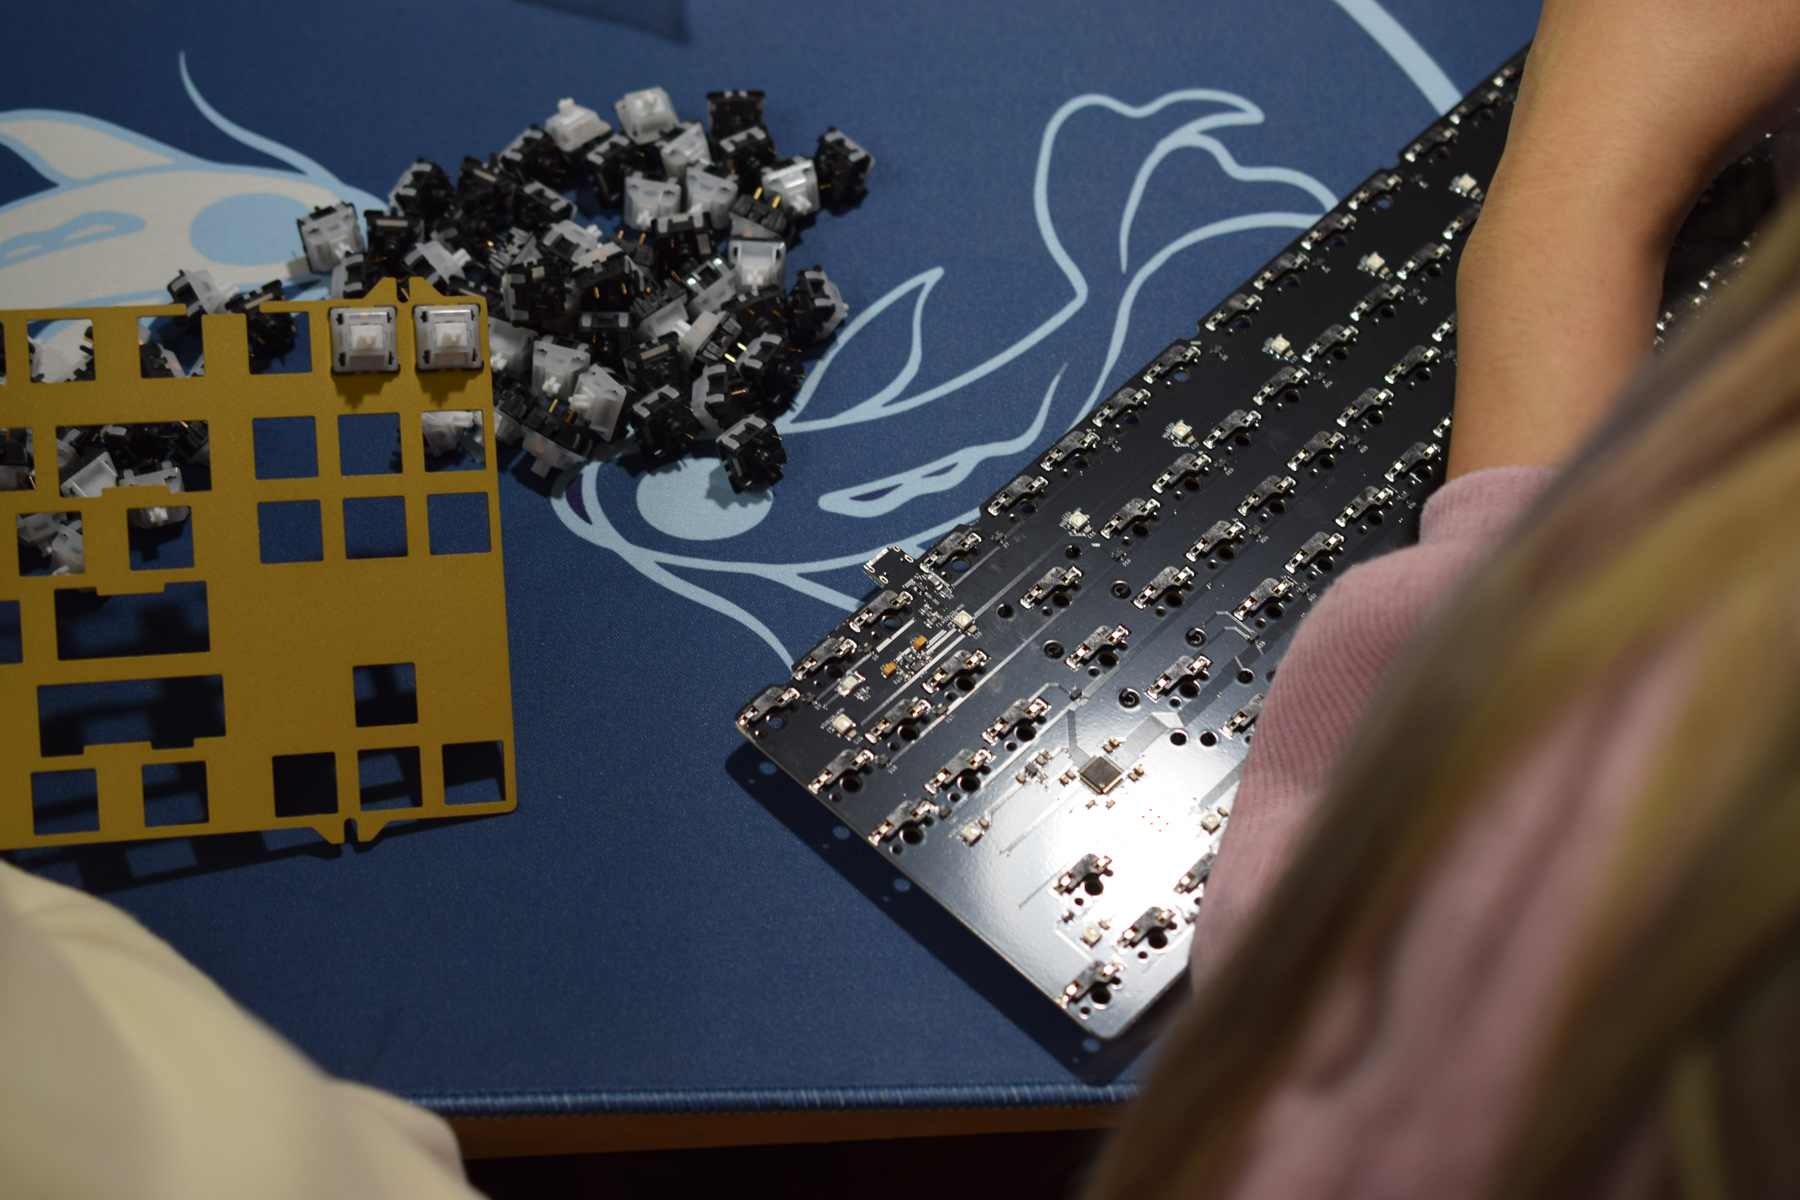
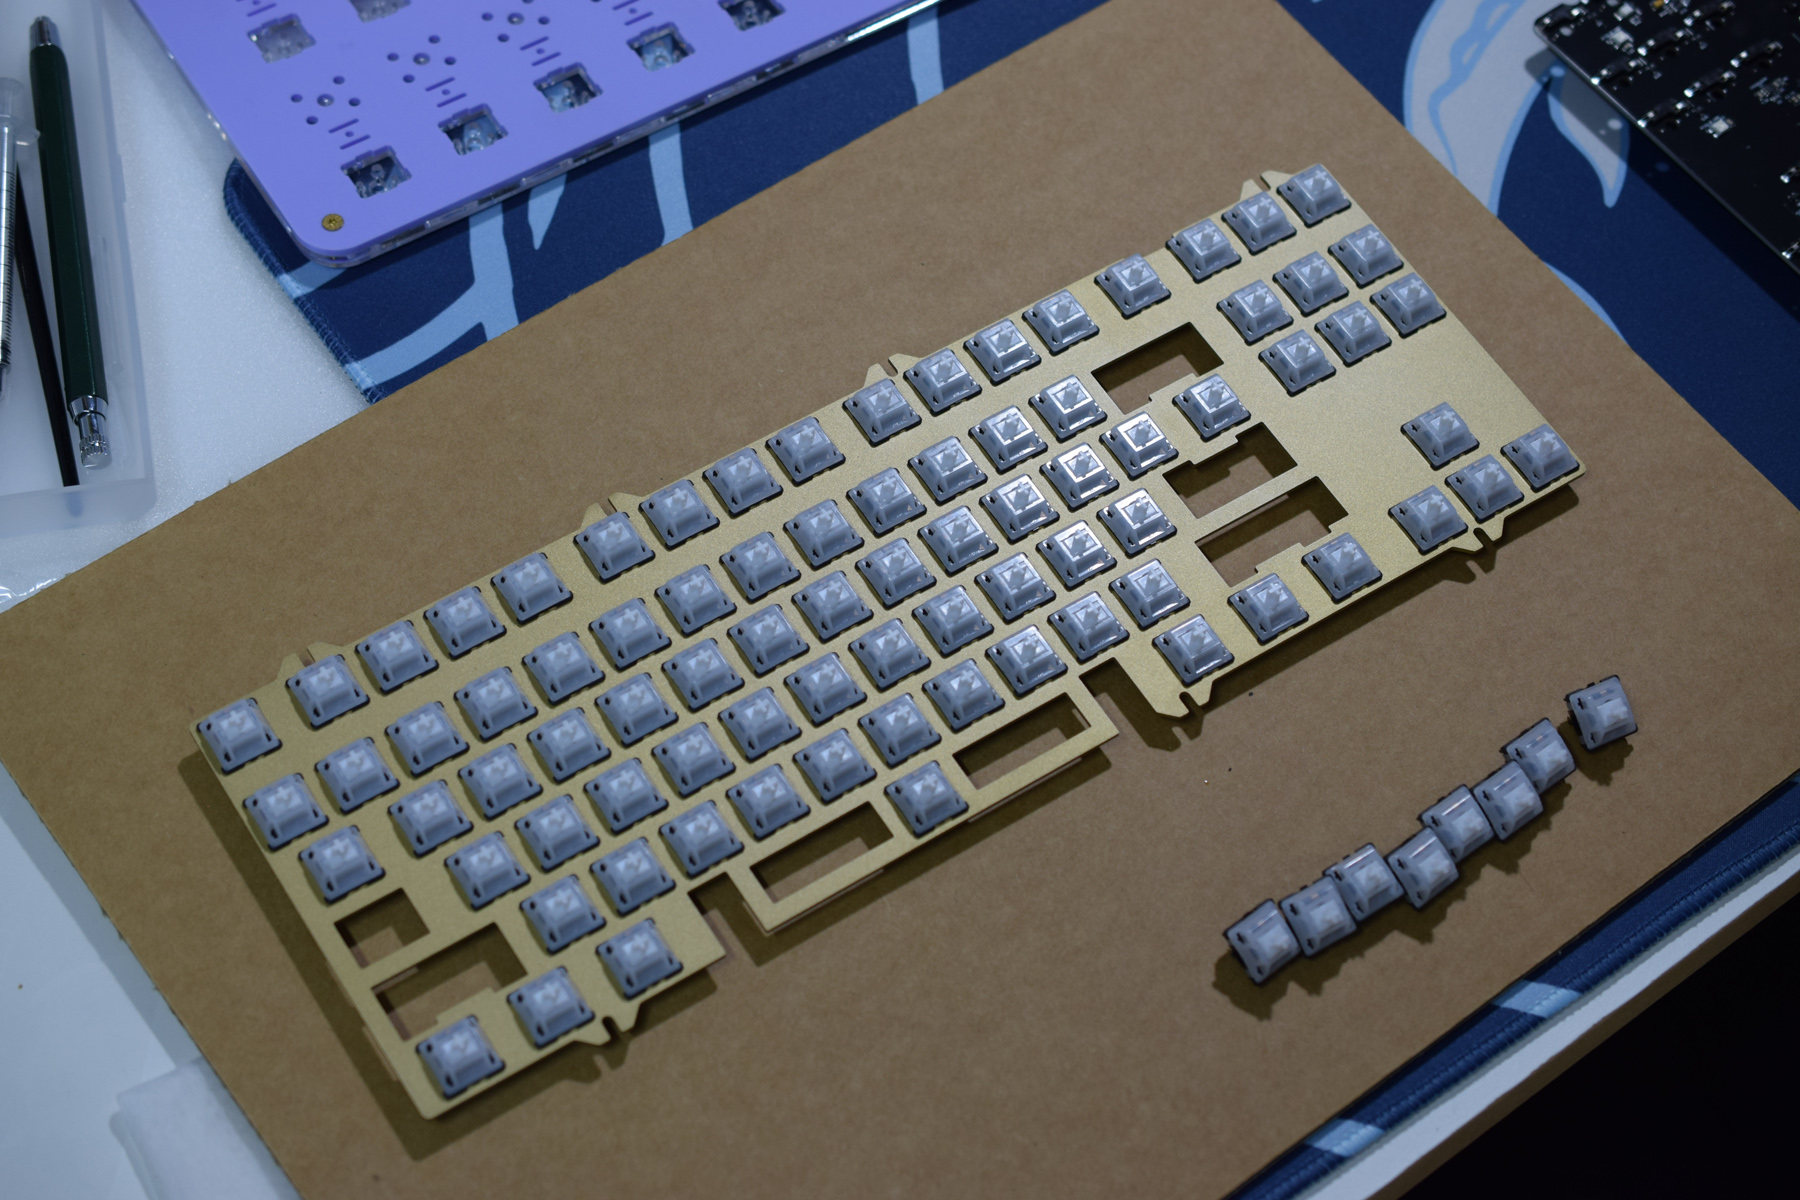
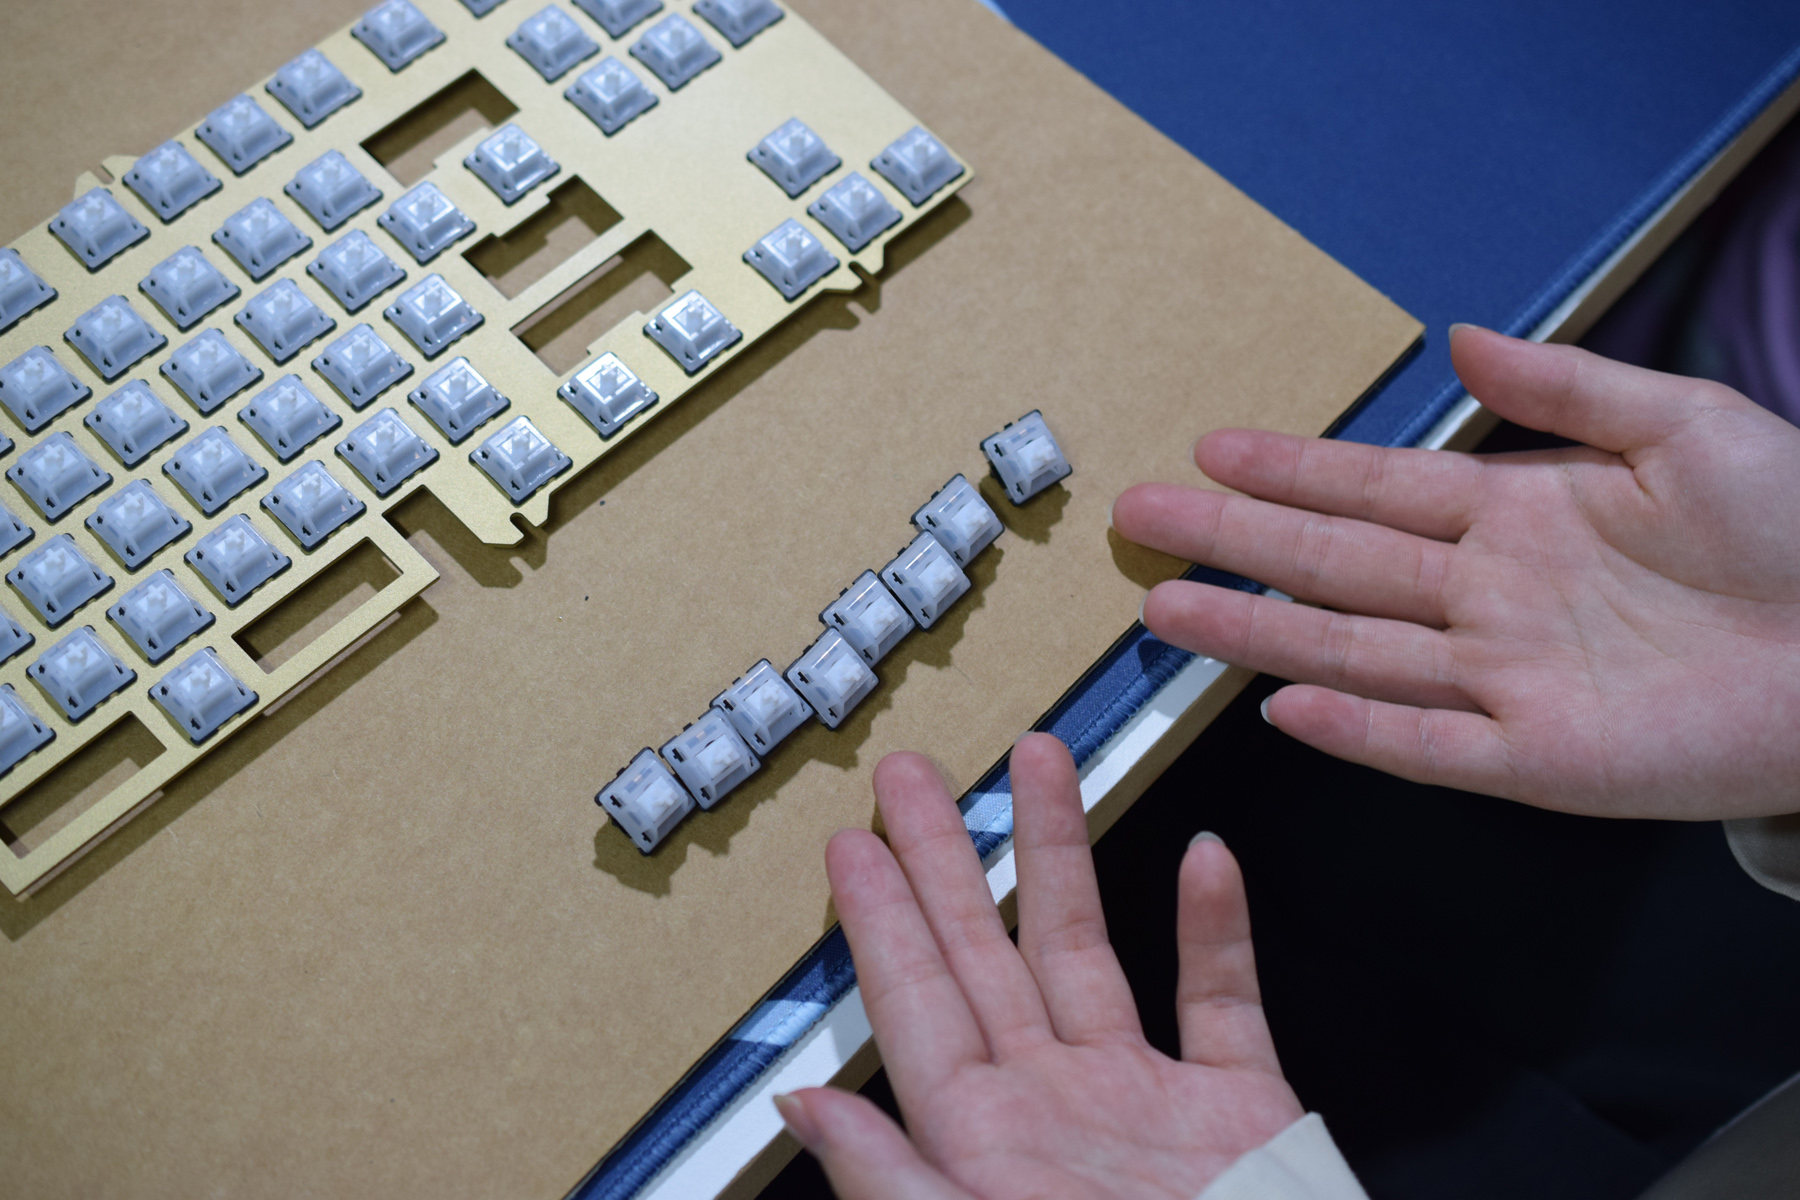
How do people struggle with Switches, Plates and PCBs.
No skill issues here ¯\(ツ)/¯
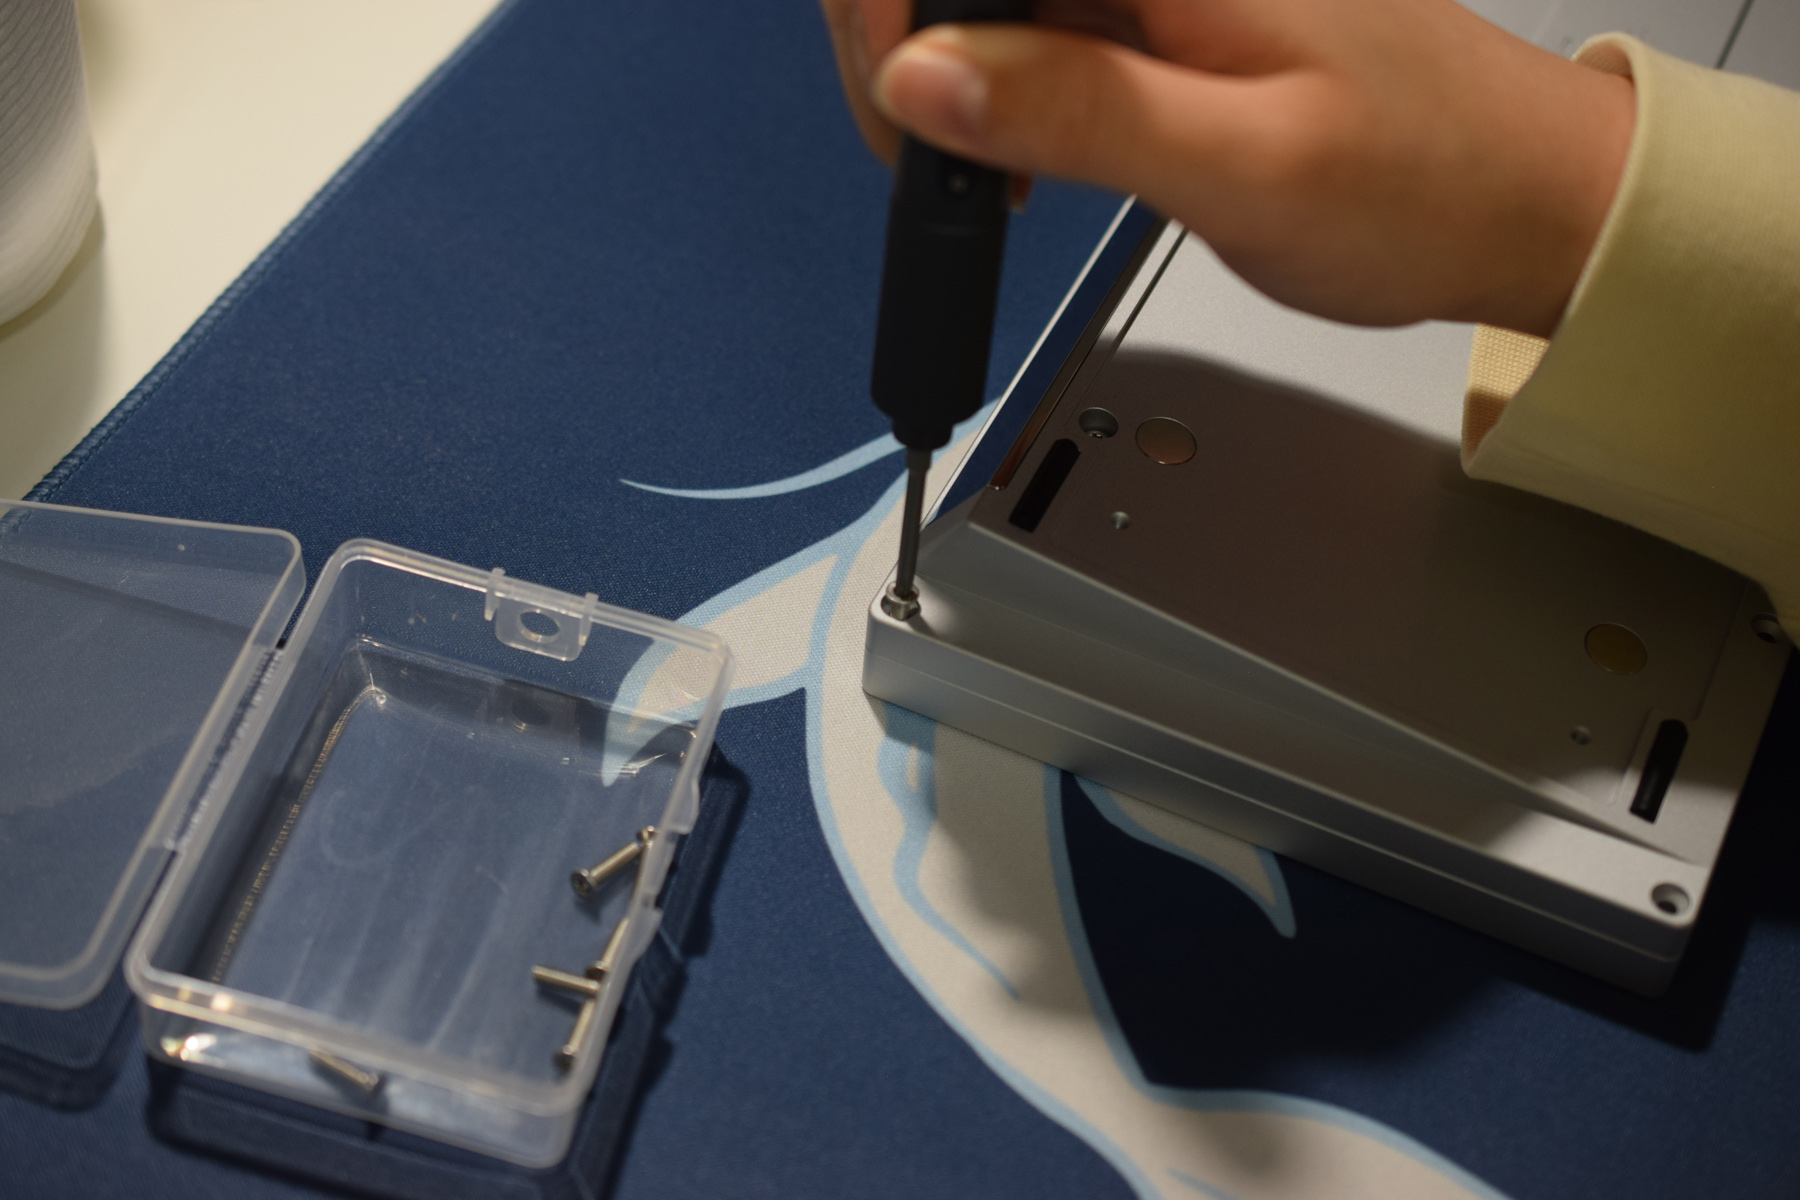
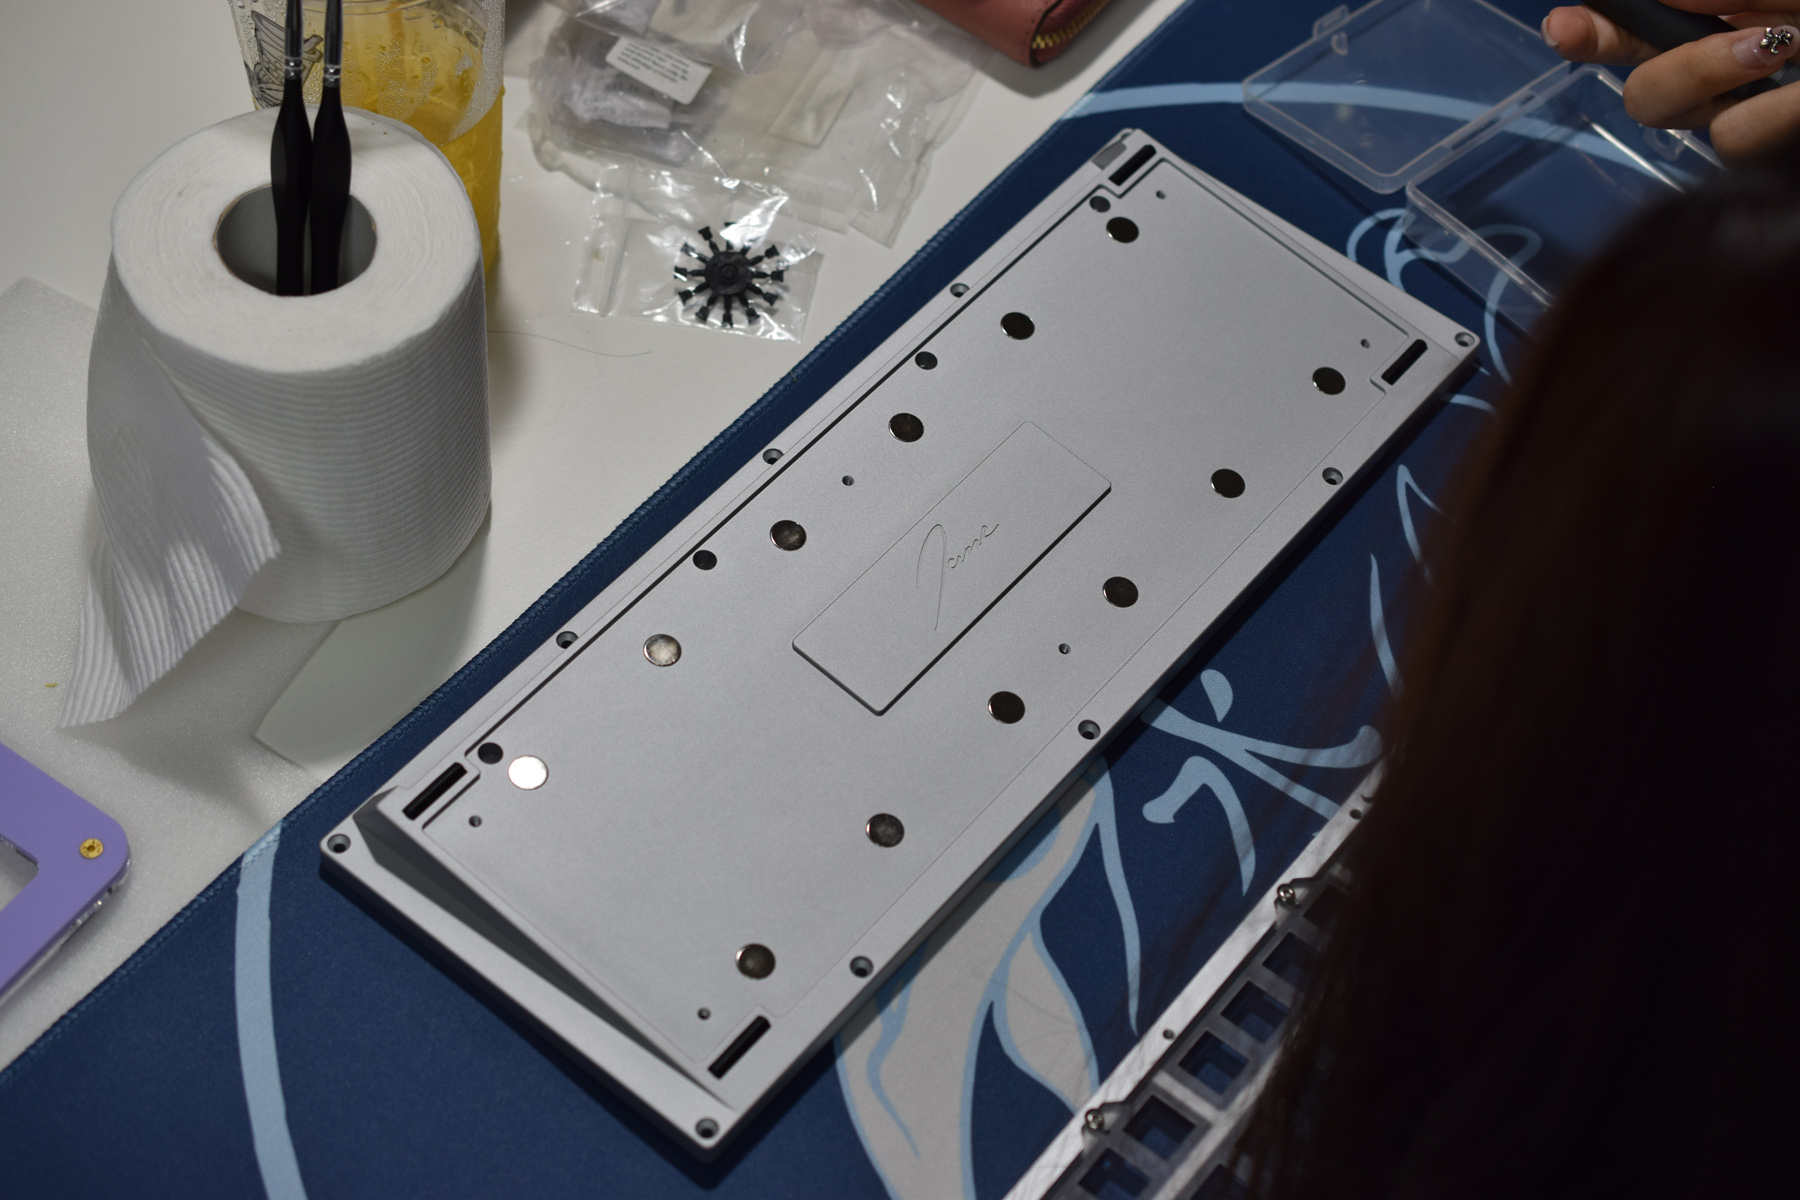
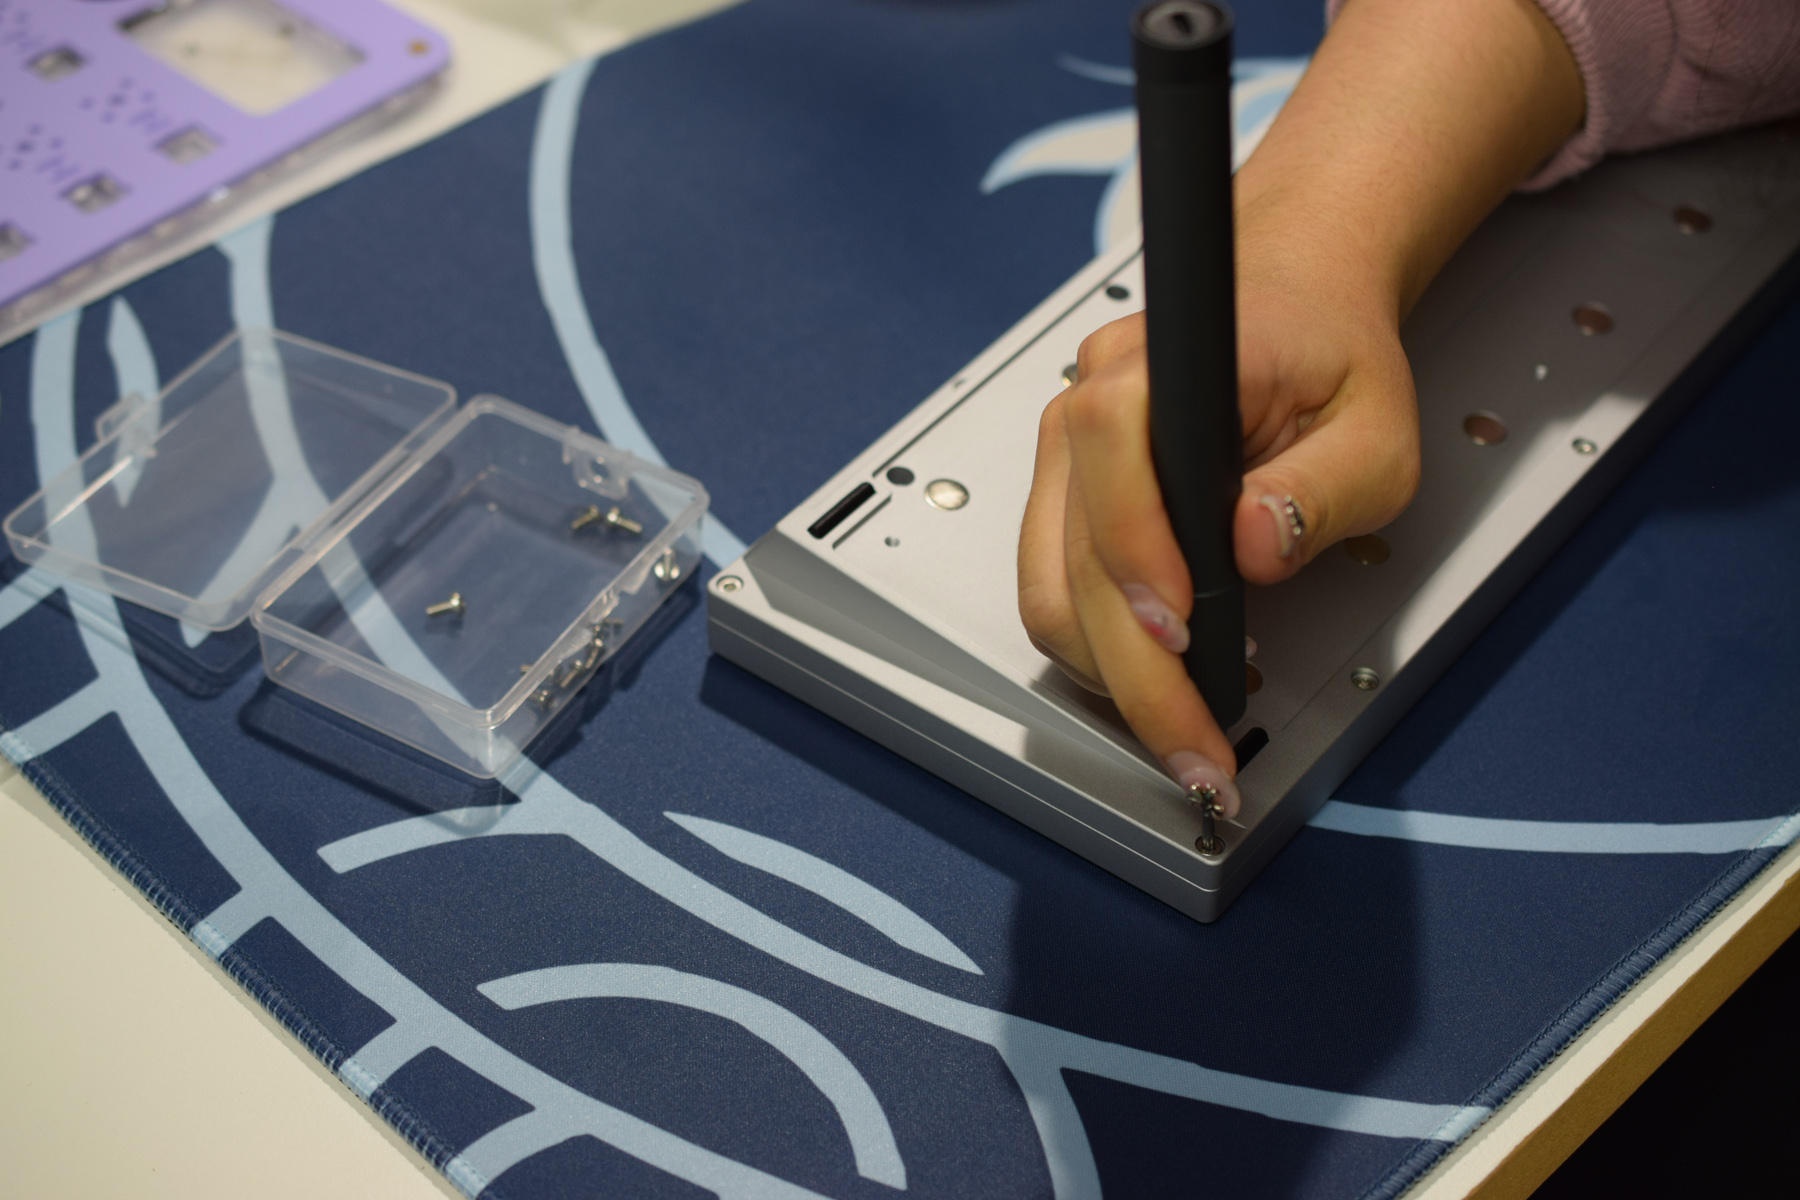
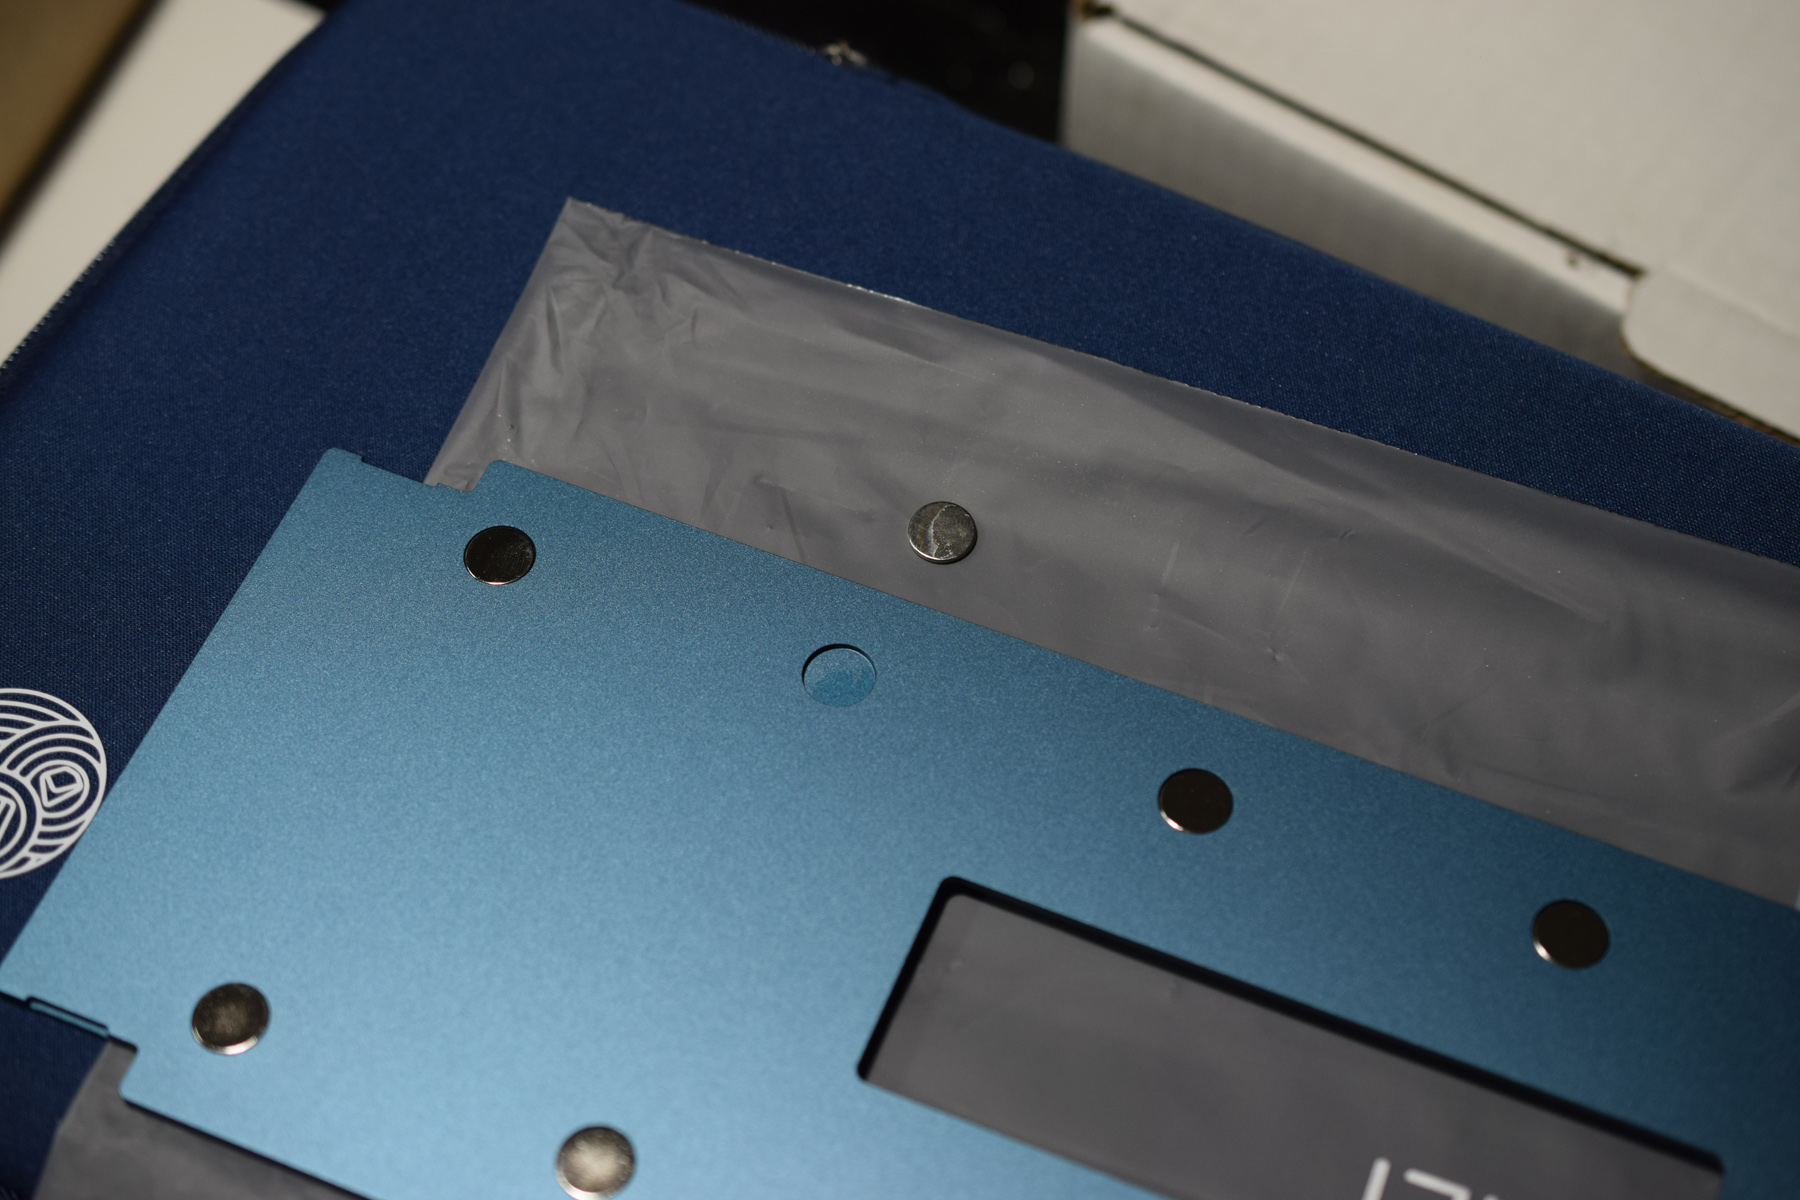
Opening the Jane V2:
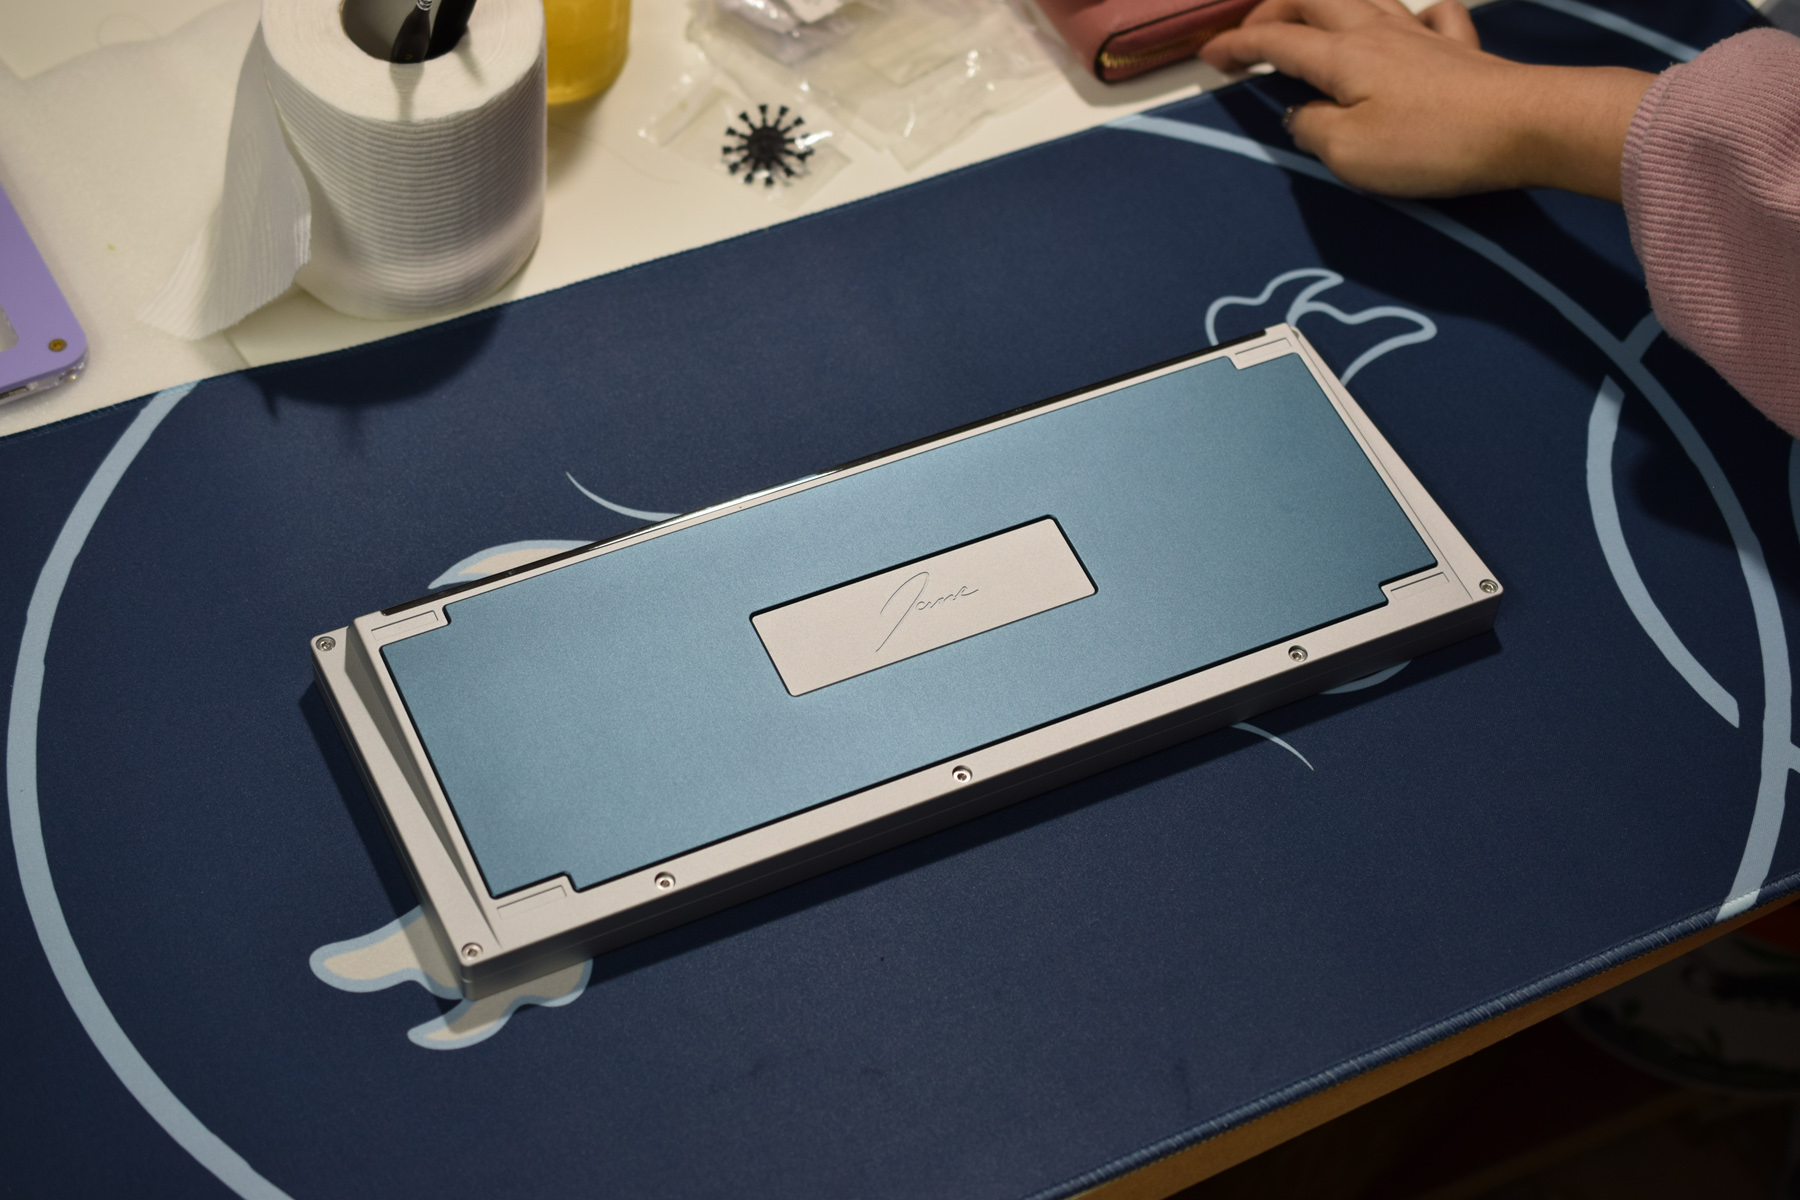
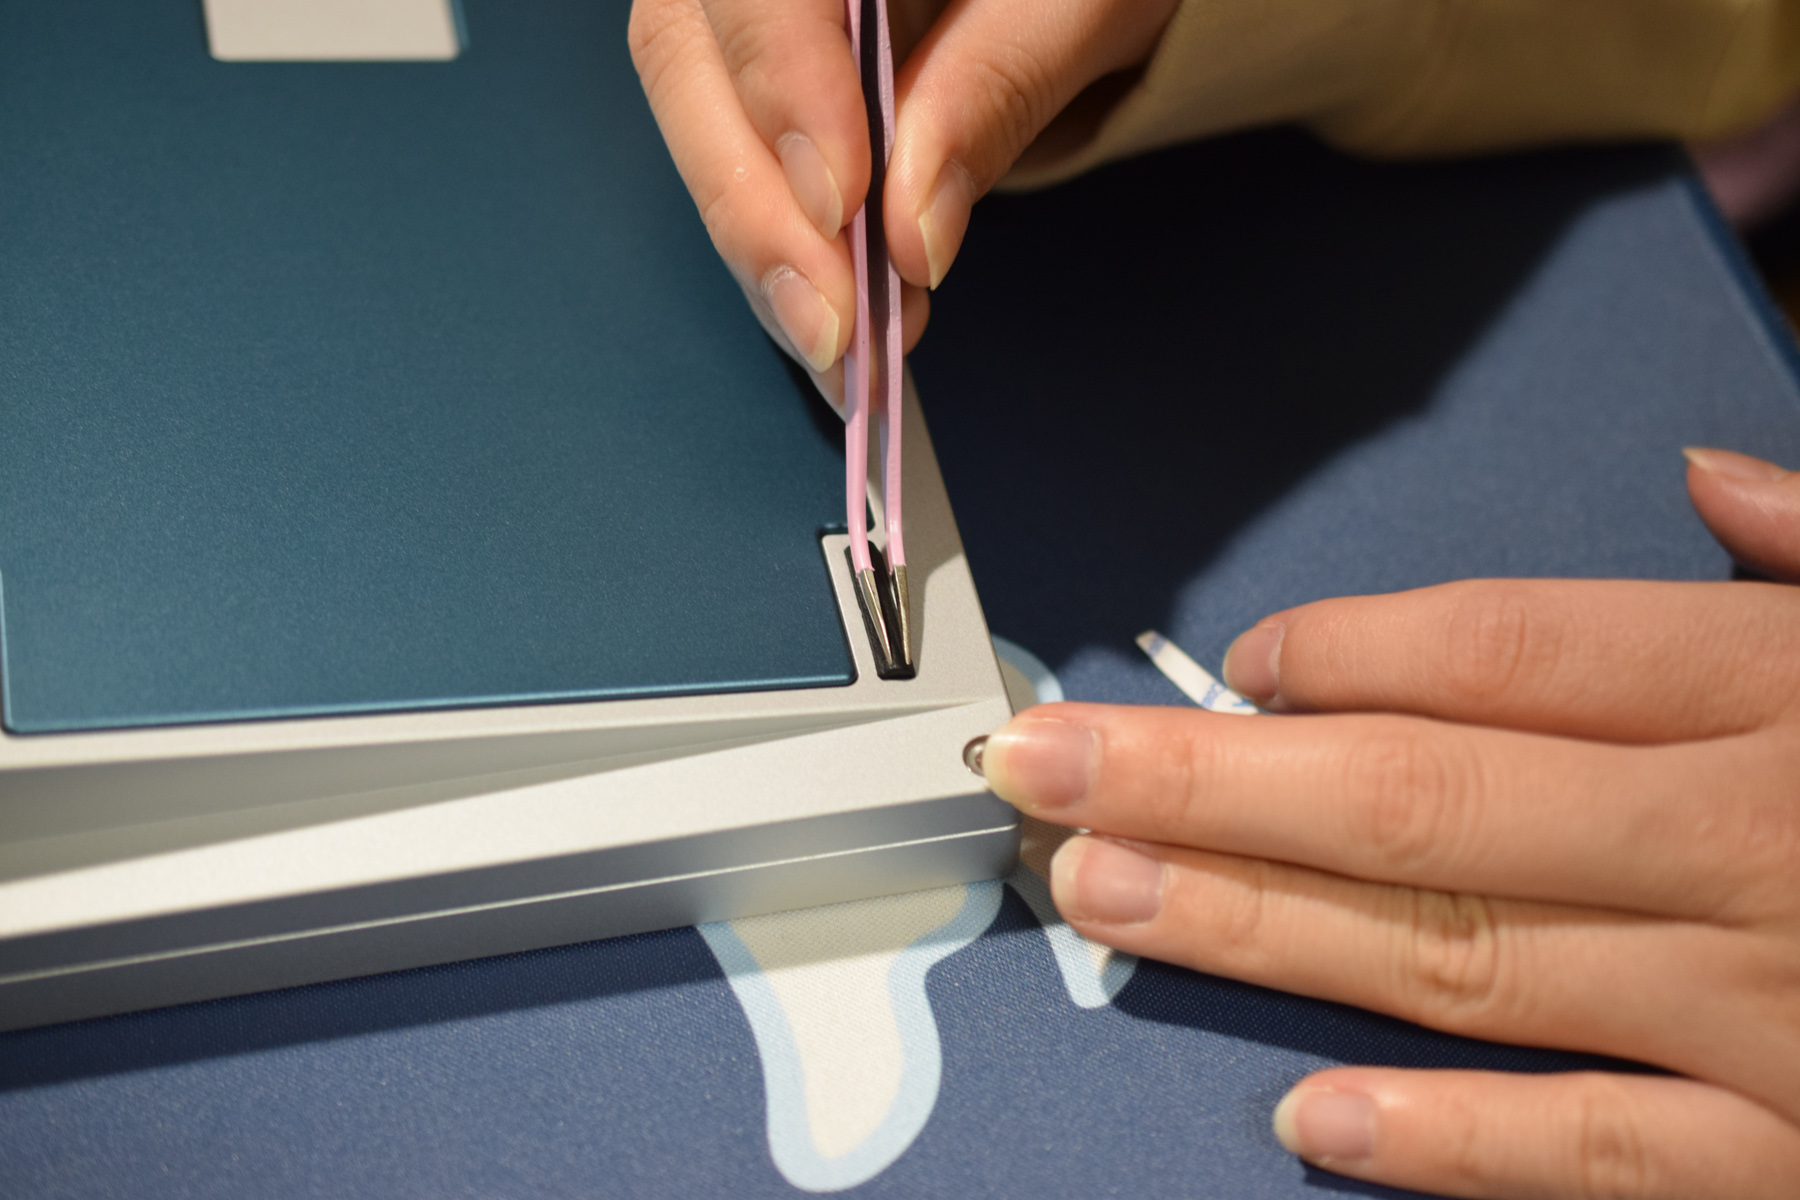
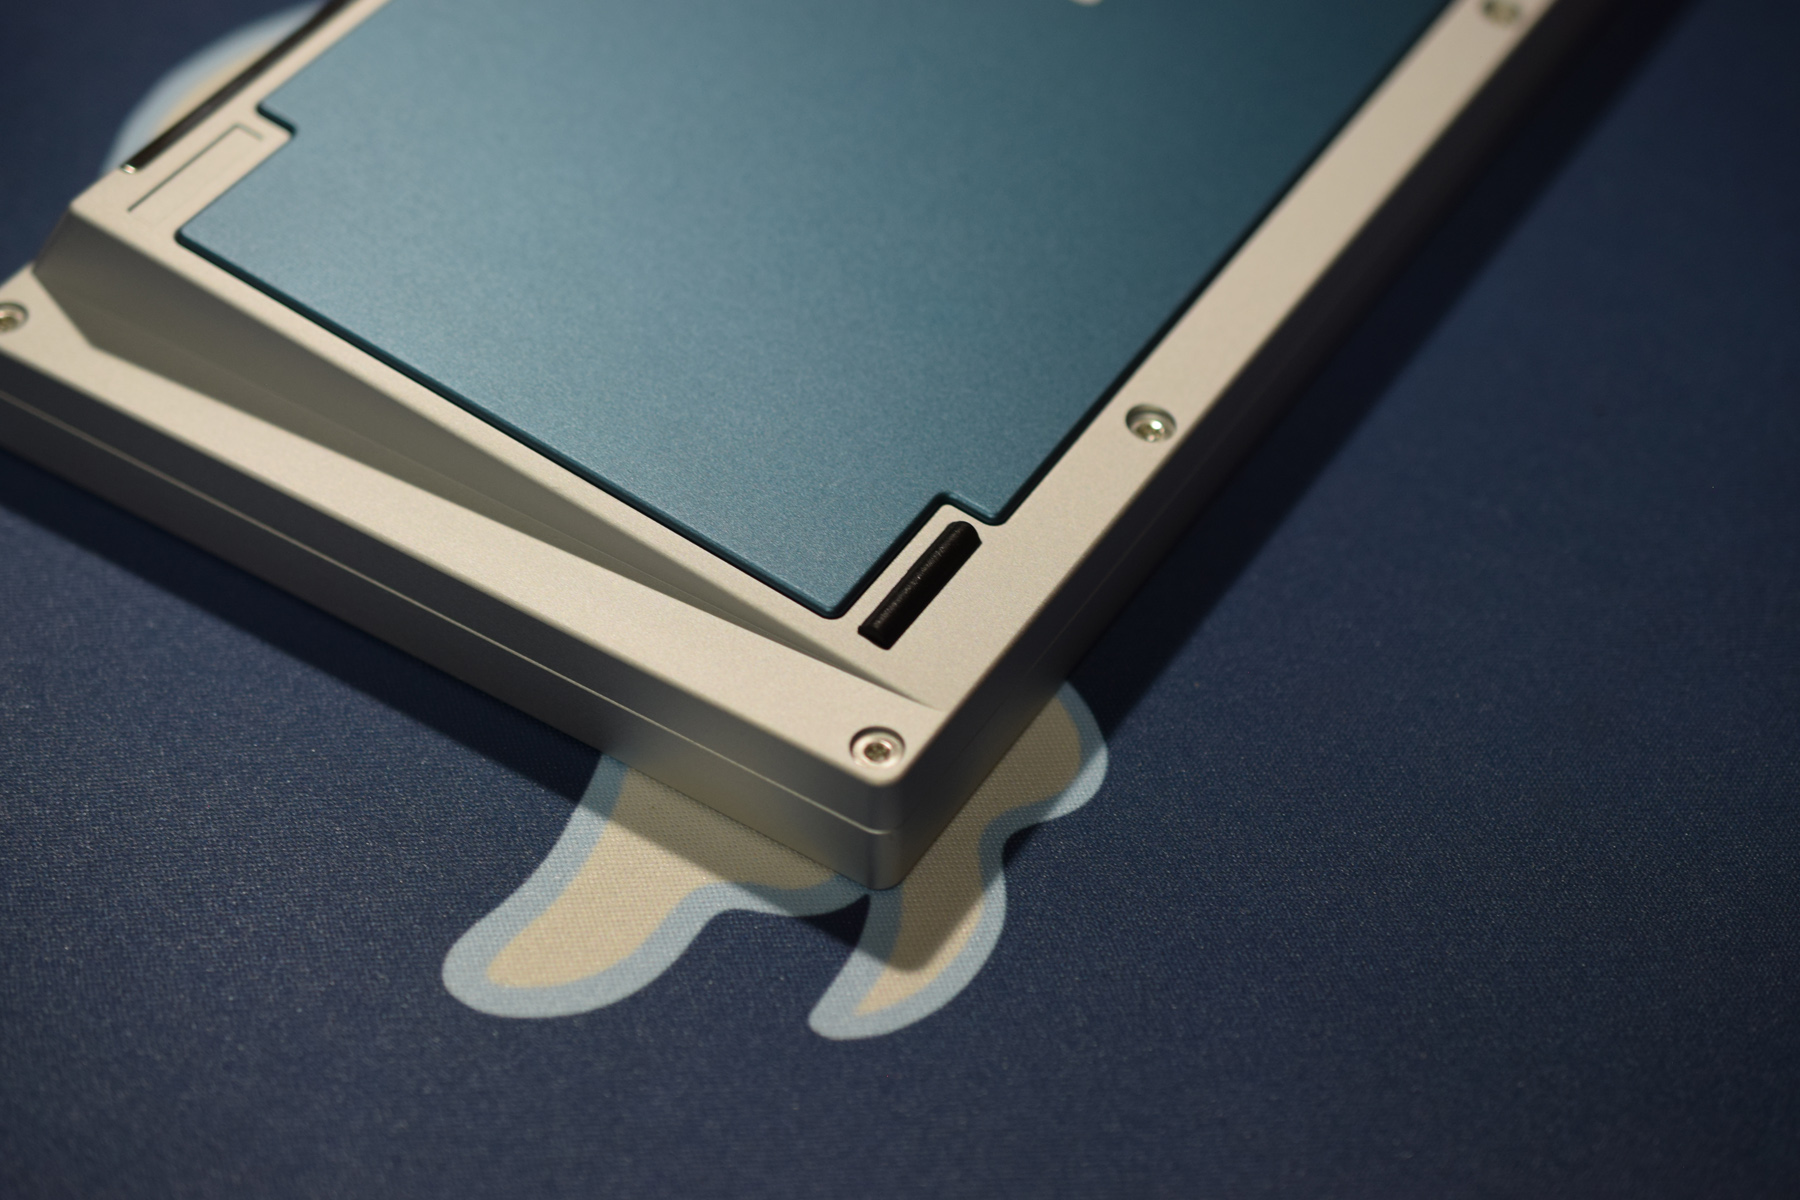
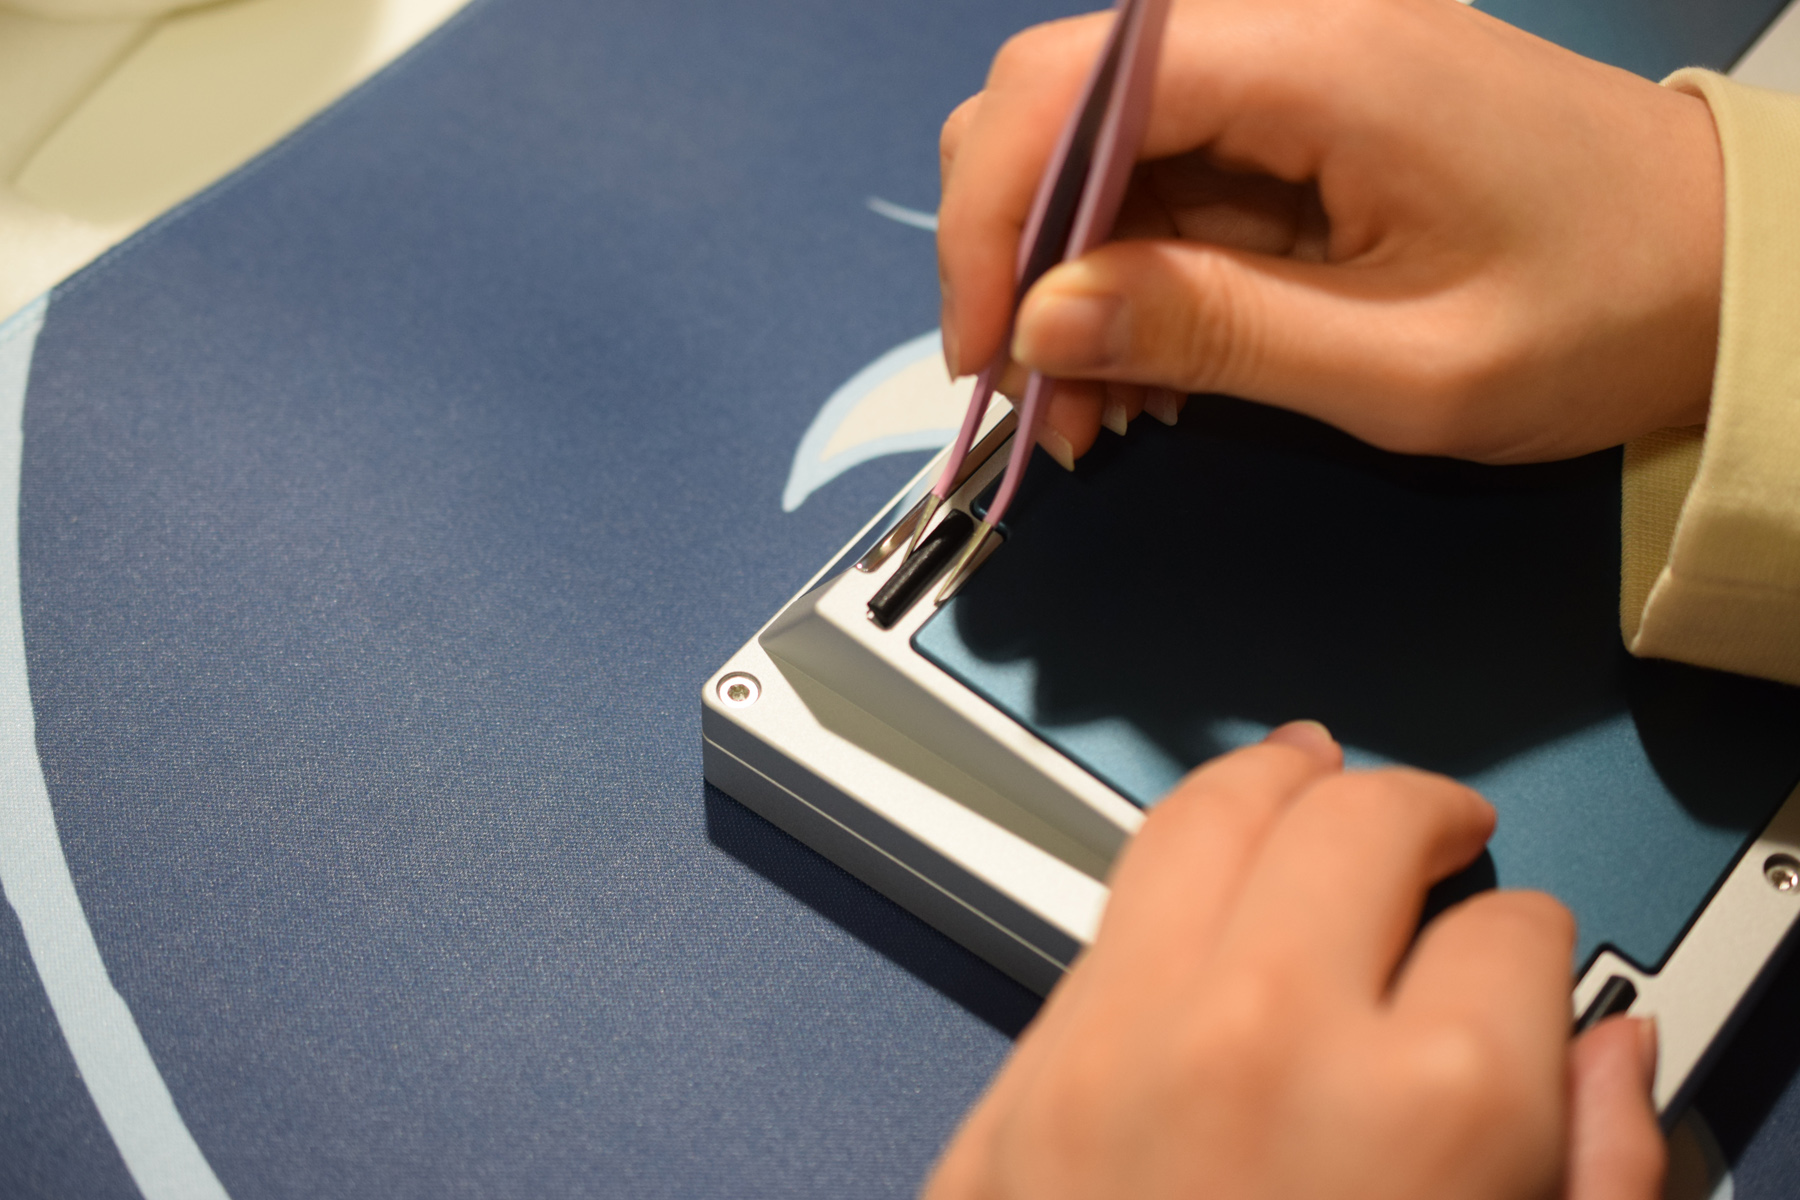
Trying to remove the backplate was actually pretty troublesome; the tool, being made from plastic, was relatively soft and easily deformed. The magnets were too strong, and it was very difficult to generate enough force to leverage the backplate upwards.
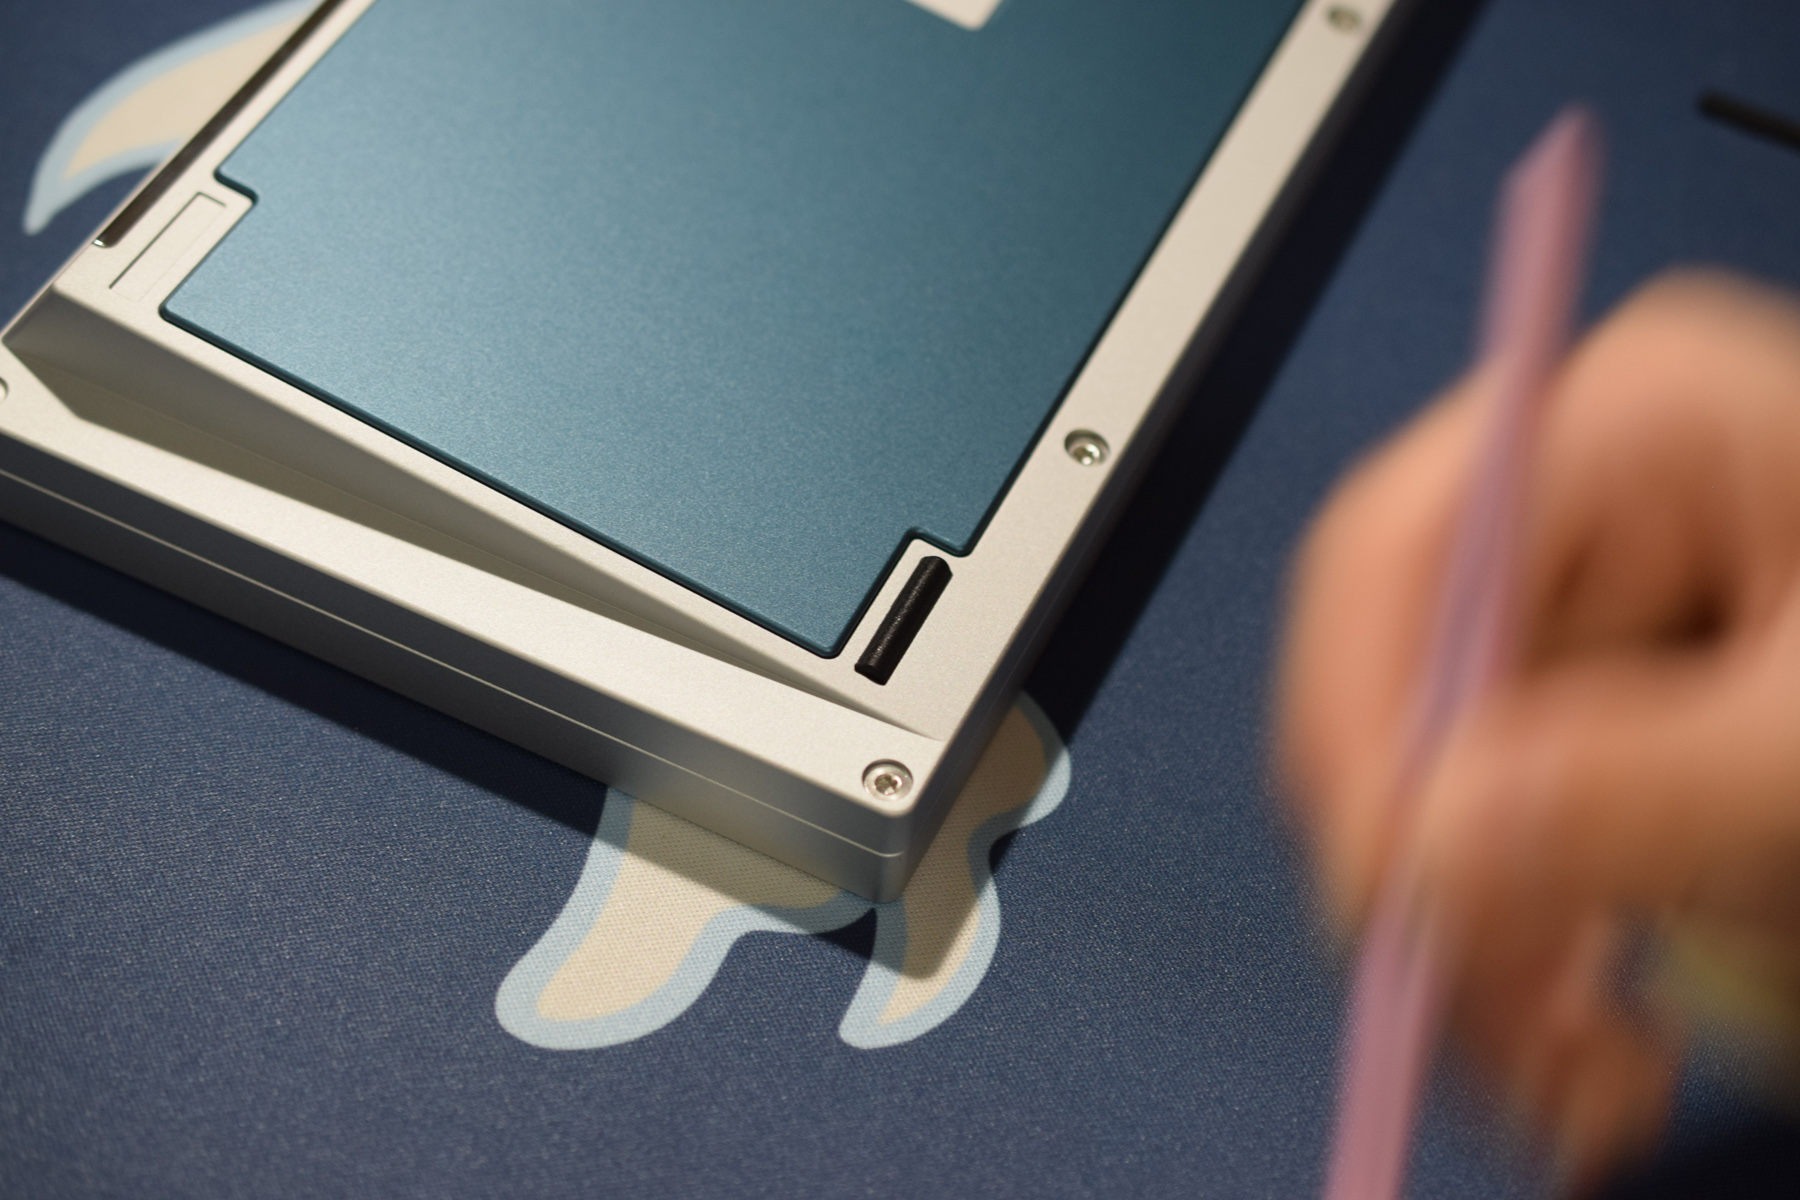
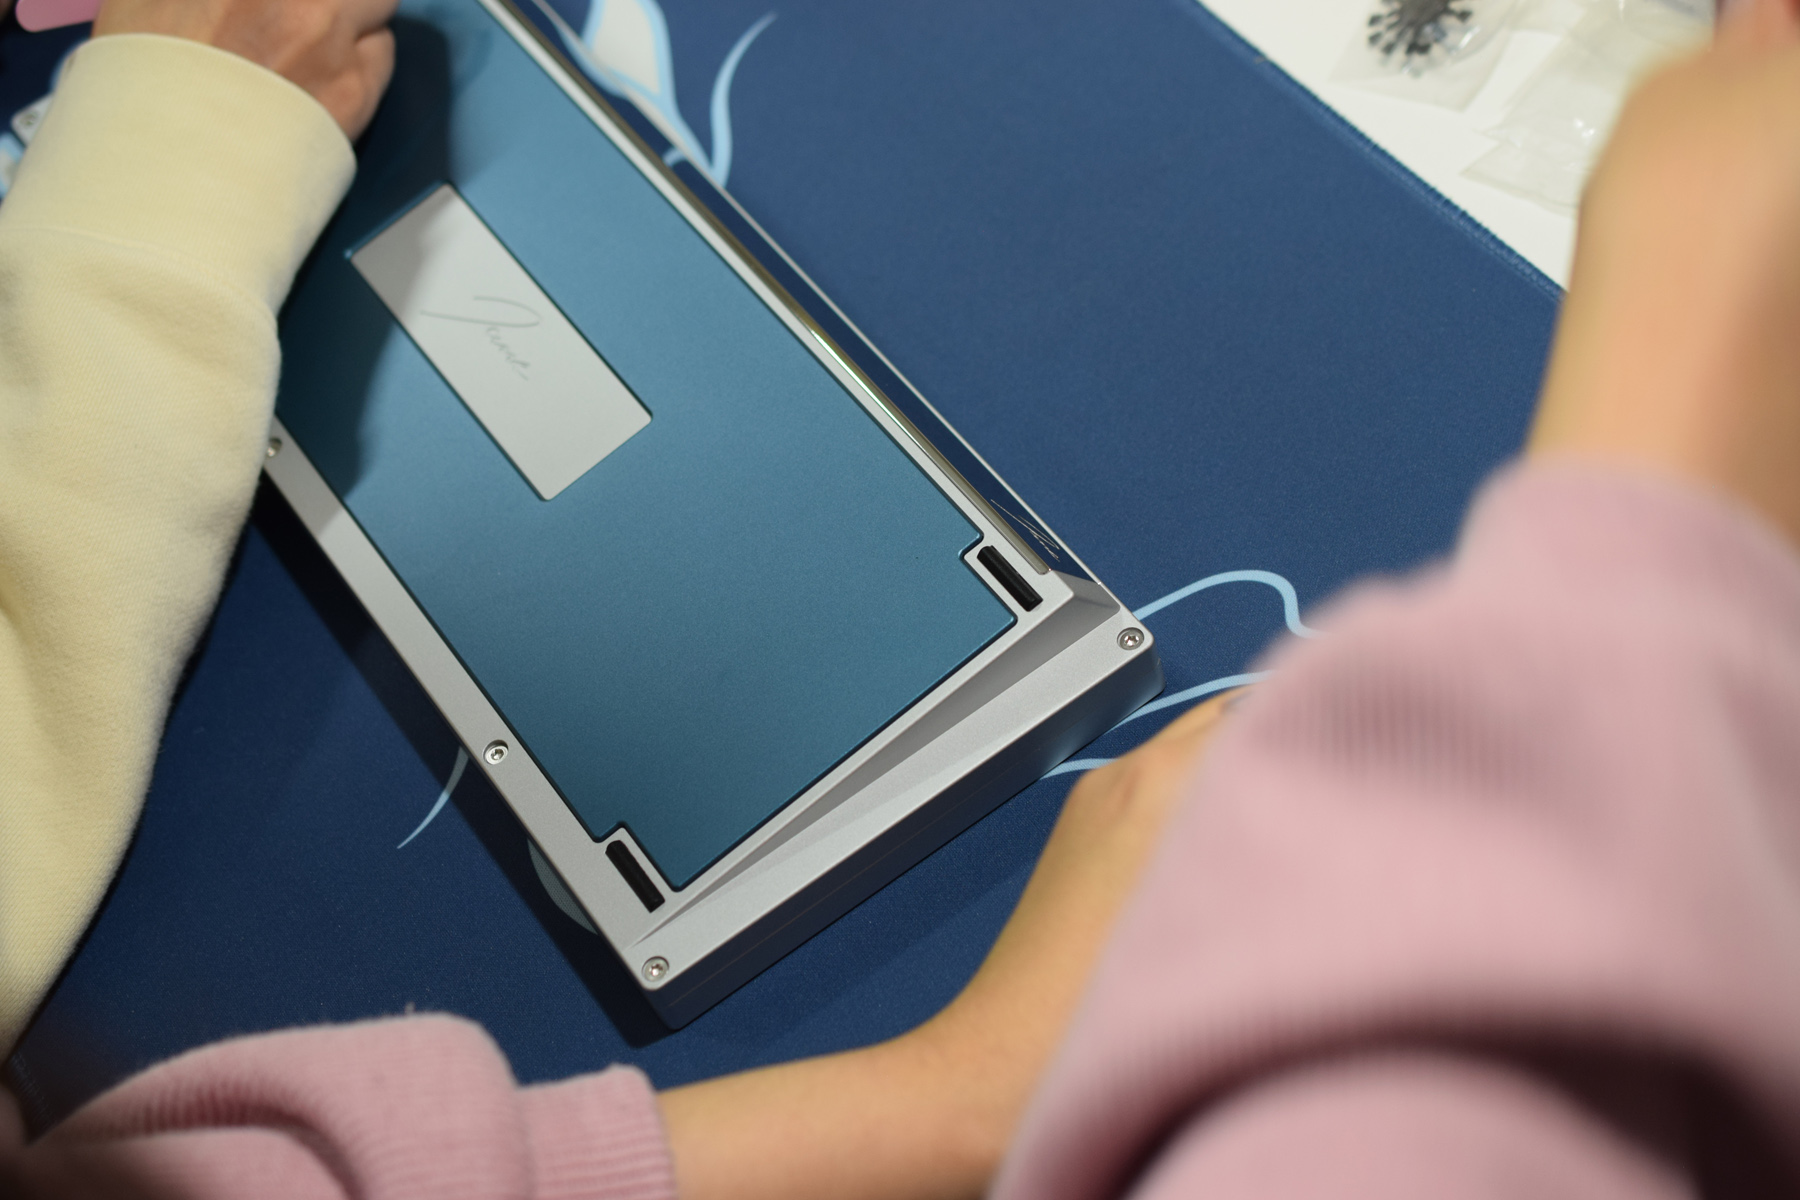
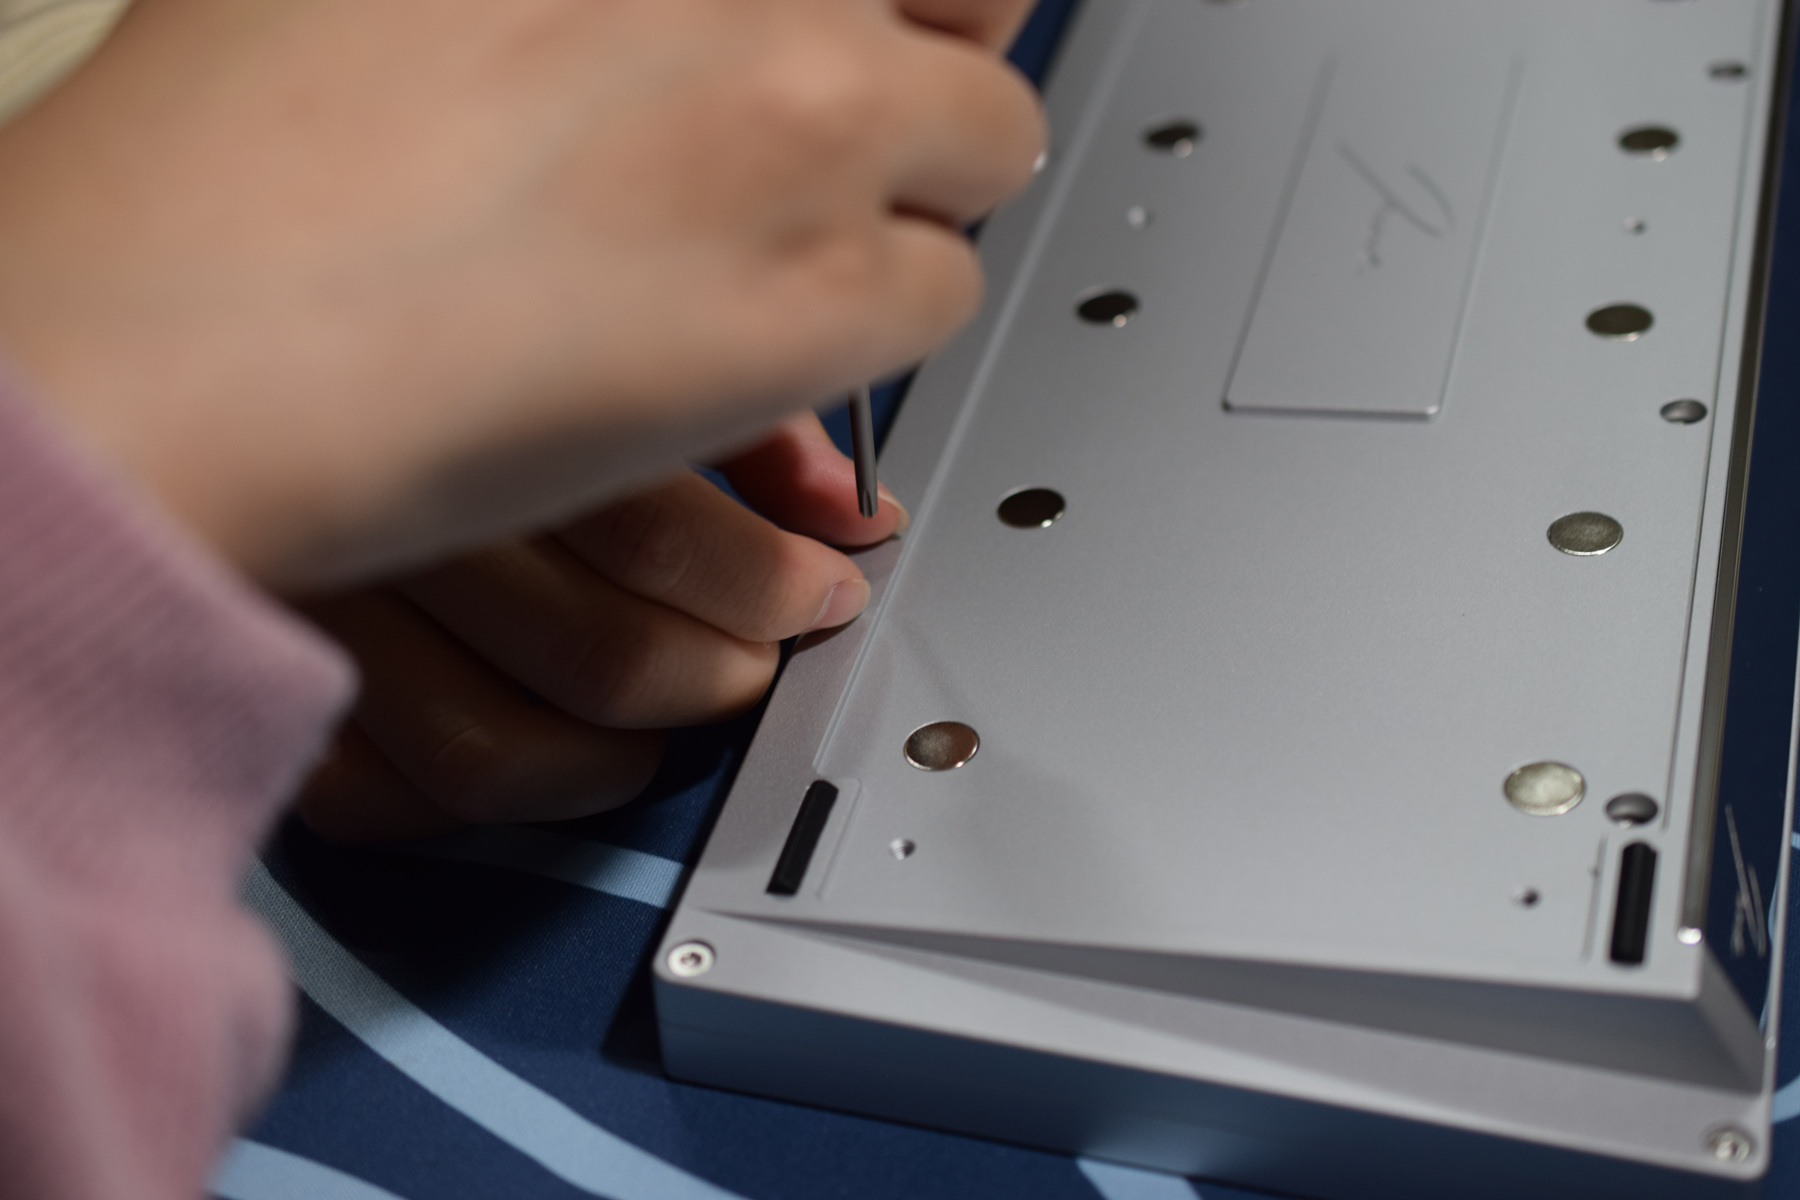
Opening the Jane V2 Continued:

Finishing Up:
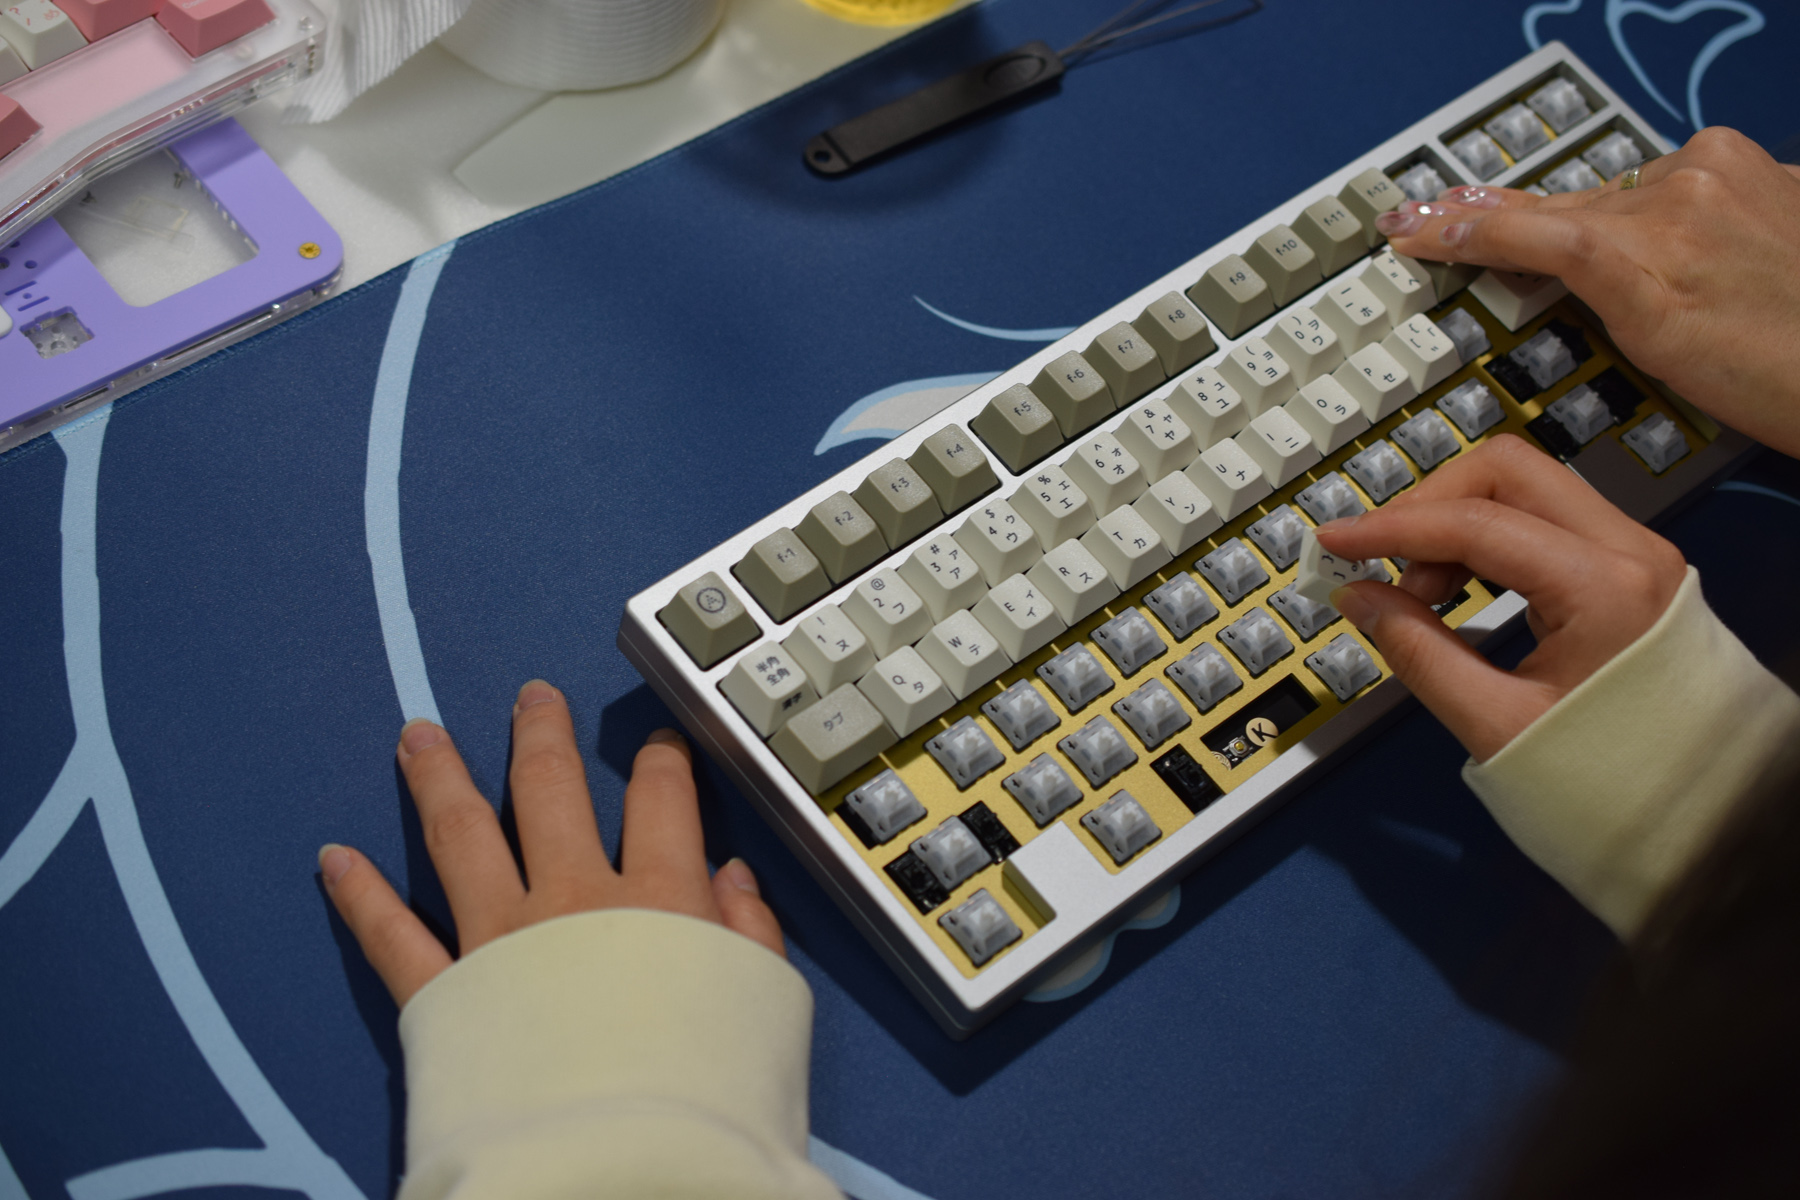
Soooo, I fugged up and didn’t check thoroughly enough… The enter stabiliser had an issue and we needed to take it all apart to re-do.
Existence is Suffering:
When taking the board apart, we found out that the All Clacks stems really liked the EPBT keycaps and didn’t want to leave 😊.
This meant that we didn’t have enough switches to put back into the keyboard.
I had to use a small drill bit and tweezers to remove the broken stems out of about 10 keycaps.
If the switches were to have broken-off when she returned the board, that would have been easier to manage. I wasn’t planning on needing to take the keycaps off so soon.
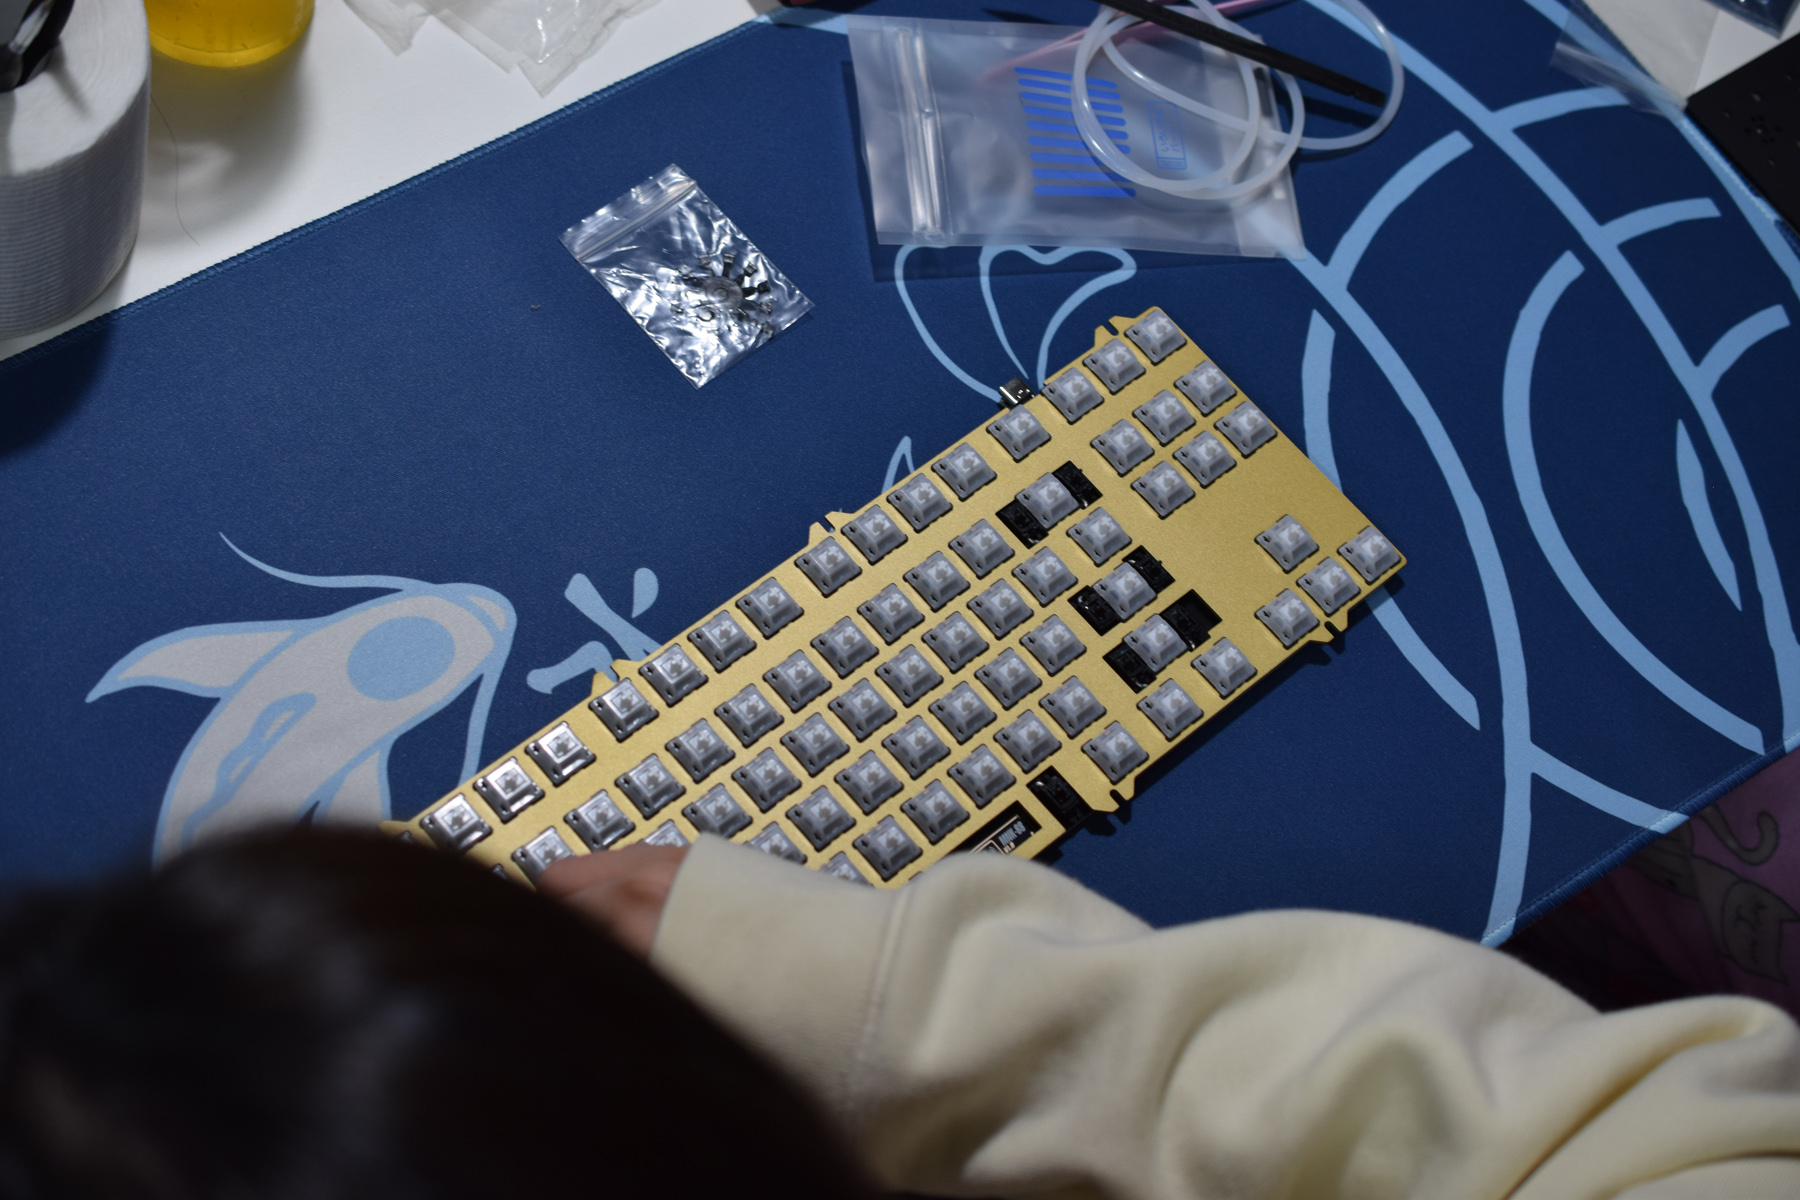
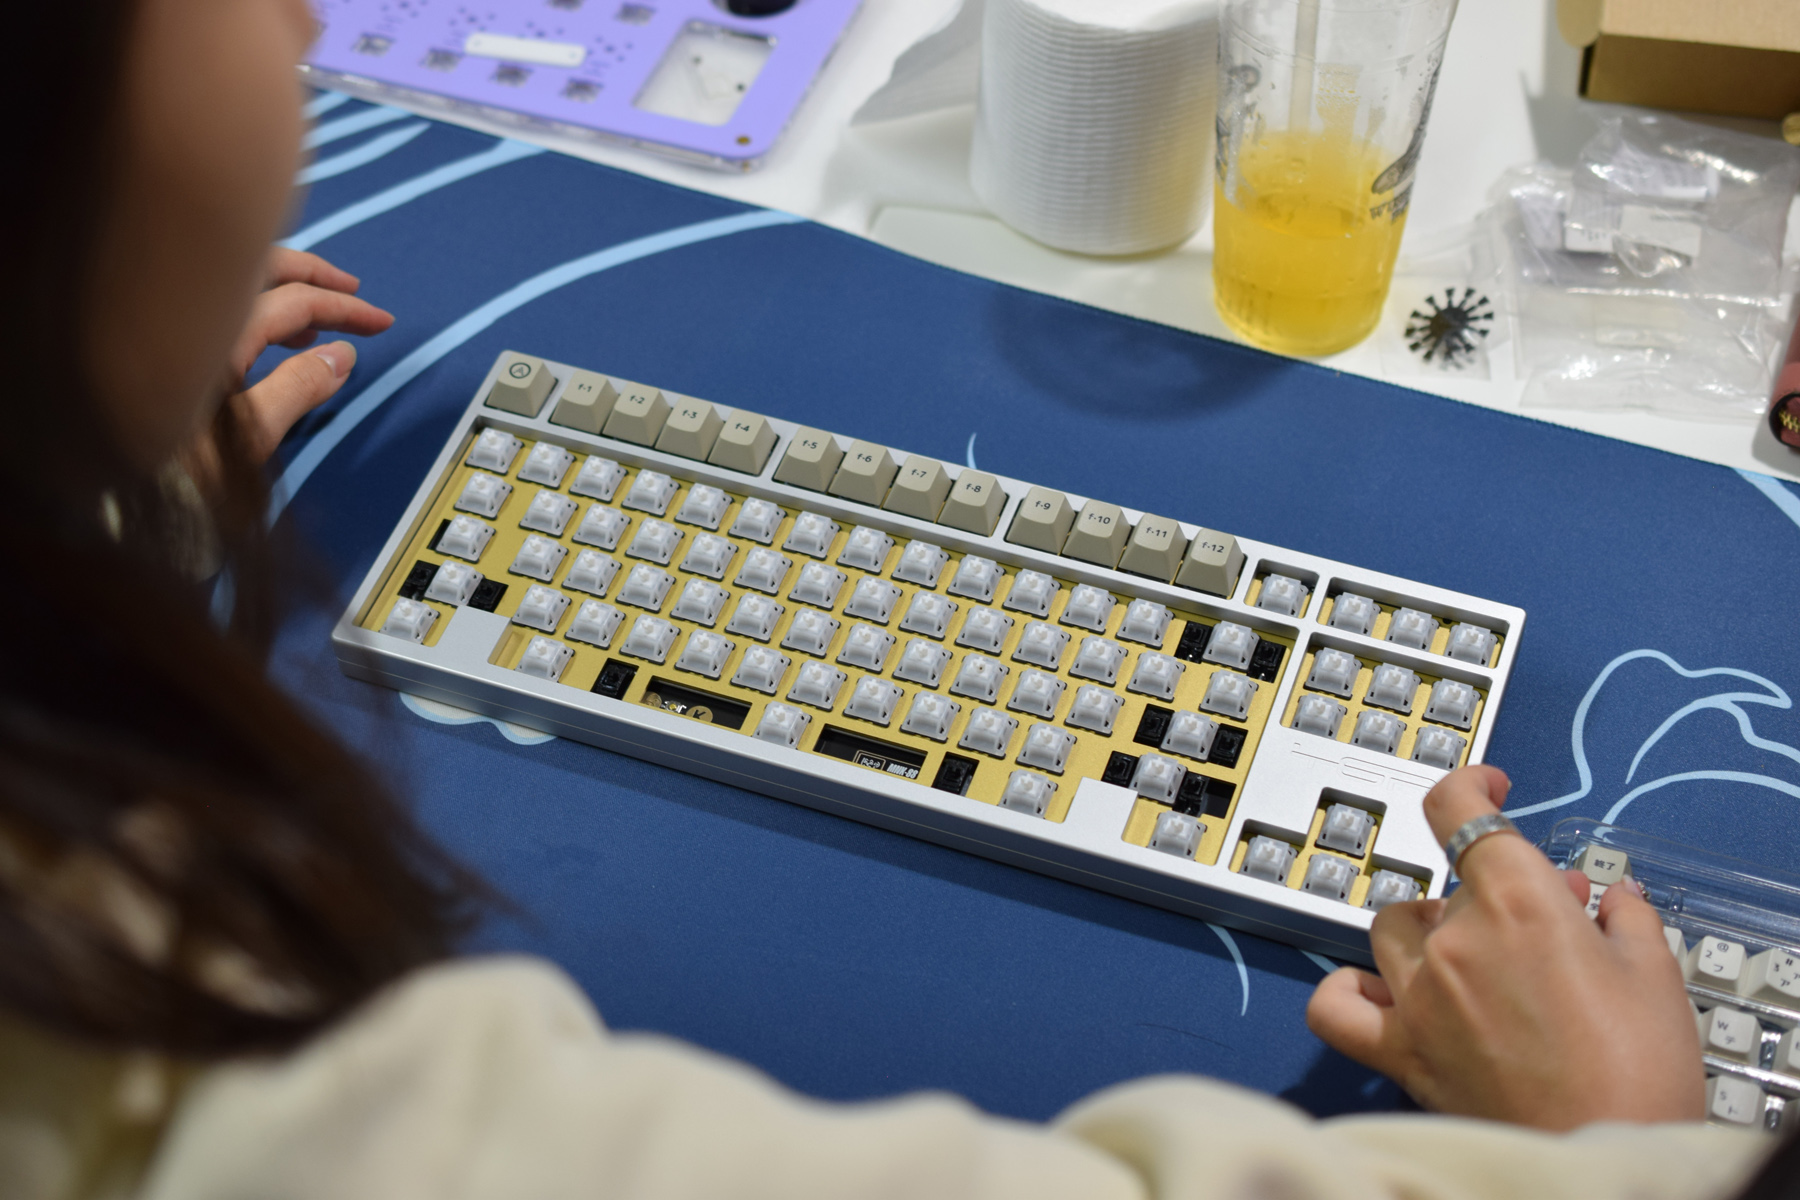
Finishing Up - Again:
Since we didn’t have enough All Clacks to replace the broken ones, SP Star Momos were used to fill the gaps.
We also decided to lube the stems to make removing keycaps easier in the future.
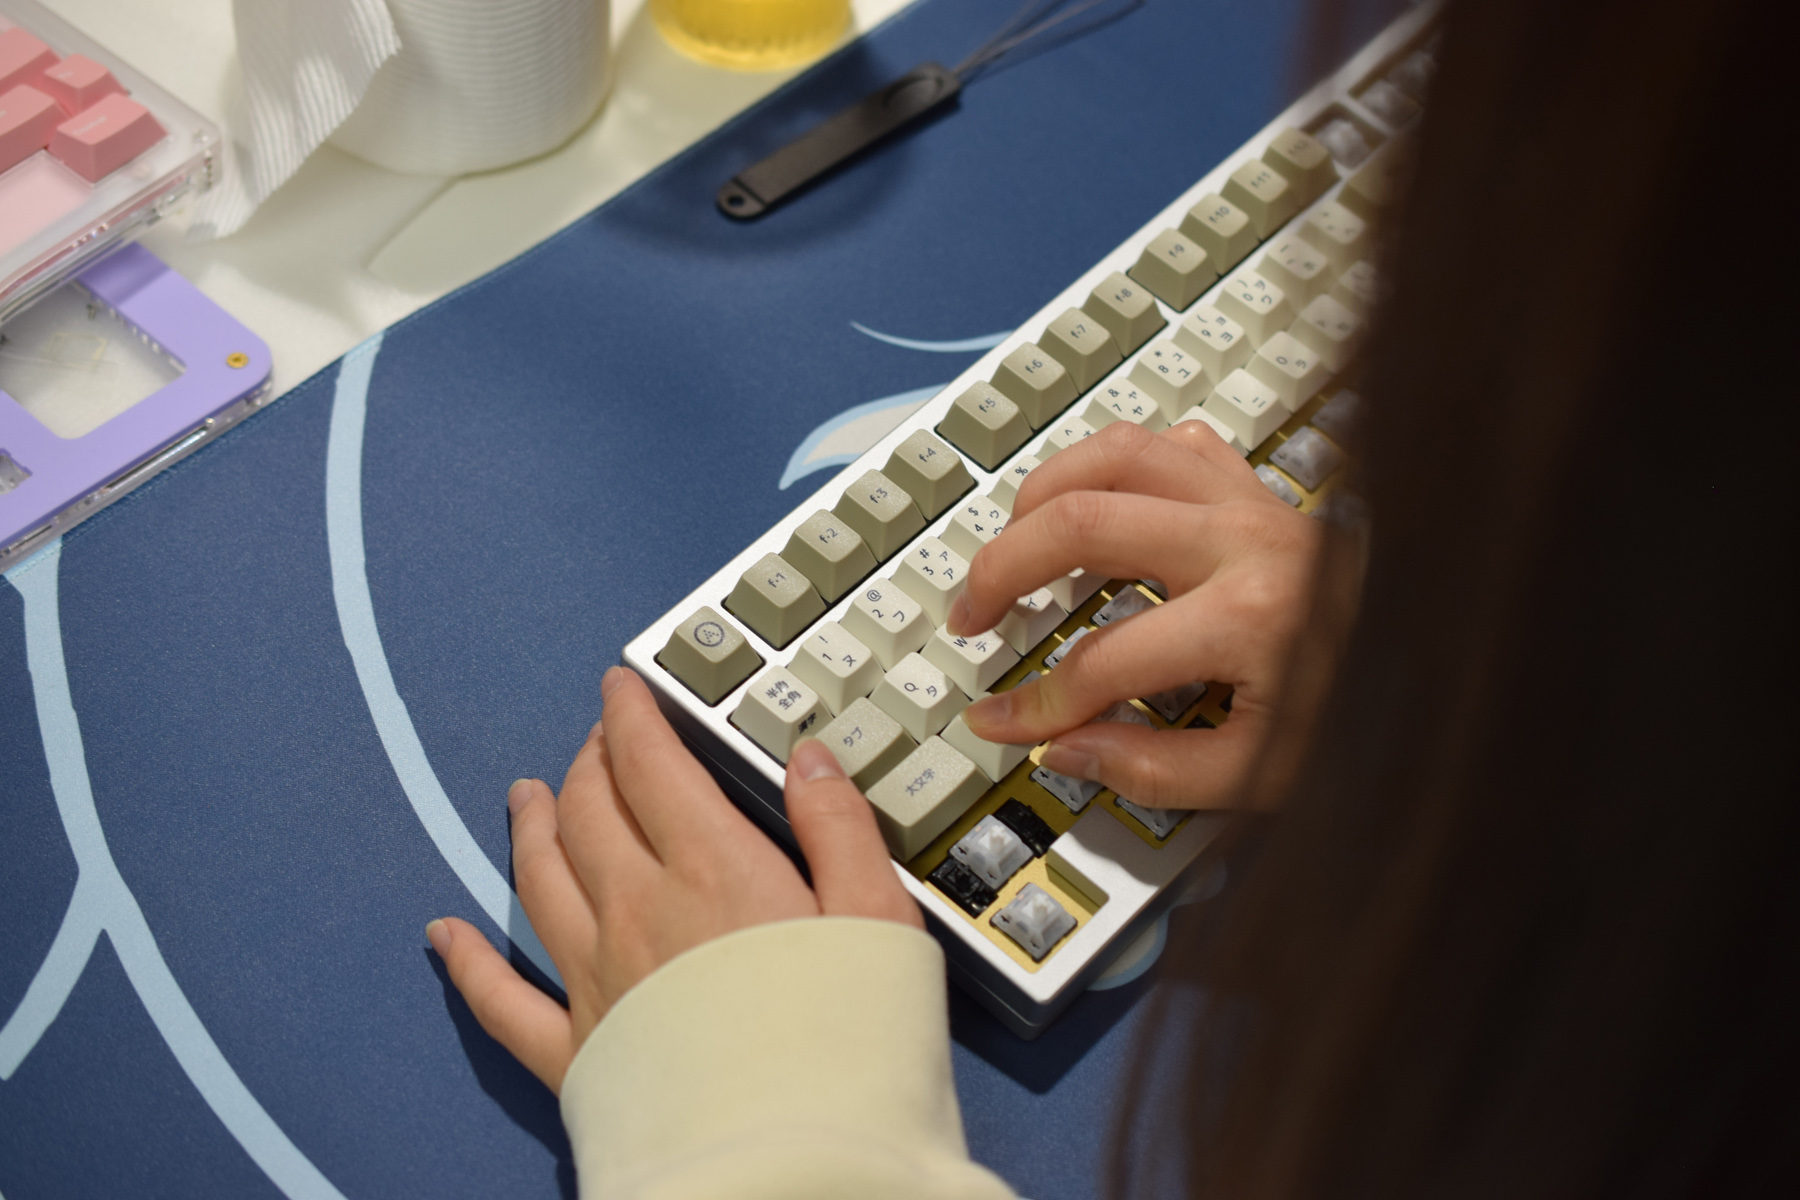
All Done:
We ended finished up by around 12:30PM.
Easy speedrun.
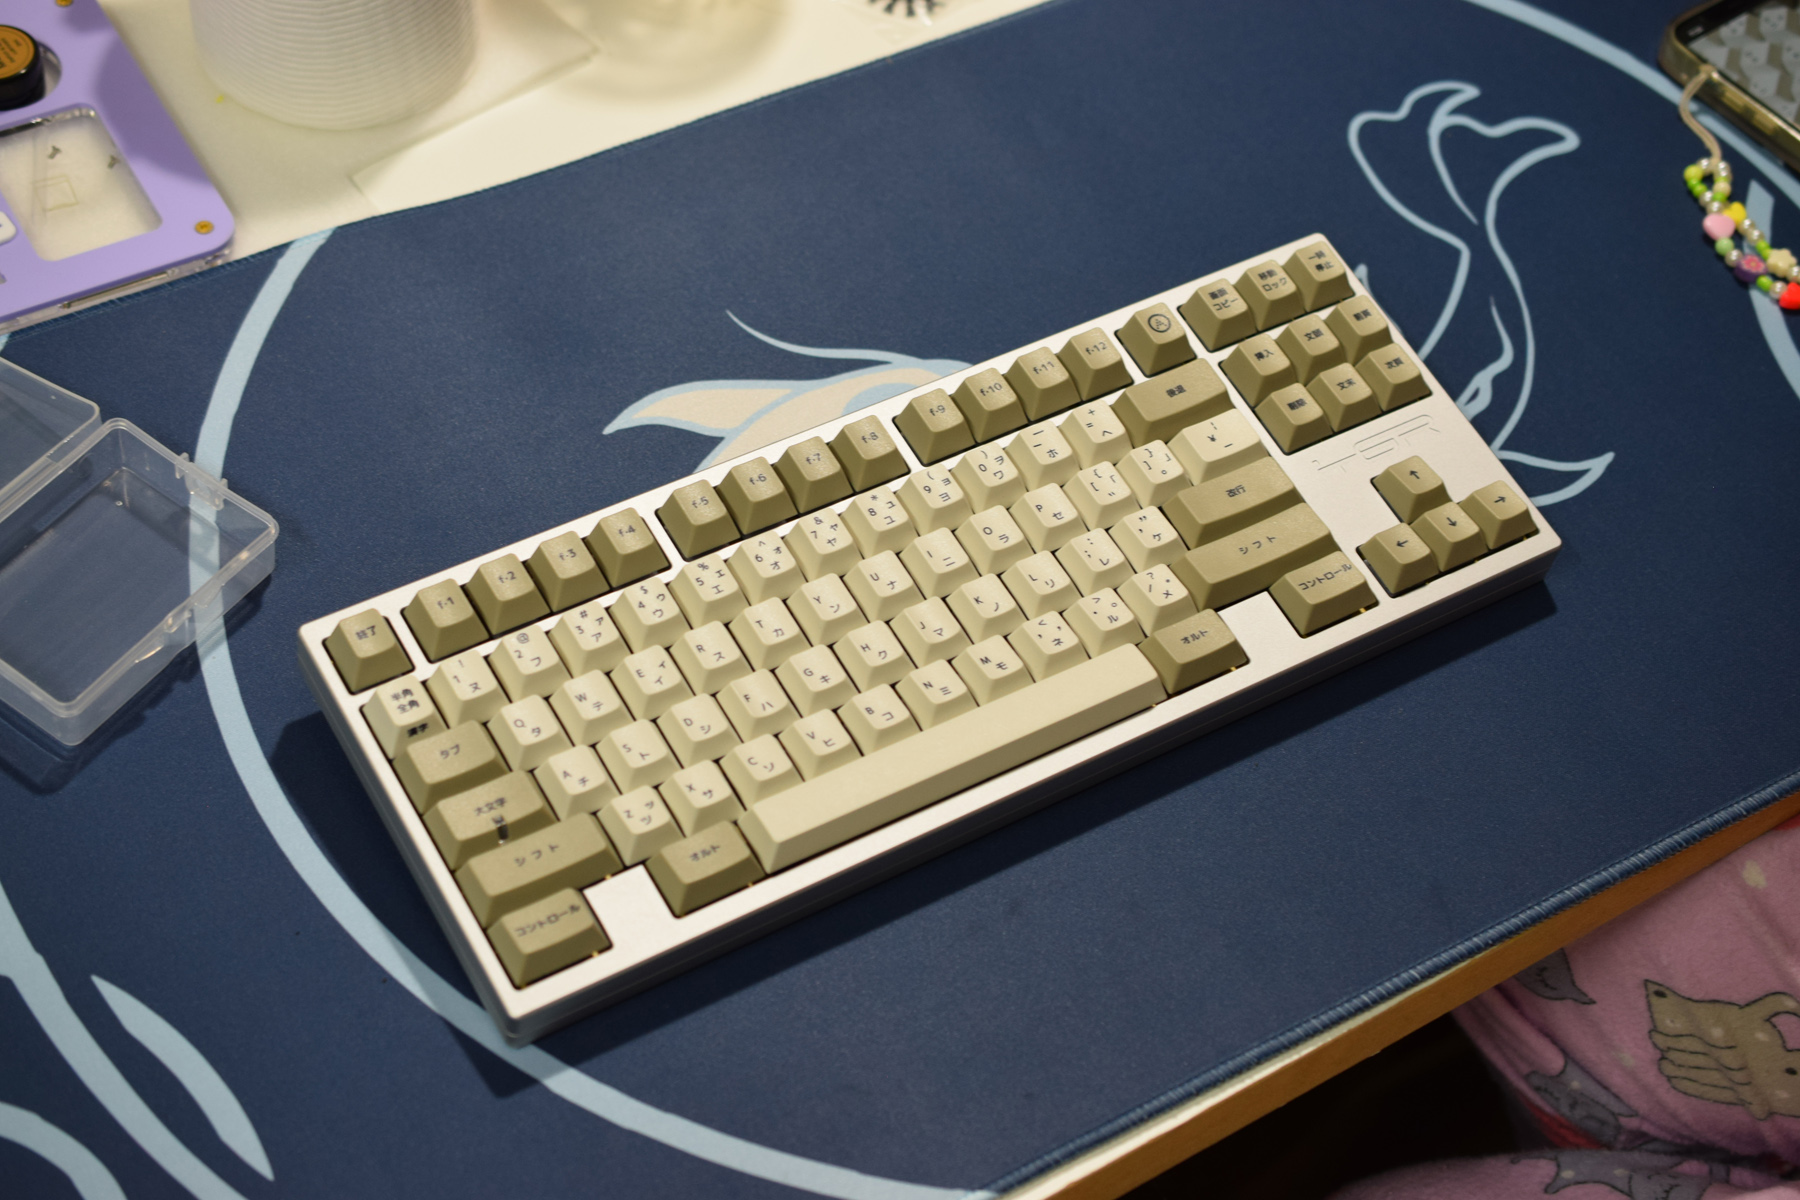
The board worked fine and had no issues when we tested it in VIA.
Friend A and Friend B were actually really quick at typing and reached >100 WPM on Monkey Type.
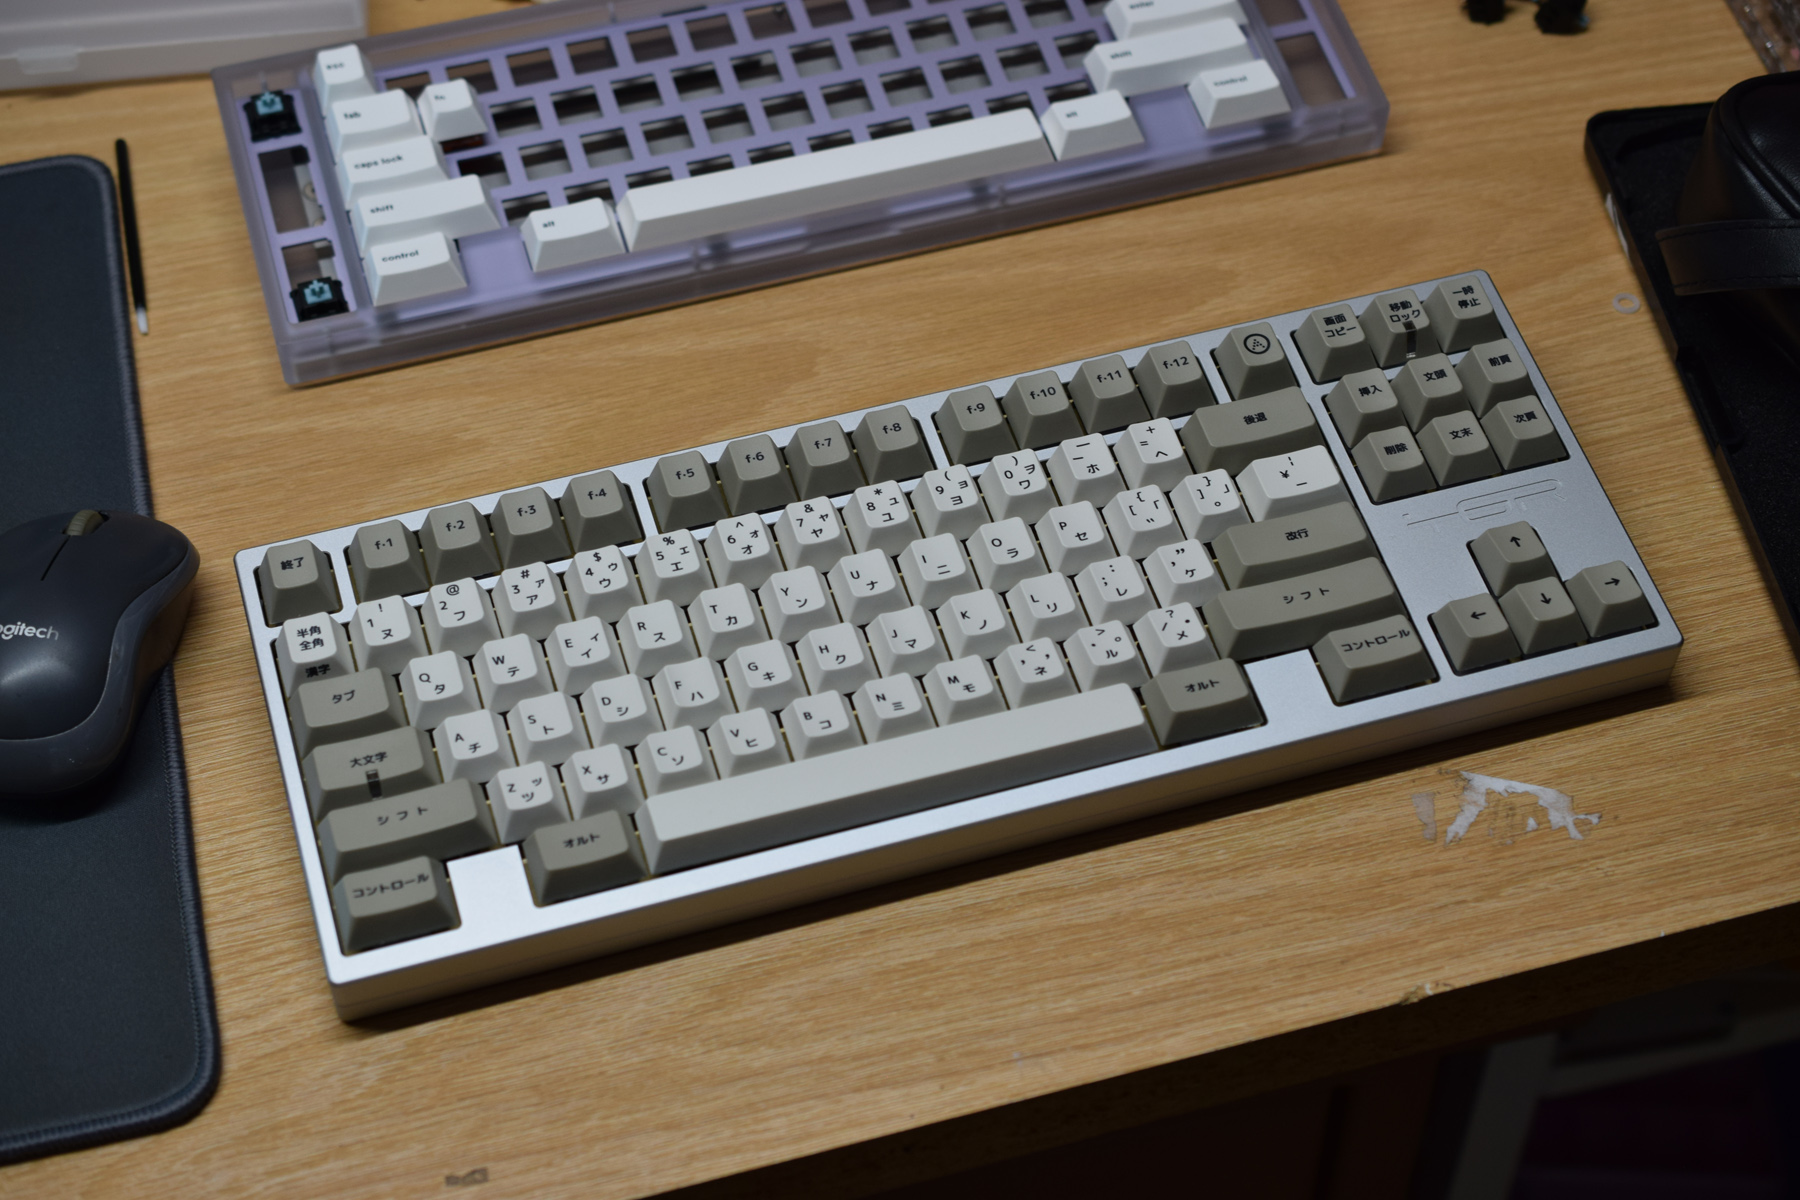
TGR Jane V2 ME